DIY wood valance and drop cloth tutorial
Y’all. I’m in love. I asked a few weeks ago what you guys thought about new curtains for my kitchen sitting area and I think most everyone agreed new ones would be nice. Well…I did it and here is my idea! It so happens we have a TON of reclaimed wood piled up in the back yard because of the playhouse tear down/chicken coop thing we have going on. I started there. Two long boards with age, character and nail holes got unearthed from the heap of boards and 2X4’s.
  I attacked them with my favorite dark stain color…Miniwax Espresso. It’s so rich and gorgeous. It’s my go to for stain color.
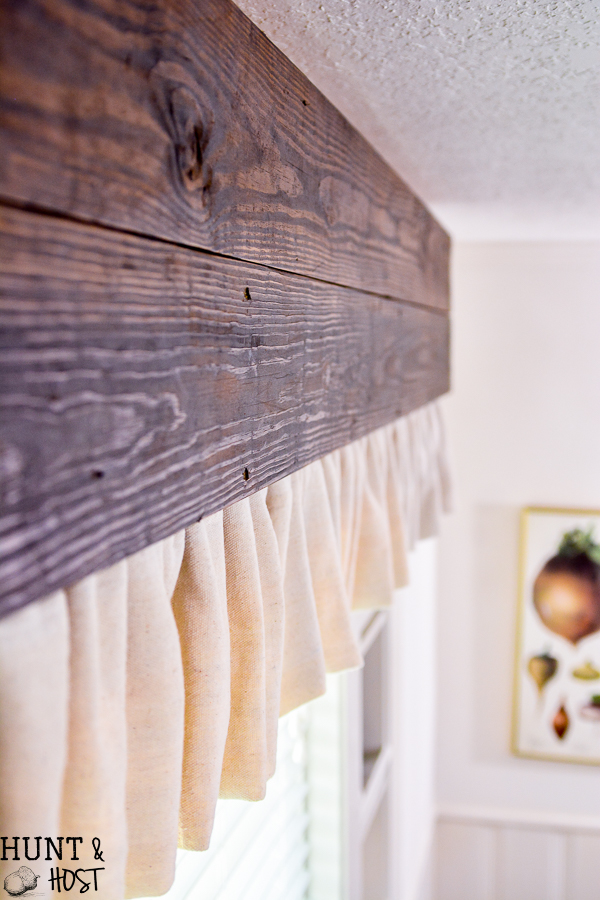
As it would turn out a bout of strep throat worked out in favor of these curtains coming to life quickly. My mom came to town to hang out with us while we worked at the Sweet T Market for my daughter’s kettle corn business. BUT…my youngest turned up with strep throat and the hubs was out of town. We were a hot mess and luckily my mom was there to play nurse while Mae and I shoveled out hot kettle corn! While she was stuck at my house with a sick kid she whipped up the sweet ruffle I had in mind for this curtain project. I am eternally grateful for my mom’s amazing gift of sewing!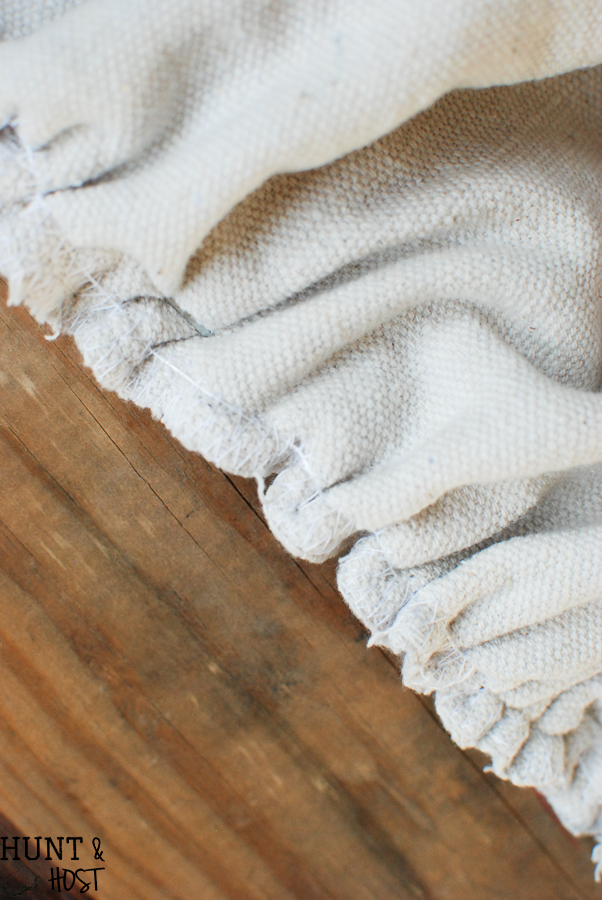 Drop cloth is wonderful, inexpensive fabric alternative. It’s soft and muted in color, a little worn looking and feeling and has a few defects in it. To me that adds charm. You can get them at the hardware store, in various sizes. If you use drop cloth be sure to wash and dry your drop cloth before working with it for extra softness and to pre-shrink it.
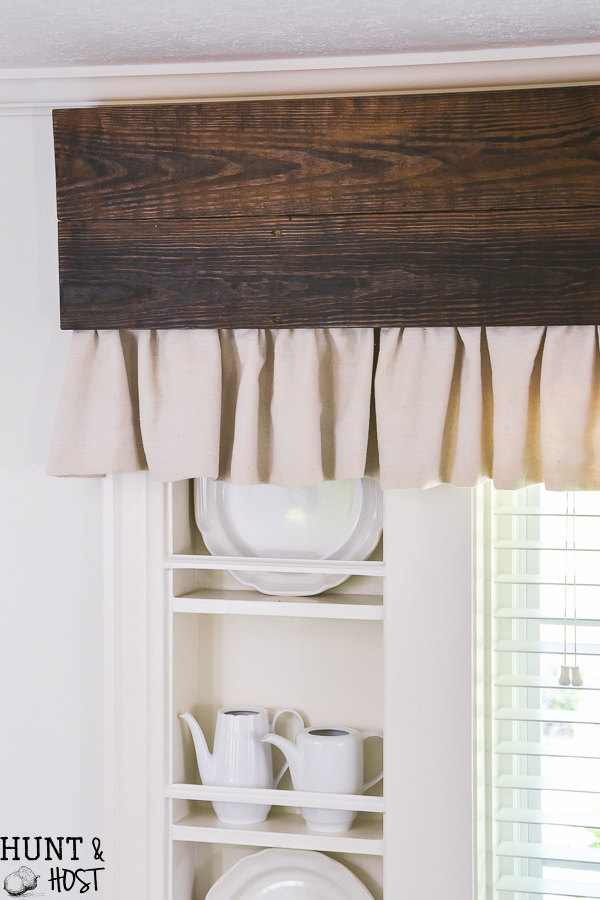 I started by making a wood valence out of the old stained wood. Measure your window and add 4 to 6 inches in length to the outside edge of the window trim width so your curtain will sit outside the window frame 2 to 3 inches on each side. The large boards were connected with a brace made from scrap wood and I used wood adhesive to help hold the brace on securely, then attached it with screws, all of this on the back side of the boards.
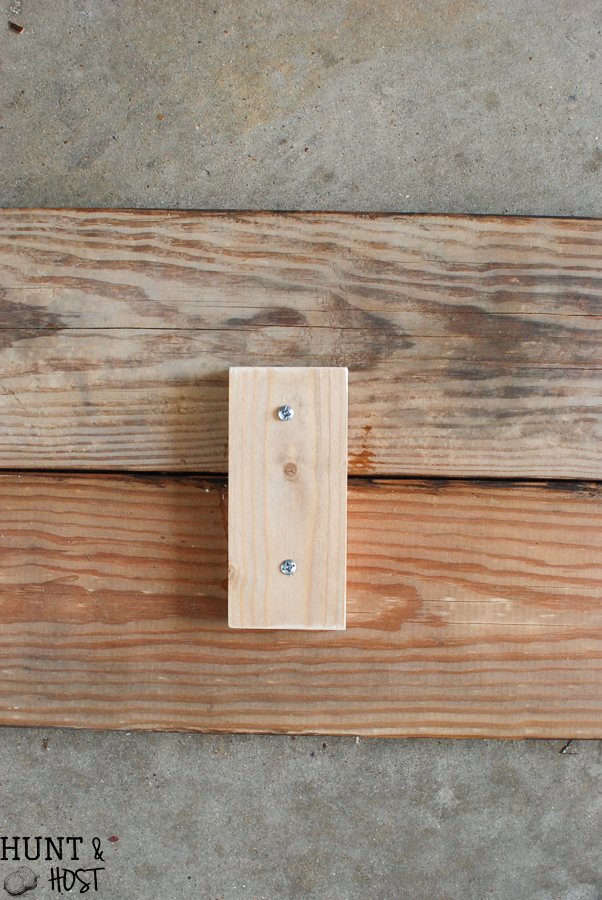
I did the same for two end pieces that would act as the sides to the valance. The sides were attached with L brackets. 
Along the top of the valance a 2X4 board was attached (flush with the top edge) with L brackets as well (forgot to take a pic, may add one later, sorry!). This board is how the valance is hung.
I had to buy a new staple gun (affiliate link) for this little project, but that was the only thing I had to purchase (I had left over drop cloth from the slip covers mom made for my dining room chairs), so yay on the close to free curtain makeover! 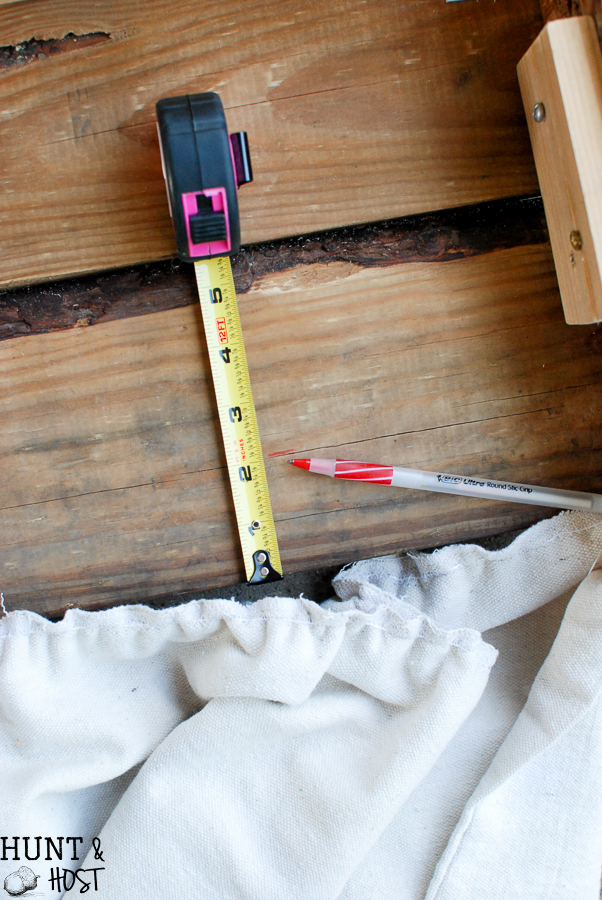 Attach the ruffle to the bottom portion of the valance. Be sure to measure along the valance, making marks as you go to attach the ruffle straight and uniform. I attached mine about 2 inches up from the bottom. Lay out the ruffle first, starting in the middle and arranging as you work your way out on both sides so the fabric is equal all the way across. Use a staple gun to attach the ruffle to the board.
 To hang the curtain you will start by attaching two or three (depending on the length of your wood valance, I used two) L brackets to the wall. BE SURE TO USE SHEETROCK ANCHORS. Super important! You will hang the brackets so the 2X4 you have attached to the top of the valance will slide right on top of them, between your crown mold or ceiling and the bracket.
  The next part is a bit harder and is best done as a two person job. Slide the valance up on top of the brackets, while one person holds the other will go up under the valance and attached the board with screws. It is a tight spot, but it can be done! I had to start with a hand held screwdriver and end with an electric while my husband held the valance, applying downward pressure so would have resistance while attaching the board.
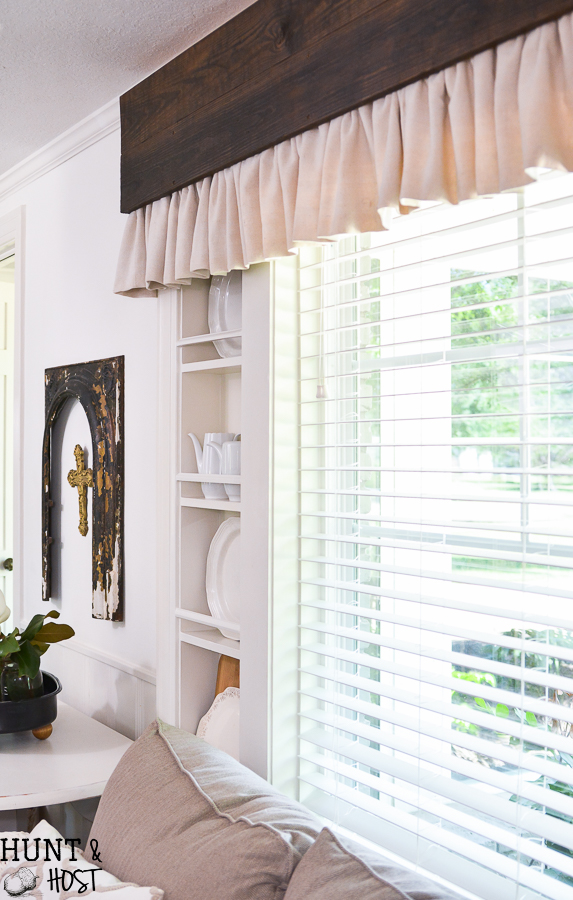 Friend – you just hung the cutest wood and drop cloth curtain! Yay for custom curtains that don’t cost a fortune and look lovely! So what do you think? Better than the old? Would you try this? Any questions? I’d love it if you’d share this project on your favorite social media, thanks!
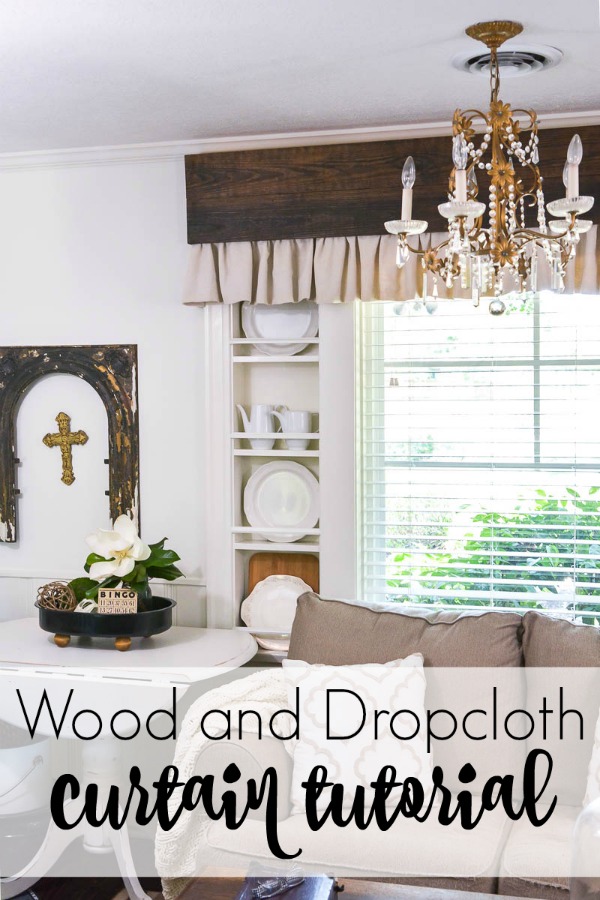


Very cute. I may have tried Velcro to attach the ruffle in order to remove and wash. My house gets soooo dusty, I would be afraid to try a permanent ruffle. I love the new look though!
Velcro would work too. I actually vacuum the drapes every once in a while using the long handle attachment, you could do either!
Love – Love – Love this!!! This brings such warm and character to this window!!! Beautiful job!!!
Thank you – I am smitten 😉
I love it!!!!!!! Yes, I would try this! I have been searching for window treatments and I really like this one. Keep inspiring us.
blessings, donna
Thank you Donna, sometimes you just have to use what you have and make it work!
It is so amazing, i love this idea.Thanks for this great idea and have a blessed day.
It’s a great DIY project that doesn’t cost a fortune, you know that’s my favorite!
What a cute window treatment! You are amazing!!
thanks so much, I am glad you like it!!!
I really like you valance!!!! I live in the country and only have curtains in the bedrooms. But you have given me an idea for the computer room. I love drop cloths too. Blessings!
So glad you got a knew idea! Aren’t drop clothes the best!?
Good morning Kim, Love your new cornice and curtain!!! Amazing transformation! Makes the whole room more comfy!! I too made cornices and have them up and now wondering about some kind of curtain. Thank you so much for sharing your fabulous idea!! Blessings and smiles, Emilou????
Yay – hope this is a fresh idea for you!
Oh, gosh! I found my solution. Thank you sooo much!
Yay! I love that this helped you!!
Kim, I really love this window treatment. What is the width of the fabric portion of the valance?
on this particular window the ruffle hangs out about 8 inches and the wood portion is 11 inches, you just want it to be proportional. I like just a touch peeking out…hope that helps?
Kim, I love the curtains! The wooden part is what really caught my eye. I have been looking for a stain that is intentionally different from my kitchen cabinets. They are a beautiful honey oak. Since it is nearly impossible to match stain on a different type wood, I wanted something darker for the island my husband is building for me. This one is perfect. Going darker will also make it more of a focal point. Thanks for sharing your great curtains with us!
I agree, if you can’t match a strong contrast is great! SO glad this gave you a new idea!
I love this idea Kim! The mix of the dark wood and neutral color valance adds a beautiful warmth to your window. Great job on building this window treatment!
Thank you – it’s made a huge difference in our kitchen!
I just hung up full length drop cloth curtains in my living room, but I’m thinking I might need to do this in my kitchen! I’m so happy I’ve found your blog!
Fits the room perfectly! Did you fabricate the shelving on both sides of the window or were they original to the house? Such a great idea.
The window boxes were there, but I added the railing to make them plate racks! thanks so much
So super cute!!!
Super cute! Love the wood valance and the ruffled drop cloth! ????
thanks, it’s a fun change!
Awesome! I’m a big drop cloth fan, so this is the prefect project for my bedroom window! Gonna get right on it! Thanks!!
Yayyyy – have fun, these are so sweet and easy!