You guys know I love all things old. But sometimes you have to make due and buy something new and make it look old. Like these new crates I bought and transformed them into old looking wall storage. Plus I’m going to show you how to hang crates on the wall. Thanks to Vintage Sign Stencils for the stencils used in this project!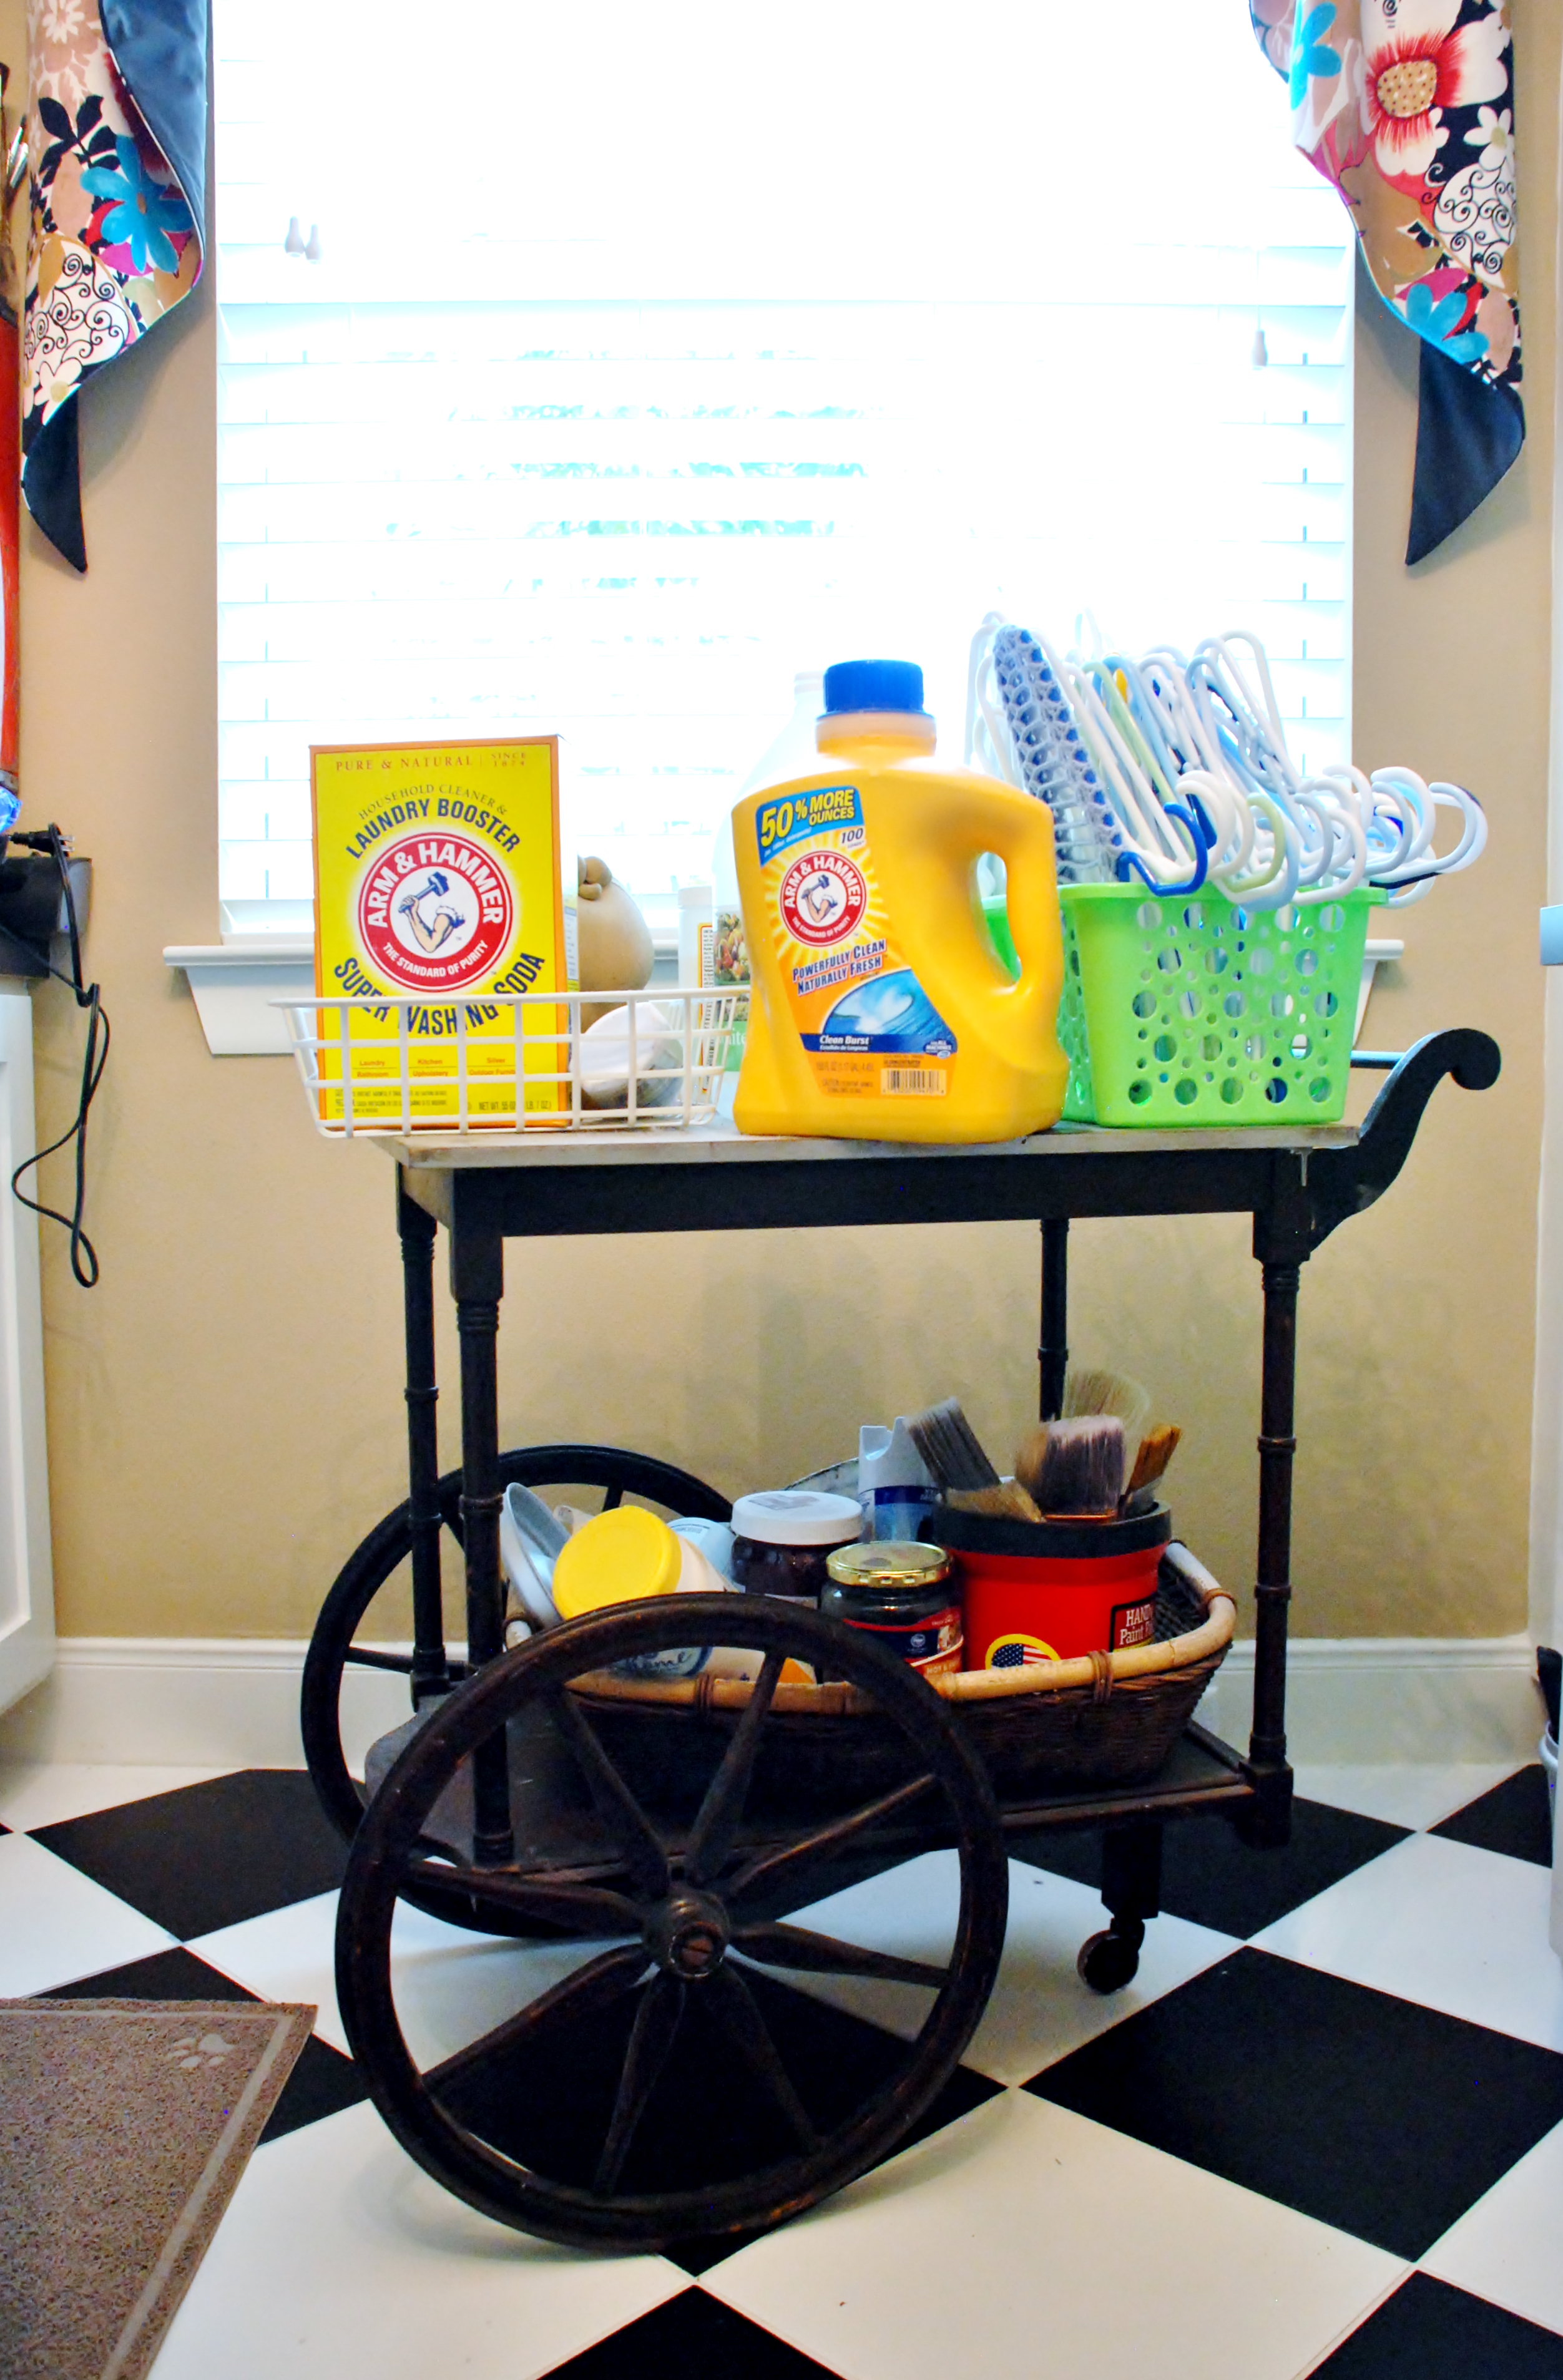 Necessity is the mother of invention. To me that is the truest and most used statement I can think of when it comes to the projects that go on in our house. The laundry room is also the craft room. Really it’s MY ROOM in the house. It holds all kinds of paint and twine, glitter and glue. For a while an old tea cart in need of a makeover served to hold all the laundry detergent and miscellaneous items that gathered without a home. But the cart was bulky and in the way and things were overflowing…I needed a better system. Enter necessity.
  At first I was just going to add some more soda crates, but realized I needed something deeper. After hunting around and only coming up with expensive shelving systems or $40 antique crates I decided a new to old makeover on store bought wooden crates was the best solution.
 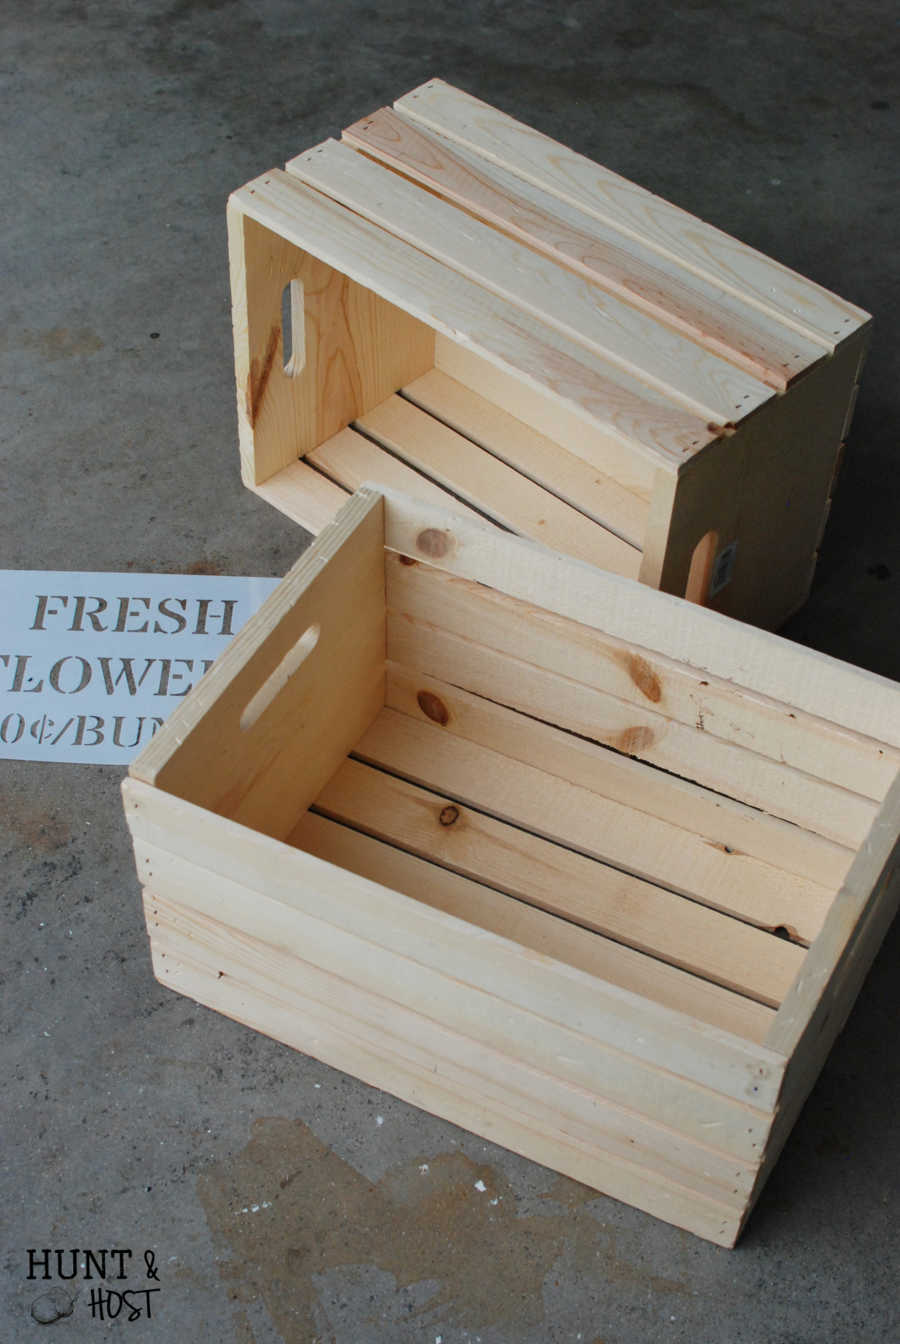 These two crates cost $10/each at Michael’s and provided a blank canvas because they came unfinished. I started out banging them up a bit with a hammer for some dents and dings then staining them different colors.
 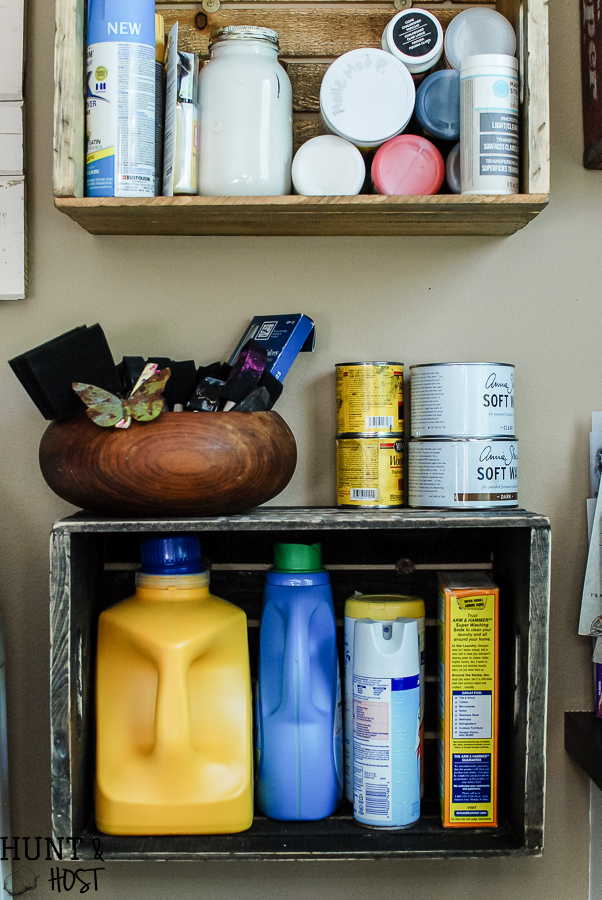 In my stenciling 101 post I showed you some great tips and a fun stencil I got from my friend Angie at Knick of Time Blog (thank you Angie for the providing the stencils used in this post!). I used the fresh flowers stencil again and tried out the farm fresh milk stencil this time. After sealing the crates with wax they were ready to hang.
 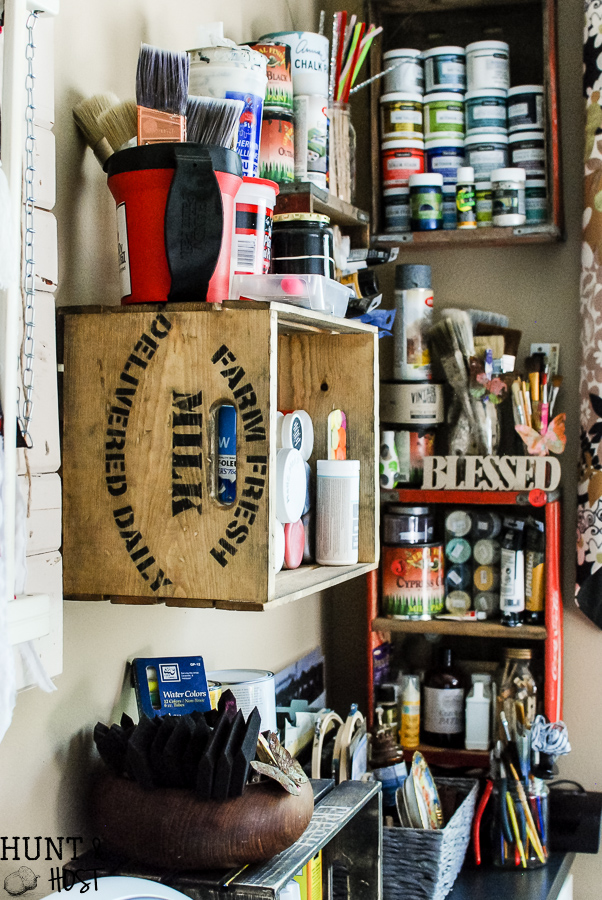 The crates have more shelf space when hung on their long side like I did. You will want to have the following items ready to hang your crate:
  Hold the crate in place and using a level get it straight. With a pencil draw a line under the first wooden plank a quarter way in from each side. Take crate down. Drill a sheetrock screw into the line in two spots. Hold crate back up to wall so you can see the sheetrock screw through the crack in between the wood slates. With a washer on your screw, drill the sheetrock screw in between the wood pieces into the sheetrock anchor.
  This way you don’t damage your crate, especially if you decide to use an old one! Before finally tightening the screws make sure your crate shelf is level then tighten into place. I painted the screw and washer to match so they don’t catch your eye as much.
  These shelves could be used a TON of different ways…extra closet storage, nightstand, bathroom cubby, kitchen supplies, pantry, garage organizer. For $10 and a little elbow grease you can make the new look old and store some serious goodies.
  I’m so glad to get the laundry/craft room back in shape, plus now that the tea cart isn’t covered in junk I have another project to work on. While this little room is cram packed with stuff it’s all organized and getting piles off the floor makes it feel so much bigger and better in there. Clutter gets me unmotivated pretty quickly so now I’m feeling ready to go!
  What do you think? Easy project? Have any spots for some crate shelves? If you want some great stencils to dress them up with please head over to Angie’s shop Vintage Sign Stencils. Happy organizing friends!
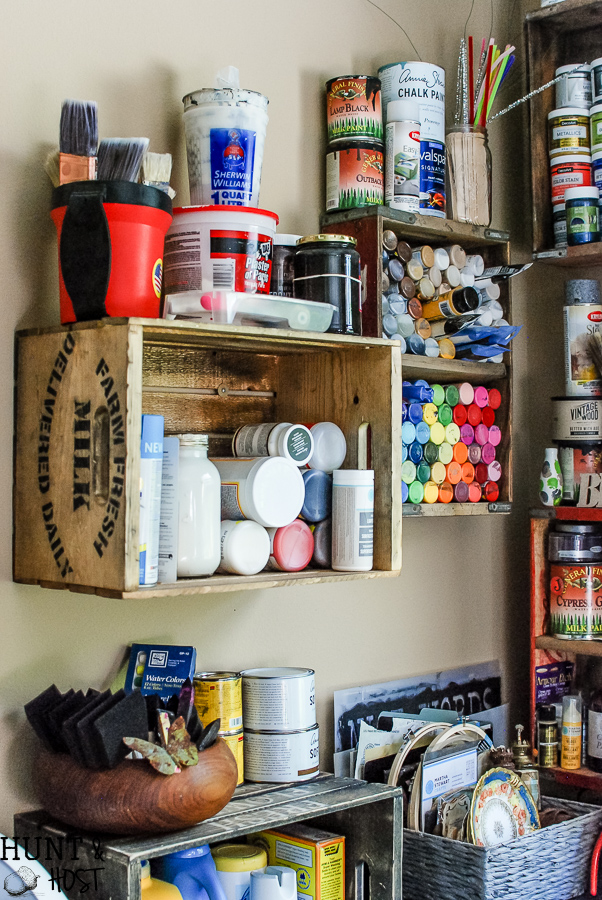
New Crate To Old Looking Wall Storage
This post may contain affiliate links.


Love this idea and so clever! Can you tell me what different color stains you used on the wood?
yes – sorry for the delay, I couldn’t remember one of them! The dark is Ebony and the lighter is Golden Oak, they are both from Minwax. Another favorite color of mine is Espresso, it’s a nice deep rich color! Hope that helps!
They look Great! Never would have known that they were ‘new!’ I know the feeling on clutter in the craft/washroom area! It’s easy to pile things in that part of the house!
yes – and once the pile starts it’s so easy to heap on more!!!