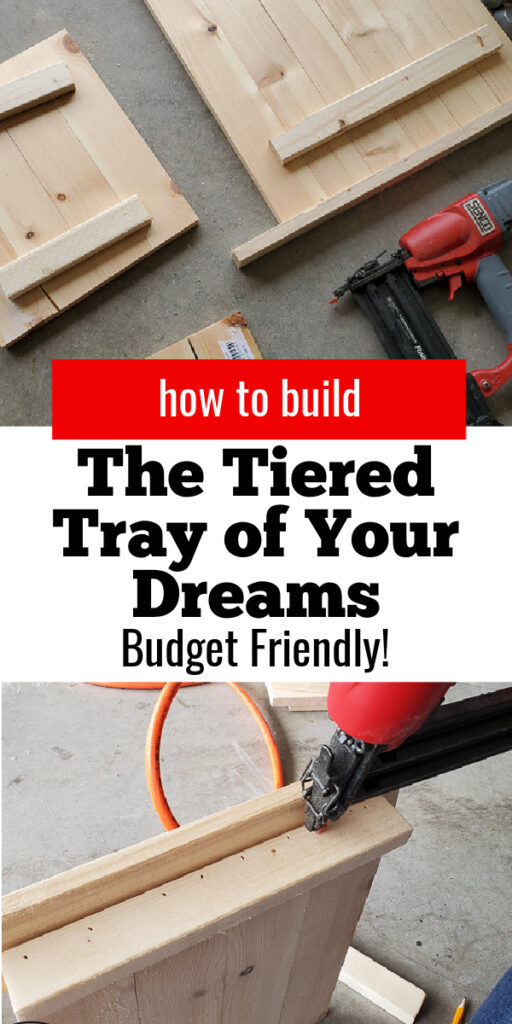
make a beautiful diy tiered tray that is budget-friendly too!
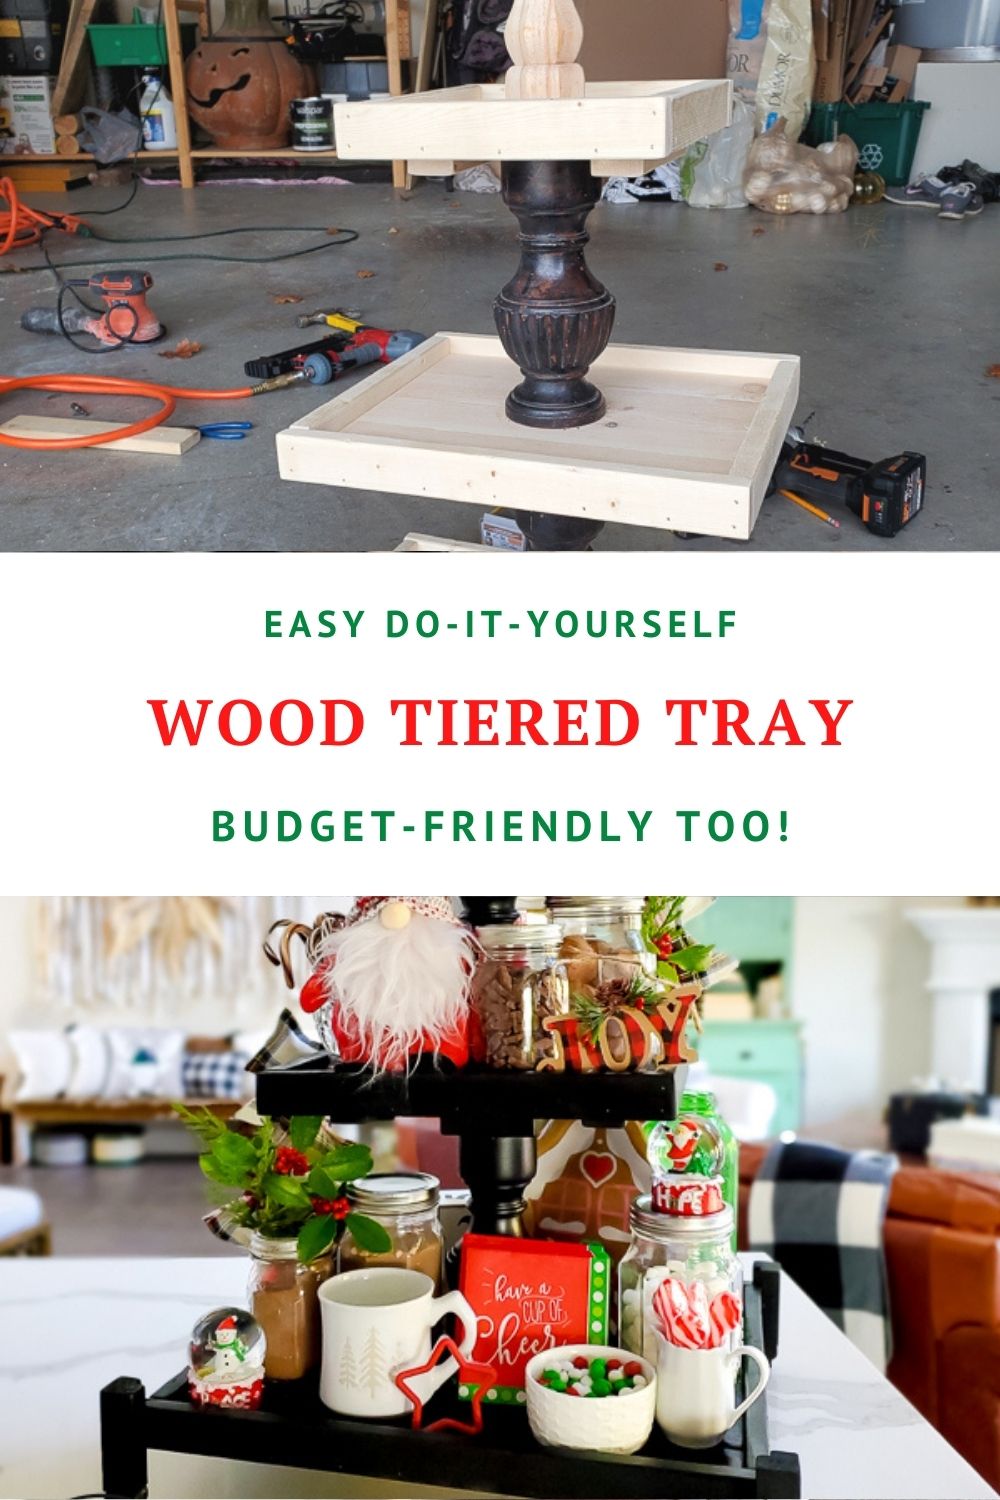
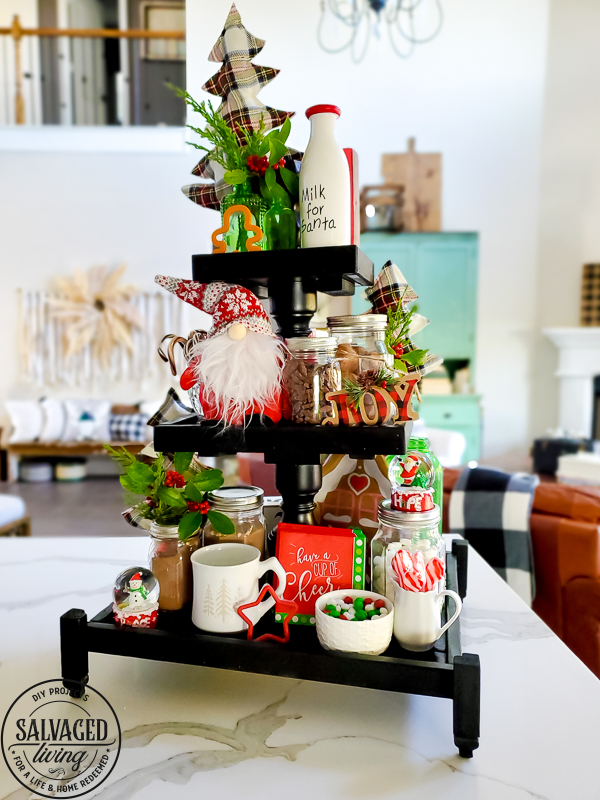
I shopped around for the tiered tray of my dreams but could find one to match the picture in my head. So I built one. 🛠️ I wanted a big DIY tiered tray with three tiers and I had a picture in my head I just couldn’t shake!!! I think it turned out good and so I am sharing how you can build one for yourself if you want, it is much more budget friendly than buying one this size.
Years ago I salvaged a table and took it apart to use the parts and pieces in different ways. I knew those legs would come in handy one day! I’ve used them tons for candlesticks, but they got put to real use with this decor project.
If you don’t have wood pieces like this, keep a lookout or you can always use a square post. Once you decorate a tiered tray you don’t see the middle that much anyway!

Be sure to stay tuned because I am going to have it all decked out for a hot chocolate station this year. My kids love hot cocoa for the holidays (and me too) so I wanted to really live it up this year!
3 Tiered Tray Supply List
- 3 – 1″ X 3″ x 8′ pieces of wood
- 3 – .5′ x 3″ x 8′
- Chop Saw
- Finish Nail Gun
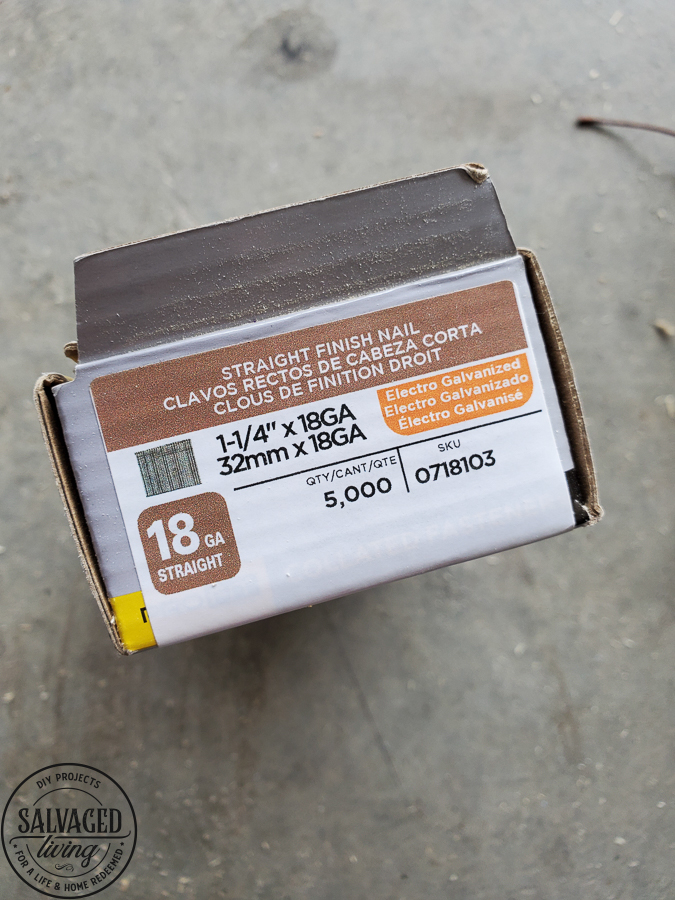
- Finish Nails
- Sander
- Middle Post – use something upcycled, a stair post or wood post
- Top Finial
- Leg Finials
How to Build A Three Tiered Tray
- Cut 6 pieces of 1″ X 3″ at 18″ each
- Cut 4 pieces of 1″ X 3″ at 12″ each
- Cut 3 pieces of 1″ X 3″ at 7.5″ each
- Cut 2 pieces of 1″ x 3″ at 13″ each (brace piece)
- Cut 2 pieces of 1″ x 3″ at 6″ each (brace piece)
- Cut 2 pieces of 1″ x 3″ at 5″ each (brace piece)
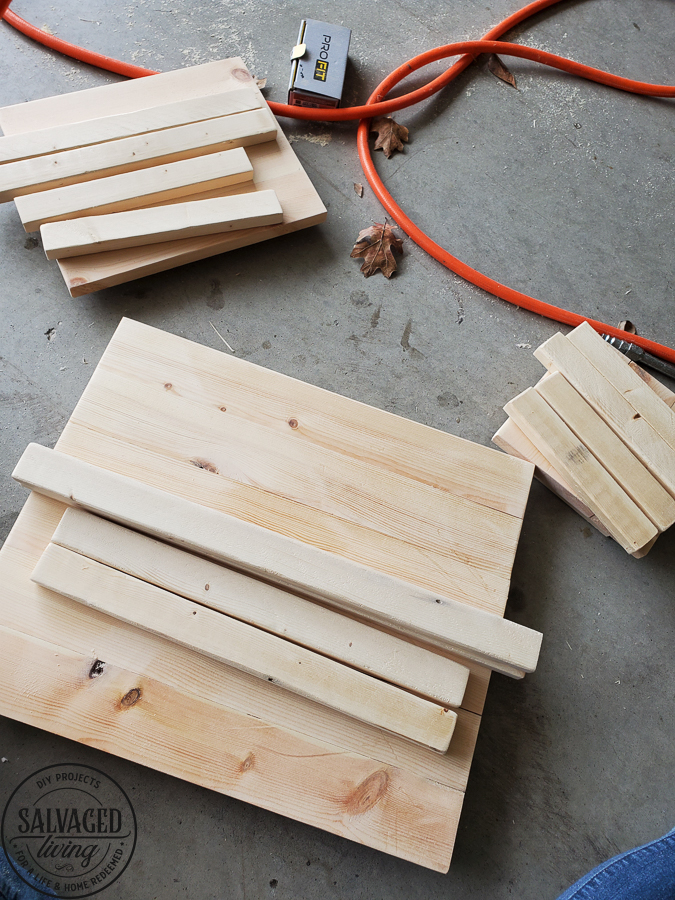
- Line up the 6 pieces and brace them across with the (2) 13″ brace pieces
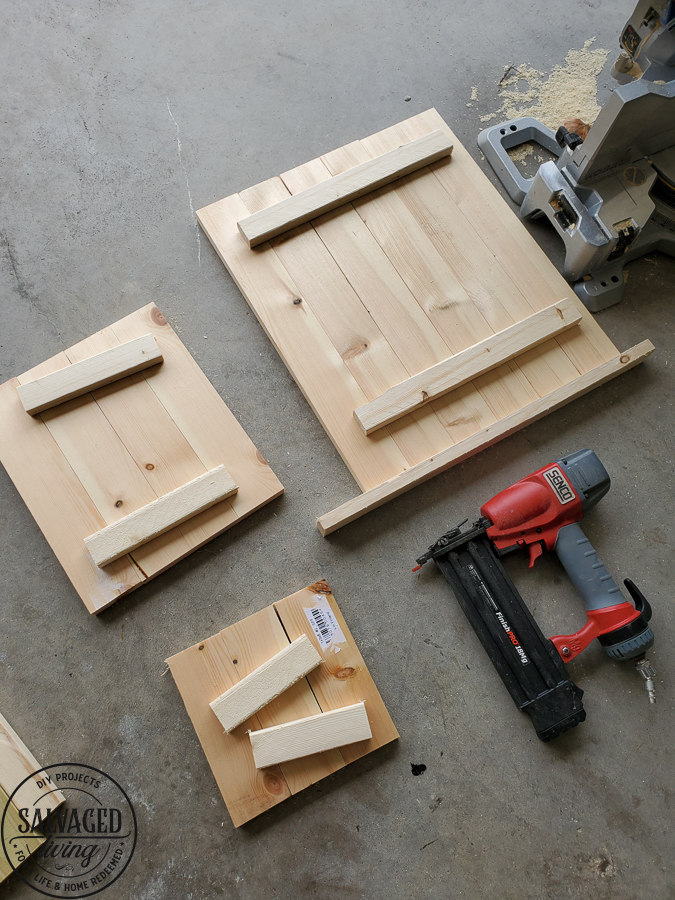
- Line up the 4 pieces and brace them across with the (2) 6″ brace pieces
- Line up the 63 pieces and brace them across with the (2) 5″ brace pieces
- Secure all with a finishing nailer. You can use wood screws if you don’t own a finish nailer, but it is SO MUCH easier with a nail gun!
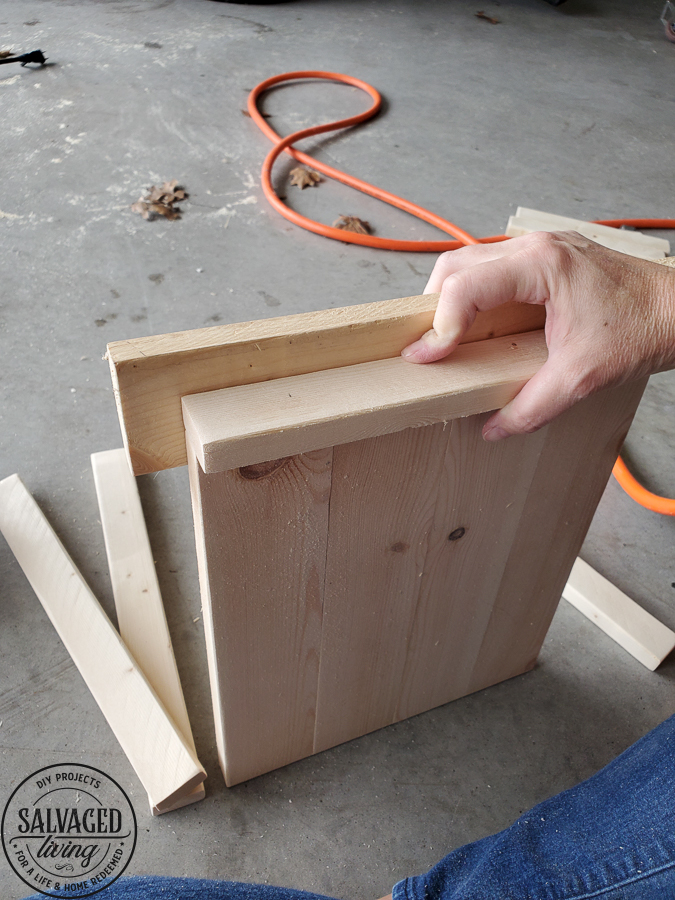
- Cut 2 pieces of .5″ X 3″ at 19.5″ For these three cuts you will want to make sure they fit the long end of your base piece plus two widths of the trim piece – measure your piece before you cut, these numbers are guidelines!

- Cut 2 pieces of .5″ X 3″ at 13.5″
- Cut 2 pieces of .5″ X 3″ at 9″
- Cut 2 pieces of .5″ X 3″ at 15.25″ For these three cuts you will want to make sure they fit the short end of your base piece in between the long trim piece you just cut- measure your piece before you cut, these numbers are guidelines!
- Cut 2 pieces of .5″ X 3″ at 10 3/16″
- Cut 2 pieces of .5″ X 3″ at 7 5/8″
- Use a spare length of wood to hold the trim piece flush and nail to the edge. I nailed the short side first and then the long side to make sure all the corners lined up.
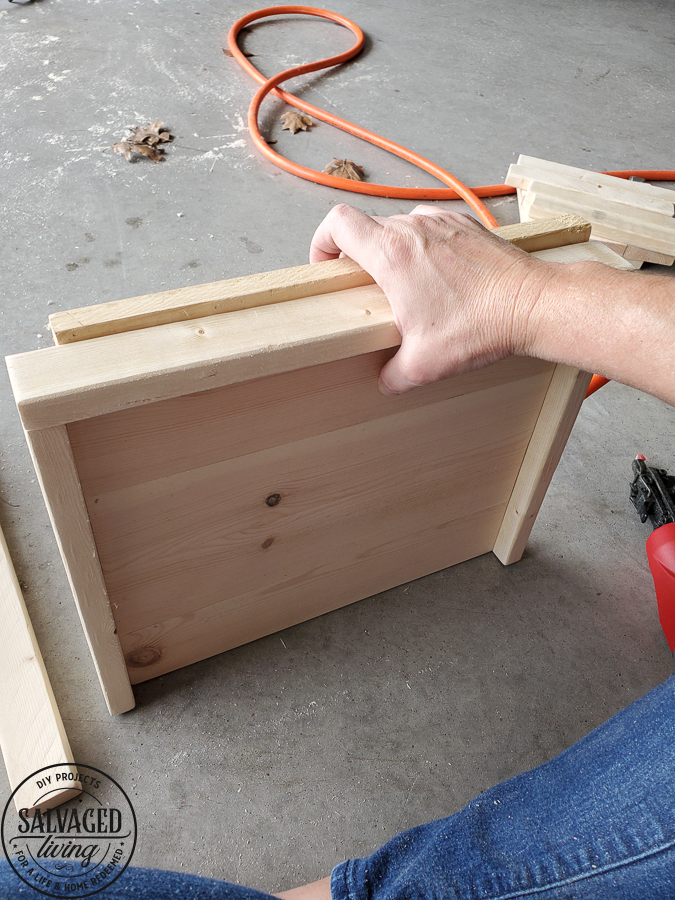
- Repeat for each layer
- Your center piece can be tricky depending on what you use. I added a wood block to some wood posts I had for extra height and they had more width to them which allowed me to nail the single post first then nail around that post and secure to the wood block. You just have to figure out how to secure the posts from thinnest to widest.
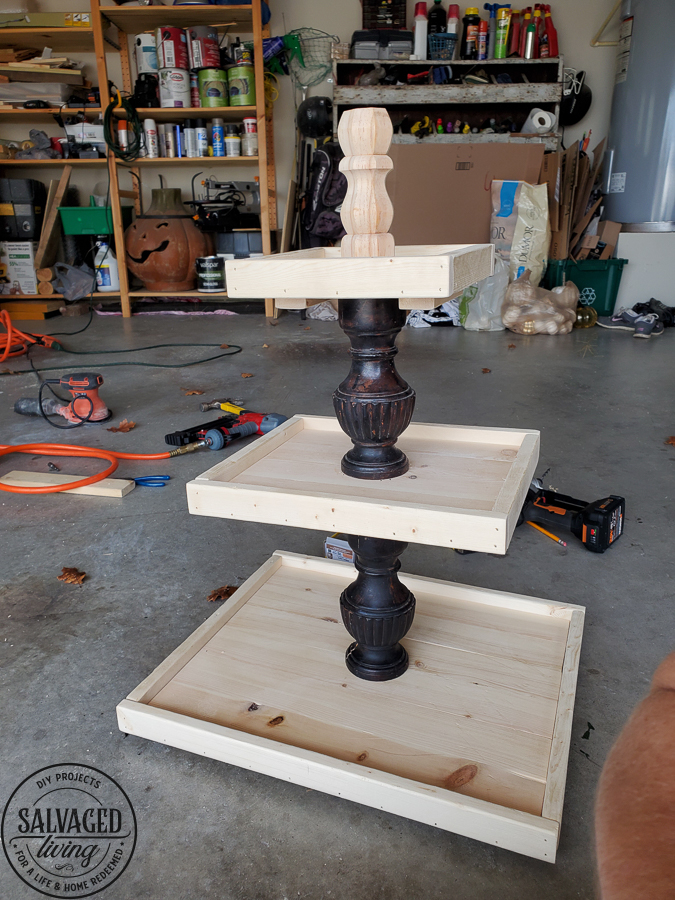
- Add a top finial, the one I chose was a leg piece and screws in place so I drilled a hole and screwed it into the top tier.
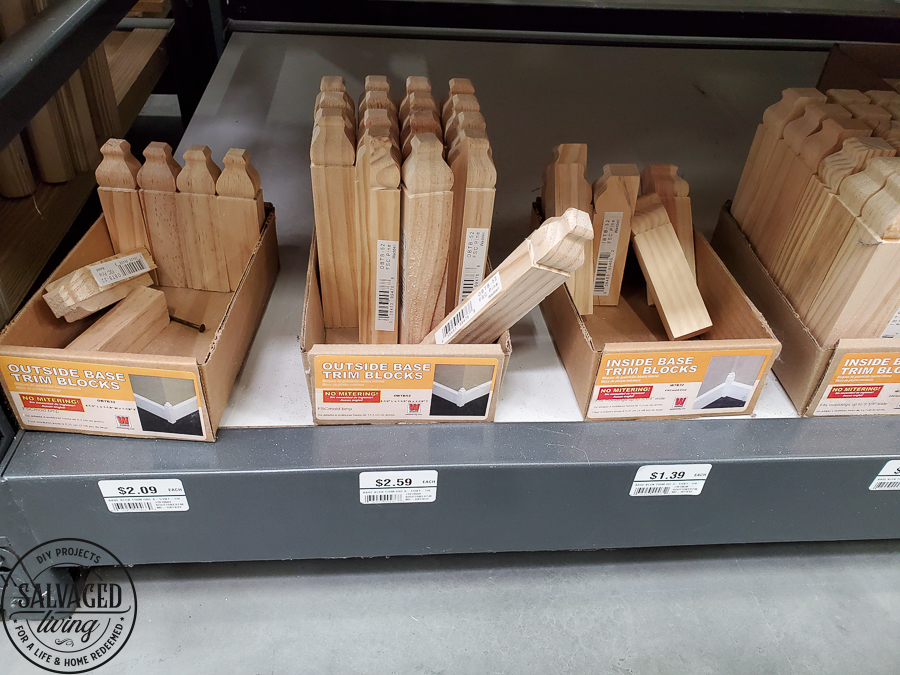
- Optional: And finial leg pieces. I picked some trim pieces that I worked into legs! Be creative and shop your wood department to see what options you can find. Nail in place.
- Paint and decorate!
Save these directions for when you are ready to build your own tiered tray!
DIY Tiered Tray
Learn how to build your own DIY tiered tray of your dreams with this easy to follow tutorial. It is large enough to display all your favorite treasures for each season. It also makes a great hot cocoa bar.
Materials
- Finish Nails
- Wood Post
- Top Finial
- Leg Finials
- 3 – 1″ X 3″ x 8′ pieces of wood
- 3 – .5′ x 3″ x 8
Tools
- Chop Saw
- Finish Nail Gain
- Sander
Instructions
- Cut 6 pieces of 1″ X 3″ at 18″ each.
- Cut 4 pieces of 1″ X 3″ at 12″ each.
- Cut 3 pieces of 1″ X 3″ at 7.5″ each.
- Cut 2 pieces of 1″ x 3″ at 13″ each (brace piece).
- Cut 2 pieces of 1″ x 3″ at 6″ each (brace piece).
- Cut 2 pieces of 1″ x 3″ at 5″ each (brace piece).
- Line up the 6 pieces and brace them across with the (2) 13″ brace pieces.
- Line up the 4 pieces and brace them across with the (2) 6″ brace pieces.
- Line up the 63 pieces and brace them across with the (2) 5″ brace pieces.
- Secure all with a finishing nailer.
- You can use wood screws if you don’t own a finish nailer.
- Cut 2 pieces of .5″ X 3″ at 19.5″.
- Cut 2 pieces of .5″ X 3″ at 13.5″. Cut 2 pieces of .5″ X 3″ at 9″.
- Cut 2 pieces of .5″ X 3″ at 15.25″.
- Cut 2 pieces of .5″ X 3″ at 10 3/16″.
- Cut 2 pieces of .5″ X 3″ at 7 5/8″.
- Use a spare length of wood to hold the trim piece flush and nail to the edge.
- Repeat for each layer.
- Add a wood block to some wood posts for extra height.
- Add a top finial.
- Paint and decorate!
Recommended Products
As an Amazon Associate and member of other affiliate programs, I earn from qualifying purchases.


Hoow about showing us the finished product – stained, painted??? How heavy is that? Thanks.
I like the overall design. Didn’t realize I could buy such short pieces of ballusters/wooden legs at the lumber store. That’s good to know
I will show the finished product Friday!!! These balusters were upcycled but different stores have all kinds of different wood choice, sometimes you have to hunt! It is a heavy piece, but I love it!
Wow that’s fantastic but I’m not good with wood. I will have to sweet talk my other half lol. I wish you and your family a happy Christmas stay safe x
whatever you have to do girl 😉 Merry Christmas to you as well xoxo