Add some vintage style to your home with this easy thrift store candle makeover idea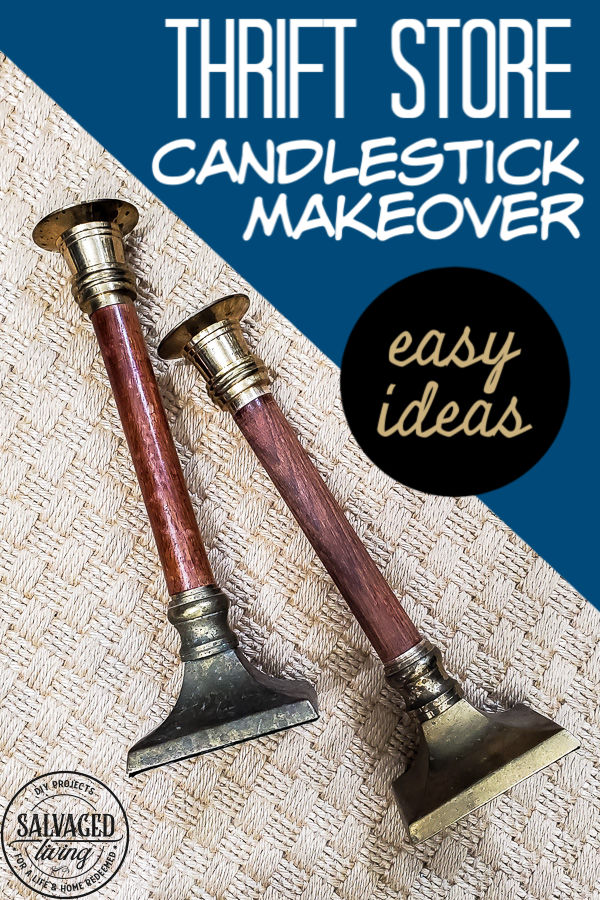
I see wood and brass candlesticks all the time at thrift stores and while they often look beat up and outdated it doesn’t take much to rehab them! I’ll show you a fun idea for a candlestick makeover you can do in minutes.
I am joining a handful of girlfriends today, lead by my friend Julie from the blog Redhead Can Decorate. If you scroll down you will find links to some great thrifty projects by these awesome ladies. I love bringing you bonus ideas!!!
If you want to polish the brass part I recommend doing that first. I rarely do this step though.
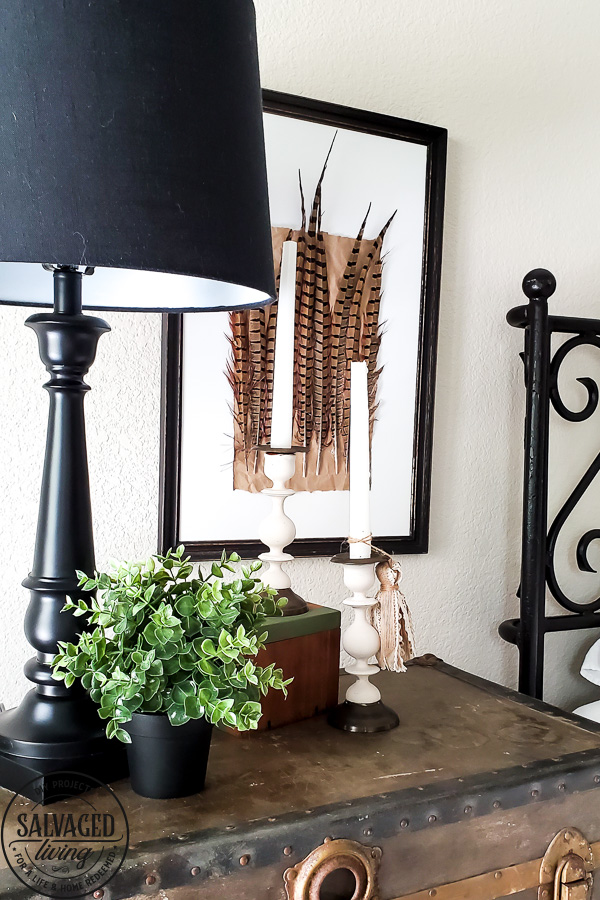
First of all, paint is your friend here. It seriously makes all things new and covers lots of bumps and bruises. It’s the perfect way to take something old new and bend it to your home decor color palette and style. I went with a simple coat of acrylic craft paint by Folkart in Parchment applied with a sponge brush. Two coats might be necessary. You might want to tape of the brass but if you don’t you can free hand it and the pain will usually scrape of the brass if you mess up. 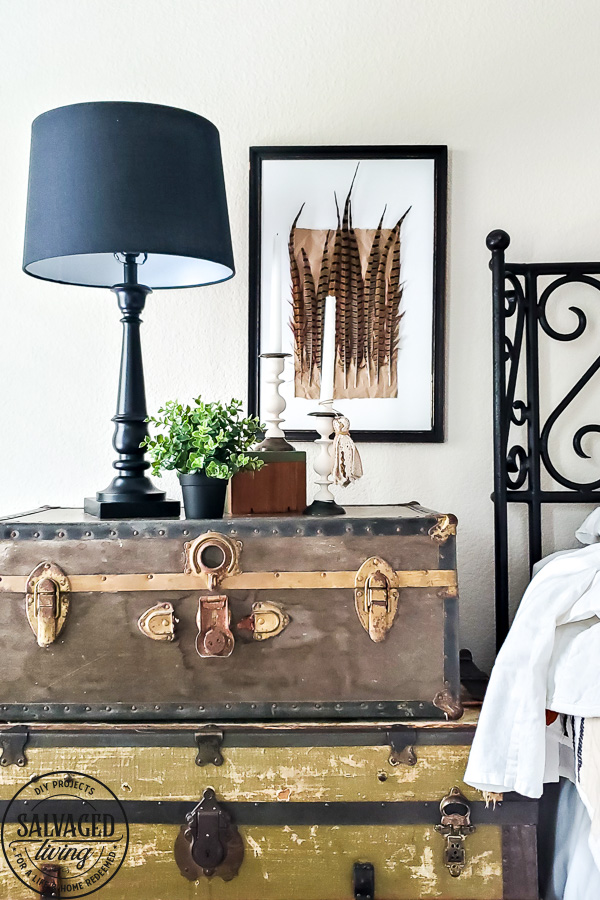
And just like that, your candlestick is made over, but if you want to make it super fun add a tassel! You could try this amazing tassel idea or make this cute lace tassel. 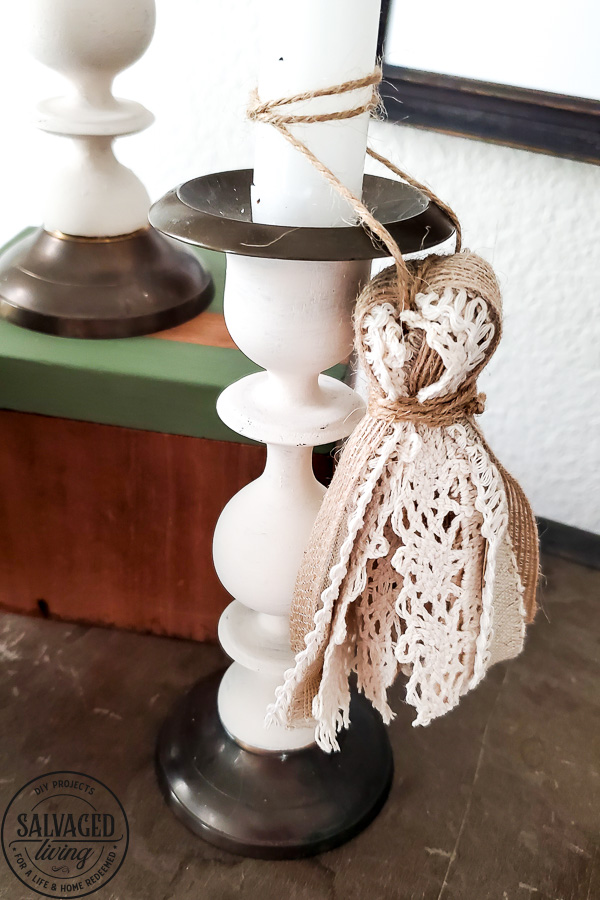
How to make a tassel for your candlestick makeover
- I gathered some neutral pieces of ribbon, lace, burlap and other fun textures. Be sure not to get your ribbon too fat or it will be hard to work into the tassel.
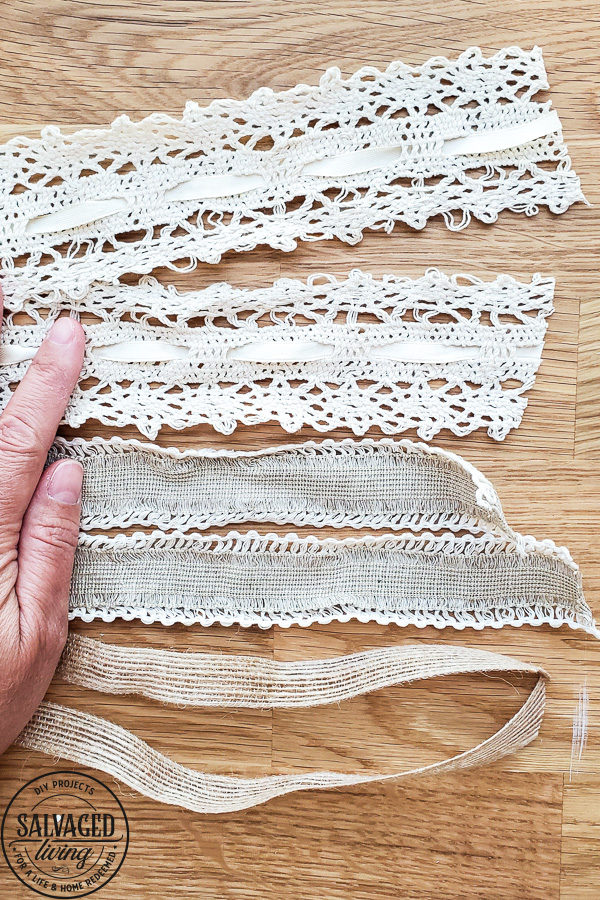
- Cut equal lengths of your ribbon. Make them your desired length, to fit the project you are working on.
- Stack them, slightly turning them in your stack. Put the thinnest ribbon on bottom and mix the ribbons as you stack.
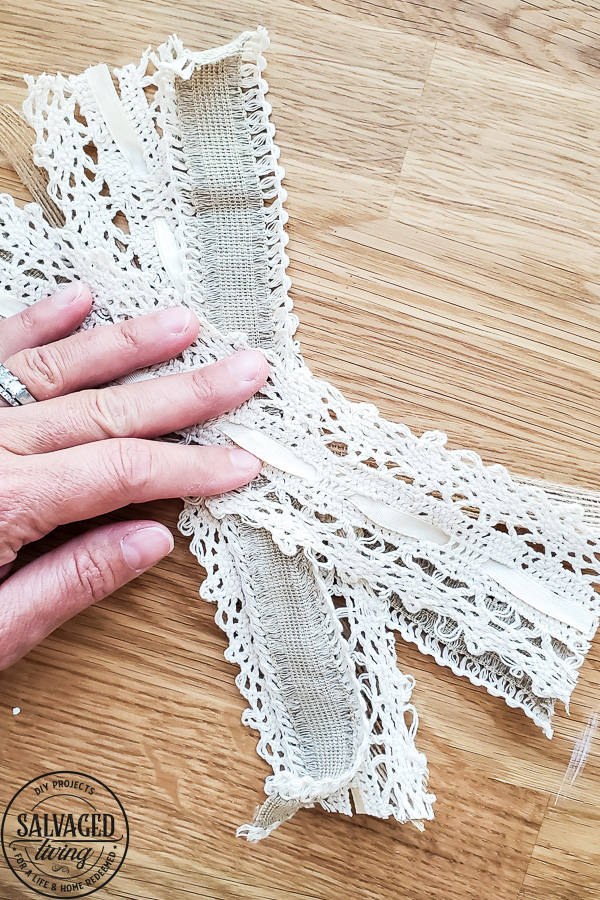
- Tie them up in the middle and leave a long length of twine, tied in a loop so you have ample room to hang the tassel from your candlestick or other decor object.
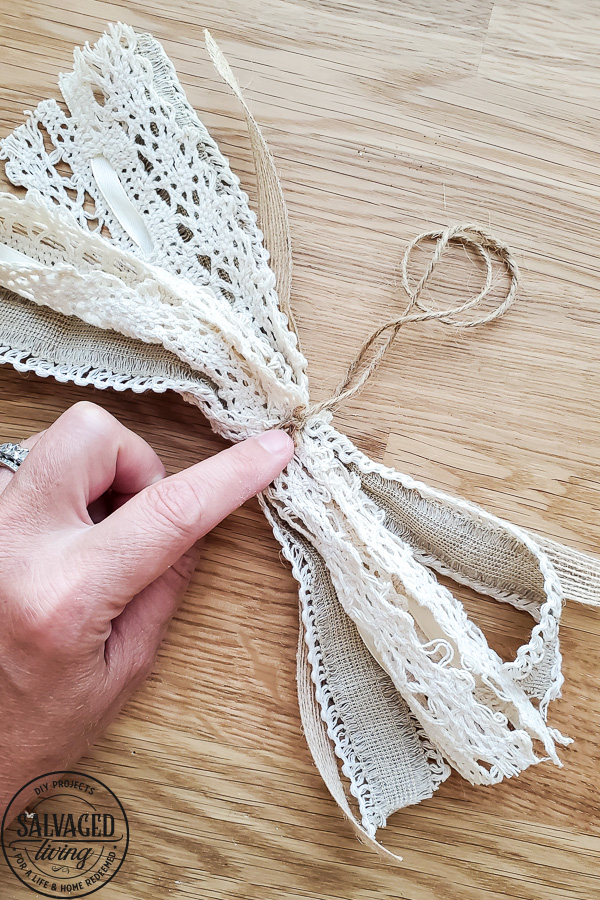
- Fold them in half at the tied part and make ball at the top, wrap jute twin or ribbon around the base of the ball. Wrap several times for a cute thick wrap and tie off.
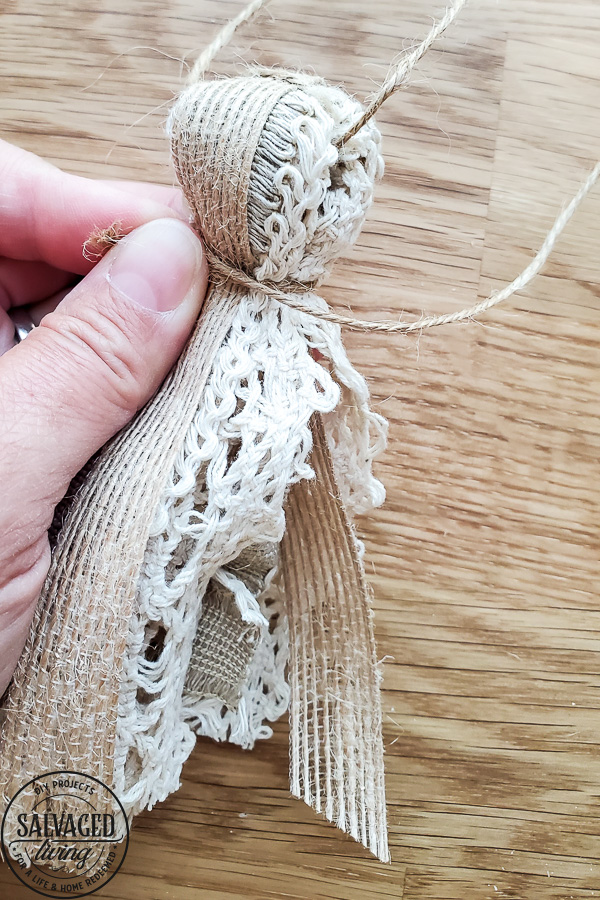
- Hold all the ribbons together at the bottom of the tassel and trim them to equal lengths for a nice clean finish.
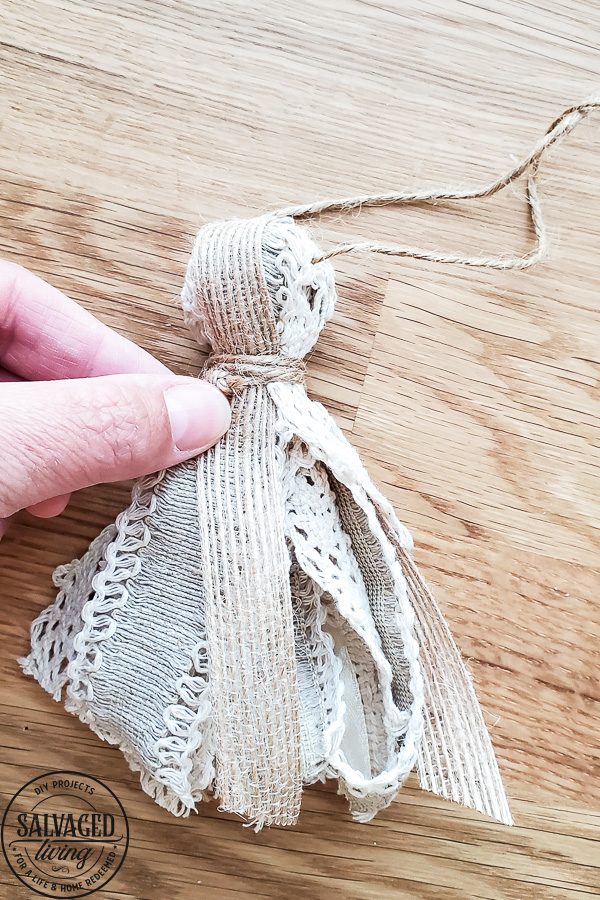
These tassels are perfect to up your thrifted candlesticks but they also can jazz up so many other decor elements, so use them generously in your home. Now make sure you go check out some of these other thrifty ideas from my girlfriends:
The Painted Hinge – Repurposed Oil Lamp Vase
DIY Beautify – Thrifty Summer Citrus Tablescape
Postcards From The Ridge – How to Clean and Care for Vintage Wooden Spoons and Utensils
The How To Home – Shabby Chic Tablecloth Ideas
The Tattered Pew – DIY Cane IKEA Vase
Sweet Pea – DIY Wood Burned Plant Markers
What Meegan Makes – Design Your Own Rock Tower Garden Art
Salvaged Living – Thrift Store Candlestick Makeover
I Should Be Mopping The Floor – Polka Dot No-Sew Curtains


Really cute update Kim, and your ribbon tassel is adorable!
thanks Cindy!
Your candlesticks look great updated with paint and I adore the tassel that you made.
so simple Paula – thanks for stopping by
Very nice, Kim! I love the lace tassels. They add a lot of personality.
thanks girl. love an easy makeover
Very pretty candlestick makeover! That lacy tassle is right up my alley!
thanks Michelle, such a great way to add a little something to a plain candlestick!
These turned out SO pretty, Kim. And I’m all kinds of in love with that tassel. Adorable! xoxo
Thanks friend, a little lace never hurt my feelings 😉
Did you create the picture on the wall? Could I see a close up?
Yes! Here is a link to the feather art tutorial!