All the time I see creative ideas and “pin” them in my mind. Don’t you? How often do you actually pull those ideas out and put them to work? When I saw a similar idea, I was chomping to give this book spine art life in my home. This quick and simple little project will give you a precious new piece to add to your bookshelf decor in under thirty minutes!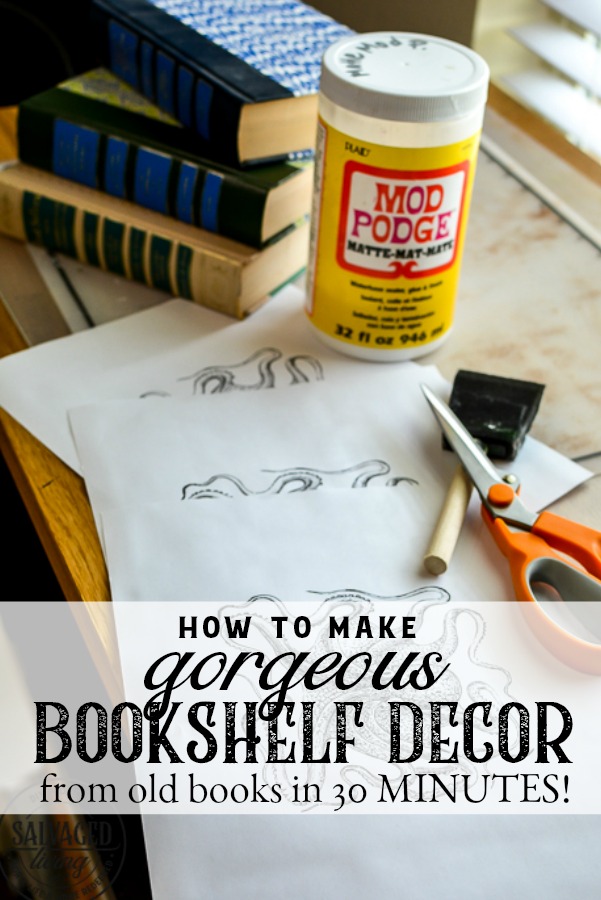
Ok friend, you can do this book spine art trick with just about any kind of artwork that you want! Family photos, black and white vintage, colorful florals, you name it. Find a picture or graphic you love online and save it to your computer. The hardest part might be choosing what to use! Here is how to create book spine art…
Before you jump in – are you part of my e-mail friends? Join below for a monthly freebie and be the first to see new projects! I also go live on Facebook all the time, if you want to be notified when I go live on Facebook click here!
The form you have selected does not exist.
Book Spine Art DIY Tutorial
- Gather some old books that are similar in size. I used three Reader’s Digest because I have a ton of them and I love the colorful book jackets. They are cheap at garage sales and thrift stores.
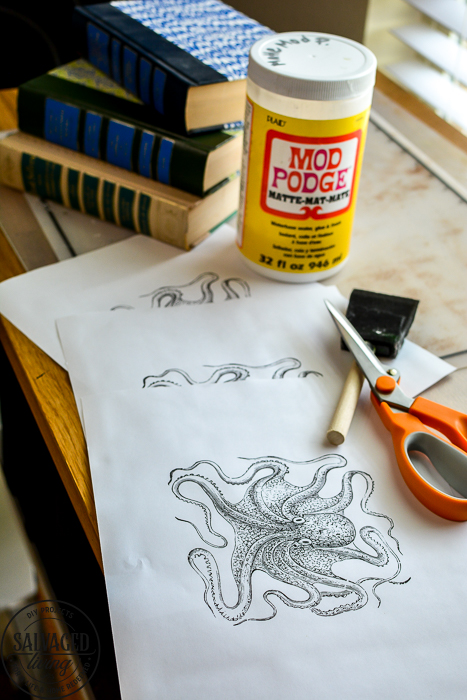
- Determine how many books you need to display your selected photo/graphic by printing it and laying it across the stacked book spines. HINT: I ended up printing my octopus in a 5X7 format to make it fit on my Reader’s Digest books. You may need to play with the print size on your graphic as well. You will usually do this in the print settings.
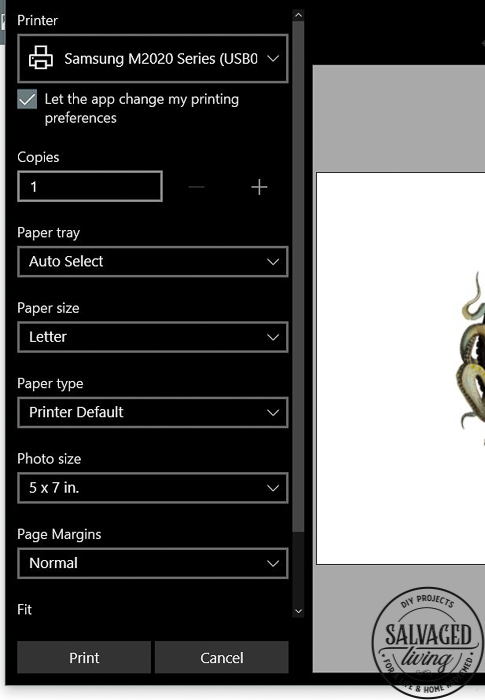
- Once you know how many books the picture covers, print that many copies of your print. I used 3 copies because I covered 3 books.
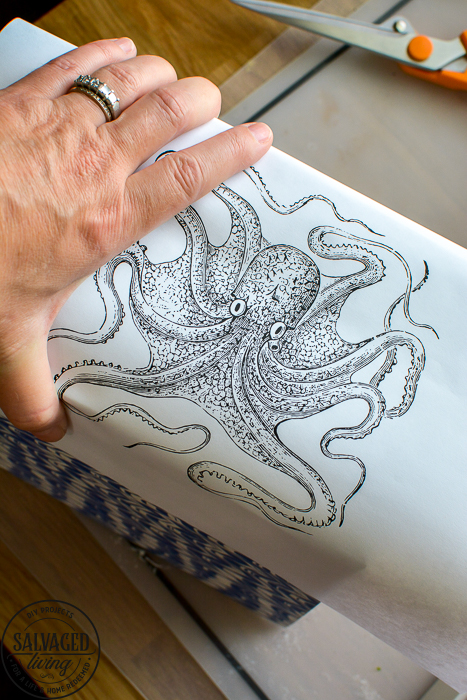
- Start with the top of your design and lay it on the top book spine, arranged where you would like the graphic to go. I wanted mine slightly off center. Mark the edges of the book and then mark where you want the spine cover to end on the book cover.
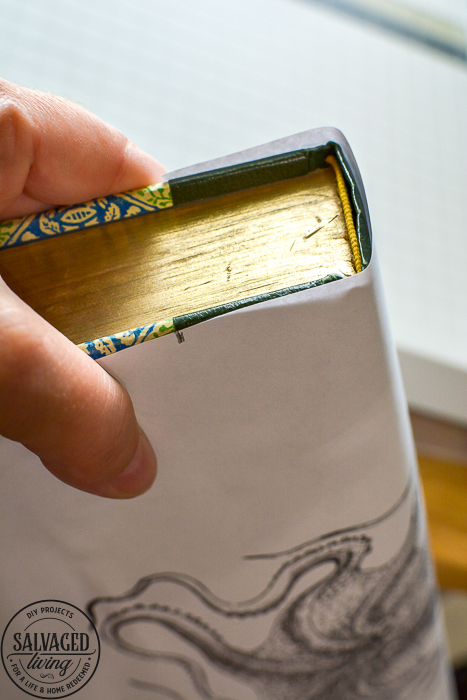
- Cut the first graphic to fit the first book spine. I used a large paper cutter for super straight edges, but you can use scissors if that’s all you have.
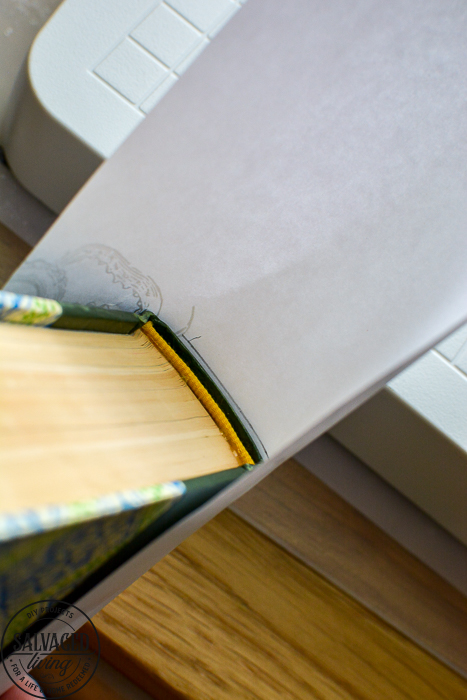
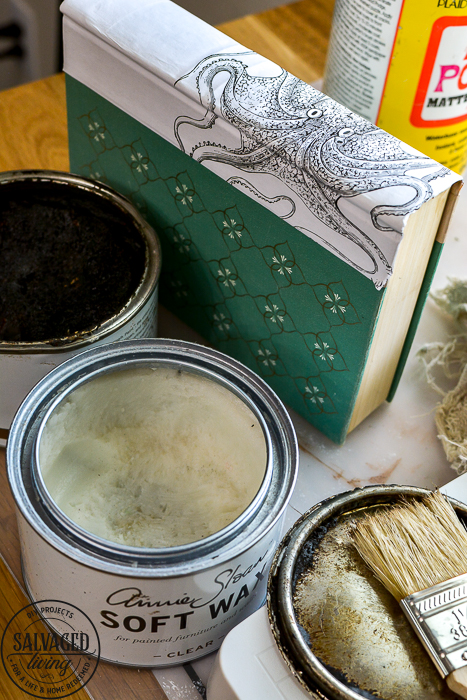
- Use Mod Podge and paint the glue on the book spine with a brush. BTW – I use Matte Mod Podge for a non-shiny finish.
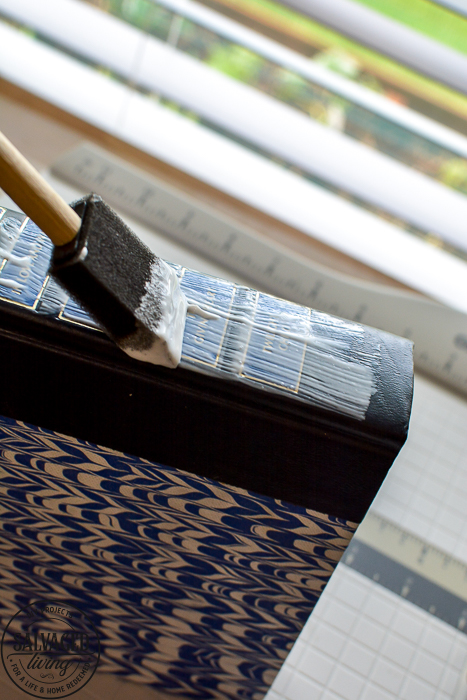
- Line your graphic up with the book edge and gently roll the graphic onto the book spine, pressing it in the spine creases and getting the bubbles and wrinkles out as you go.
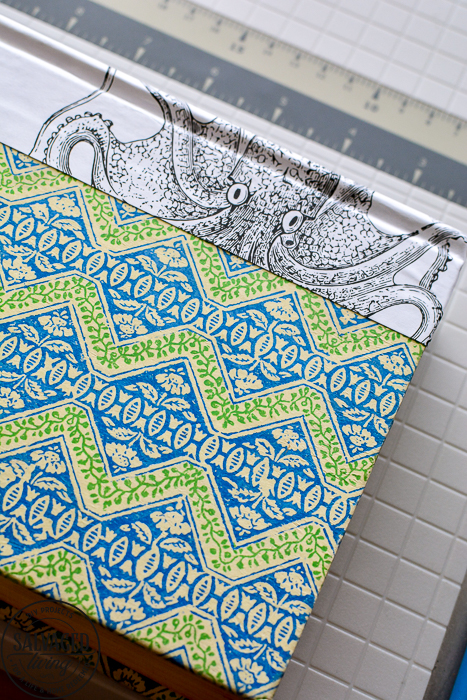
- For the second book – hold it next to the first and lay a second copy of your graphic over the spine. Move it around until it lines up perfectly where the first book left off.
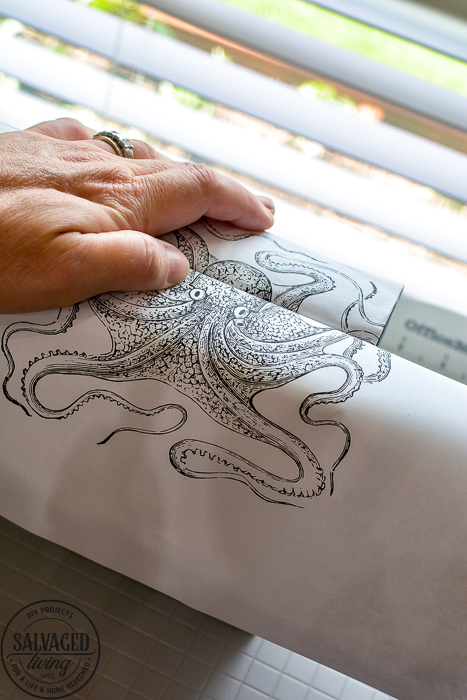
- Mark the book and spine edges on this graphic and repeat the gluing process.
- Repeat this entire process, one book at a time until your graphic is complete.
- I sealed all the graphics with a coat of clear furniture wax and then slightly distressed it with dark wax. You could seal it with the Mod Podge just the same.
- Style your new art on a bookshelf, desk, tabletop or nightstand for a whimsical decorative art piece!
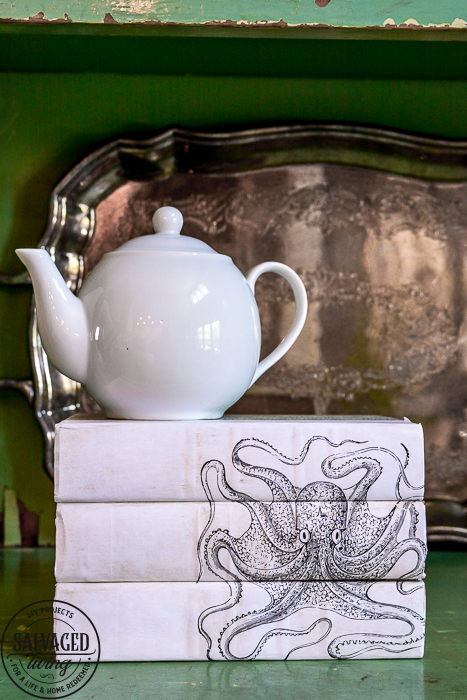
I hope you love this thirty minute decorating idea as much as I do, I think it might be one of my favorite projects yet! These would make great gifts, baby room decor, can be for boys or girls and cover any topic you like! Enjoy creating, be sure to pin this tutorial before you go so you can find it easily when you are ready to create!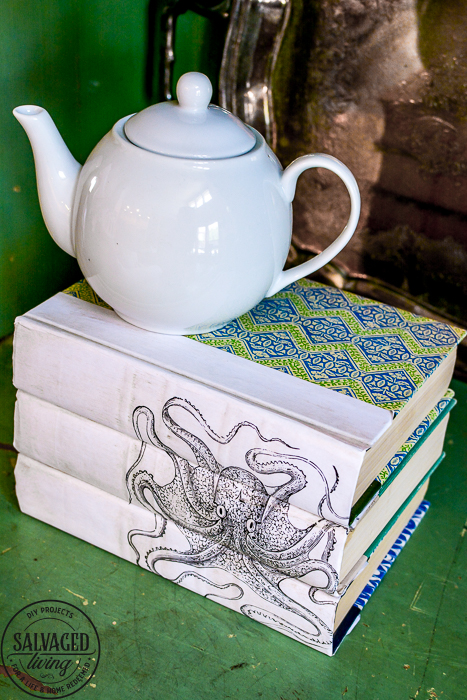


Another great idea! This would be great decor for Christmas, too!
that would be so cute!!!
Love it ????
thank you Lisa! I’m kind of obsessed with this idea, I want to make a ton of them!
I did something similar to this for Christmas decor last year, so easy and so cute. Love the octopus!