Stencils kind of remind me of grapes circling a kitchen. You know the popular 80’s/90’s décor that ultimately gave stencils a semi-bad wrap? Luckily stencils are back in a big way because they allow you to make some easy décor updates like the farmhouse touch I am sharing today! They’ve come along way since the 1980’s.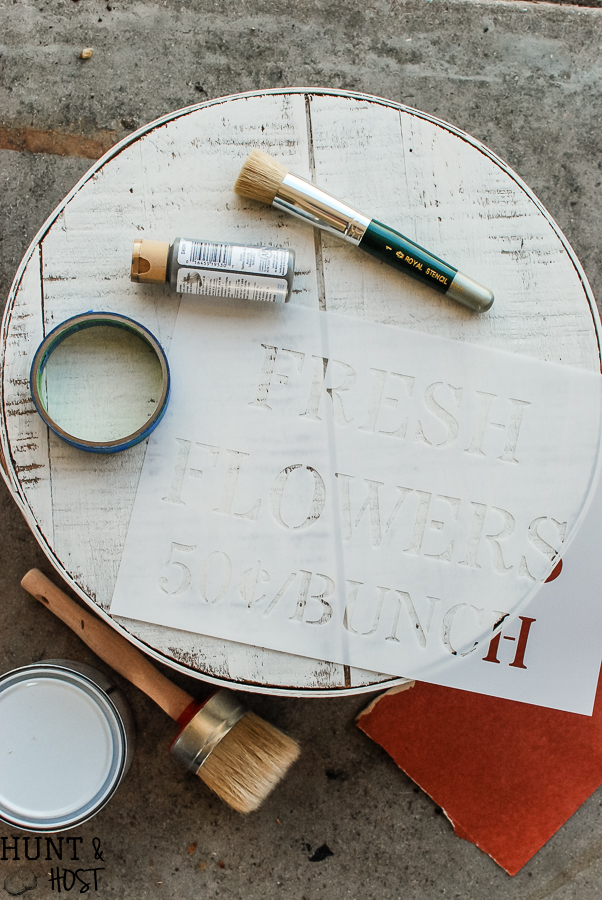 My blogging friend Angie over at Knick Of Time has the most gorgeous farmhouse ideas and she has developed a line of stencils to feed the farmhouse/vintage addiction. She was sweet enough to give me a few stencils to share with you guys, so here are my tips on getting the perfect results from a stencil!
  This old cheese box was a fun find for $1 at a garage sale. My mom is always working on a knitting project and I thought this would be the perfect storage box to wrangle her latest masterpiece. She likes to have a project handy, yet out of sight in the living room.
  The first thing to consider in stenciling is the surface you will be painting. This box is very rough and I prepared it by sanding then dry brushing some white latex paint over the whole thing and dressing up the accent pieces with grey paint to match the font.
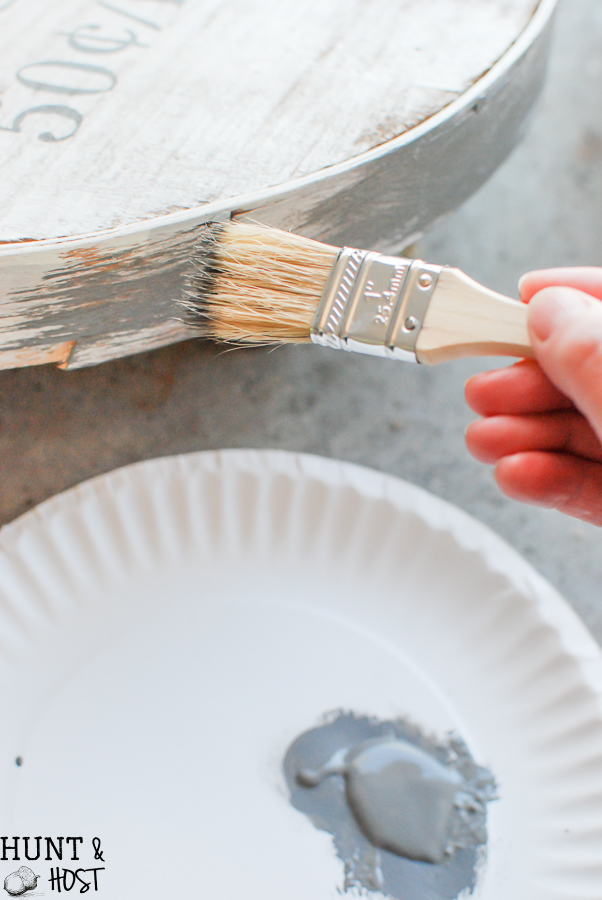
If a surface is too rough you won’t get crisp lines from your stencil, if it is too slick your stencil will bleed (tip to follow). I wasn’t concerned with either on this particular project because I knew I was going to distress the “sign” once painted. Start by measuring your stencil and the surface to be painted. Nothing looks more unprofessional than an off center job!
Using painter’s tape secure the stencil in the correct centered position. Especially if you will be adding more than one coat of paint, this is a must.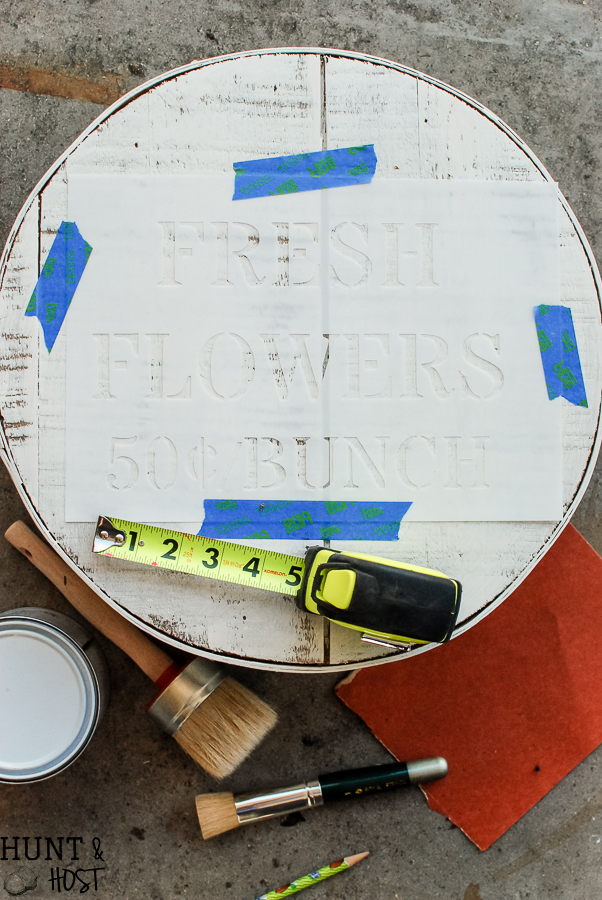
Proper tools always make a job turn out better and a round stencil brush is so helpful for this application. Load your brush with paint in an up and down motion, offloading some paint before you stomp on the stencil. You can always add more paint, but if you add to much you risk bleeding under the stencil. Less is more here friends! Softly blot your brush in an up and down motion, trying not to swipe sideway as that will push paint under the stencil. (If you are working on a particularly slick surface start by securing your stencil as mentioned then paint over stencil with the same base color as the surface you are covering, allowing it to dry completely. This will seal the crack between the stencil and surface enough to prevent bleeding. Continue stenciling as follows. The same concept helps with a rough surface to make lines slightly more crisp.)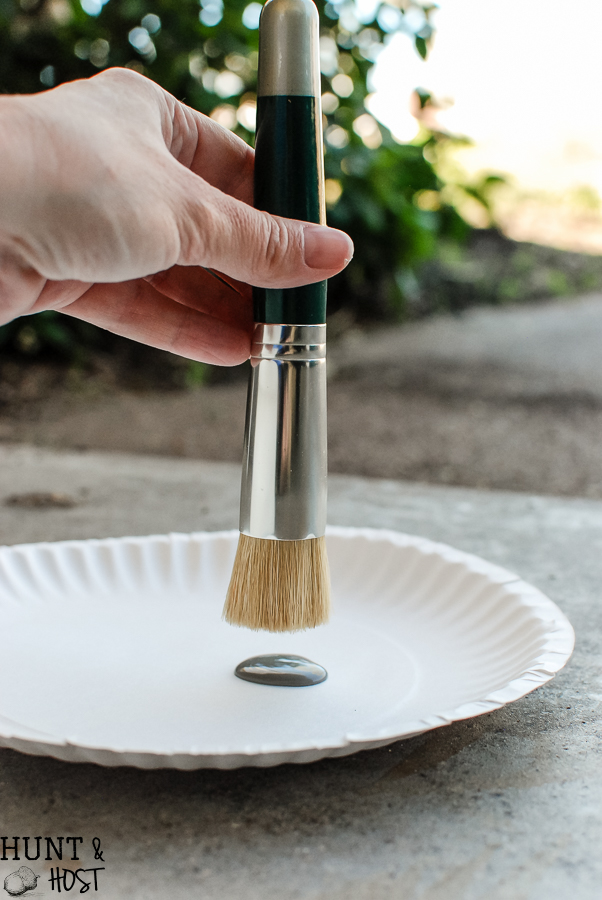
The consistency of your paint will also make a difference in results, don’t thin your paint too much or it will bleed. Allow paint to dry and re-coat with the same up and down blotting motion. Remove stencil carefully.  I often like to paint the connecting lines to make a stencil look more hand painted than stenciled. It’s a personal choice that just depends on the application and look you are going for. When painting these small lines I recommend using a small stiff brush that you can maintain good control over for best results.
 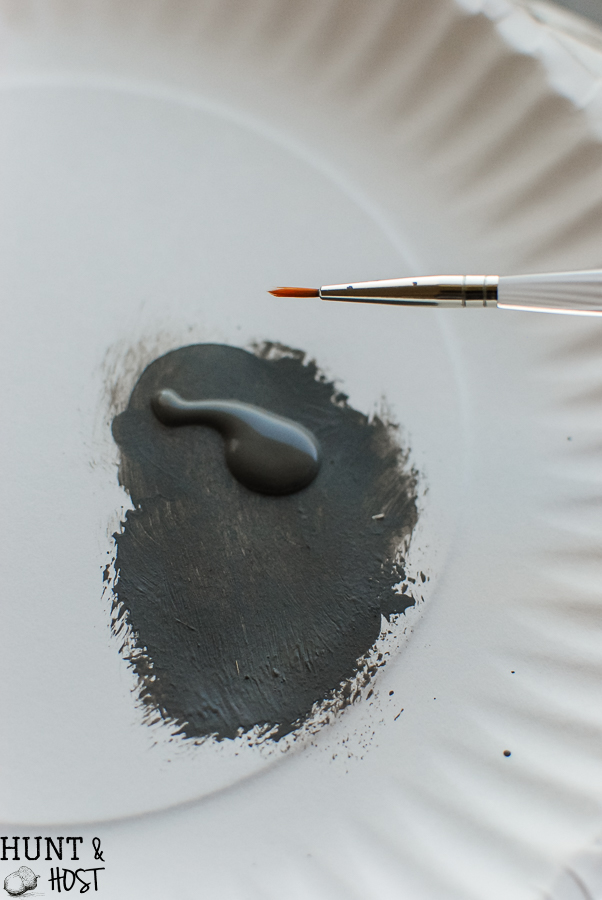 I always rinse my stencils in warm soapy water and lightly scrub them to keep them clean. They may never look totally new again, but I try to keep them from getting to caked up with paint by cleaning ASAP. Be gentle as to not tear the stencil in delicate spots.
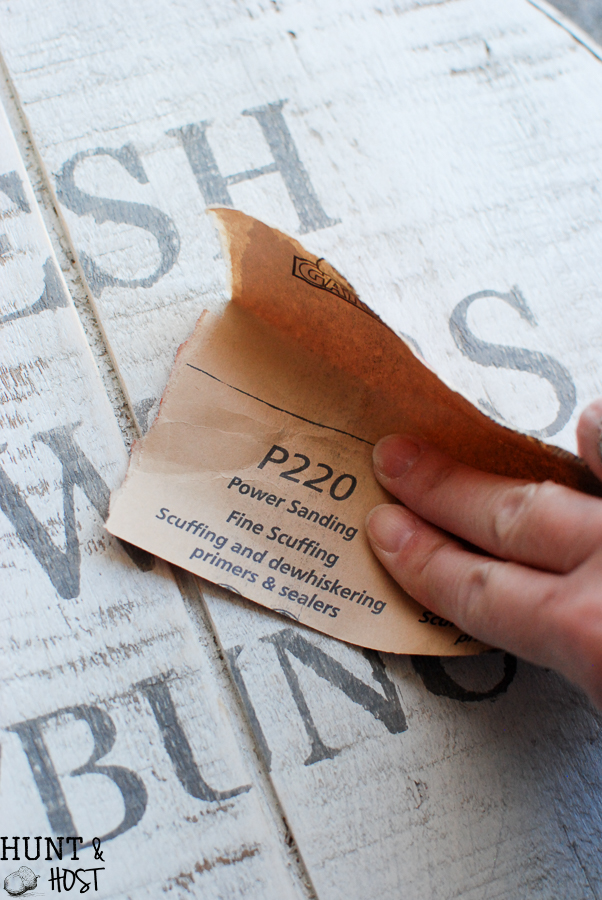
I finished off this project with a coat of wax for a protected, completed feel. 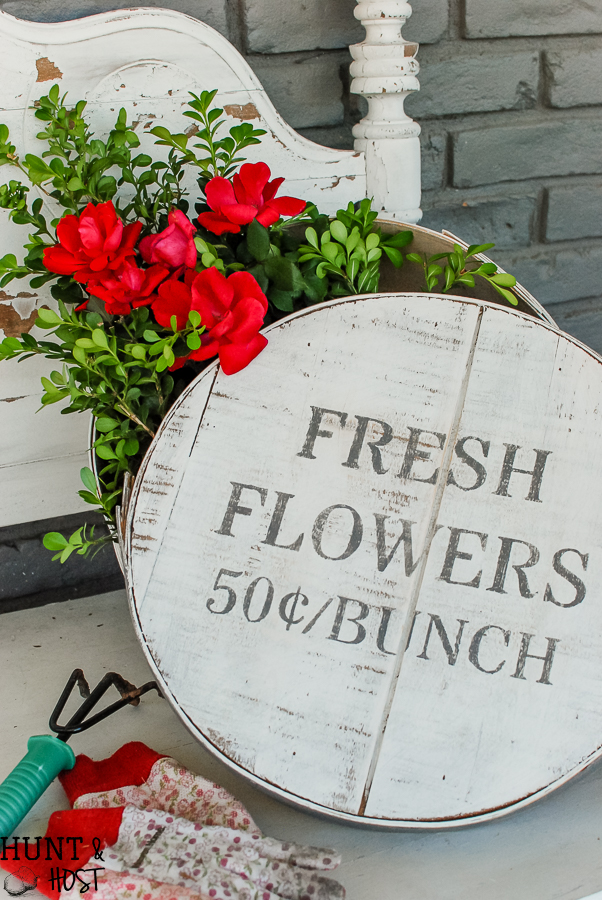
Stenciling is one of the easiest, fastest ways to change up your décor, it just takes a little patience and good supplies to pull off. Just look around at the dated things in your house and ask if a stencil could freshen them up in an instant then head over to Vintage Sign Stencils and grab a fun new toy – you can get this EXACT stencil in her shop! Tell Angie I sent ya! Please let me know if you have any questions or additional tips to share. 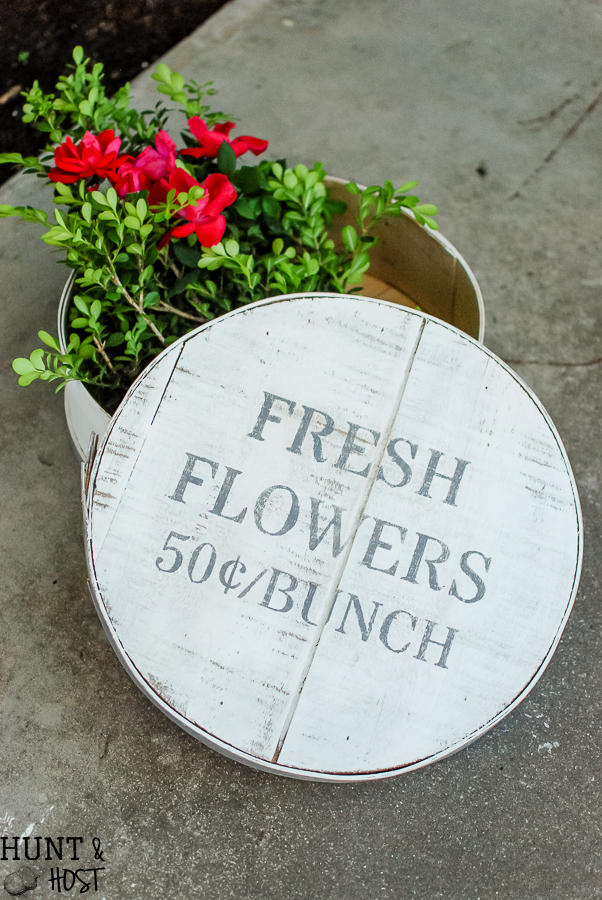


I bet your mom loved it! ❤️
She did ♡ it’s perfect for her and her decor!
Great tutorial and inspiration!
Thanks, hope the quick tips help, there are sooo many great stencils available these days.
I live in old house with no storage at all so I have few of these boxes even one built with a stand I really wanted to update that one since I just changed the color in the room I use it in what a great idea thanks Kim
Storage is a big deal! Hope this helps, you can really make all kind of storage stuff cute with stencils.
LOVE. It.
The detailed step are so helpful!
yay, hope it sparks ideas!
What a sweet gift and a fun project. Thanks for the tutorial. Come over to the Fabulous Easter/Spring
party and share this great idea! Here’s the current link:
http://ourholidayjourney.blogspot.com/2017/03/fabulous-springeaster-link-party-2.html
Happy Spring
thanks Sherry!
I LOVE it!!! is there an place to get inexpensive stencils???
Brenda – You can go to my friend’s link above (Knick of Time Vintage Stencils) for this exact stencil and a bunch of other cute ones!
thank you for the stencil info, I’ll check it out!
Hi,
I love your projects! For this one, you stated that you like to paint the connecting lines. Can you explain what you mean?
Thanks!
yes – so sorry if that was confusing. I just mean that I like to fill in the gaps left from the stencil so the words look solid and not stenciled. Does that make more sense?
Love the stencil on your old cheese box (which go for big bucks in this area by the way!) Great update
thank you, I am pretty sure this one was super cheap!!! love a good find 🙂
Love it!!
thanks Susan!
I love stenciling! Lots of good tips here.