This Raised Stencil Technique Adds Dimension and Style To Your Craft Projects!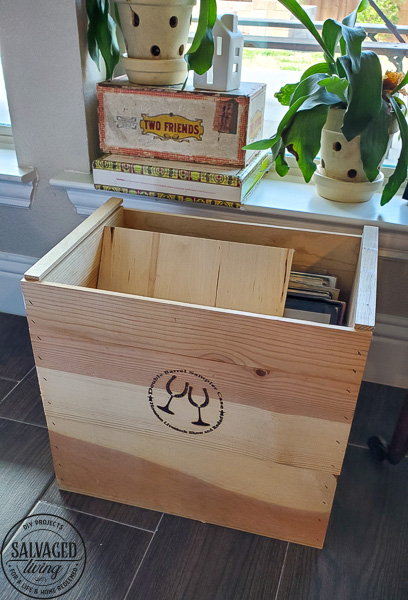
I’m completely obsessed with this raised stencil technique. I’ve wanted to try it for years, but just haven’t until recently. Now I’m scouring my to do pile for anything I can add an impressive stencil too! Luckily I had this box on hand that needed a makeover.
My parents had this wine box in their garage and it happens to perfectly fit records. I stole it from them since I really needed a way to store my growing record collection. (Nothing is better than Willie Nelson’s Pretty Paper on the record player at Christmas. It’s my childhood in crackle mode.)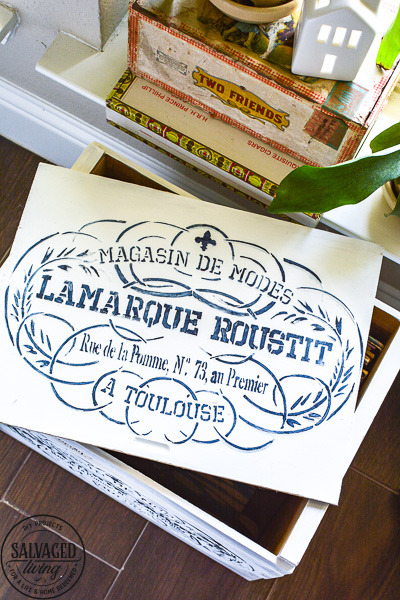
I needed a good way to dress up the sides of the box because I felt certain the brand on the box wouldn’t go away even with a good sanding. I was right, even after I sanded the letters down there was still a trace of the brand indention. A raised stencil was the perfect application to make over this space! (BTW – if you want some tips on regular stenciling then here is my stenciling 1010 post for ya!)
I tried the raised stencil idea first with Plaster of Paris, some people get that to work and I think if I would have let the plaster cure it would have, but I found it to be a chalky mess that came off. So I moved onto Plastic Wood, all purpose wood filler and it worked like a charm! 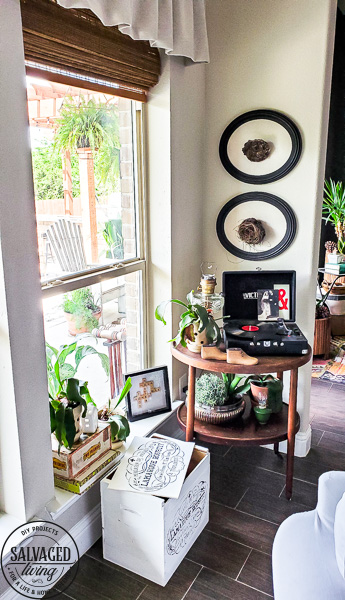
How to get a Raised Stencil Effect
- Start with a clean surface so your texture adheres well.
- Select your stencil and tape it on so it stays put while you use it. This stencil is from Studio R12 Stencils, they have some amazing options!
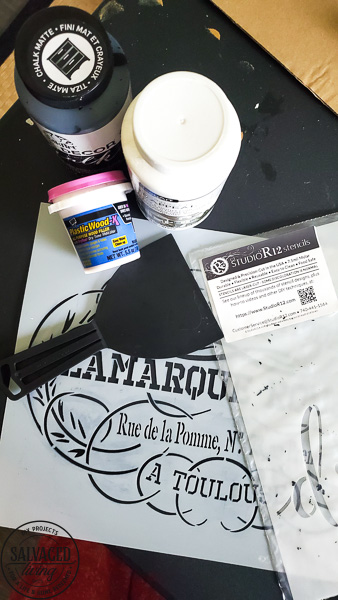
- Use Plastic wood, or hardening wood filler and a spatula/trowel to spread the filler over the stencil. This is the exact product I used here.
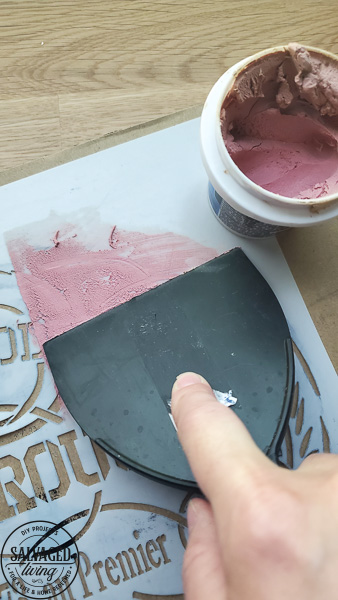
- Make sure you smear the filler on evenly and cover the entire stencil. Try not to push the filler under the stencil.
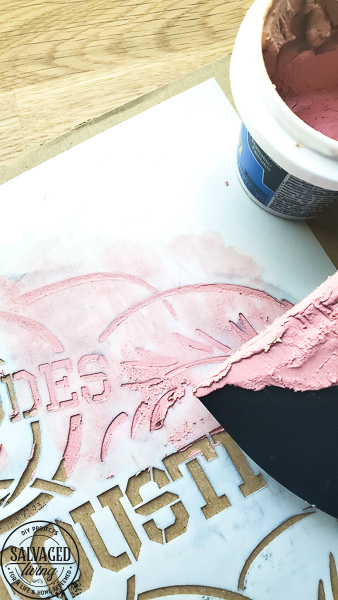
- Remove the stencil when done.
- Allow to dry completely.
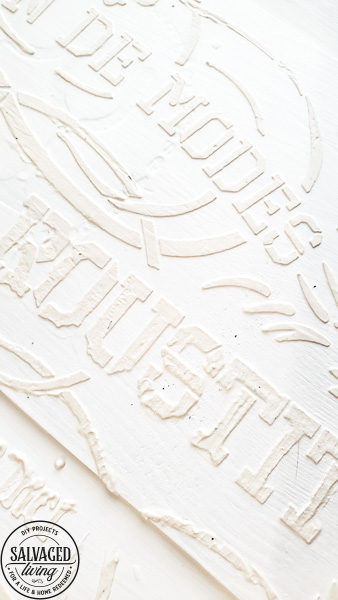
- If you want a heavier/thicker coverage try another coat, lay the stencil back over the original coat and trowel another layer on top.
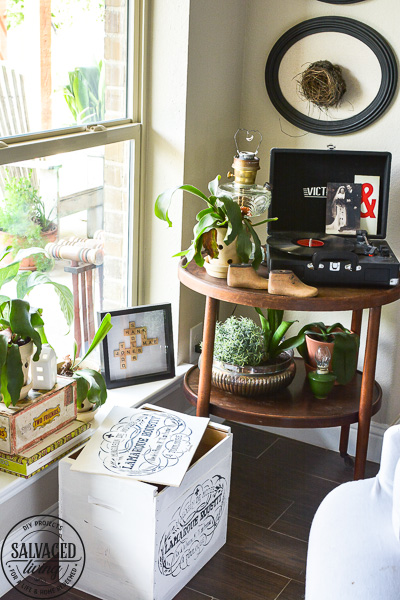
- Once dry you can paint, stain, sand etc! (stain depends on the texture medium you use, some are not stain-able so check first!)
- See the printable instructions and supply list below!
[mv_create title=”Raised Stencil Technique” key=”3″ type=”diy”]I am thrilled with how this wine case to record box came out. I think this beautiful raised stencil adds so much more charm than regular stenciling and it was so simple once I figured it out! Just think of all the fun projects you can try with this technique. Trust me, you will see more of this from me soon! Save this idea for later because you will definitely want to try it! 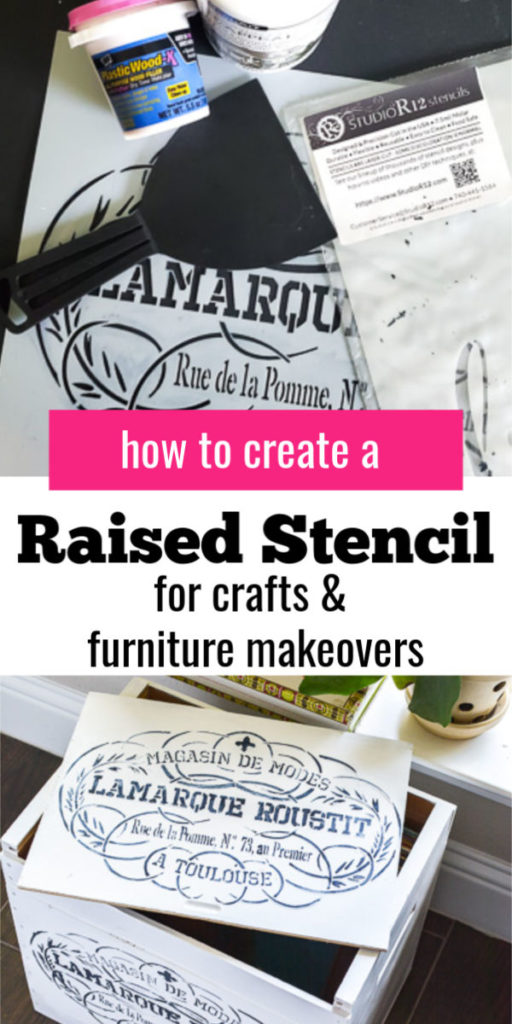


What’s great idea! Looks so cute and I couldn’t agree more with Pretty Paper at Christmas!!
woohoo – girl after my own heart!
Did you put the stencil back on to stain? Not sure how you paint or stain?
yes Vickie, I laid the stencil back over the raised stencil and lightly brushed on the black to paint just the raised portion!