Make perfect yard dice for your outdoor game collection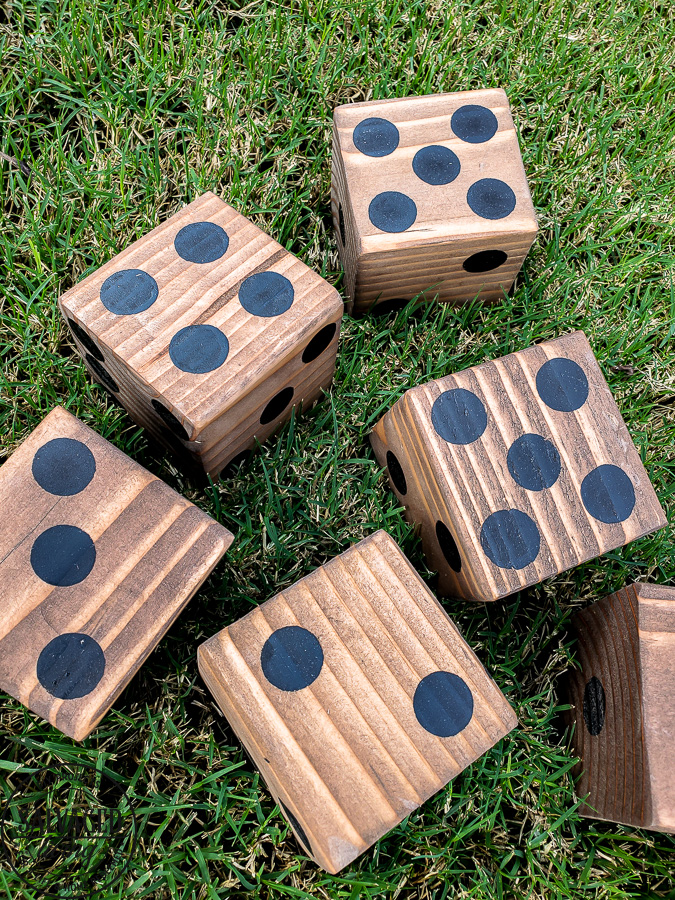
I am having so much fun coming up with all the projects you can make with a 4″ X 4″ post! These yard dice are super simple to make and perfect to add to your yard game stash or give as gifts. I’m going to give you two options on how to “dot” your yard dice, so here we go!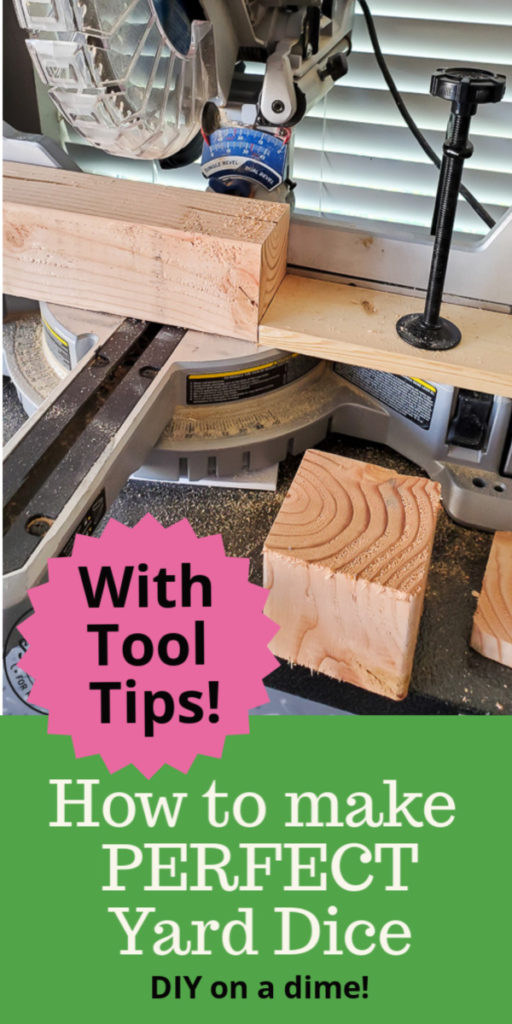
DIY Yard Dice Tutorial
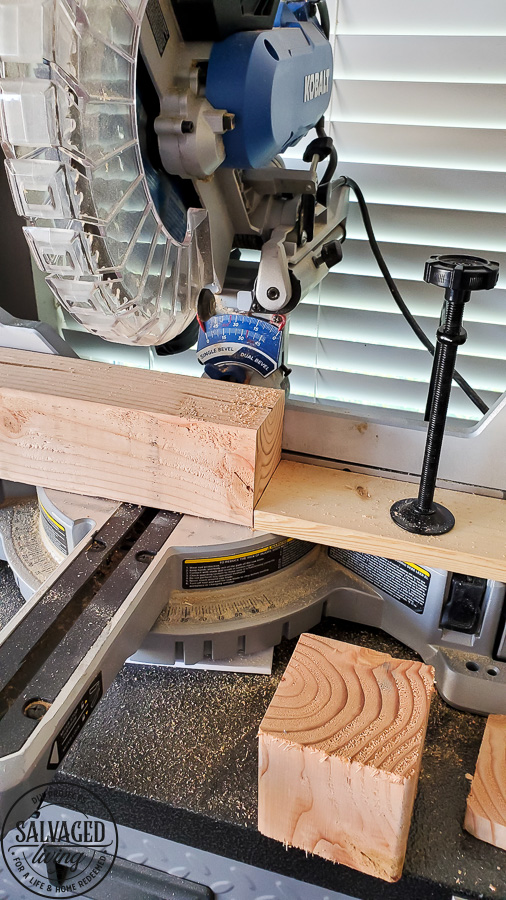
- Get a straight 4″ x 4″ wood post. You can find these at your local hardware or lumber stores.
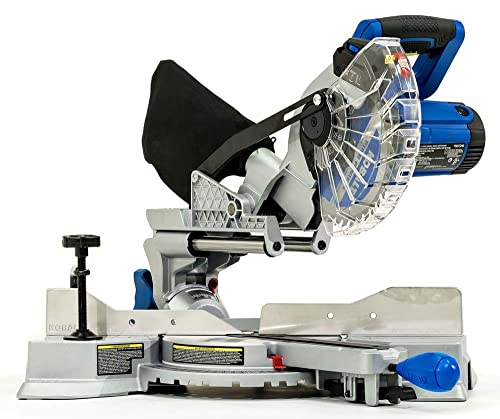
- Make a stop point on your chop saw. A stop point is when you fix a stopping point for your wood piece so each cut is exactly the same. This is THE BEST way to get your dice to be perfectly the same size!
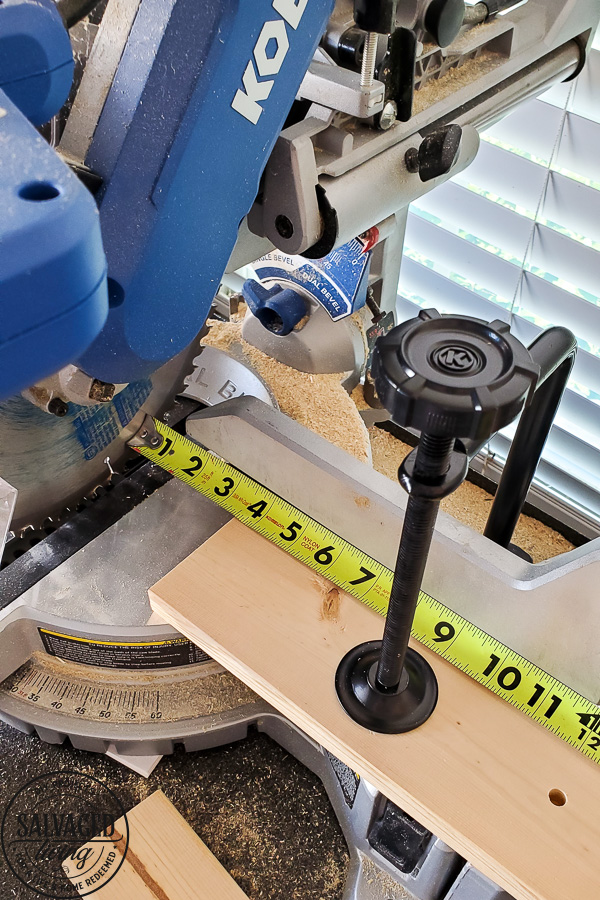
- To make a stop point you will use a vice grip to hold a piece of scrap wood a set distance from your saw blade. Please make sure your saw is turned off for safety and measure from the blade to your stop point.
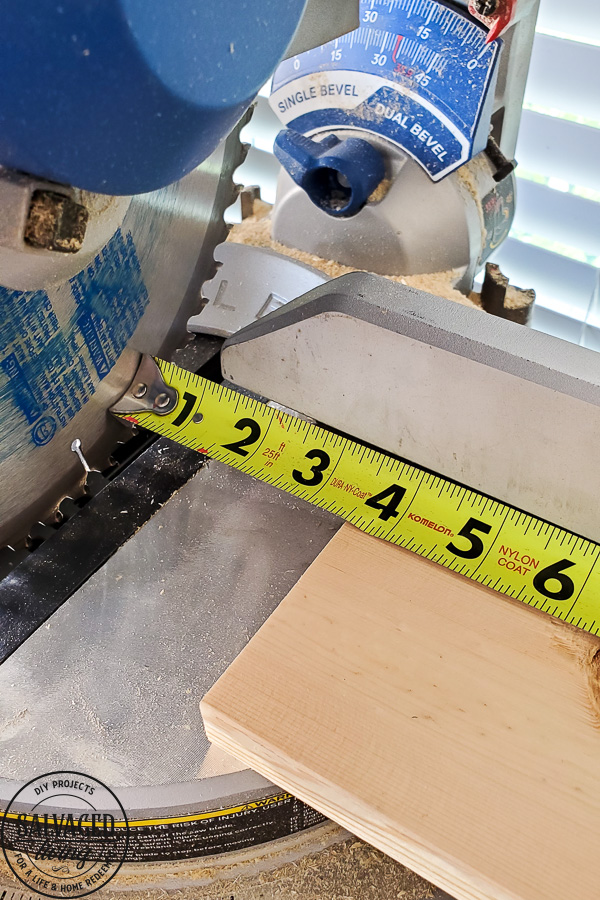
- Once you have the desired distance, secure the scrap wood. Now for each cut you will slide the 4″ X 4″ firmly up to the stop point and make your cut.
- Stain or paint your wood. Personally I think stain makes more sense for an outside set of dice.
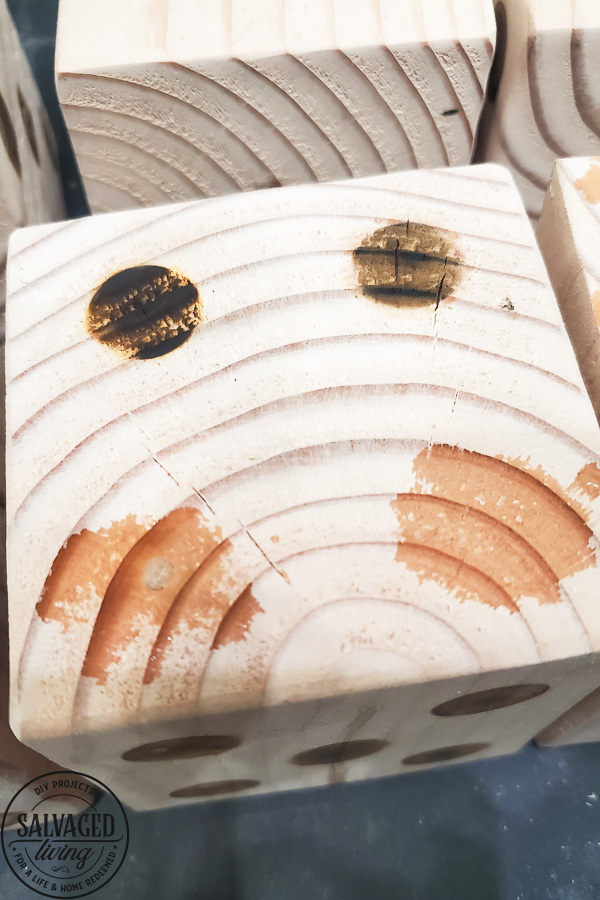
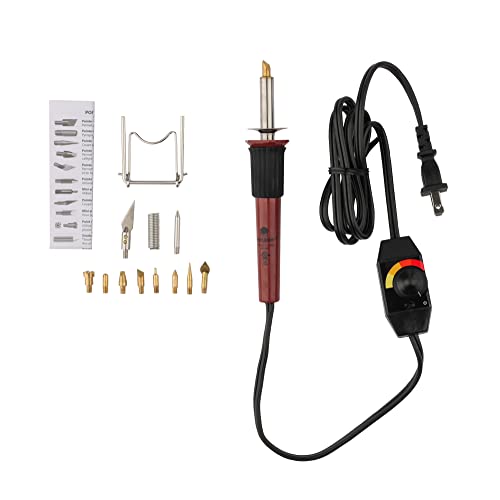
- Dot application, Option 1 – I’m a huge fan of wood burning and you can use the large circle stamp on a heat tool to make your yard dice dots. I will be honest this takes a bit of time to burn each dot, but the results are great and you don’t have to worry about paint scraping off or fading. Burnt wood will last! Pro Tip: Some portions of the cut wood didn’t want to burn as easily as others. I found it I get the wood damp it would help the burning process go a little better in those hard to burn spots. This might help you if you run into any resistance from the wood.
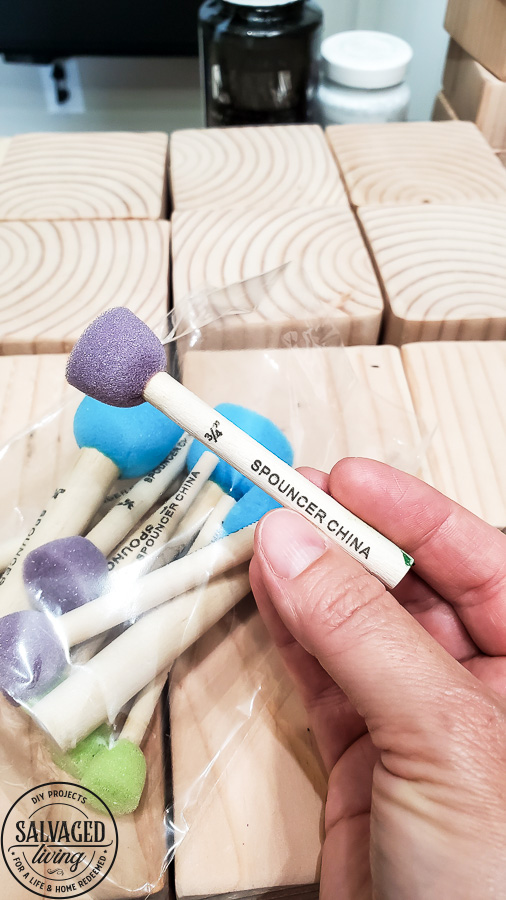
- Dot Application, Option 2 – Paint your dots. This is super quick and easy, plus you can always use fun color paint to change up the dice if you want. a 3/4″ spouncer sponge brush works perfect on 4″ x 4″ post dice.
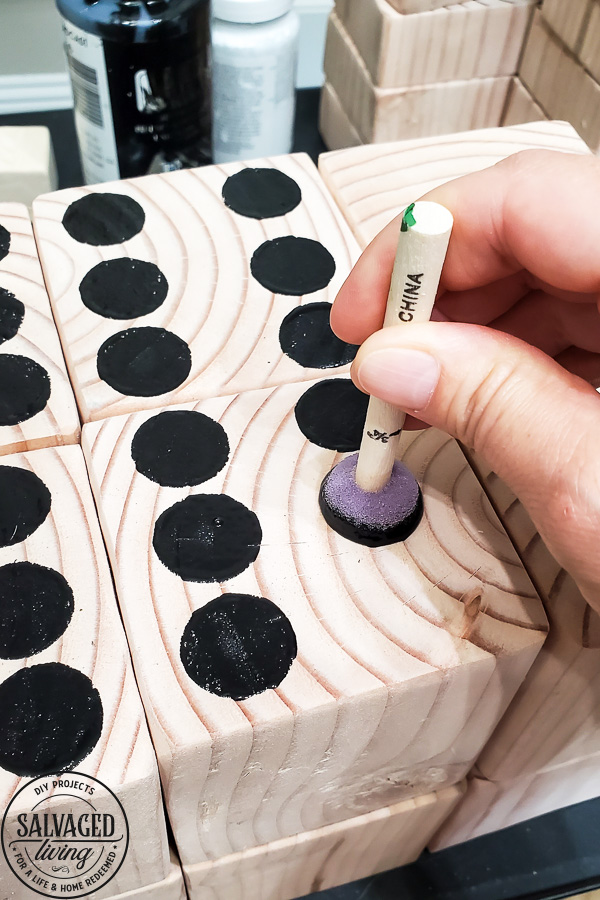
- Put some paint on a paper plate and dab your spouncer in the paint, offload a little and gently press wherever a dot is desired. You will want to reload your brush for each dot. You can slightly turn the brush while applying pressure to get a solid filled circle if you are having problems with the dot being splotchy.
See the two dot painting options here—>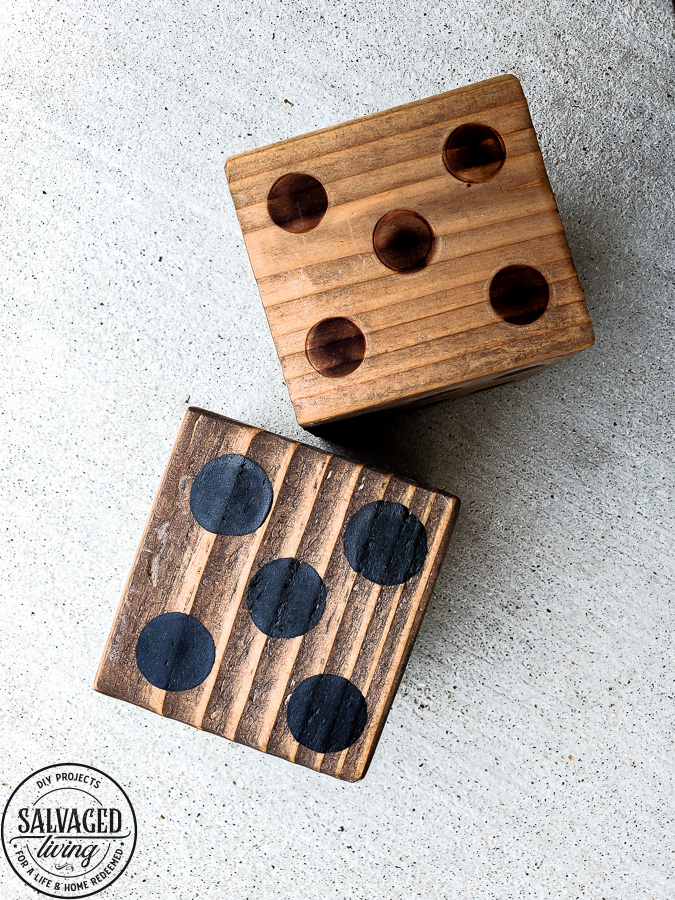
I can’t wait to give these yard dice as Christmas gifts to some of my family! I think my kids are really going to have fun with them as well. They are so sturdy and fun. I hope this tutorial helps you make perfect yard dice but also gives you confidence to make some other easy wood crafting projects!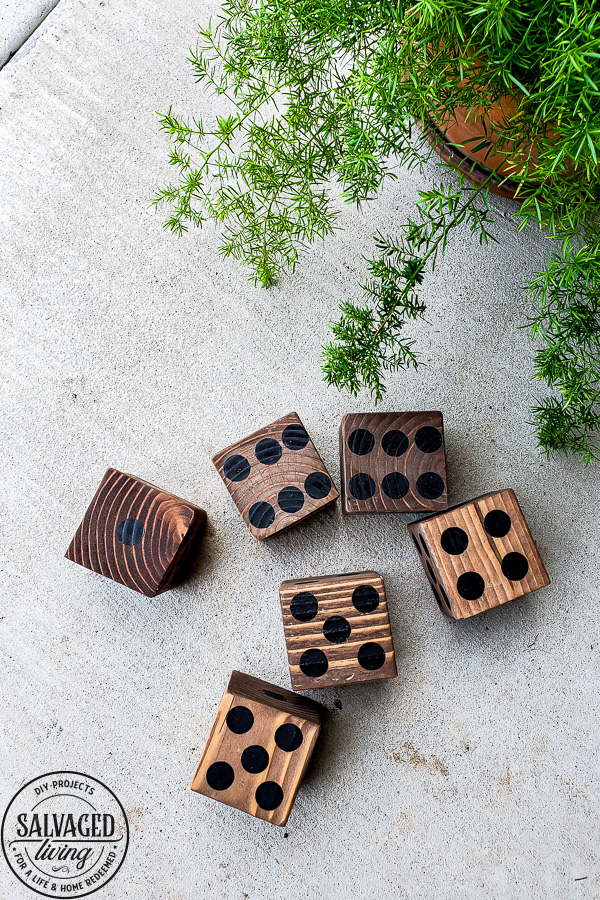
How to Make the Perfect Yard Dice
Learn how to make the perfect yard dice from a 4 X 4 wood post. With special instructions on how to get your yard dice the same size every cut! This is a fun little project to make and give as gifts or just add to your outdoor game collection.
Materials
- 4" X 4" wood post
- Black paint
- spouncer brush
- wood burning kit
- stain
Tools
- Chop Saw
- Orbital Sander
Instructions
- Get a straight 4" x 4" wood post. You can find these at your local hardware or lumber stores.
- Make a stop point on your chop saw. A stop point is when you fix a stopping point for your wood piece so each cut is exactly the same. This is THE BEST way to get your dice to be perfectly the same size!
- To make a stop point you will use a vice grip to hold a piece of scrap wood a set distance from your saw blade. Please make sure your saw is turned off for safety and measure from the blade to your stop point.
- Once you have the desired distance, secure the scrap wood. Now for each cut you will slide the 4" X 4" firmly up to the stop point and make your cut.
- Use an orbital sander to smooth out your yard dice pieces.
- Stain or paint your wood. Personally I think stain makes more sense for an outside set of dice.
- Dot Application, Option 1 - I'm a huge fan of wood burning and you can use the large circle stamp on a heat tool to make your yard dice dots. I will be honest this takes a bit of time to burn each dot, but the results are great and you don't have to worry about paint scraping off or fading. Burnt wood will last! Pro Tip: Some portions of the cut wood didn't want to burn as easily as others. I found it I get the wood damp it would help the burning process go a little better in those hard to burn spots. This might help you if you run into any resistance from the wood.
- Dot Application, Option 2 - Paint your dots. This is super quick and easy, plus you can always use fun color paint to change up the dice if you want. a 3/4" spouncer sponge brush works perfect on 4" x 4" post dice. Put some paint on a paper plate and dab your spouncer in the paint, offload a little and gently press wherever a dot is desired. You will want to reload your brush for each dot. You can slightly turn the brush while applying pressure to get a solid filled circle if you are having problems with the dot being splotchy.
Recommended Products
As an Amazon Associate and member of other affiliate programs, I earn from qualifying purchases.


Leave a Reply