How much do I love old things? It’s ridiculous. I have been pilfering through these bins of old ironstone and hotel china at one of my favorite booths at Round Top Antiques Week for a while now. Every time I visit I’m thrilled my guy hasn’t run out of these fine wares and a new idea always smacks me right between the eyes. This year when I saw the massive piles of plates I thought, “what a lovely wreath these would make.”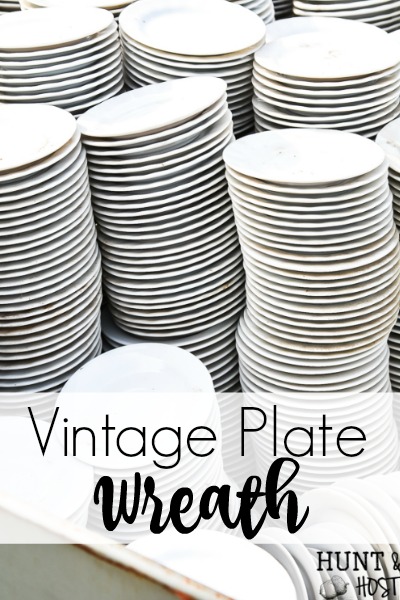
As I rummaged through the mounds of delicious white plates I hand picked two stacks of them, in two different sizes and kindly paid the $5 fee. Friend – if you are interested in shopping the largest antique show in Texas and finding treasures like this you might want to join me for the next show!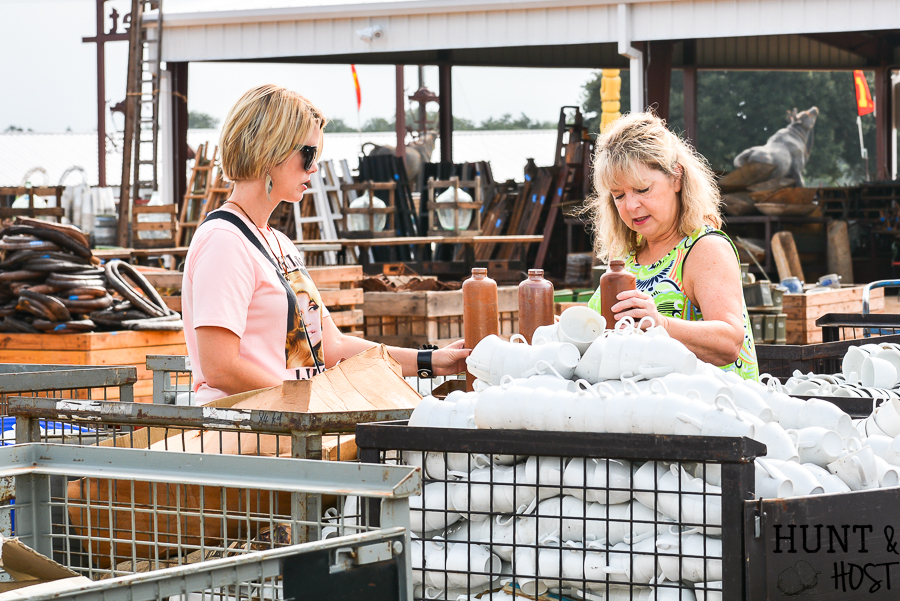 I guided these ladies through a special laughter filled, treasure hunting day and I’m not sure who had more fun – them or me! I was so happy when they headed home with arms full of trinkets and treasures and a day filled with new adventure. You HAVE to join me! (Sign up here is you want to be notified when the new shopping spots are available!) OK – now back to the plate wreath…
Once I got the plates home I ran them through the dishwasher and found this great wooden tray/board at the craft store. You will want to find a sturdy wooden wreath form or tray like this to hold the weight of the plates and provide a good surface to attach the plates to.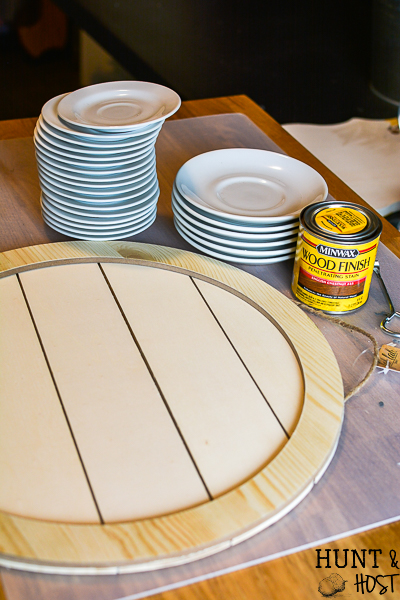
I stained the tray with Minwax Espresso wood stain and let it dry completely. Next I went with the big guns in the adhesive department. I didn’t want to risk a craft glue not holding a breaking my treasures! I selected an all purpose adhesive from the hardware store, making sure it was a good fit for wood and glass. If I were to do it again, I would be sure to find a clear or white adhesive. You can’t see the back of the wreath when it is hung, but it would be much neater with white or clear.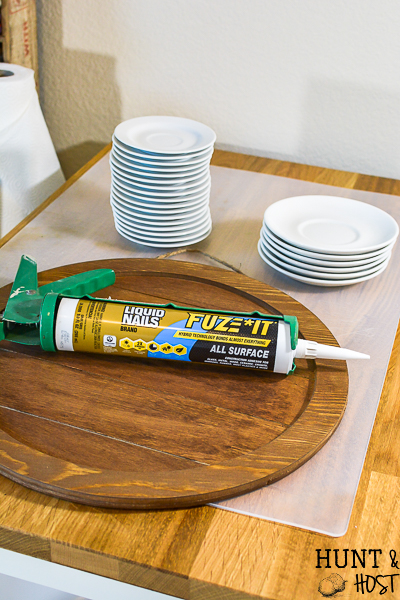
Lay out your plates and make a design/layout you are happy with. I played around and decided a symmetrical look was best. I had thought about layering the plates in random order and size…maybe next time! 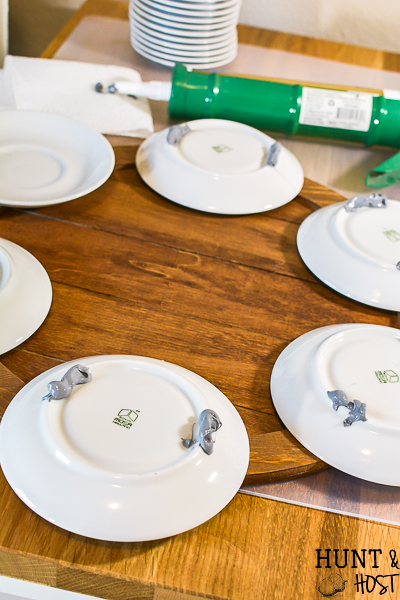 I glued each plate on by adding just enough adhesive in the right spot where one plate touched another. The glue takes some time to dry so you are able to shift the plates some as needed to get everything spaced evenly. Let dry overnight or more if in a cold environment.
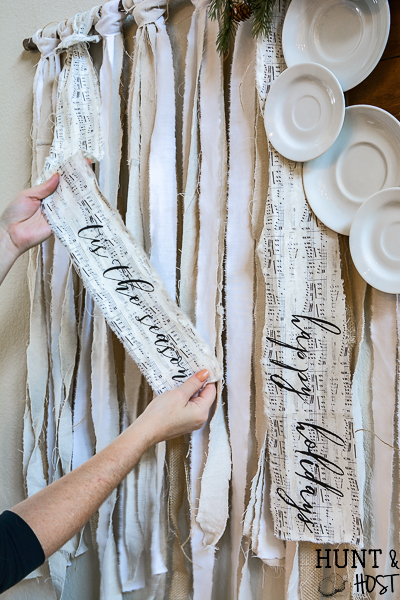
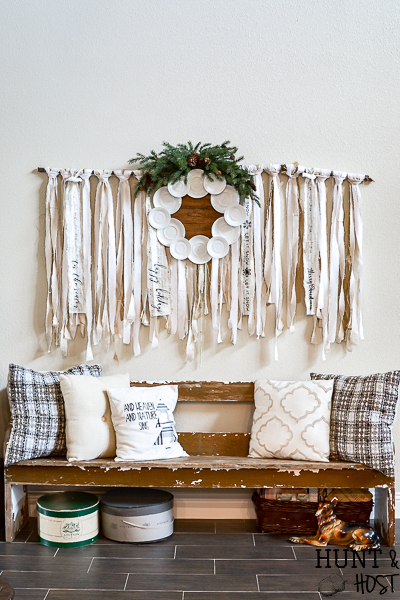 I get lots of questions about this wall hanging and a similar tutorial is here. It’s awesome to change up for holidays, this year I added a few strands of fabric that looks like sheet music with words I painted on with stencils. You can see the stencils here.
This ironstone plate wreath has stolen my heart. I plan on moving it around, layering it for the holidays and maybe making some more when I head back to Round Top and gather more supplies! What do you think? Such an easy project for a gorgeous result. 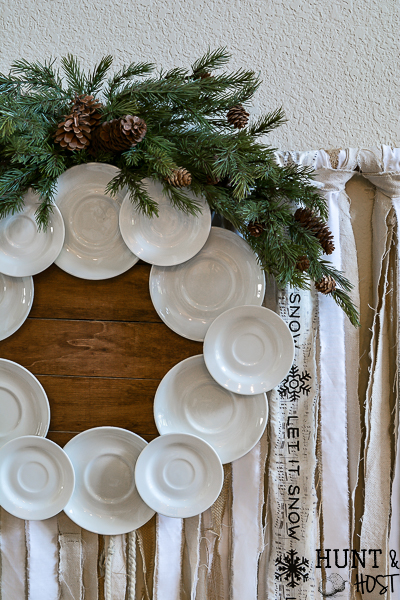 This would also be fabulous made with vintage plates in mismatched patterns, silver trays, garage sale dishes and thrifted kitchen wares. Tell me what you would make yours out of!? I’d love it if you’d share this project before you go please and thank you!


Kim, I love the ironstone plate wreath. I have several collections of china patterns and seldom use the cups and saucers. I’m thinking will try it with a floral almost chintzy pattern and I have some leftover blue willow either of which will be fun for spring. Thanks for your informative blog. You nourish our hearts, minds and souls!!
WOW – this is going to be so pretty!!! please share a pic with me when you are done! You are so sweet to me and I am thankful to have you here! Blessings and happy crafting
over the top fabulous. I must emulate this whole vignette.
thank Anneliese – you should!!! let me see it when you do please!
Clever, ingenious, and oh, so cute!
Oh, Kim, I wish I had seen this sooner! We just sold stacks of my Mom’s vintage fruit plates in an estate sale. We just didn’t have room to keep them all. They would have been gorgeous in a wreath!! Now I may have to buy some more when I see them. Thanks for sharing!
oh no – this is great for family heirlooms, so special! Wish you still had them 🙁
I have some oval ironstone plates. I am wondering how I could stack them for a wreath?
the same as I did here, just overlap them!
Love the wreath! But tell me about the fabric pieces with it?!
I love this idea, I have old pieces that I can put together, with designs on them. That would make a loud statement with the designs on them. Like the pieces I have with with little villages on them or fruits. One idea I really want to do, is to get clear glass dishes to deco podge family photos on them. Then have a family photo wreath. Always love your ideas and sharing them with all of us.
Thank you!
I love both those ideas and the family photos would be so fun!!!
I have a antique steak head board that is rusty ,how do I remove the rust to repaint?
I have a antique steal headboard that is rusty, how do I remove the rust to repaint?
First, sand off as much rust as you can, then wipe down & dry. Second, spray rust primer evenly over it, then dry. Third, use your choice of paint.
What size plates did you use in the ironstone plate wreath and also what size round base did you attach them to? I really want to make one of these for my home. I have always loved crafting but lost the desire to do so years ago when my 25 year old son died in a tragic car accident. Watching you has given me that desire to create again. Any hints will help me and I am thanking you in advance. Sue Dougharty, East Texas.
Sue – I am so sorry for your loss, I can’t even imagine, it must be a struggle. I can see how getting back into crafting and working with your hands can be a type of healing though, so I am excited to hear you are motivated again. To be a part of that is an honor. Blessings to you!!! The large plates are 5 3/4 ” and the small are 4″ diameter. The base is 16″ diameter – hope that helps!
I have been admiring your wall hanging for some time Kim♡ I recently foung a stained linen table cloth for 1$ at a yard sale. Can’t wait to create my own arrangement. Ty for all your inspiration!! #fan
What a fabulous find, it’ll be perfect for all kinds of projects! have a blast XOXO
So where is this place in TX you mention? I live 9 miles from Round Top TX. They have one of the largest antique fairs ever. Hopefully this they fall will be back to normal. Have a nice day.
Yes, I go for antiques week twice a year for 15 years now! The plates are from Caspar and Gerard’s that have their shop in the bull market. Hope its back too!!!
Oh, my gosh – your plate wreath is absolutely beautiful! I’m going to try to make a small one for the kitchen and a larger one for the dining room. I’m always seeing lovely plates at the thrift stores, but have never known what I could do with them. Thank you for your inspiration!!
You will LOVE it – such a beautiful project for your home!
I absolutely love the idea! I also am very interested in more information on stencils and how to create the decorative ribbons. Lovely Carolyn
I use Maker’s studio supplies, you can check them out in this post! My Favorite Maker’s Studio Products