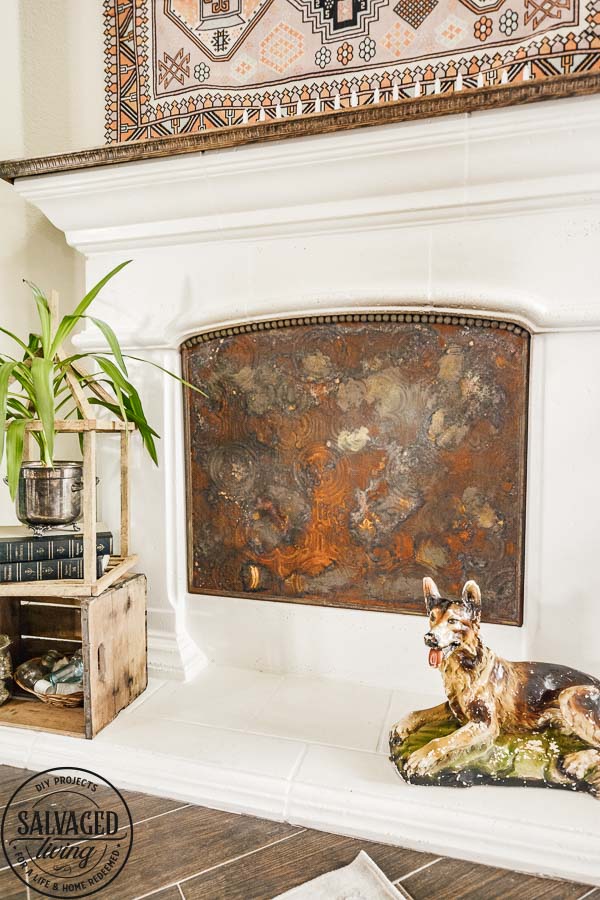
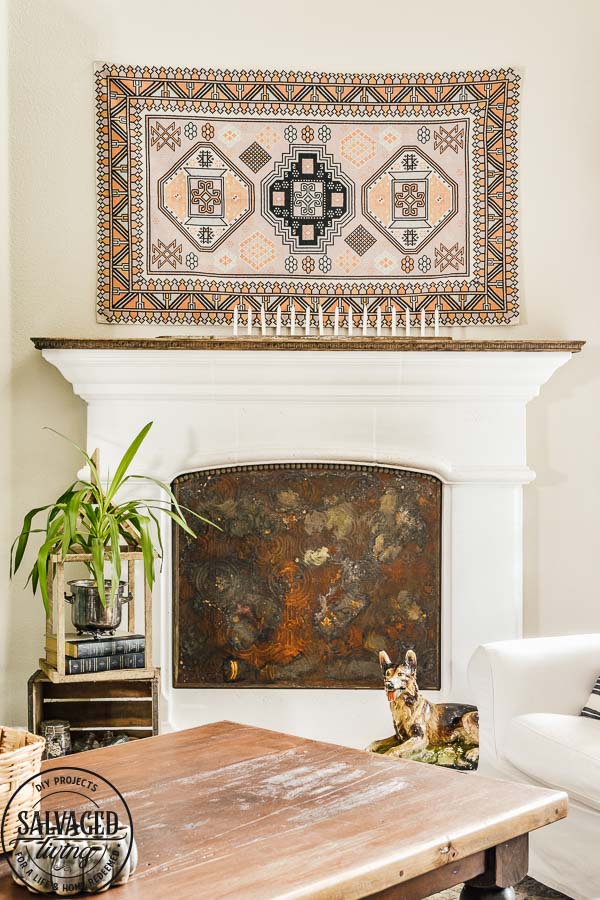
Wait till you see how to make a DIY rust fireplace cover out of simple materials. This rusty fireplace insert is a perfect draft stopper and makes your fireplace look gorgeous long after the winter fire burning months have passed. Thank you to Modern Masters for sponsoring this DIY project.
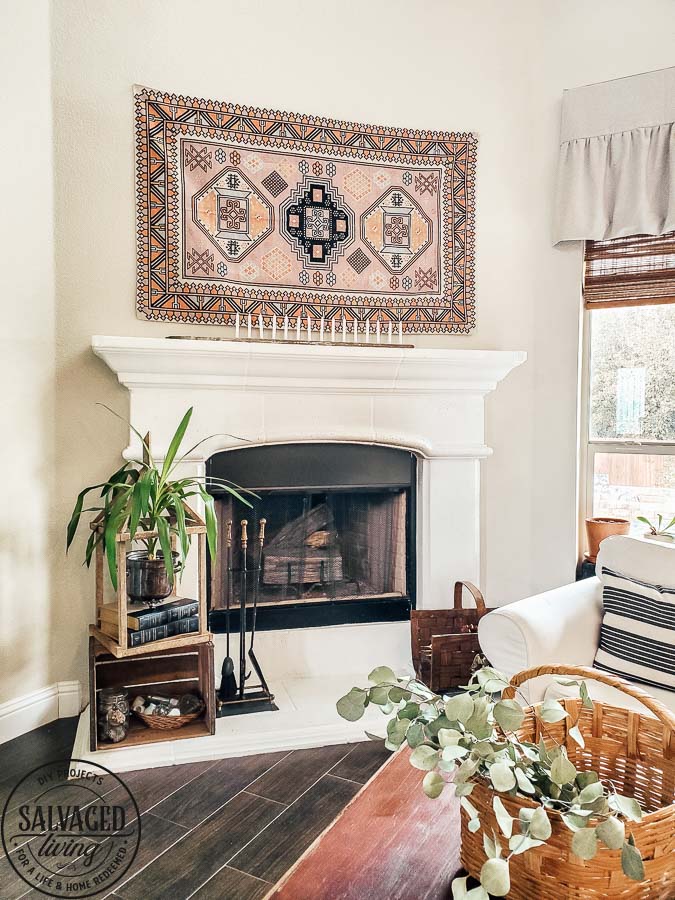
I seriously love a nice cozy fire, but down here in Texas it’s a small window of opportunity on the wood burning situation. It’s hot y’all! The lack of need for a warm fire leaves me with the burning question…what to do with my fireplace the other 10 months of the year? Do you leave logs in the fire even when you know you’re not gonna burn them? If you wonder what to do with your fireplace in the summer months then this little rusty DIY project is just for you.
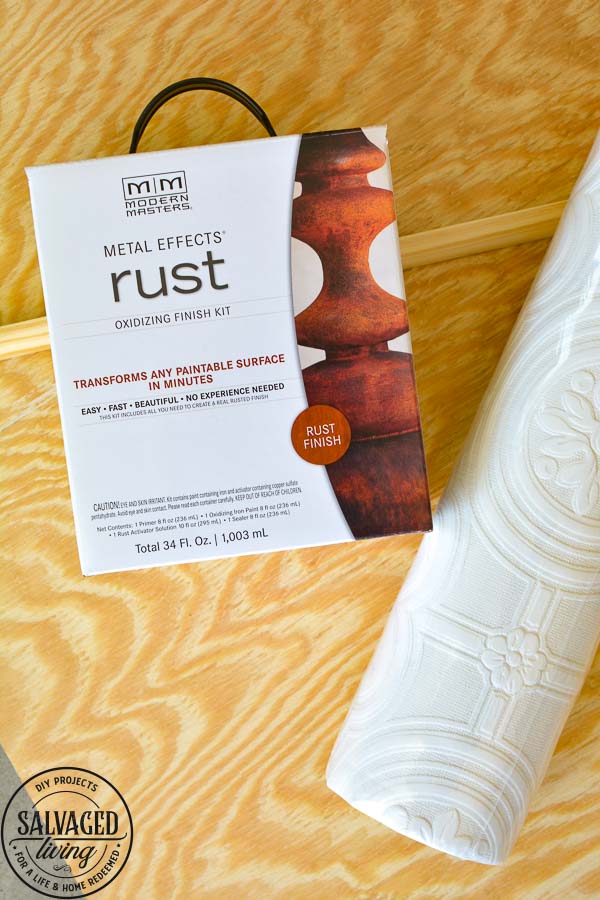
I could not be more thrilled with the way this DIY turned out and I am going to walk you through how to recreate a fireplace cover full of rusty goodness of your very own. The truth is you can turn just about anything to rust, so don’t limit the rust part to just this project. Once you have the right product you can make all new things look vintage and yummy! Modern Masters has multiple metal effect kits that allow you to turn a surface or item into a beautiful treasure with rust patina, blue patina or a green patina finish. I promise you can’t even tell this fireplace cover is made from new materials! Let’s get started and make sure you scroll down for a supply list.
How to build a DIY Fireplace Cover
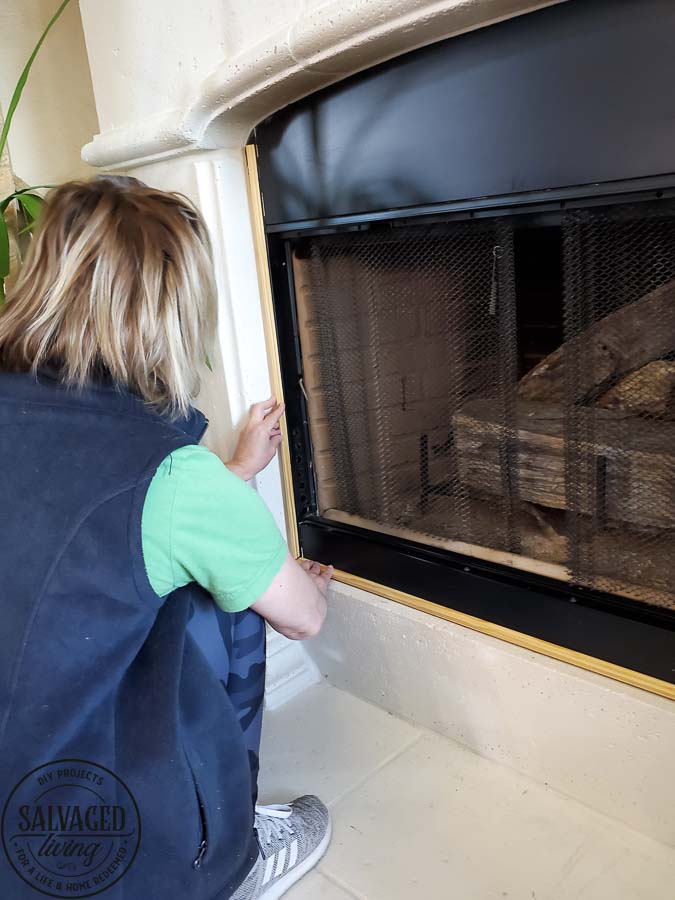
- If you have an odd shape or curved fireplace like I do you will need to create a pattern to use while cutting your wood base board. A piece of wrapping paper works perfect to create a pattern. Of course if your fireplace is all straight lines this will be a slightly easier process. Press the paper into the curve or shape and use a sharpie to draw an outline of your fireplace. Cut the paper and then try the pattern in the space. You may need to tweak it and cut away some more until a good pattern emerges.
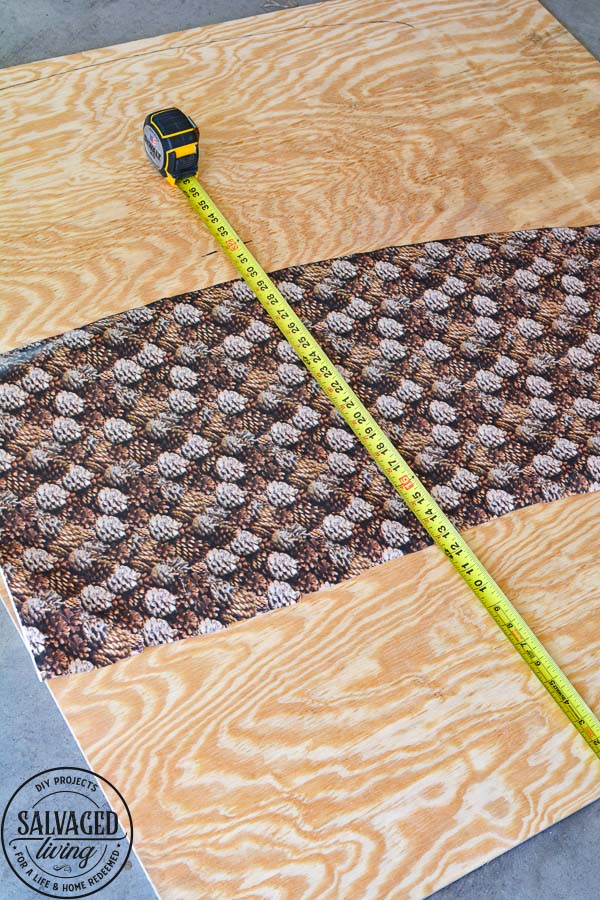
- Measure the straight edges. Remember – measure twice cut once in wood working! You want to make sure you cut your wood pieces slightly smaller that the actual fireplace opening. If I could do my project again I would cut the baseboard smaller – mine is a tight fit. It works fine but a little more wiggle room would be better.
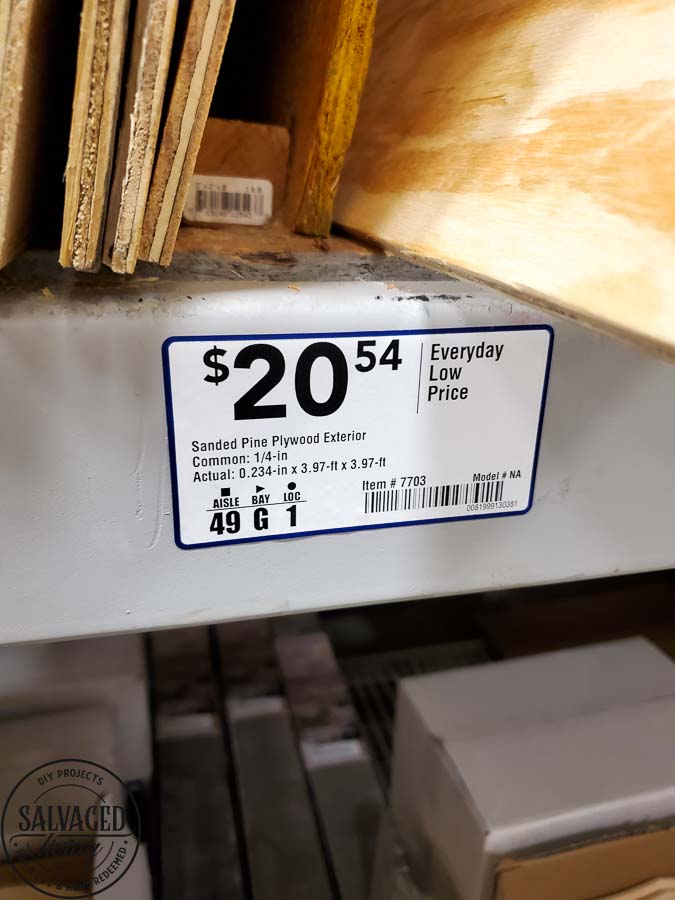
- Once you have your measurements hit the lumber yard or hardware store. I used a 1/4″ plywood piece as the base. Look through the trim selections and pick a style that goes with your decor. Get enough trim to finish out your straight edges. I probably would select a wider trim if I made this again because I think it would be more substantial and attractive.
- Measure the base plywood piece to fit the fireplace opening and then use the wrapping paper stencil as a guide to draw any curved or odd shaped portions.
- Use a jigsaw to cut the curved edge and a table saw for the straight edges. Be sure to check and see if your base piece fits into your fireplace opening at this point and alter if necessary.
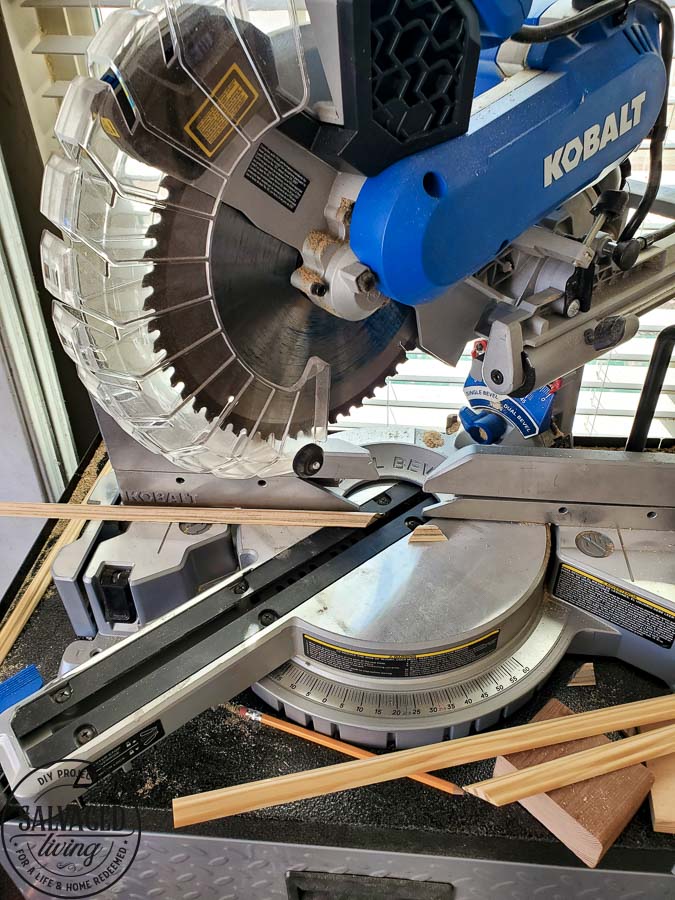
- Next, cut your trim pieces. If you don’t have a miter saw (one that cuts angles) you can make more of a box frame, but I think mitered corners look a tad more professional. If you’ve never made mitered corners practice on some scrap wood, but it is just a 45 angle cut. You just have to really think it through to make sure you cut the angles in the right direction and use the short side of the trim as your measurement for length.
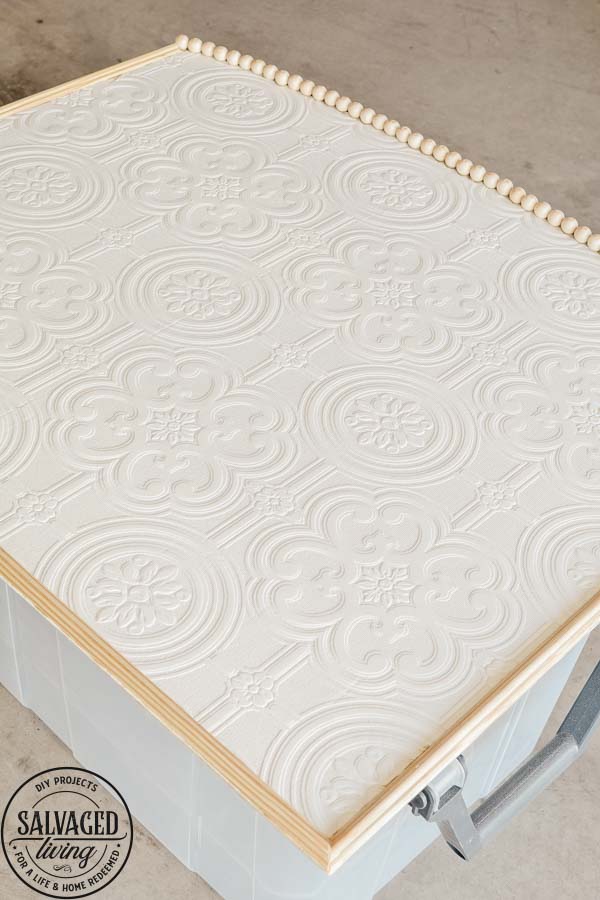
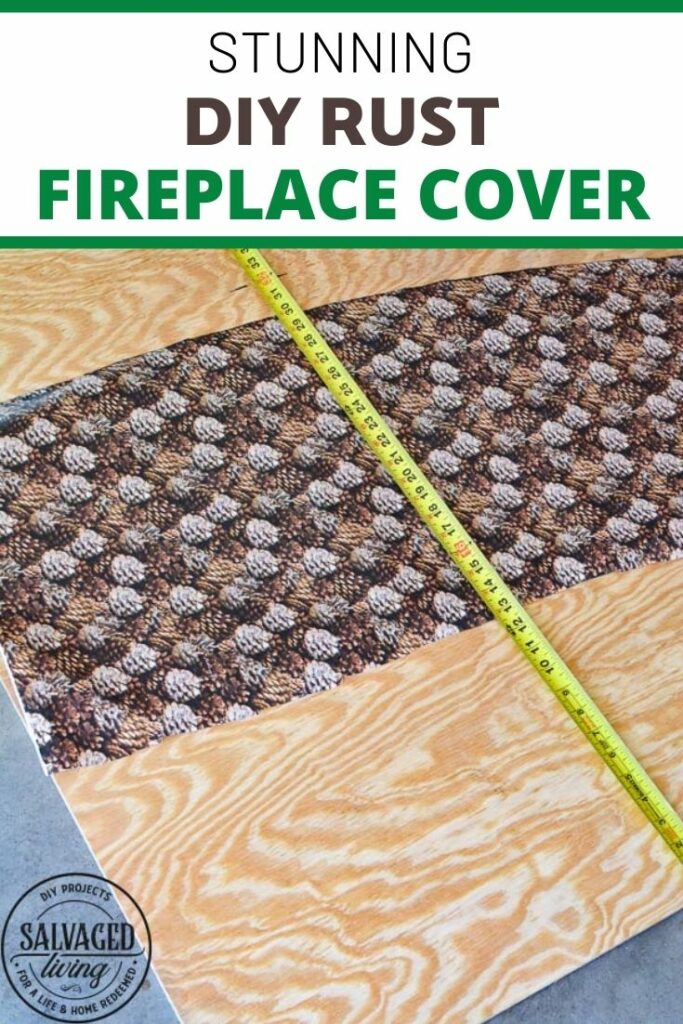
- I used textured wallpaper to cover the base piece of wood. Follow the wallpaper instructions for application. For ease cut the wallpaper larger than the base, adhere and then trim away the excess for perfect coverage.
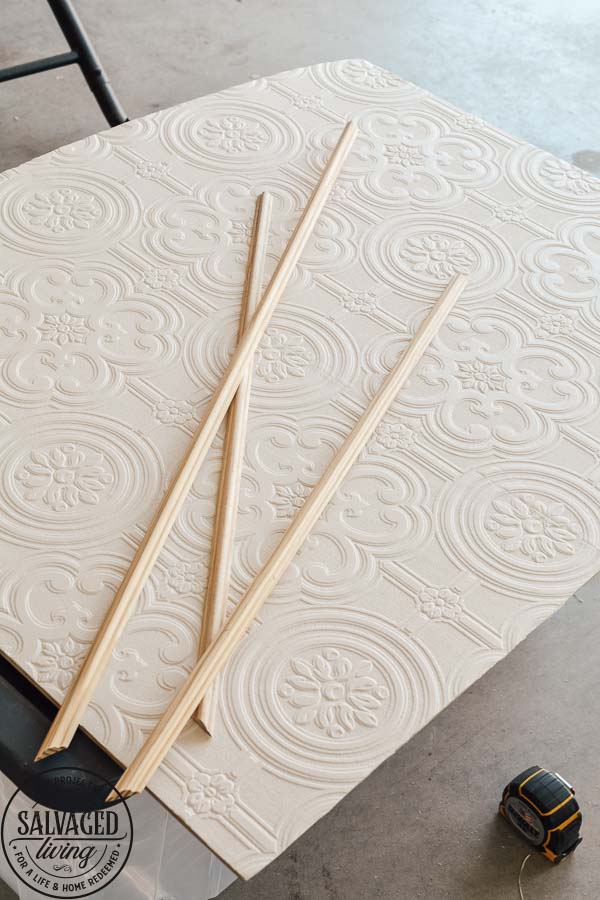
- Use construction adhesive or wood glue to attach the trim to the base piece.
- For the curved area I used wood beads attached with a heavy row of construction adhesive. Please note, if you are adding wood beads to an edge, make sure you cut this side down extra to allow for the bead thickness or your fireplace cover might not fit in the opening if you cut your cover with a tight fit.
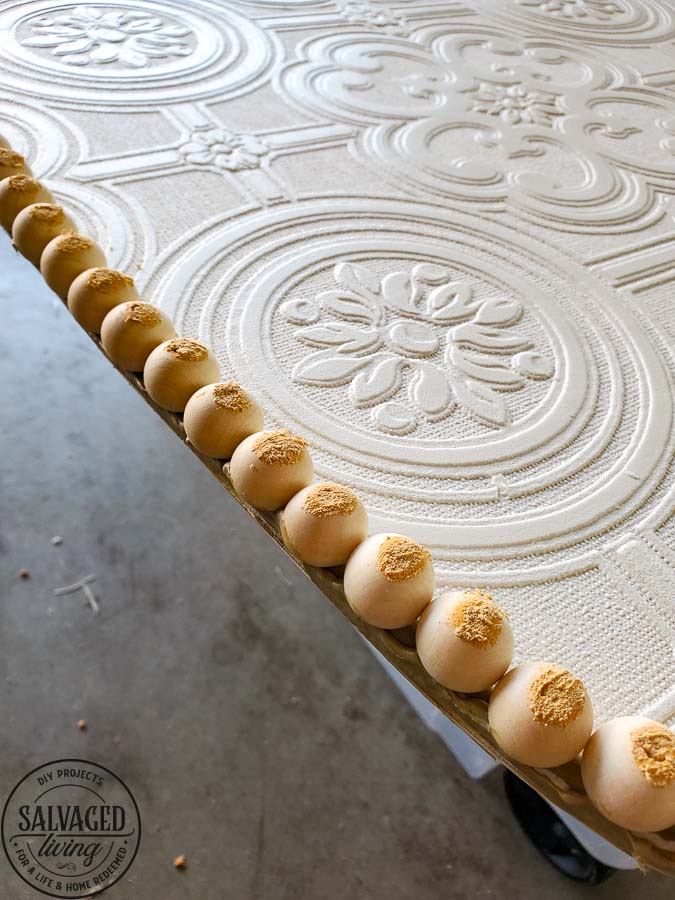
- Fill in the wood bead holes and mitered corner edges with wood filler. Sand down smooth once dry.
- Allow wallpaper glue and all adhesive to dry completely, overnight is best before you move to the rust process.
How to Rust Your Fireplace Cover
- Once your fireplace cover is dry you will want to rust it for a gorgeous patina that ages your new piece and pulls it together. Get a Modern Masters Metal Effect Rust Finish Kit. I used the kit with 8 oz. size supplies. This kit comes with everything you need to rust anything! It actually works to rust wood, metal, masonry, painted surfaces and plaster. The process is super easy, but does take some time because of the dry time involved in the steps.
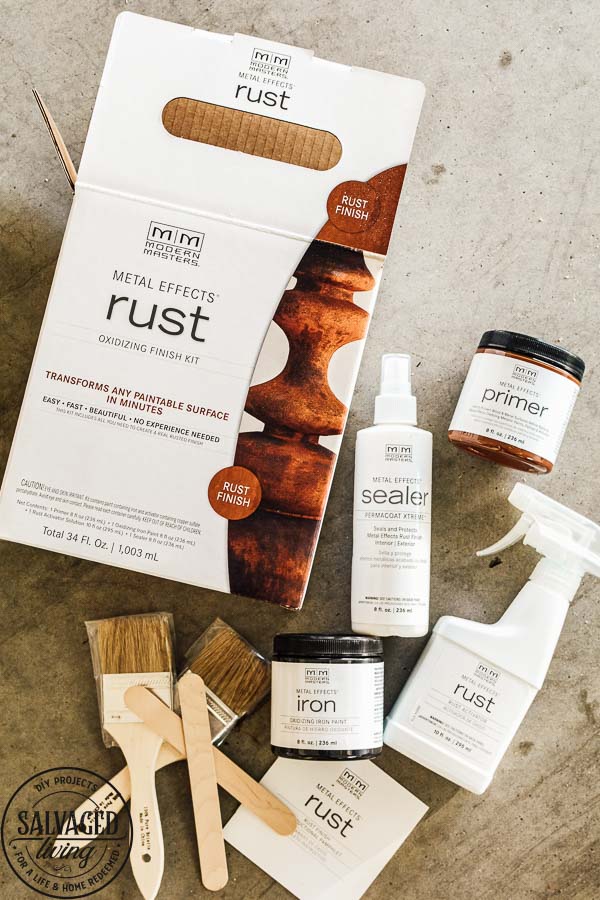
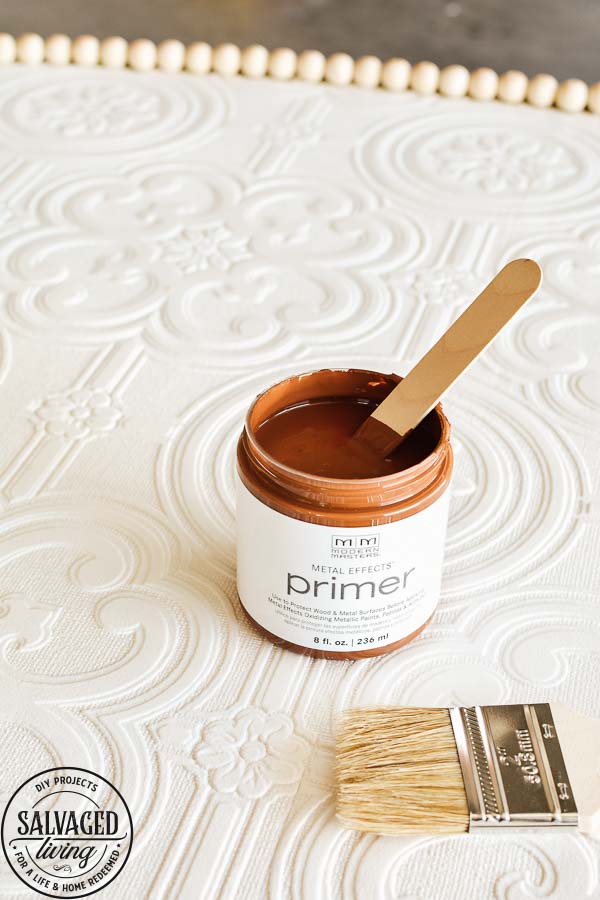
- Use the included stir stick to mix the primer well. Apply the Metal Effect Primer to the entire surface of your fireplace cover using one of the paint brushes included in your kit. Allow first coat to dry and then use a second coat for complete coverage. This base coat needs to dry completely – approximately 12 hours.
- Stir Metal Effect Oxidizing Iron Paint well with stir stick. Apply Oxidizing Iron Paint over entire surface with the other brush from your kit.
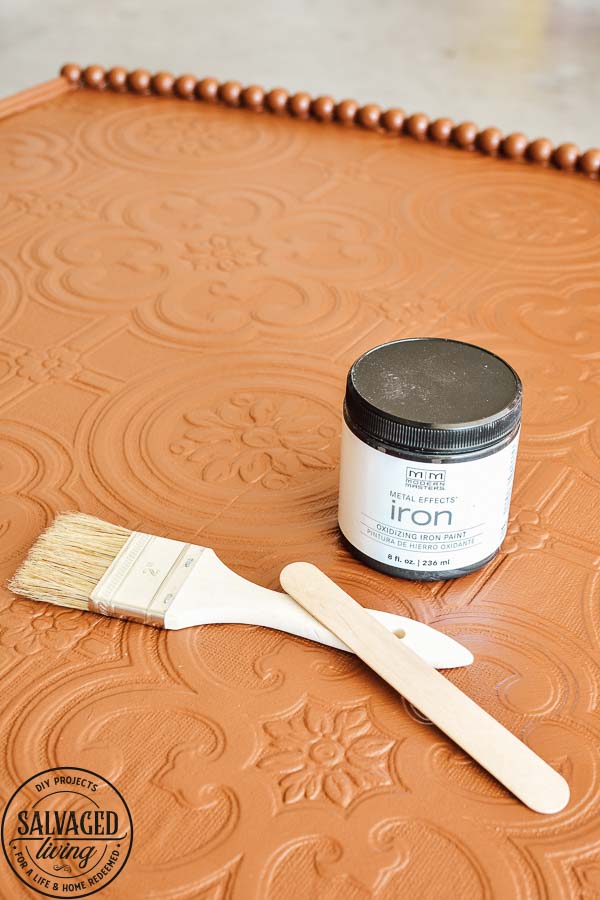 You will want to use multiple coats until complete coverage is done. Allow about 30 minutes in between coats. I used two full coats and then touched up a few spots. Allow to dry completely. He is a look at in between coats…
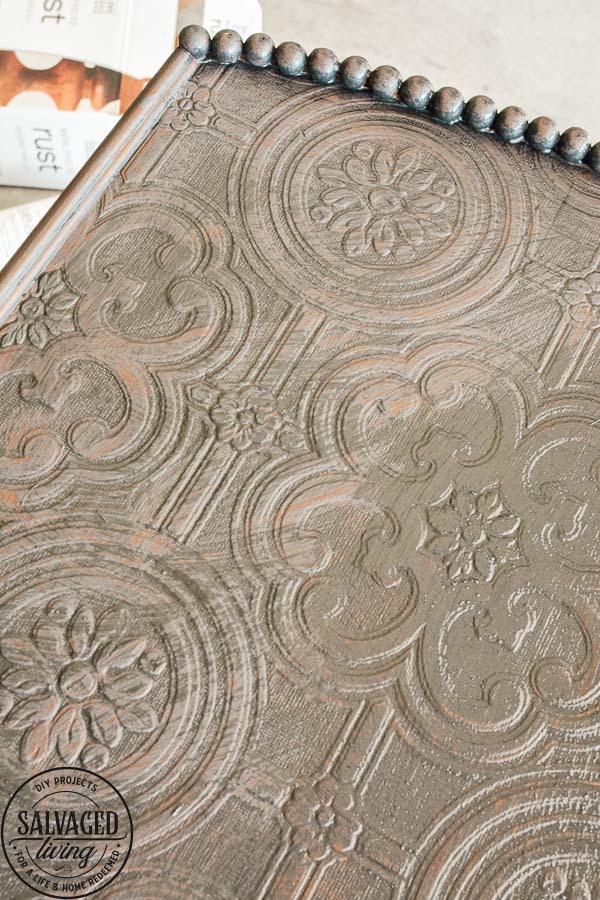
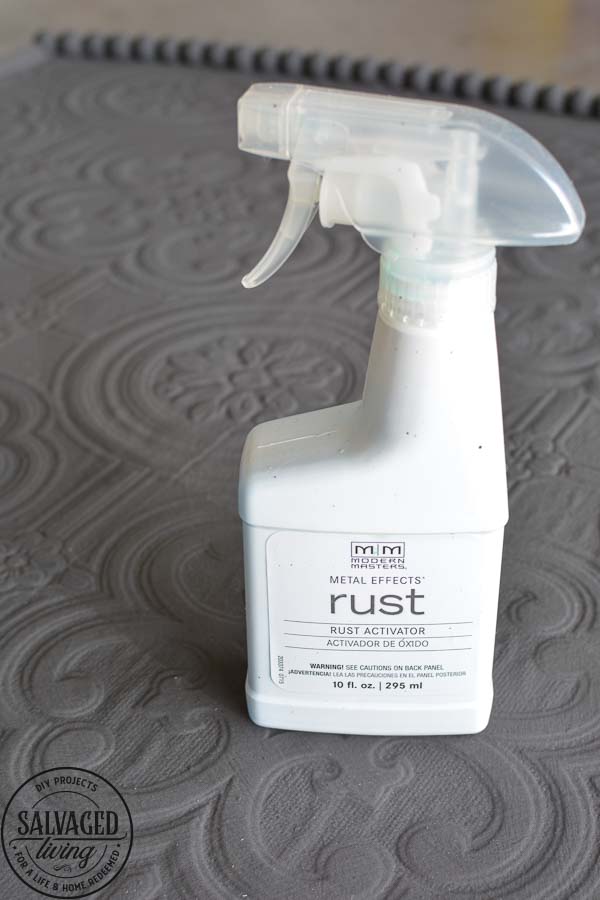
- Lightly spray the entire surface with Metal Effect Rust Activator. Try not to overspray or pool the liquid. You can always add more but not take it away! Allow to dry 5 minutes or so and then lightly spray again. It takes at least 30 to 40 minutes to activate and see the rust change take place. I went back a few times and added more spray here and there in areas I wanted more rusty until I achieved the look I was going for. You will want to play with it to get the desired finish you like.
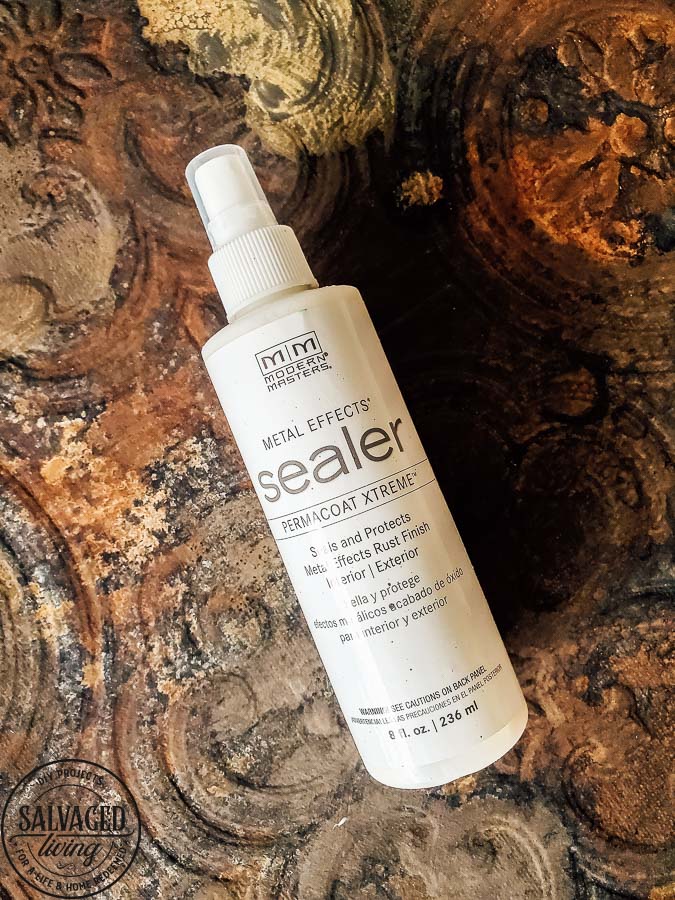
- Seal your fireplace insert with the Metal Effects Sealer if you want to make sure you don’t get rust on anything! Again – spray lightly and add more if needed.
I think this might be one of my favorite DIY projects ever. The look is unbelievable, it’s like a rusty piece of tin that was made to be in my living room fireplace. Custom perfection. If you want to rust all the things now, then check out my supply list for links to the products I used here!
Rusty Fireplace Insert Supply List
Modern Masters Metal Effect Rust Kit You can get this kit in the following places (click to purchase online!):
1/4 Plywood
Wrapping Paper
Wallpaper Glue or Spray Adhesive
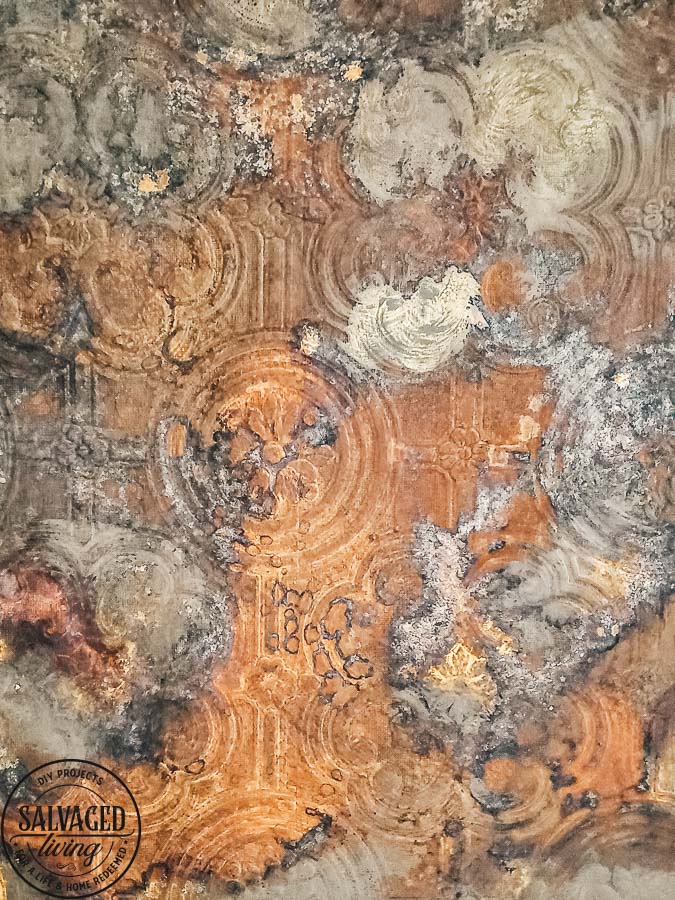
I hope it inspires you to make a custom fireplace cover that is full of rusty heaven!
I can’t wait to use the Modern Masters Rust kit on some other items that I have in mind, I am OBSESSED!



Your fireplace screened turned out beautifully! I am saving this post in hopes I will try this some day!
Yayyyy – thanks Vicki – I will be rusting some other things soon because I am completely enamored with this process so stay tuned!
WOW! Absolutely looks like an old piece of rusted metal! You did a great job and it looks so good with the hanging above the fireplace! Thanks for sharing this, Kim….
Thank you Karolyn – I am really proud of how it turned out, it truly looks stunning in person and would fool anyone that it isn’t an old piece of metal!
Hello Kim, I love your project, the rust effect is amazing. I would love to try this but as i live in England i don’t know if i can buy it here, do you know if it’s available to buy here? Thank you for all your lovely emails, very inspiring, take care, Rosie
Hi Rosemary – I checked with the brand and the product is listed on the Amazon International site, but color selection may be more limited. I hope that helps!?
Kim, this is amazing!! How do you think of these things?!?! I especially love the beads on it! It just adds that little something. You are exceedingly talented!! I may rust something!
Well thank you Claire! I really am in love with this project, you should absolutely rust something!!! It’s the best!
Genius! Bravo!
thank you!!!
Bravo!!
It looks like a work of Art Enjoy
thank you Anne!
I love this! It looks like old rusty ceiling tiles.
That was kinda my goal without having to find, cut and pay for old tiles! Plus it is super custom, which I love!