I just got my new laser engraving machine and I’m obsessed with trying new laser engraving ideas. Believe it or not, this was one of the first projects I tried! This beginner laser engraving project will show you how to laser engrave metal knife blades, or other kinds of metal as well!
If you are on the fence about an xTool laser engraving machine, I say go for it. I’ve been so pleased with my xTool M1 machine and I think you will be too. You can read some beginner tips I have written up here, I think they will help with a few quick points to shrink the learning curve.
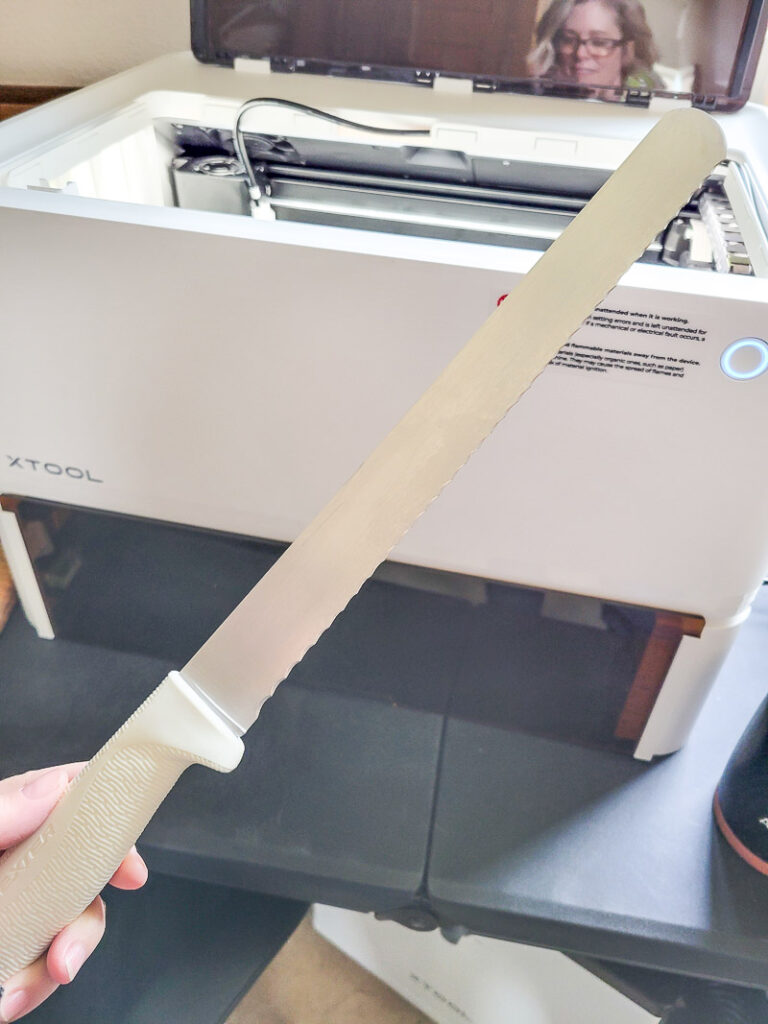
My husband asked me to engrave a knife for an employee at his BBQ restaurant. I was excited (and nervous) to try this project, but turns out it was a really easy engraving project! Here are the step-by-step directions for you to engrave metal, or specifically a knife blade. This personalized project would make a fabulous gift! Just think of the initials or names you could add to a knife for newlyweds, the hard-to-shop-for man in your life, charcuterie knives, or beautiful tableware!
How to laser engrave a metal knife
- Make sure your computer recognizes your xTool M1 laser engraver (if you want to see the machine, click here for more info!) by hitting connect device in the top right-hand corner of the xTool Creative Space software. The video shows the whole process!
- Place the knife in the machine on the metal base. Make sure the red laser dot is on the spot you want to engrave.
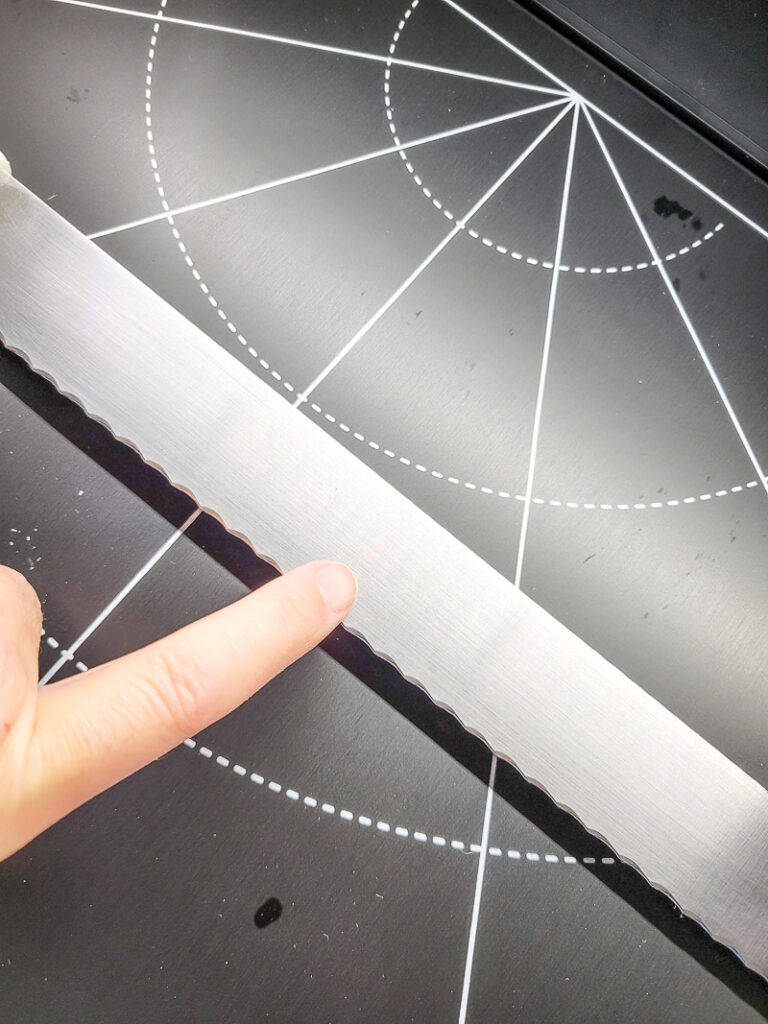
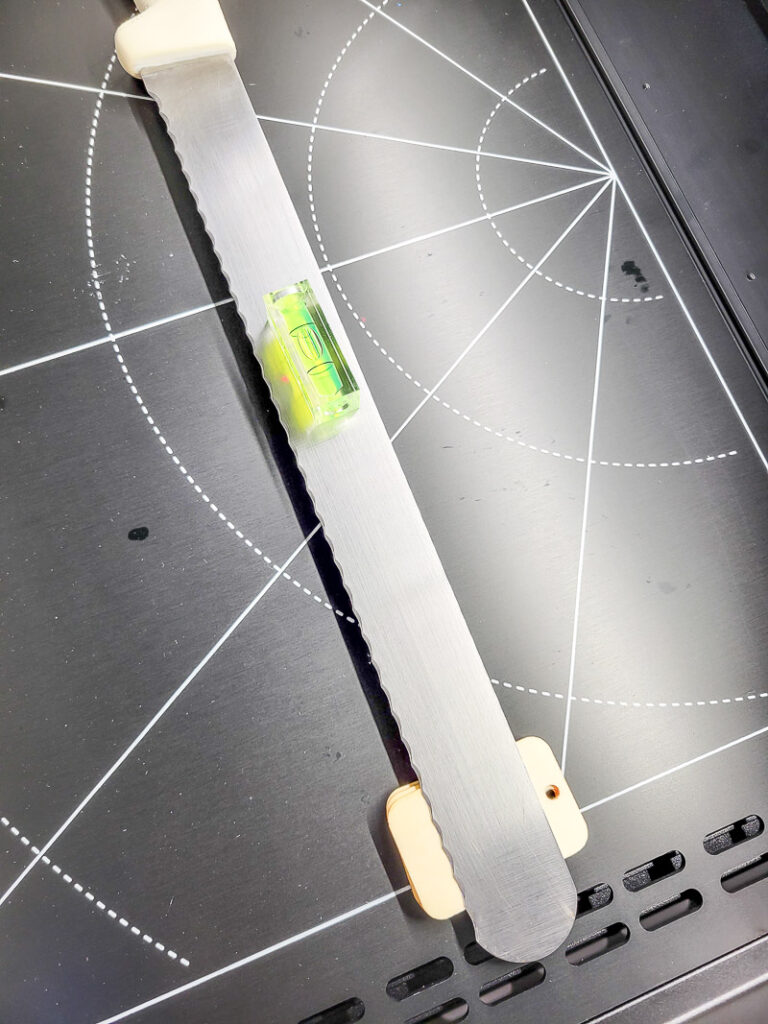
- Depending on the shape of your knife, you will need to level out the blade. I used some wood tags as shims to raise the blade. Use the level provided with your machine to ensure your engraving surface is flat.
- Close the lid.
- Hit the refresh button in the top right to refresh the camera picture of the material you just placed in the machine. If you move the material you will want to refresh for accuracy.
- In the right-hand menu of xTool Creative Space select Laser Flat.
- In the Material section, select user-defined unless you are using a material you got from xTool that is preloaded in the Materials List.
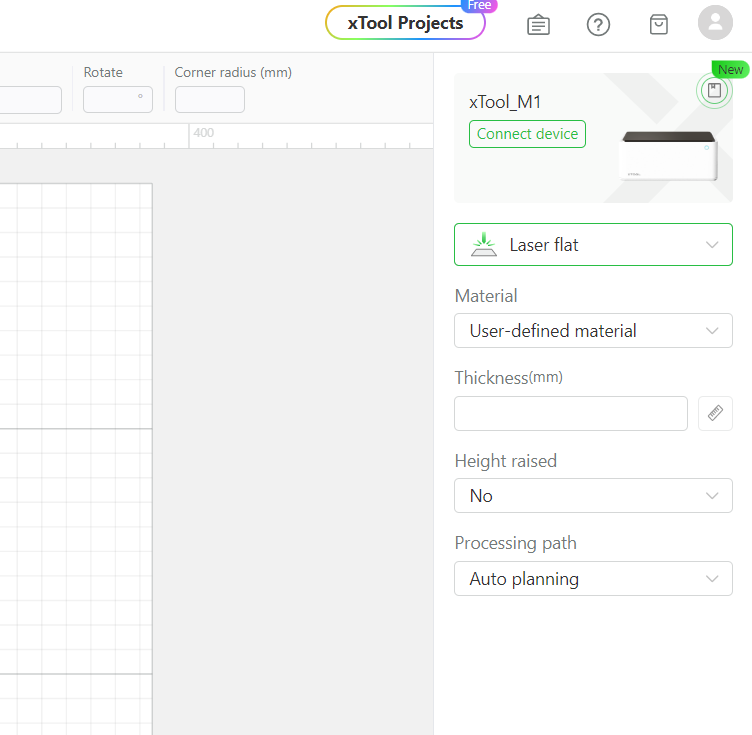
- In the Thickness section, click the small ruler icon to the right. This will auto-measure the distance of the laser arm to the material surface (this is where the red laser dot you lined up comes in!). Occasionally the auto measure won’t work. You may have the material too far from the laser arm. If auto measure still doesn’t work use the clear ruler provided and measure the distance manually. (Here is a tutorial if needed!) TIP: if you need to manually move the laser arm to measure, turn your machine off or you can’t manually move it!
- Your surface is ready, now let’s add the design! You can either use the fonts and shapes in the xTool software or import your own designs to really personalize things. I used the font in the software for this project. Click the text button from the left menu to get started.
- Once you select text a new window will pop up where you can edit the text, select a new font (typeface), change the size, select a style (bold, italic, bold italic), adjust the line spacing and leading (this is the distance between letters and lines of letters, so you can make your words closer together and the letters tighter together or further apart – a huge design feature!), align the text (right, left, center), and once you are happy with your design you can weld it to hold it all together (although you don’t have to, I didn’t)!
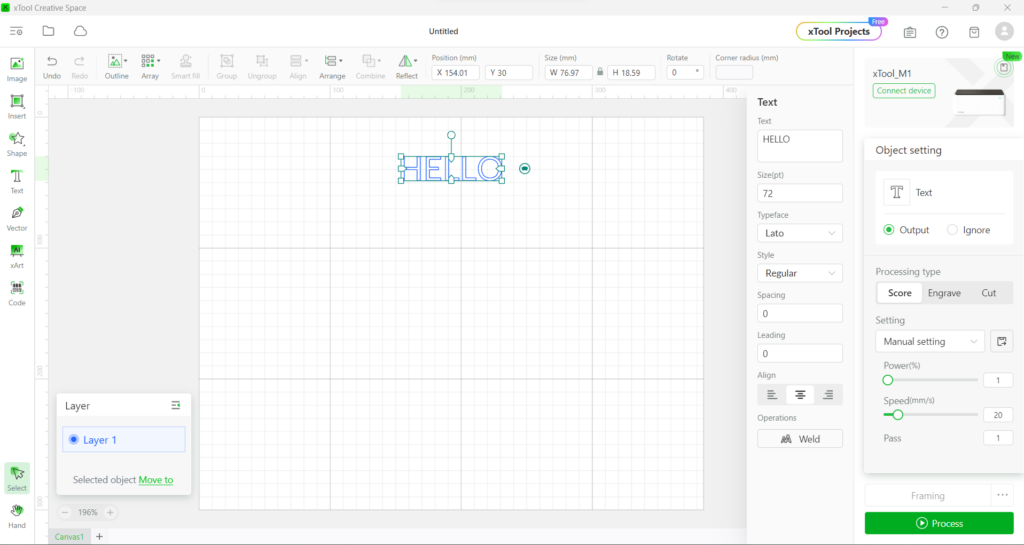
- Once your text is how you want it you can click and drag it to move it around and to resize it. Drag your text and center it on your material.
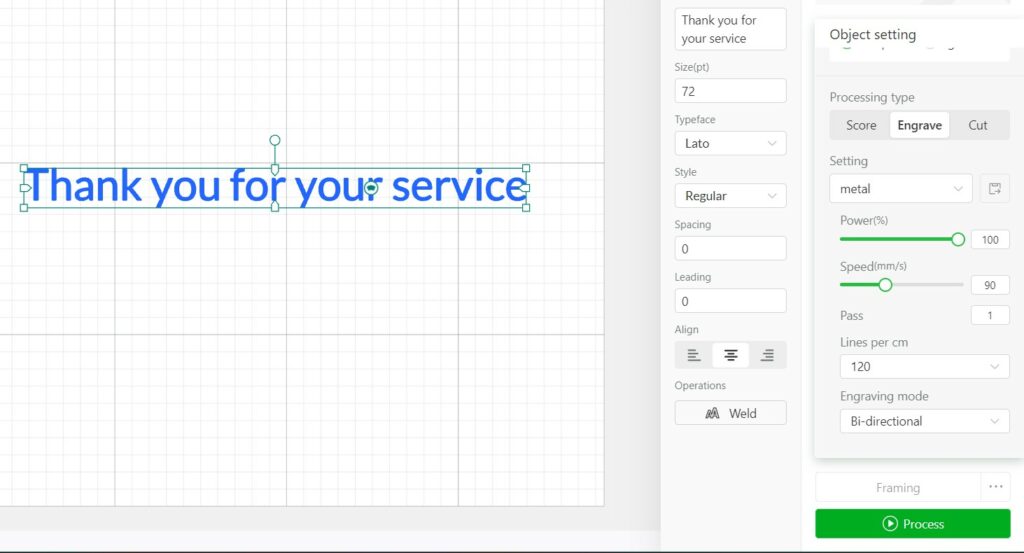
- While your text is highlighted go to the right-hand menu and let’s set the Object Settings. You can score, engrave, or cut. We are going to engrave on this project, so select the engrave option.
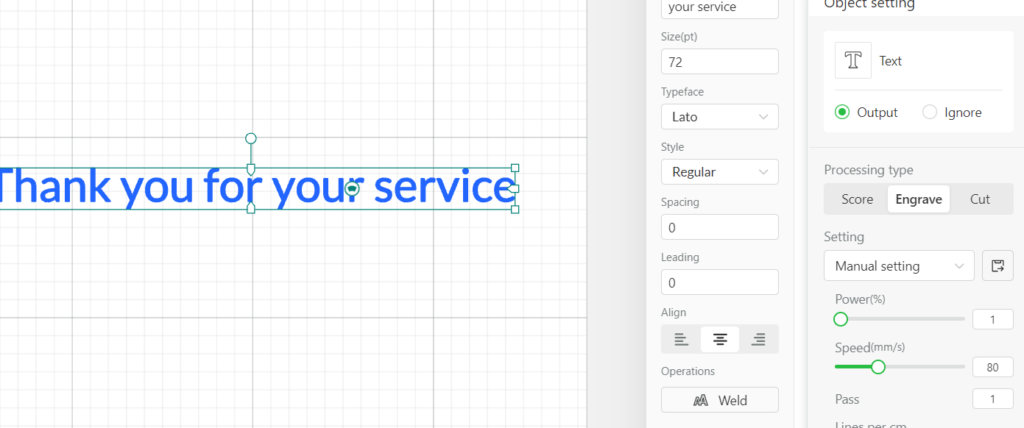
- For this project I am using the following settings: Power 100, Speed 90, Pass 1, Lines per cm 120. This is the part that can get tricky depending on your material. You may have to have some trial and error here to get the results you want. If you find a setting you like and you work with that material frequently you can save the settings by clicking the save icon next to the settings field, super helpful for next time! Here are some material settings they give you on the xTool website!
- Next you want to try the framing. Once you hit the framing button in the lower right-hand corner you will watch the machine and it will give you a laser outline of where the machine plans to laser engrave. This allows you to make sure the laser is set up to engrave in the correct spot for your project and make adjustments if necessary.
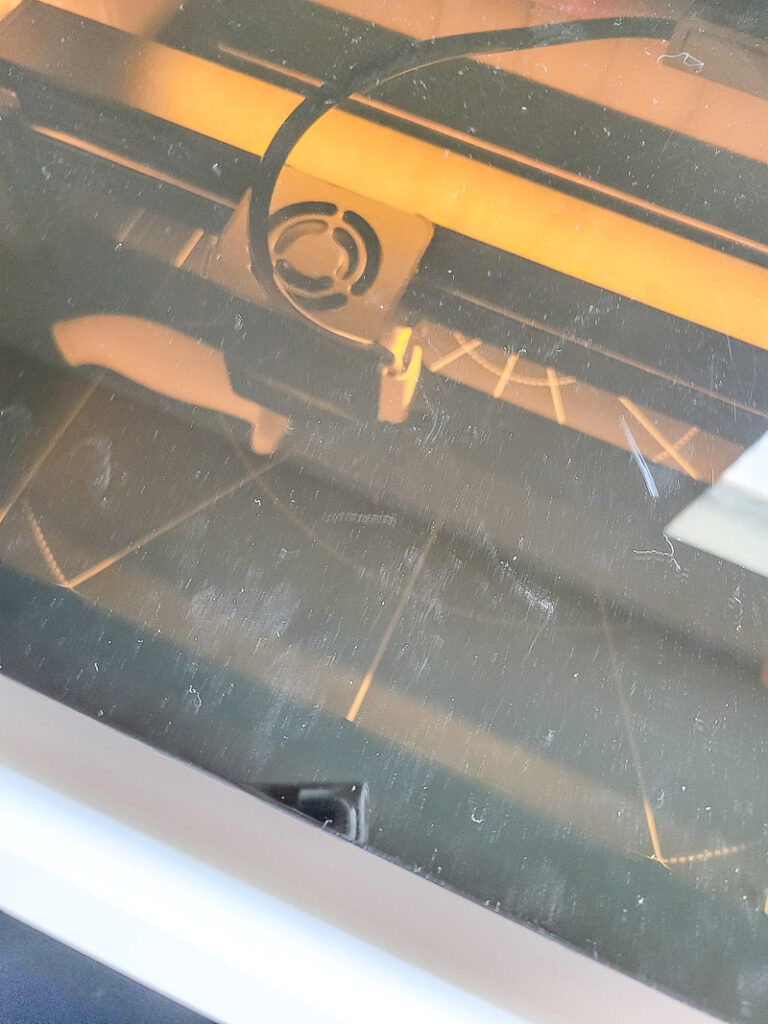
- Once you are happy with the framing hit the Process button, you will then need to hit the start button on the front of your M1 machine. Now watch the magic happen!
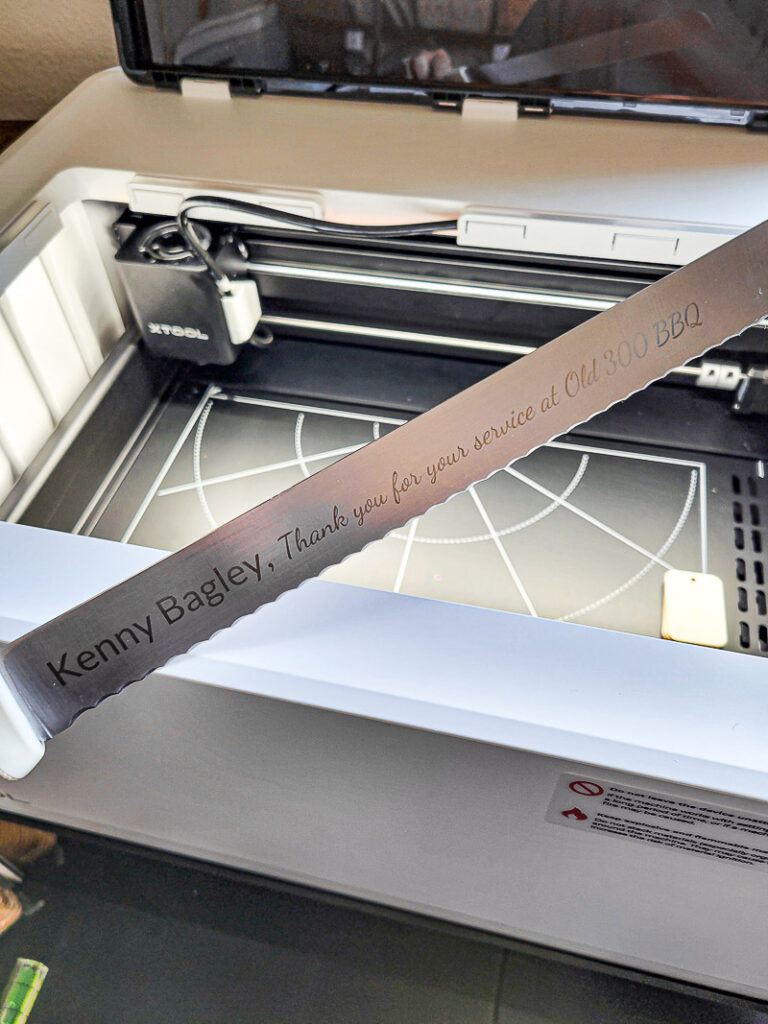
- If your project comes out and looks a little black, try using alcohol to wipe down the blade surface and clean it.
- Make sure and save this project so you have all the details at your fingertips!
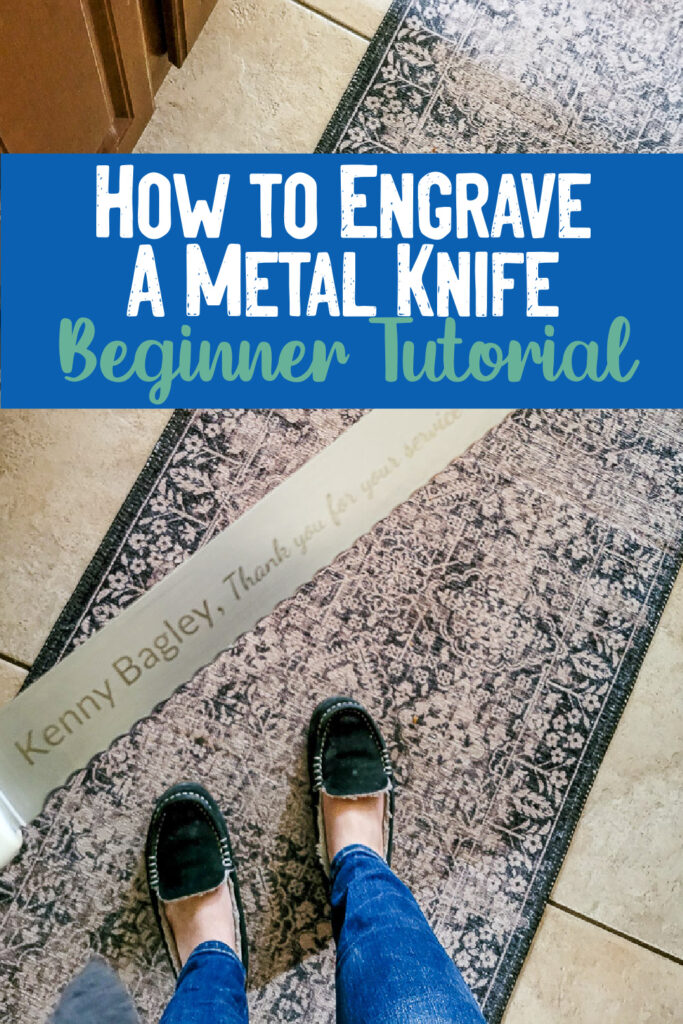
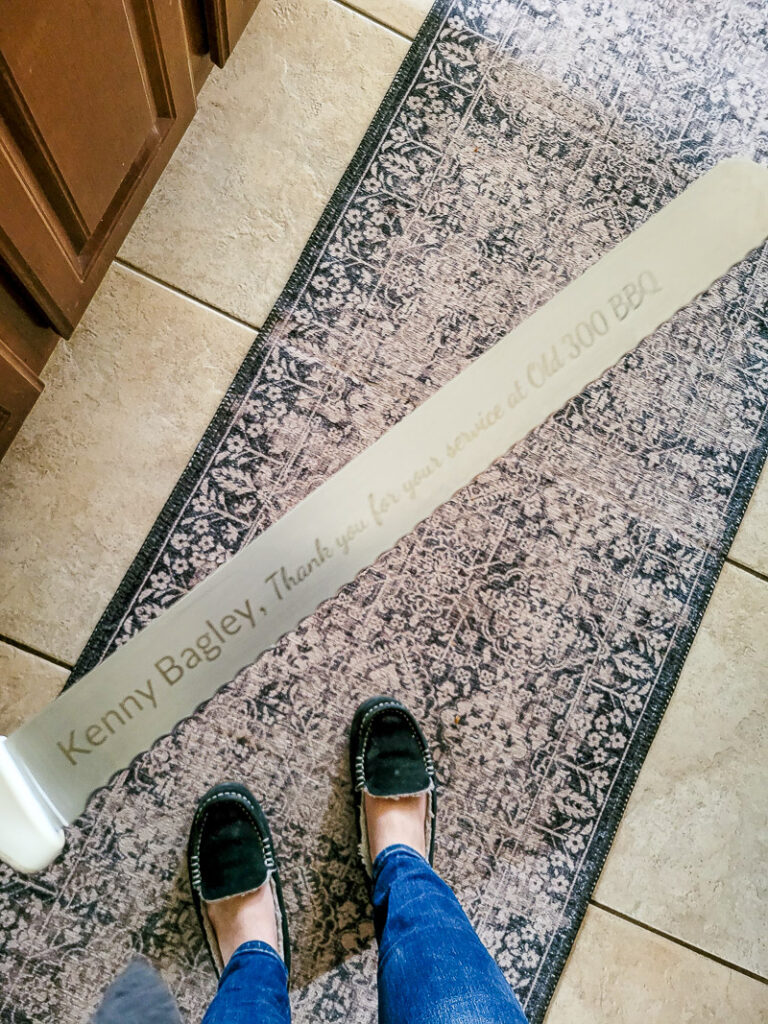
I’m happy to say this gift was well received, I believe a personal gift is the very best way to go and with the xTool M1 laser engraver, you can personalize just about anything! You can find links to the machine and parts below! Have fun and let me know what you make.
Here are the Laser machine and elements I used for this project:
- xTool M1 Laser Engraver and Vinyl Cutter (the machine itself)
- xTool M1 Riser Base with Honeycomb Panel (to use with taller/thicker projects like tumblers, a must have to engrave Stanleu and Yeti Tumblers!)
- xTool M1 Air Assist (to help with keeping engraving cool while cutting/engraving)
- xTool RA2 Pro for M1 (This was a must for me, you use it to engrave round and odd shape items)
- xTool Smoke Purifier (Air purifier to reduce smoke and odor while working)


Leave a Reply