Step by Step Instructions to Cut Large Letter Stencils With Your Cricut
Making big signs doesn’t have to be hard or expensive, you can do it with this cricut tutorial. Maybe you are heading over from my instructions on how to make a large sign, hope this gives you more ideas and tools to make a big sign! If you don’t have a cricut you can head over to that post for some alternate ways to make a large sign without a cutting machine! I’ve got you covered anyway you shake it!
This post contains affiliate links, this means should you make a purchase I may receive a small commission. I appreciate your support so much! Thank you! 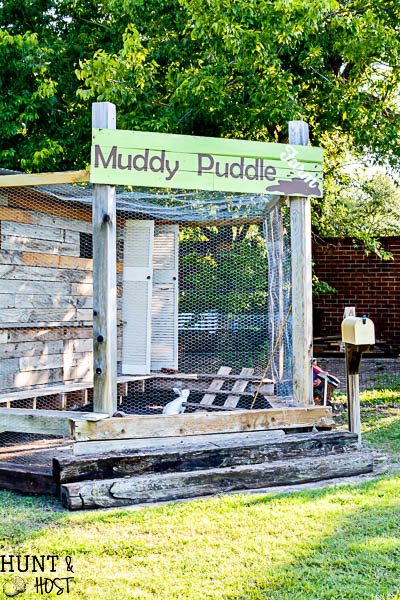
I am using a Cricut Explore Air 3 for this project and going to the Cricut Design Space to lay out my letters to cut. Here is step by step instructions, please let me know if you have questions or I didn’t explain something well!
-
- From the Cricut Design Space go to the top right corner and hit NEW PROJECT
- On the left hand menu hit TEXT
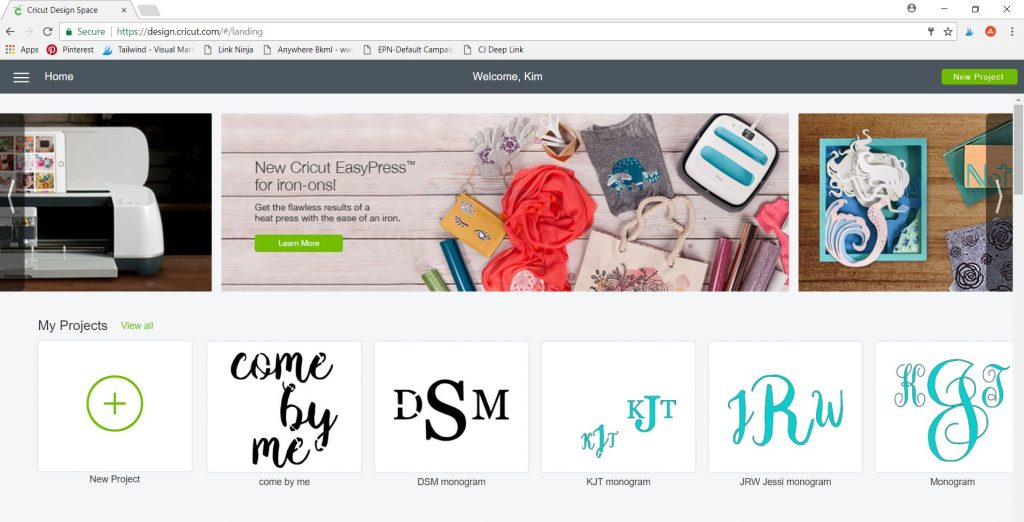
- Add the text you want into the box that pops up, I recommend adding a new box for each word in your sign so you can move, manipulate and cut easily.
- Highlight the text you just input and in the menu up top select FONT. This will bring up font examples and at the top of that pop up window will be three options: All, SYSTEM or CRICUT. You can use the fonts you have on your computer (system), the ones Cricut has (free and paid) or roam through both (all). I am a font junkie so I usually use my fonts because I download fonts like crazy. (Here is one of my favorite sources, always be carful with fonts and graphics, personal use is usually ok but resale or distribution requires extra licensing. click link below)

- You may want to get creative and use different fonts for different words, which is another reason to enter them in separate text boxes.
- Make sure you have your final board/sign measurements and now you can play around with shrinking or enlarging your words to fit your sign. The markings you see are in inches and you may want to shrink the view so you can see more by sliding the zoom in the bottom left of your screen. You can cut the letters individually and place them closer together on your actual project than they may appear in the layout on your screen, good to remember when you are determining size.
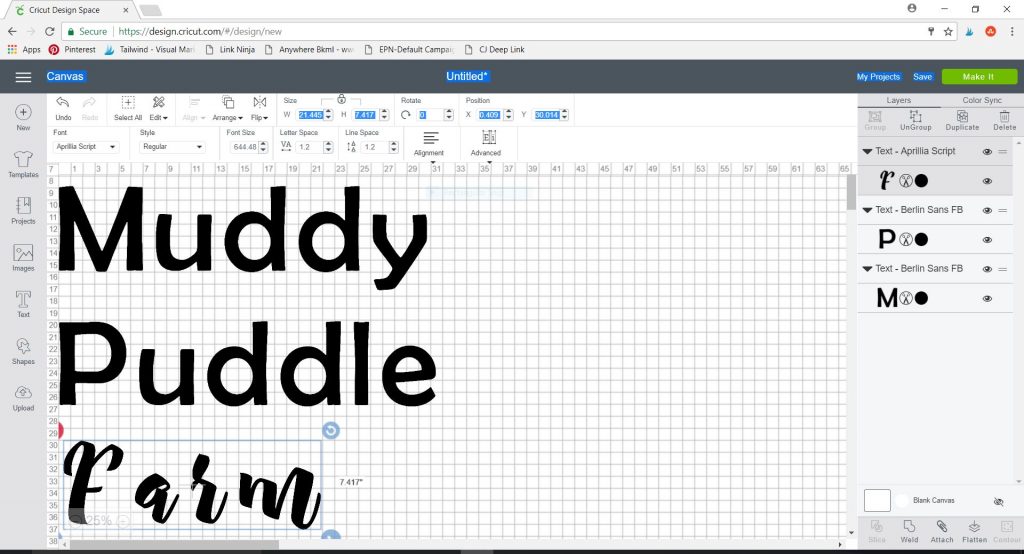
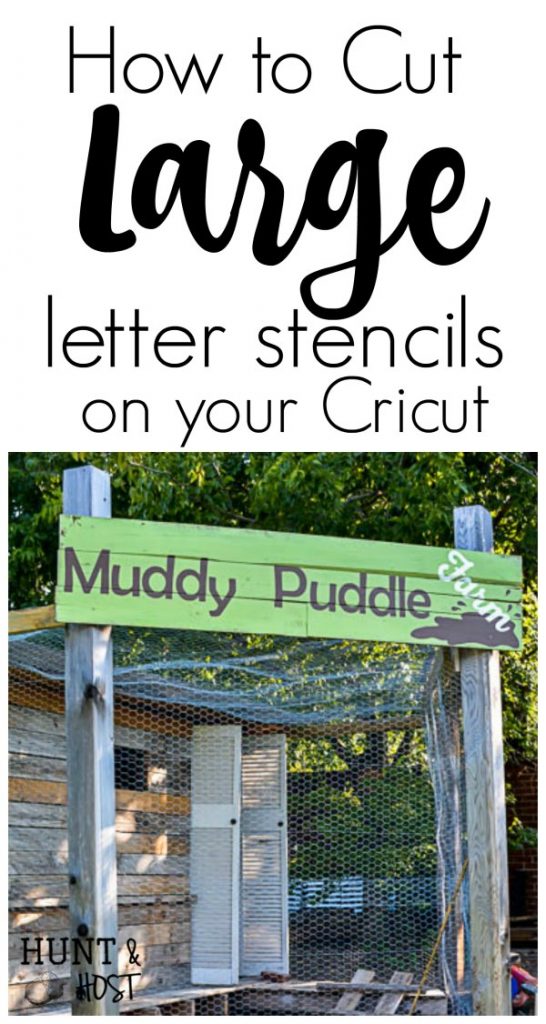
- Once you determine what size letters will fit both in height and width on your sign determine how many letters you can cut out at once on your mat. I use a 12X24 mat, but for large letters I can often only fit three or four letters at a time. For example with this Muddy Puddle sign I had to make 4 sheets of cuts. The first was Mud, the 2nd was dyPu, the third fit ddle and the 4th had Farm. It will depend on your font style and size how this works out.
- You may have to delete some letters for each cut and type them back for the next, don’t delete the text box, just retype the letters and your sizing will stay the same. You can also “hide” words so you can cut one at a time. You do this by clicking on the little eye in the right hand menu next to the word you want to hide. To bring it back click on the crossed out eye and it will return.
- When you are ready to cut hit the MAKE IT button on the top right of your screen.
- If you aren’t super familiar with how your Cricut cuts or the material you are cutting on I suggest making a test cut for depth correctness. My machine tends to need the depth dial to go one past the recommended setting. I cut contact paper on the dot after vinyl or with the iron on setting, for cardstock I use pretty thick cardstock and use the fabric cut setting.
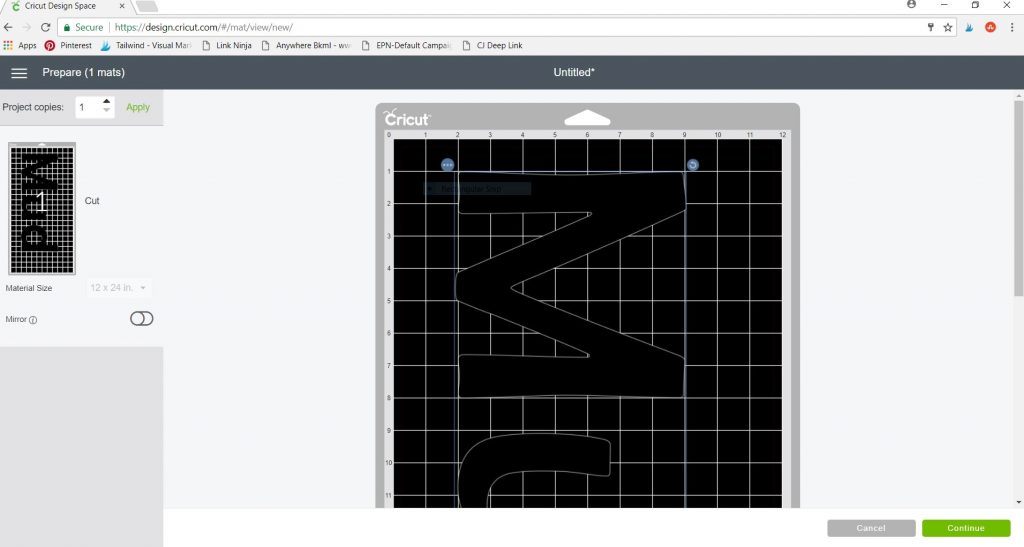
- You will see the way the letters are laid out in the design center is not always exactly how they show up on the cut screen. The size will be accurate but you can drag the words around to center on your cutting mat how you’d like. Sometimes a good sized border around your words will help when you go to paint. Position letters how you’d like. This is also where you have an opportunity to save on contact material or whatever material you are cutting (see exactly what I use in the supply list below) by only laying exactly as much material on your cutting mat as needed because you see the exact cut preview here. Just make sure your material coverage and orientation matches what you see on the screen. When ready make sure your machine is connected or on network and hit CONTINUE in the bottom right. I work with my machine plugged directly to my computer with a USB even though it can go wireless, just my preference.
- Make sure the material dial is set correctly.

- Load paper with the flashing arrow button on machine.
- When the little cricut looking C lights up, hit it and watch your goody get cut.
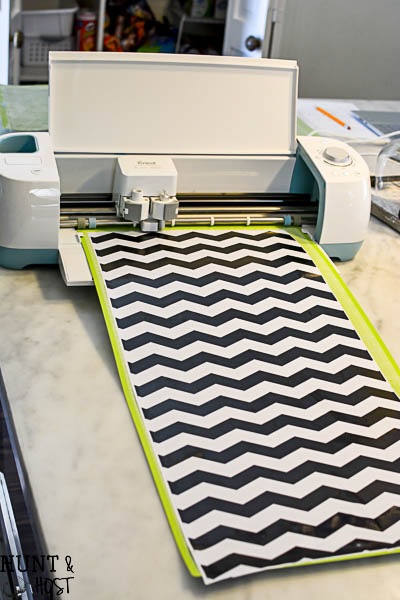
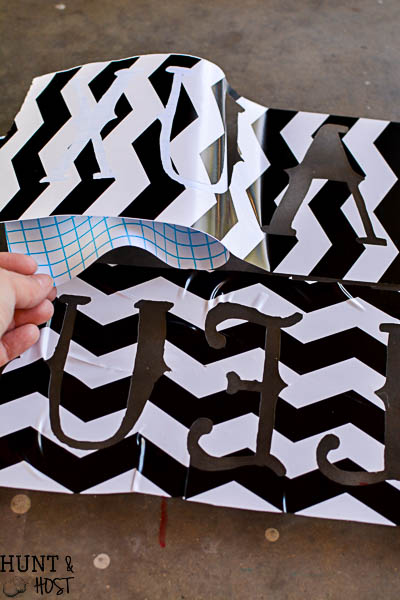
- Repeat steps until all your letters are cut. You will have to do like I mentioned, going back and delte and retyping letters or hiding and unhiding words to get through everything. Next you are ready to paint your sign.
- You might find some tips on painting your large sign here!
I hope these steps help you cut large stencil letters easily!
Here is a supply list that will help you cut those large stencil letters for your sign:
New Cricut Explore Air Machine in Gold
Large Cutting Mat (12 X 24 and I used standard grip for this project)



Hi Kim I am helping my wife cut stencil letters for the first time using a Cricut Air and the Cricut Design Studio on Android. We are not sure how to keep otherwise floating objects in tact, ie. the center of a lower case “e”. Do you have a suggestion for us?
You are so sweet! I hope this makes sense, there may be a better way, but this is how I do it…in a design program or in design space I overlap a straight letter, like a lowercase l, to connect the floating part to the outside, making the overlap line just large enough to connect the two. In my experience two lines is better than one to hold the center pieces in place for your o,e,d,a,etc. Save or weld the letters together then cut. This might be easier to do in a design software and them upload to design space and cut. I hope that helps!?
Thats kust great Kim, we’ll give it a try. Thanks!!
What is the contact paper used for
I use it as a one-time use stencil that I create myself – this way you can make whatever you want, whatever size and font and it is the least expensive method I have found.
I want to cut a letter out of vinyl. I have a cricut expression. I need the letter to be 31/2 inches in height and 31/2 i ches in width. It is only cutting them 5 inches in width. Can I change the width? Thank you for your help.
yes you can change the size, you need to resize your letters in Cricut Design Space. When they are on the screen you can size them however you want, yours are set to 5, so highlight and drag them down smaller…hope that makes sense?
Fairly new to Cricut. Need to make a stencil with three lines of text for a 10.5″ X 72″ sign. I have read many articles and watched many videos in trying to figure it out. You offer, by far, the clearest instruction I’ve seen. Thanks.
yay – so happy to hear that, let me know how it turns out!!!
Hi Kim. Thank you so much for explaining in basic English. Very helpful. I am brand new with my cricut explore air 2. I want to print word on wine glasses. What kind of adhesive clear vinyl or stencil paper do I use for this. If not adhesive how will it stick to glass. Basic right.
Chris
So glad this helped. If you are cutting letters for glass the basic adhesive vinyl will work. You can get it where they sell craft products. I typically order mine online through a different source because they are. Header and I’ve had really good results with them…take a look at expressions vinyl online. Just go for it…you ha e to play around and be willing g to mess up but you will have the hang of it in no time!
Thank you so much and for answering so fast!
Chris