The number one questions I get on the blog is “How do you make your homemade chalky paint recipe?”. 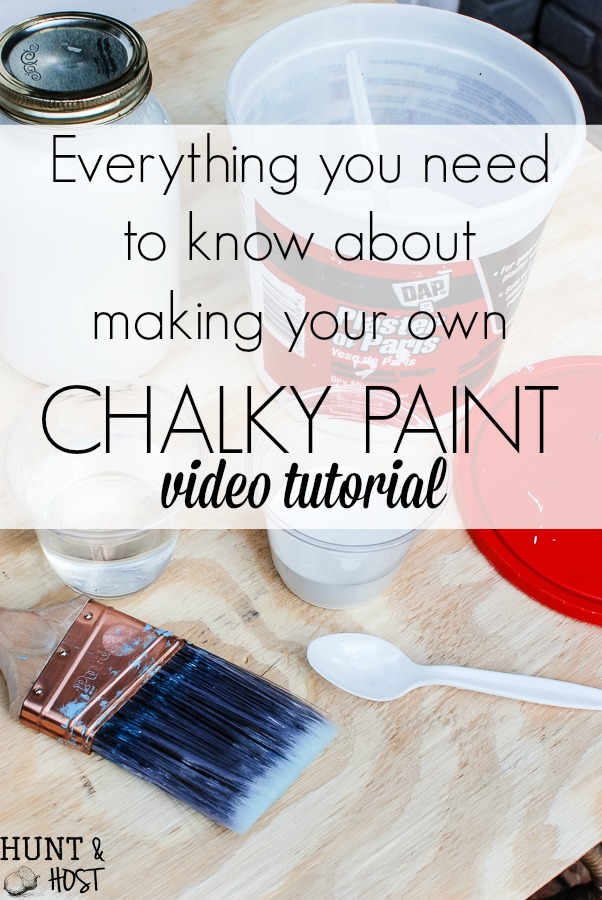 I’ve used the same recipe to make my own chalky paint for years. Here is a short video to show you how I mix my own paint followed by tips on how and why I use it. Please let me know what other questions you have so I can add them to the list. Thanks to DAP for sponsoring this post!
Everything You need to know about making and using your own chalky paint:
- Homemade chalky paint is WAY more affordable than pre-mixed varieties. You can use what you have at home to mix up your own project paint for a fraction of the cost.
- I use Plaster of Paris by DAP in my mix because it’s not only affordable, but it’s easy to find. You can find Plaster of Paris in your local hardware store, craft store or buy it online here. (*affiliate link)

- You can use a variety of colors instead of being tied into a limited color palette. If you have a hard time picking out colors, pre-mixed paints might be the way to go. The commercial lines of chalk paint available, like Annie Sloan, have gorgeous colors. I just don’t always want to use them. Mixing my own paint gives me freedom to use the colors in my home exactly and to make small batch mixes for little projects. I may not want to buy a pint of red paint for a Christmas picture frame, but I can easily mix up a small batch of paint with red acrylic craft paint I have on hand.
- I mix Plaster of Paris with latex and acrylic paints. Craft paint or leftover house paint, whatever I have on hand works for me! I have not had great success with eggshell finish latex. I would stick to flat finish, but you might give it a try! All paints are different so it’s worth testing out by stirring up your own little batch of chalky paint.
- “Oops” paint is a great way to get good paint at a low price. “Oops” paint is what you will see on a little side shelf hiding in your local paint department. When someone mixes a color they end up not buying for whatever reason (usually they don’t like the color) the store puts it on a deep discount. You can even have it re-tinted to the color you want sometimes. Your local hardware store paint person can point you in the right direction, just ask. Then go home and mix up your super cheap homemade chalky paint!
- I use this recipe because it’s so durable. Chalky paints have a small cure time to them…about two weeks and the paint will actually harden and become more scratch resistant. Be careful at first not to leave wet drinks on furniture or heavily scratch surfaces. With three kids, a dog and a cat we put our stuff to the test and this is a winning recipe!

- Little to no prep. Chalky paint really does stick to just about anything, I have painted wood, metal, plastic, glass, brass…tons of stuff, with great results. You do want to make sure you start off with a clean surface and repair any major dents or scratches. It never hurts to dull a shiny surface with sandpaper before application, but it isn’t necessary. Shinier surface will require more than one coat for good coverage and I find they benefit the most from be cautious in the cure time.
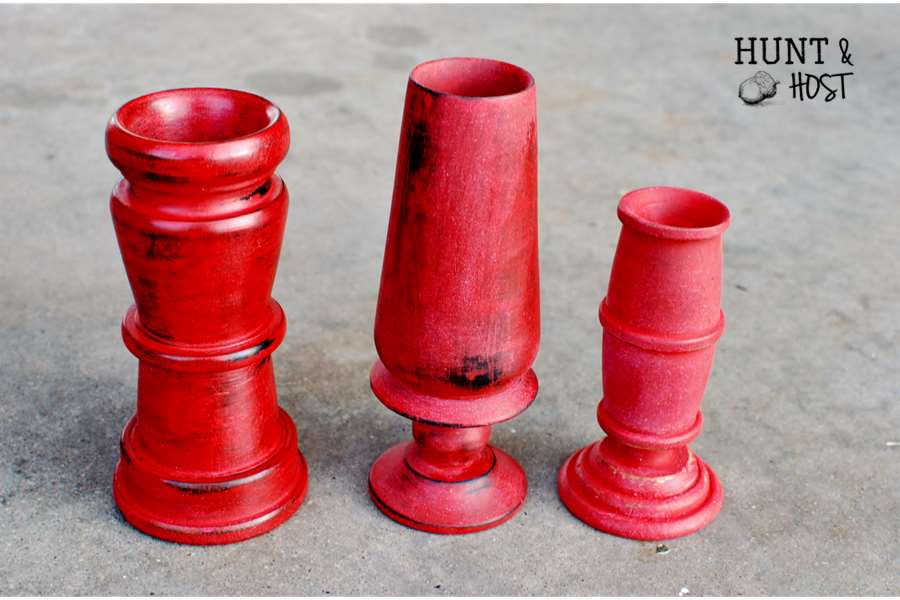
- Chalky paint gives you finish options. You can leave the paint as is for a dull, matte finish. My favorite finish is wax, for a slightly different sheen that makes your pieces look professionally done. You might want to try a polyurethane finish for a light gloss to high gloss finish. It’s always nice to have options! In this picture the first candle stick is waxed, the second distressed with NO wax and the third is chalky paint only.
- When applying your paint sand lightly in between coats. It helps give a super smooth, well adhered finish to your project.
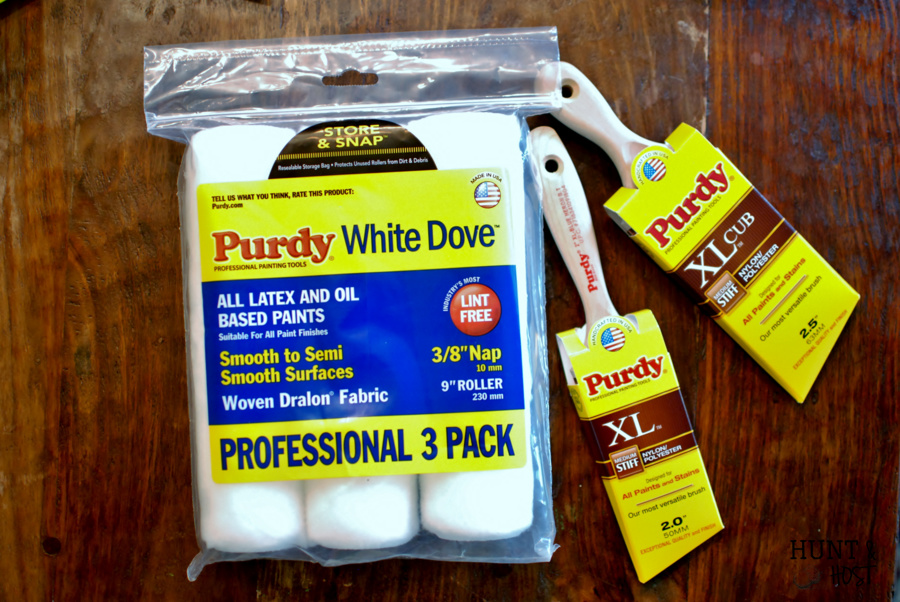
- Your brush matters. Use a good brush and your job will look better and be easier. I use Purdy Brushes in a medium stiffness.
- This is a flexible recipe. Most of the time you will want to mix in a 3 part paint to 1 part Plaster of Paris ratio, but be flexible. You don’t need to measure anything exactly, learn to get a feel for your mixture. If the paint gets to thick add some water, if it gets to thin add some more paint or Plaster. You want the texture to be similar to what you started with! Remember the mixture will thicken slightly upon standing, so start a tiny bit thinner than you think you should.
- When not using your paint store it in an air tight container, like a glass jar. I typically only mix what I am going to use. BTW – I always store some household touch up paint in a glass jar where it is easy to store and use quickly verses having to head out to the garage to find the big nasty can of paint. (I have more household painting tips here!)
- In between coats, when you walk away from your paint project for a little while, cover your paint dish (brush included) with a damp rag. This will hold in moisture and keep your paint fresh. You can even store it like this in the fridge overnight if you can’t get back to your project in the same day.
- Chalky paint goes further than you’d think. I often cover a small dresser or desk with about 4 to 5 cups of paint mixture.
- Don’t be scared, paint can be removed!
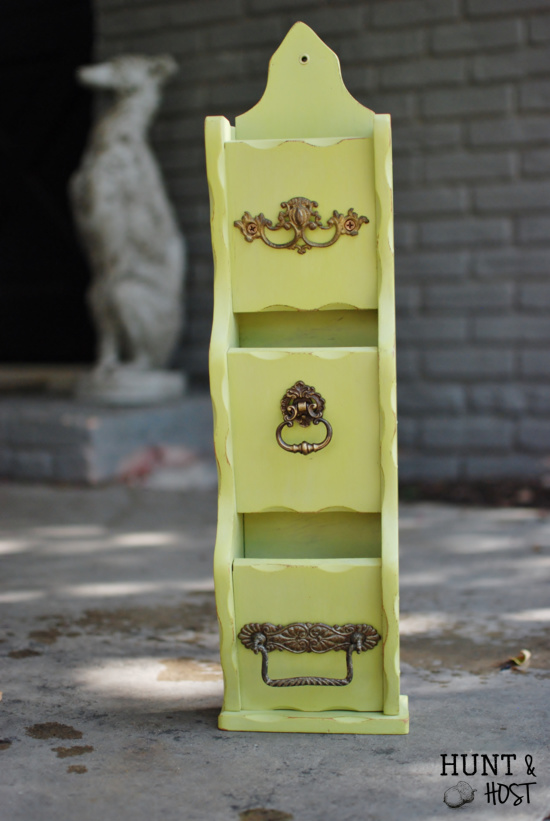
Here are a few project you can check out to get you started or click on the pictures below to see more about the projects shown. The transformations you can make with this paint recipe are amazing. Please let me know if you have any additional questions. Be sure to pin this post for future reference!
Get started here for an easy project and a FREE giveaway.


what kind of wax do you use?
I use Annie Sloan’s wax, because t’s what I tried first and I am used to it. One can costs a good amount but it lasts along time, use it sparingly. I have heard good things about the furniture waxes you can get at the hardware store like Minwax finished, etc. I just haven’t personally tried them. When you wax brush a small amount on then buff with a clean cloth. Work in small sections. Let me know if you have nay other questions!
This video is awesome. You made me want to paint something!! And I liked how you stored the paint in jars you could see color through. Congrats on your 1st video. You’re my DIY star.
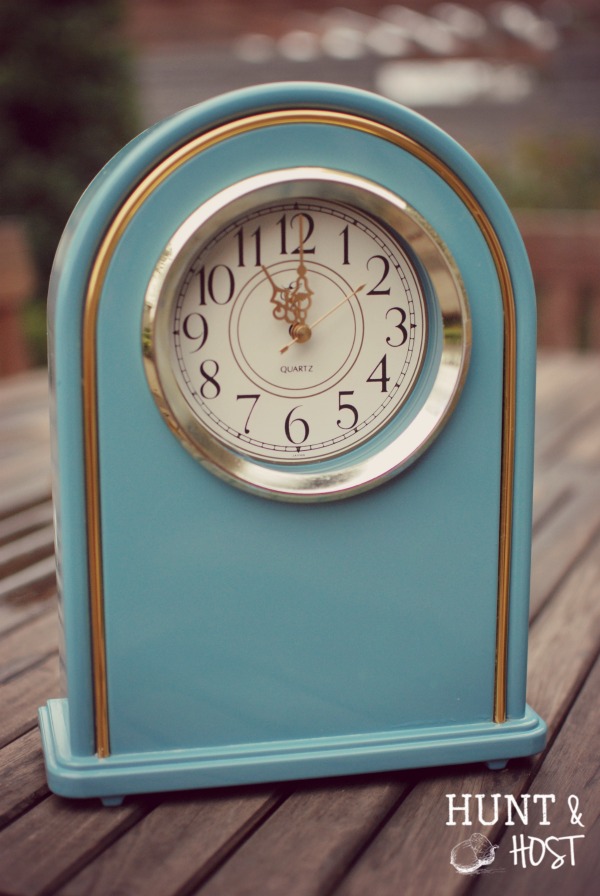
PS That blue clock is a favorite!
Thanks DI – it really is SO easy!!!
This is perfect! I needed inspiration!!! Thank you, girlie! Xoxo
Love your scriptures,best way to start our day.
Also all the tips on painting, keep up the good work
GOD BLESS >
This was a good video and i enjoyed it now to try. Have a great day.
Thank you thank you thank you!
I find that a lot of recipes online tell u to use a cup or 2 of paint, and a certain amount of Plaster Of Paris, etc… But, I always found, most times, I either didn’t HAVE that much paint, or I didn’t need that much of a particular color, and may not need it for a long time, and knee it’d go bad. I found, by experimenting, I coukd put as much paint as I needed, then add my plaster then drop the water in a little at a time, so I’m do glad I saw this, where u show the consistency, and say just that… Not all paint is the same! I’ve gotten some acrylic paint at the thrift store I work at (well, volunteer, but we work hard, & the pay is getting to purchase stuff the day we work, for half off!) and it’s been a bit watery, to the point of, if I only need a little bit, I don’t even have to add water! I just kind of guessed the consistency, so this helps! Thanks and great blog, I found a while back, bookmarked, but just now got to take a long look! Def signing up to follow via email!
Can you only use flat paint to mix with Plaster of Paris? Also how do you think this would do on formica countertops that have been painted and glazed over, maybe with resin or poly?? I know I would need to sand a lot before painting?! I want to do my countertops black.
Hi Vickie – I haven’t tried this exact application so I can’t say with 100% certainty. I have used it on laminate furniture with success, however that high of a traffic area might make me nervous. There are some very good products available specifically for painting laminate and I would suggest searching some of those out. I wouldn’t want to test things out on my kitchen countertops! furniture is much easier to re-paint if the desired outcome isn’t met! Good luck and let me know what you decide on!
Does this recipe can be used also with a spray painter or do you dilute is with water?
dilute with water and yes you can spray it, sometimes it will spit a little, but it sands out nicely, try to thin it pretty good though, and mix well!
I love your black dining room wall! The color we are painting our dining room right now is Agreeable Gray from Sherwin Williams. I’m doing my first caulk painting project (the dining chairs and table legs). Painting has been easy buy I’d like them antiqued or distressed but it has be a problem. Wish I had your experience with this. Four chairs were blonde and 4 cherry, Now painted off white, but can’t sand because of different colors showing through then. I’ve been trying on sample boards to get a good aging look but don’t have it down yet. Maybe I’m trying to hard 🙂 Love your website. Love that you are a sister in our Lord. Thank you for spreading His word on your printables!
you should try ageing the furniture with a dark wax or even am antique glaze. That way you get the distressed, aged feel with out the wood showing through. I bet they look great!
can this be used on paneling my whole bedroom is paneled i want to paint it
Yes – I think it would work great!
I am so thrilled I found your site! I have a buffet that was painted in this way, and I want to do my armoire. Do you suggest priming it first? Or just sanding it down. It was stained first. I also have a blue bench that was stained and want to do it with some leftover yellow paint with your recipe but don’t see that you prime anything first.
I love your spirit! God bless you!
I’m so glad you found me too! If a surface is super slick I will sand a bit, but with chalk paint I usually just clean the surface really well (try Simple Green cleaner maybe) and then paint it on! The paint hardens over time but you should be good to go, might take 2 coats with a heavy stain base! have fun!
What a surprise when I saw that you answered me so quickly! Thanks so much! I did go out and buy the Plaster of Paris, and am going to get a Wagner sprayer soon too. Think it would work well on a wicker chair and table I want to paint. Yep, I have lots of projects but its really snowing so will have to wait til spring probably to start them. The good thing about that is I found this GREAT BLOG to enjoy until I can actually start my projects. Love it! Have a Blessed day!
Do u recommend only using flat finished left over house paint? I saw your comment about eggshell not working out too well. Have you tried using any other finish such as semi gloss or gloss. Curious what happens once plaster of Paris is added or if i should just stick to flat finish paints.
Thanks!
I get the best result with flat, but you can mix a small amount and test it on some scrap wood to see, different brands might work differently, I’d love to hear how it goes for you!