St. Patrick’s Day is a fun little holiday to throw around some green cheer, but it doesn’t need to be a budget buster. This dollar store St. Patrick’s Day banner DIY is the perfect addition to your Paddy’s Day decor. It’s quick, easy and super easy on the pot of gold.
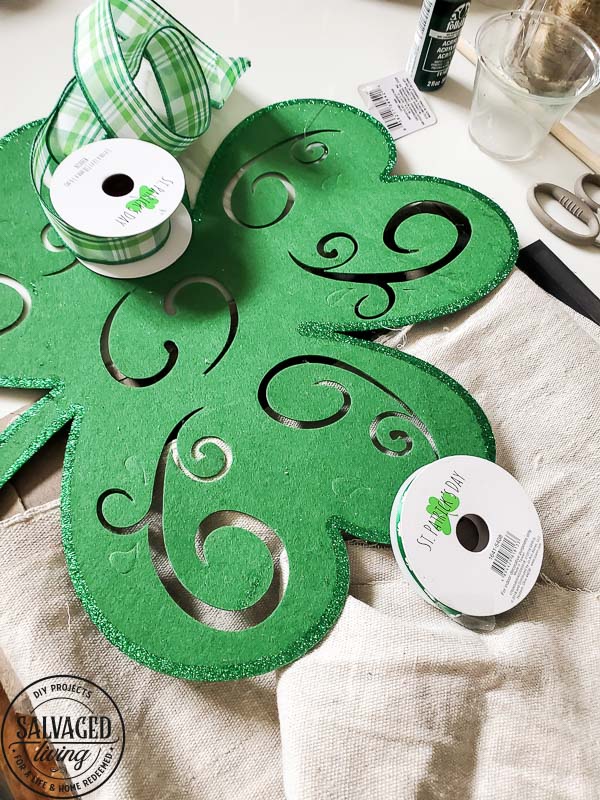
You need a few simple supplies to make this cute little banner and you you can really make this your own. I used a felt shamrock that I scored at The Dollar Tree, but if you don’t have one don’t fret. You can free hand a shamrock or find another item to trace.
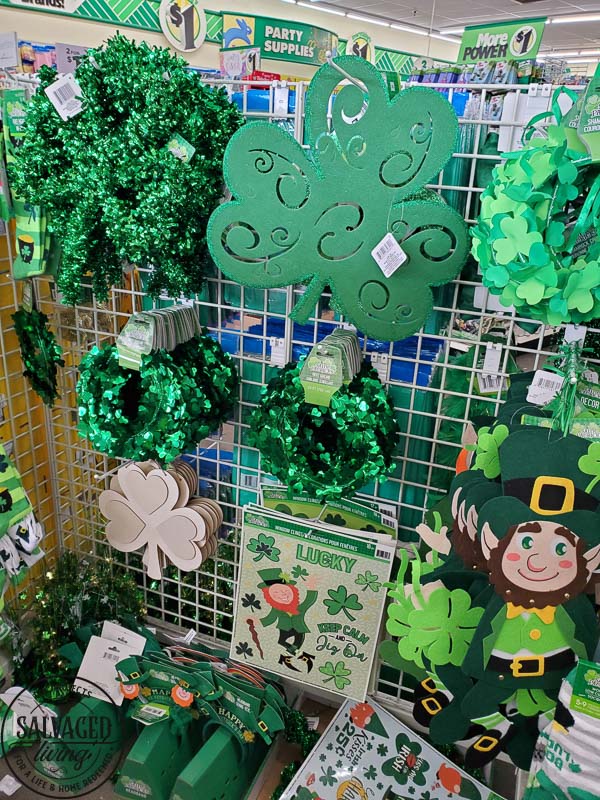
- Watch the video for a cute tutorial or here are is the step by step.
- Cut a piece of fabric or cloth (I use drop cloth – I love it!) large enough to accept whatever stencil you are using.
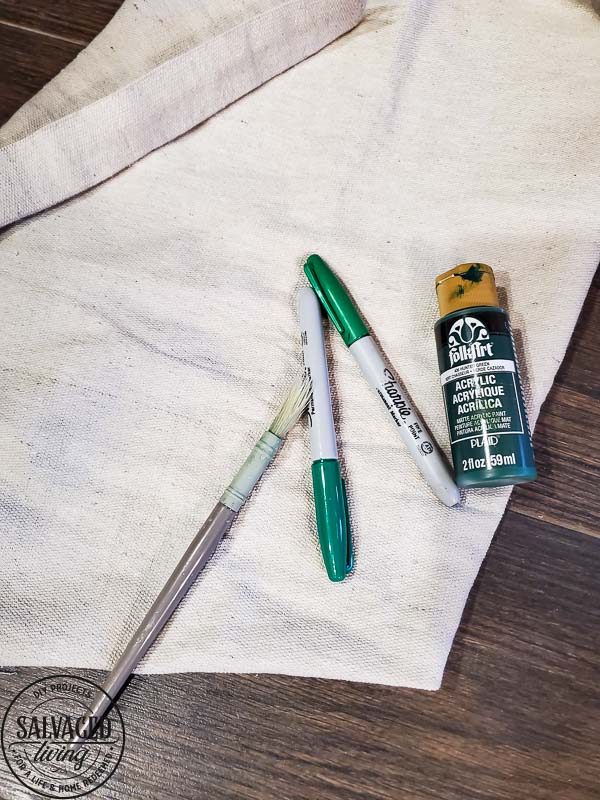
- Trace the shamrock with a Sharpie. I traced the patterns on the inside as well, you can add your own if you want.
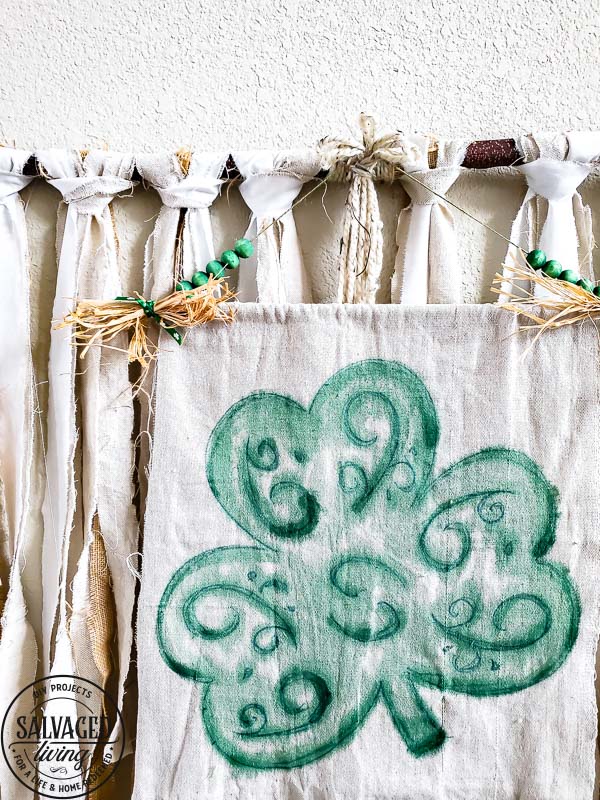
- Next water down some acrylic craft paint and paint the shamrock. You don’t want to paint it solid, leave some cloth unpainted. If you get the Sharpie marks wet with the paint they blend and bleed for a softer effect.
- Fold the top of your fabric “canvas” over a dowel rod or stick and glue it down, creating a pocket.
- Add painted beads, raffia and ribbon as a hanger to the rod on top. I used jute string tied to the dowel rod.
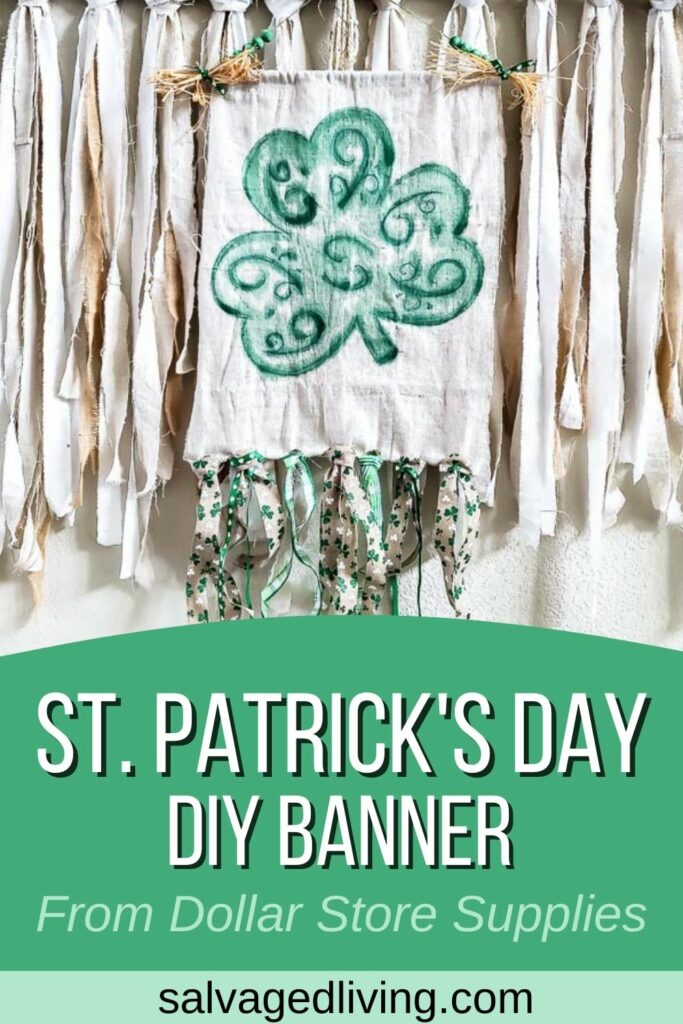
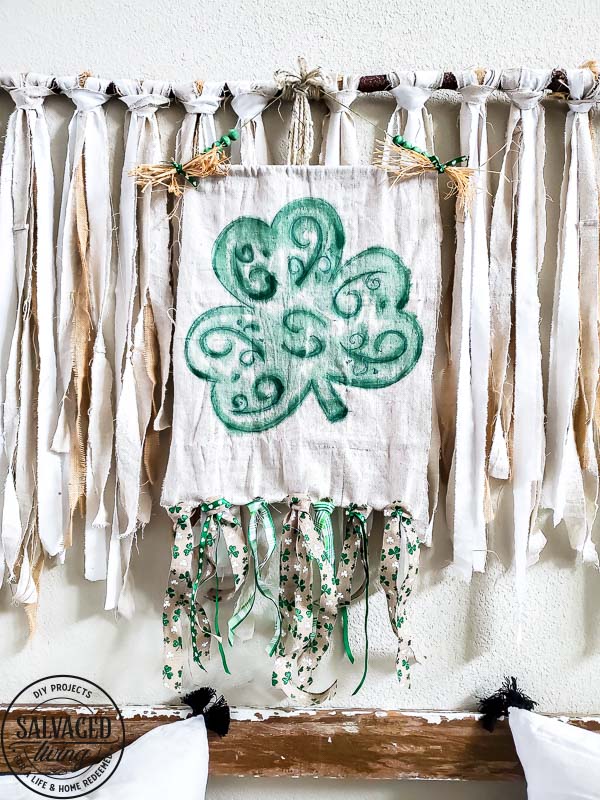
- Cut small slits in the bottom of your banner. Thread ribbon in each hole to make a ribbon fringe on the bottom of your banner. Mix and match ribbons for a fun look.
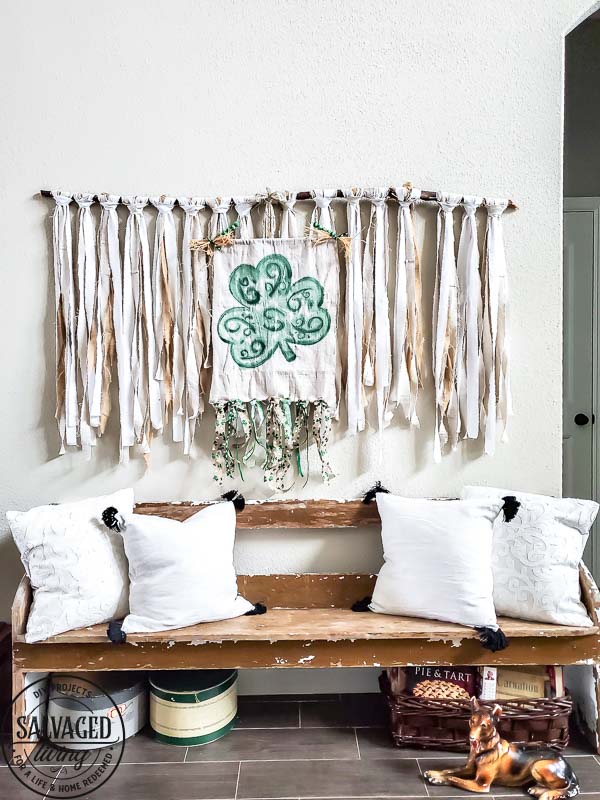
- Hang and enjoy.
- Looking for a few other easy St. Patrick’s Day craft ideas? Try this Dollar Store Wreath Makeover or you might like this Table Runner Idea. These felt Shamrock’s are a cinch to make as well!
I hope this easy little project is fun for you to create and helps your cute house from getting pinched. 😜 I’d love to see your creations – tag me! xoxo


Leave a Reply