Anyone else want to know what to do with a dog crate in their living room? I made a dog crate tabletop and turned our eyesore into furniture! If you can’t beat it – transform it!
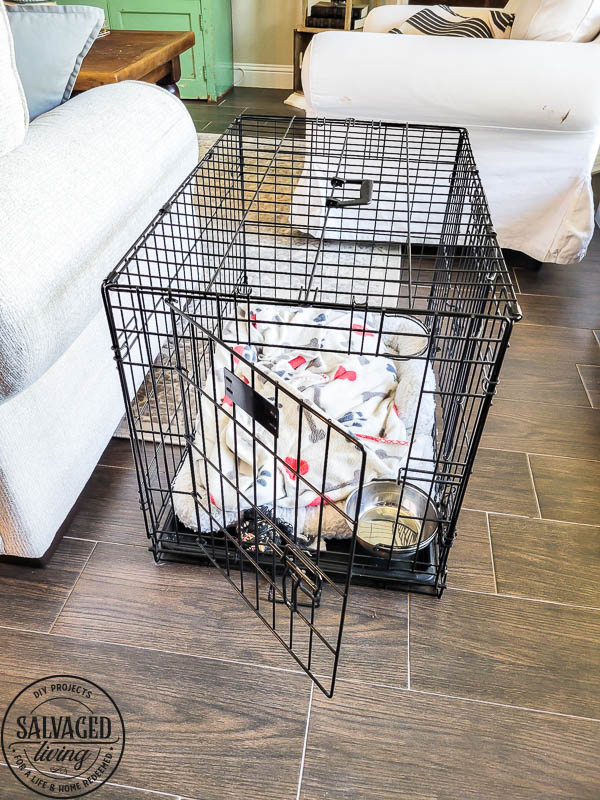
It’s safe to say that our dog, Oliver, is beyond well-loved. For real, I’d take a day in his life anytime. He is spoiled rotten and rules the roost over here. One small problem is I can’t always trust him when we leave the house. He might have some bathroom issues, but I don’t want to talk about it and embarrass him. Needless to say,a crate is a necessity for little Oliver and he actually doesn’t mind it one bit.
But I do.

Because his kennel is in our living room and throws off the whole pretty living room vibe I have going on, which drives me crazy some days. When I rearranged the furniture and got a new couch I decided it was time to embrace the kennel and incorporate it into the decor. We wouldn’t trade Olli and that adorable face for the world, so I might as well work him in right?
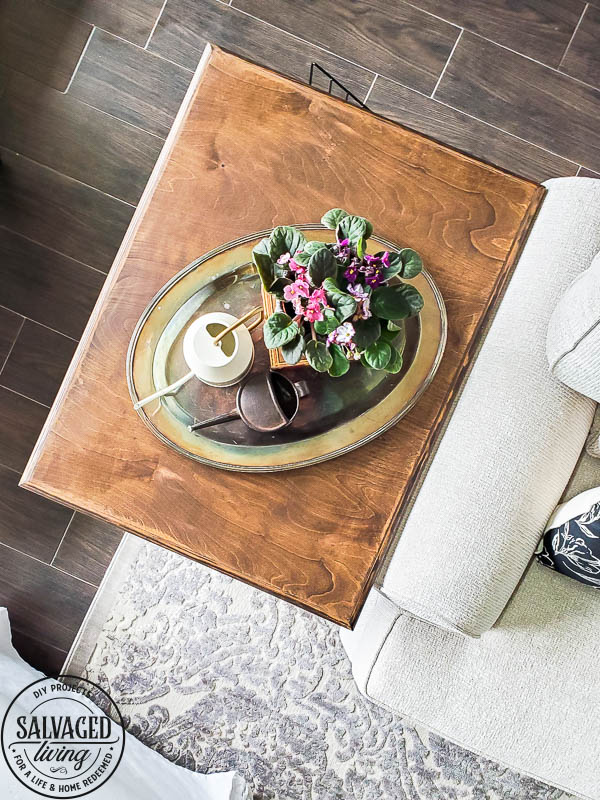
I decided to make an easy tabletop for his crate and I am so glad I did. We needed another end table anyway and this little DIY furniture project kills two birds with one slab of wood. You could make this same concept to fit any kind of pet crate of kennel you might need to camouflage in your home and I really hope the simple idea helps you overcome this common decorating dilemma.
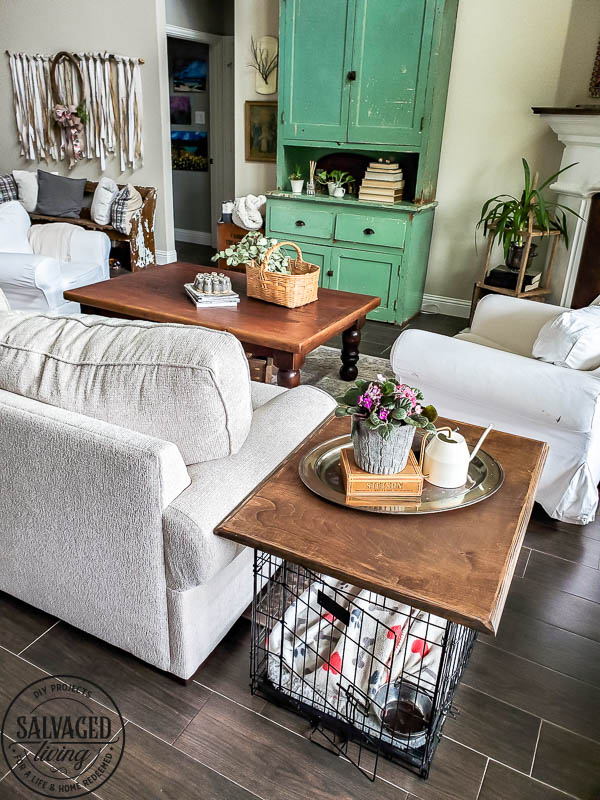
Here is how I made a tabletop for our dog crate:
Dog Crate Tabletop Tutorial
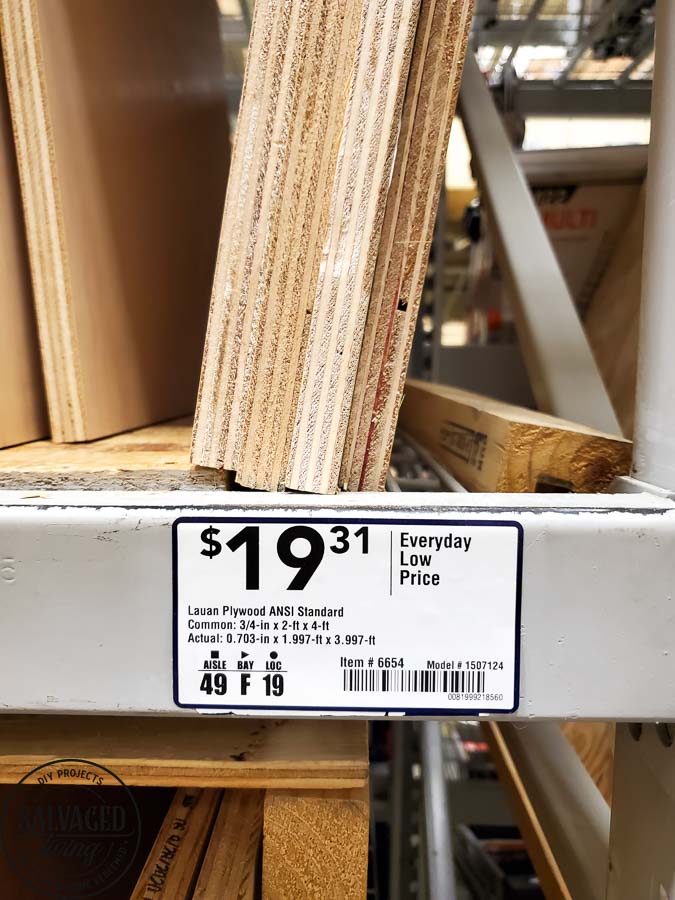
- Get a nice slab of wood, slightly larger than your kennel. You may need to visit a lumber store if you have a large crate. I used 3/4″ Plywood for mine.
- Select trim. You will need four pieces each as long as each side plus a few inches to allow for a miter cut. If you are new to this, buy extra so you can mess up!
- Cut your wood on a table saw to fit slightly larger than the crate top.
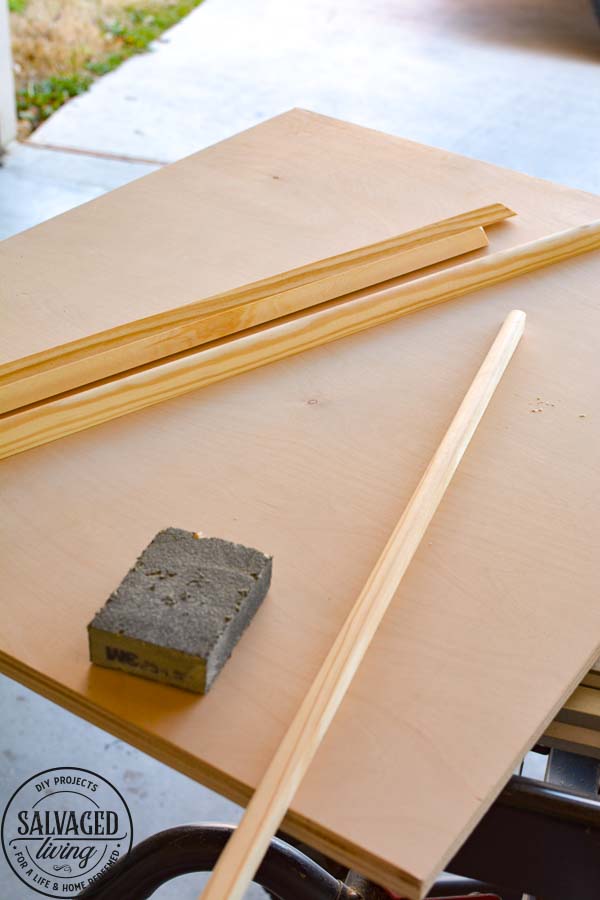
- Cut your trim with a miter saw and 45 degree corners. Measure twice, cut once – getting the length can be tricky when you are new to this. You always want to match the short edge to the length of your tabletop piece.
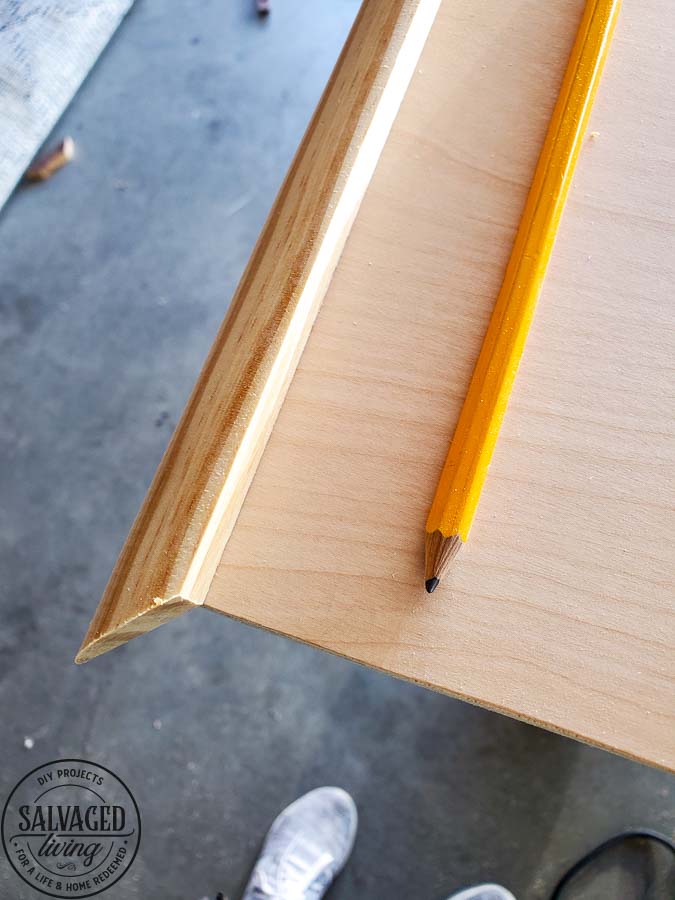
- Use wood glue to attach your trim and then secure with a finish nailer.
- Use wood filler to fill the gaps and corners. Allow to dry completely.
- Sand to a smooth uniform finish. Be careful not to over sand your tabletop surface, it might be a layered wood and if you sand the top layer through, it won’t be the same texture and won’t stain the same.
- Stain or paint your surface.
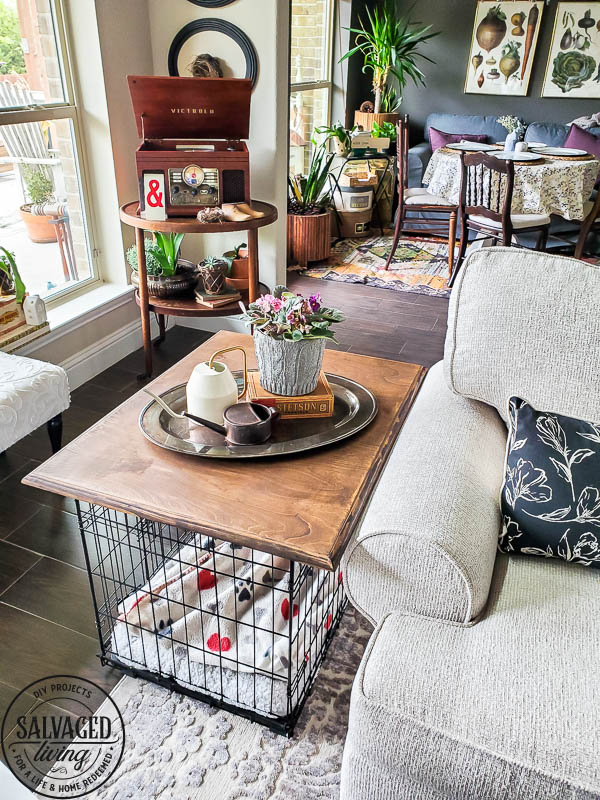
- You can attach the tabletop to the top of your kennel if it is wire using small U brackets for sturdiness.
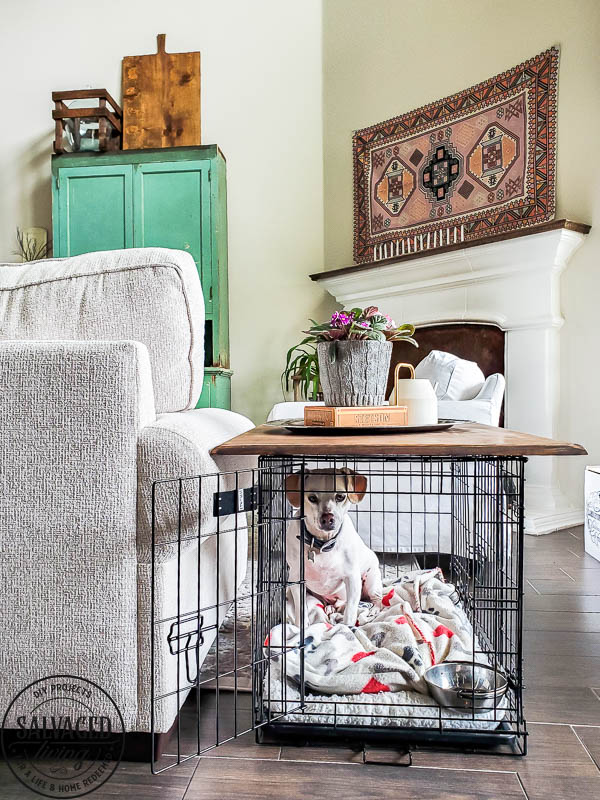
Now at least if I need to have Oliver’s dog crate in the main living room, it is useful for friends – furry or human! I have a bunch of other pet friendly DIY’s for you like Oliver’s burry bed, his upcycled bow tie, a stairway gate and pet bowl ideas.


This is just such a great idea with a great looking finished product! It reminds us all to chose to see the good, the potential in all things. Thank you!
Thank you ANgela – i apprecaite that so much!
I have a pink dog crate in my living room!
It’s really not needed, but it’s where my little dog likes to nap.
I found a large galvanized metal tray that fits on top & draped burlap over it (except for the front). It camouflages the cage & softens the look.
Thanks for your great ideas!
I enjoy your blog!
they love those small spaces sometimes, feel safe. Glad you made yours work for you!
Such a great idea and concept for turning a negative into a positive. Thank you for sharing.
thank you – he is worth it 🙂
Are your floors wood look tile or vinyl plank?
They are wood looking tile!