Once you see how to make these DIY stockings from cardboard, you won’t even be phased by the expensive decor being shoved in your face all day, every day on social media. You DO NOT have to spend hundreds, or even thousands, on your Holiday decor to make it beautiful and cozy. All you need is a little time… and cardboard. Let me show you exactly how to whip up these DIY stockings from cardboard for a budget-friendly Christmas… that’s JUST as cute!!!
what you need
- my FREE stocking template – Click to download
- cardboard
- scissors
- hot glue
- sharpie
- paint colors of your choice
- drop cloth
- hole punch
- jute twine
how to make diy stockings
- Download my FREE stocking template (click here to download!) and cut it out. Since stockings are generally a bit larger, the template comes on 2 pages and you’ll just tape it together, so it looks like a regular stocking!!
- Trace stocking out on cardboard and cut it out.
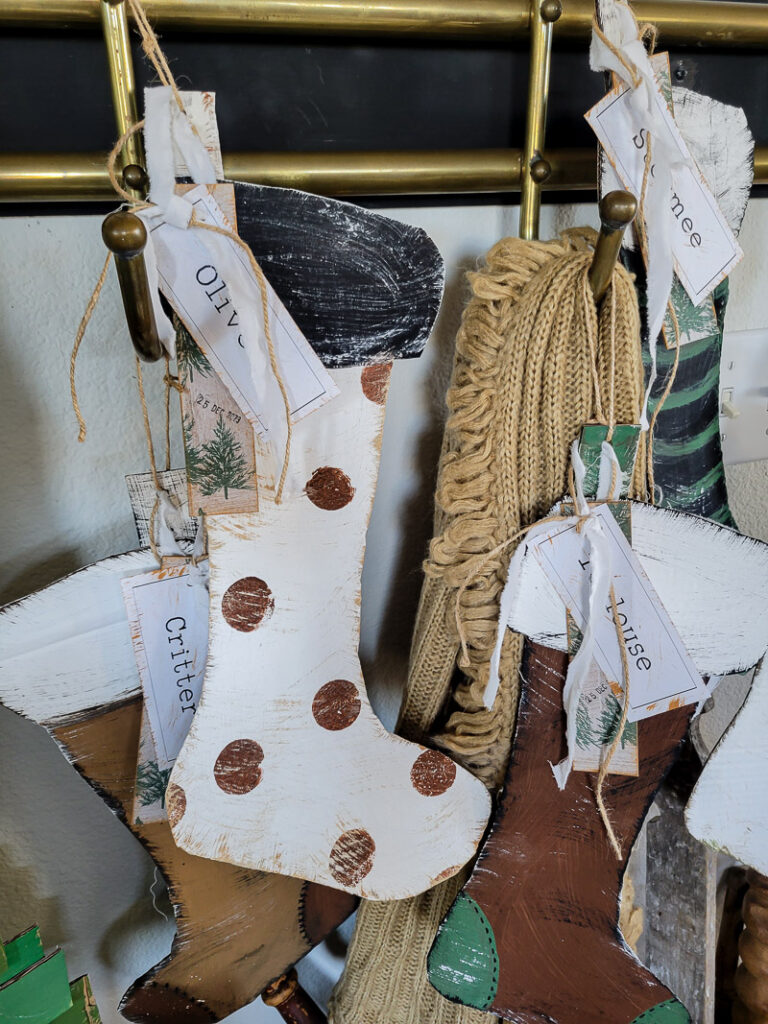
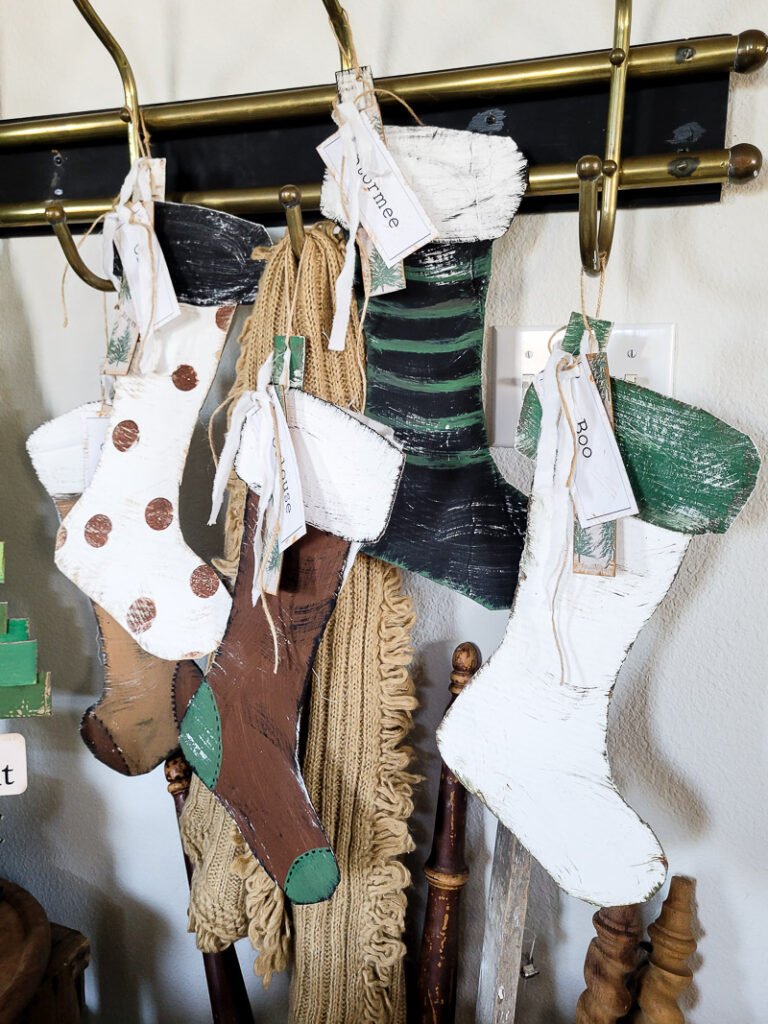
- This is where you have full freedom to get creative and have fun!!! Literally, you can make it look HOWEVER you want! I used reds, greens, and whites mainly. I did one with stripes, one with polka dots, and one just 2 solid colors, but aged up a bit!! There’s no right or wrong here! I also used a sharpie to add a stitched look and other accents!
- Take a piece of scrap cardboard and cut it into a rectangle, about 1×2 inches or so. Use the hole punch to create a hole and then attach it to the top of your stocking, hot glue on the front of the rectangle, but attached to the backside of your stocking. You want the hole at the top. You can paint these piece however you want as well, likely matching your stocking design in some manner.
- I used jute and a strip of drop cloth to attach a gift tag (tutorial linked HERE) and a name tag. Run the jute and drop cloth (or whatever you choose) through the hole in the rectangle that you just glued on. You can also attach tassels, bows, whatever you’d like! Then, run another piece of jute through the hole, not attached to anything. This is how you’ll hang your stocking!
- Lastly, if you’re going to ACTUALLY use it like a stocking is used, you need a pouch. Cut a piece of drop cloth that is larger than the back of your stocking- you want it to be big enough to actually fit things into. Use hot glue to attach the sides and bottom of the drop cloth to the cardboard.
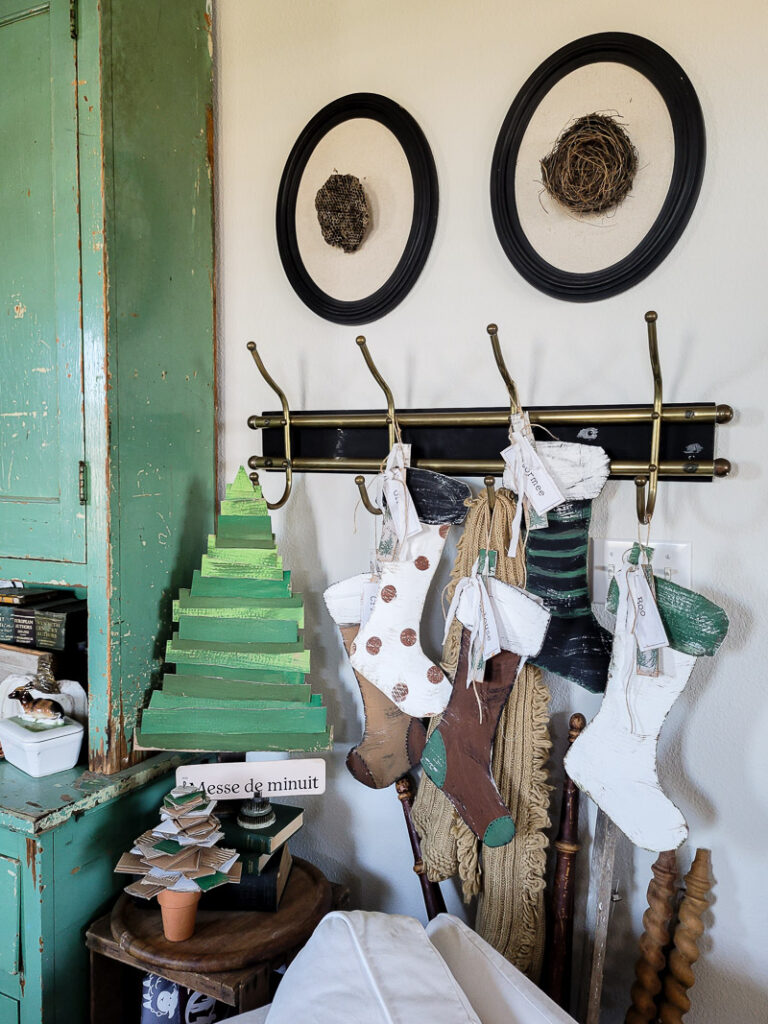
That’s LITERALLY all there is to these DIY stockings. They’re super budget-friendly, easy-to-do, and beautiful!!! You can customize them to be exactly what you want for your space.
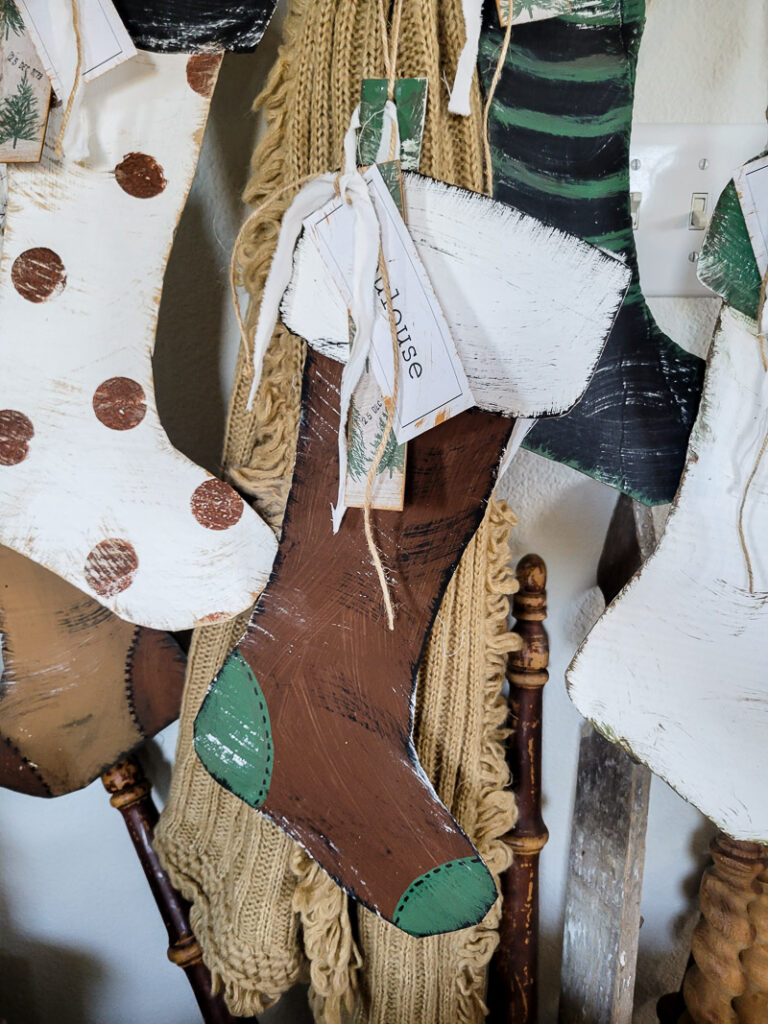
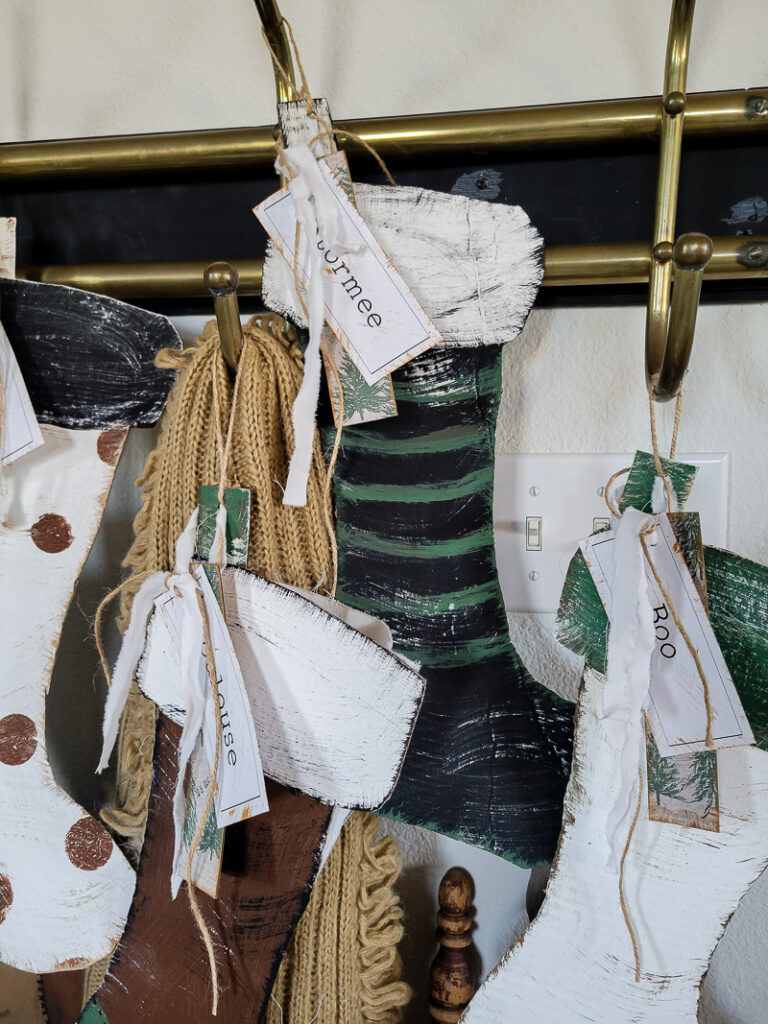
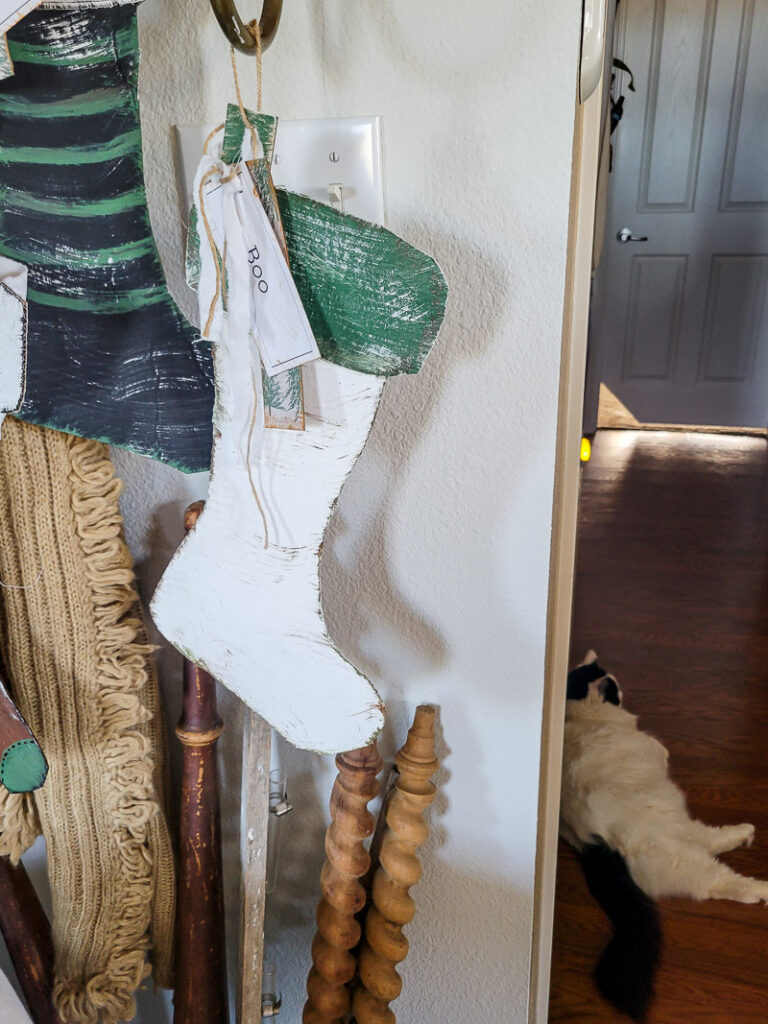
This is also the perfect craft to do with your kids!! Maybe you make one for them, they make one for you, or some version of that! A great way to make memories AND decor, at the same time!!!
Now what’re you waiting for!? Go have fun!!!! Save this fun idea for later:


I cant find the stocking template….HELP!!!
it is highlighter in the blog post in the supply section, click the link to download!