If you have a furry friend that likes to nestle and burrow this DIY dog bed with a burrow blanket built in is the perfect project for you. PLUS – I’m gonna show you how to make it for next to nothing! My Oliver adores his cozy cuddle nest and can usually be found buried in it with just his little nose sticking out. Truth be told, my cat likes to get under the burrow blanket too.
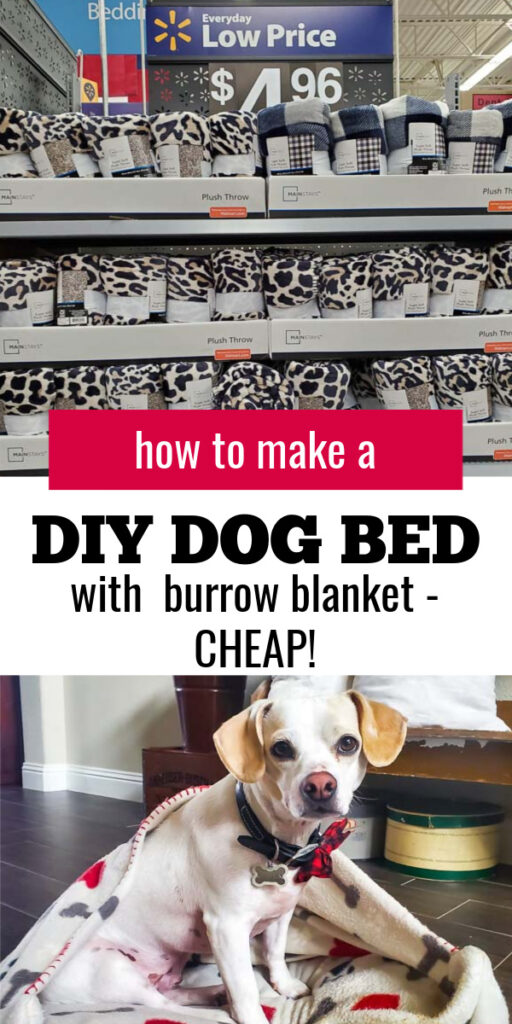
I bought a burrow dog bed for Oliver a few months ago and he absolutely loves it. He is often nestled in it snoozing the day away while I work. He likes to be close but cozy. We crate him often when we leave the house because he has a habit of making a mess and the dog bed I bought doesn’t fit in his crate so I wanted to DIY one that would (and I didn’t want to pay a fortune for another one.) Pardon the stains on his bed, of course he decide to eat breakfast on it and I didn’t realize until I went to snap a picture. No worries – this dog bed cover tosses in the washer easily so it will be good as new in no time.
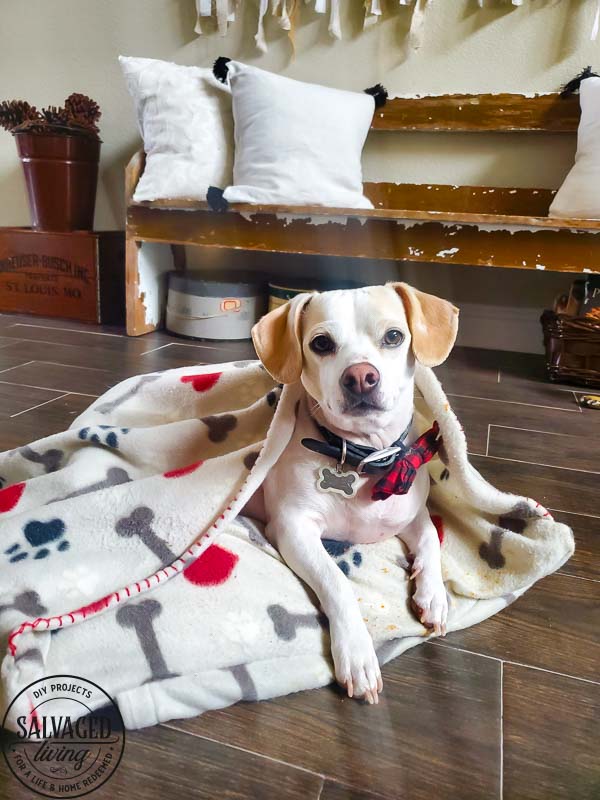
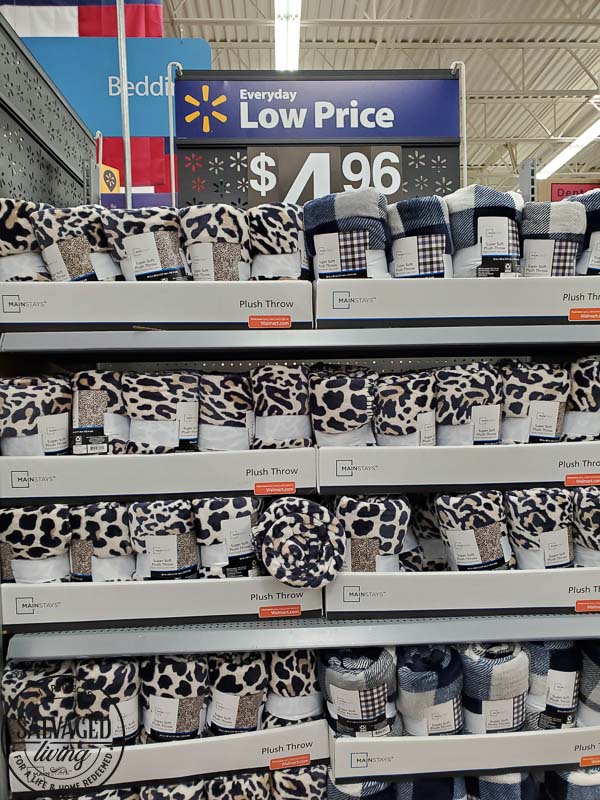
I was at Walmart the other day and saw the cutest $5 throw blankets. I knew they would be the perfect material for a new bed for Oliver. Honestly, you can’t but this much material for five bucks and the blankets have a cute hem stitch on them that makes it even better. Here is the step by step on how to create a DIY dog bed INCLUDING the blanket burrow! Your sweet little friend will thank you for this.
Dog Bed With Burrow Blanket Supplies
- Old pillow – this project used a standard size
- Fleece throw blanket – Walmart has great ones or an old blanket will do. This project used a 50″ X 60″ fleece throw.
- Sewing Machine & Thread
- Scissors
How to make A Dog Bed With A Blanket Burrow
- Cut pattern pieces from your throw. You really can be flexible with these measurements! Best to check your pillow size and go from there. Just make sure you add a couple of inches all around so the cover will fit your pillow when you are finished sewing!
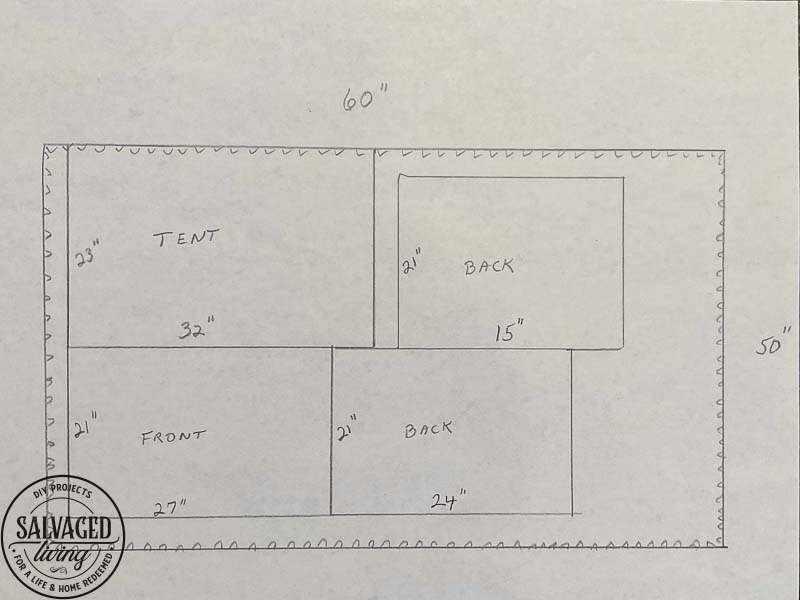
- Turn under the 21” edge of each back piece twice and stitch. This just finishes the edges.
- Next, you will layer your pieces to sew together. Place the front piece, right side up, on your table.
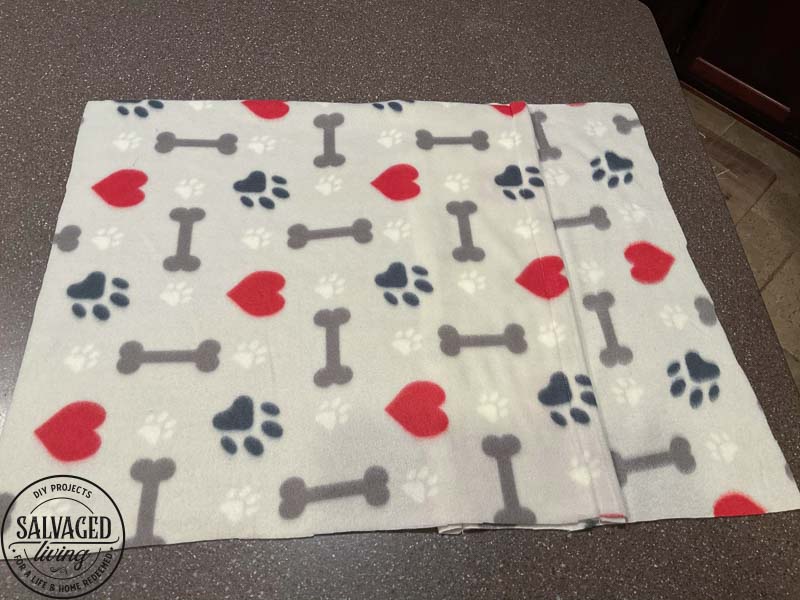
- Then place the tent piece, right side up, on top. You will now move the finished edge about two or more inches from the top edge of the front piece.
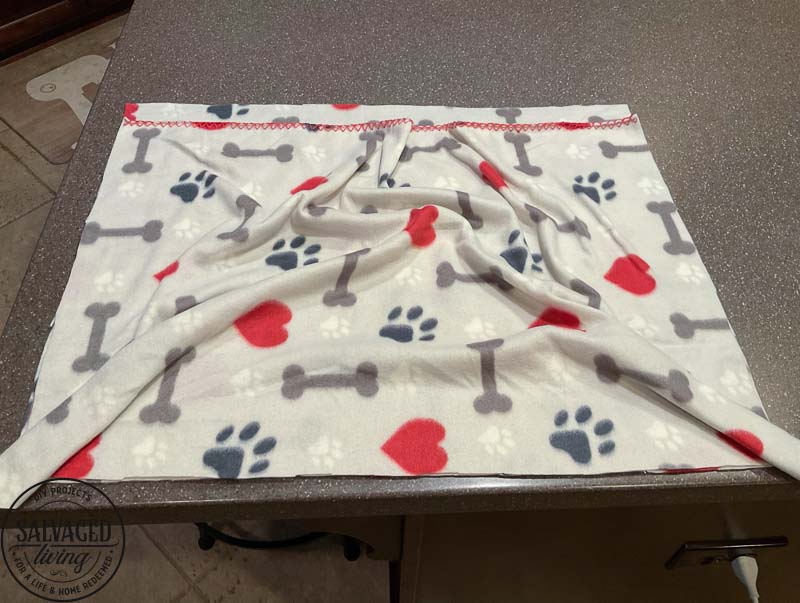
- Next, pleat in the excess to the corners. Look at pic. Then, place the two back pieces overlapping , right side down, on top of the tent piece. Pin in place and sew!!! Don’t worry about the corner excess, just make sure side and bottom edges are straight.
- Turn right side out, insert pillow and there is your cutest doggie bed ever!
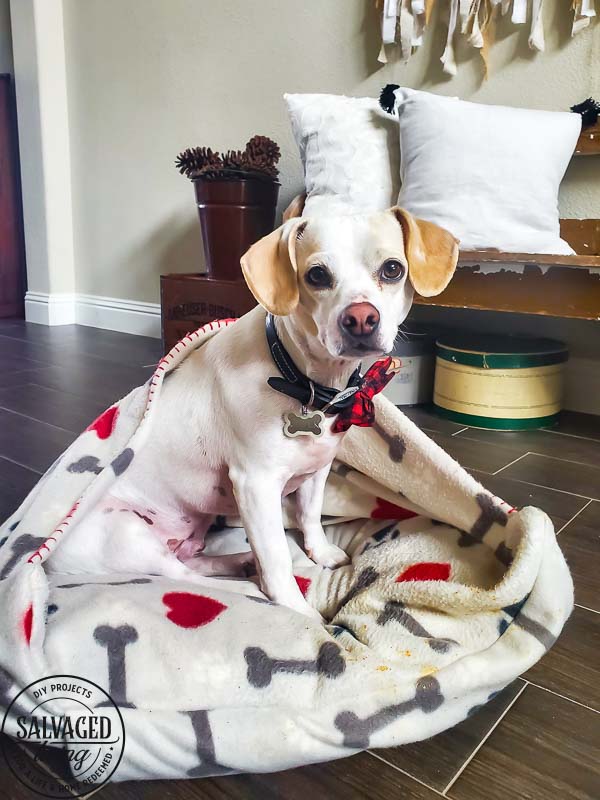


Cute bed! Is Oliver a beagle? He has a beagle face and those soulful eyes 🙂
I don’t know what Oliver is LOL – he was supposed to have Chihuahua and Dachshund in him but I think he has some Jack Russel!
OMG! Thank you for this EASY and adorable DIY doggie bed tutorial. It took me longer to cut out the blanket pieces than it did to sew it together. Best of all, Baby loves it. He curled up inside and took a nap!
yayyy that makes me so happy! So glad your baby loves it, mine sure do!
Thank you so much. My son is doing this project for his dog you just saved me a lot of hassle. Lilly steals all blankets and pillows so perfect bed for her.
Our Oliver LOVES it! Hope it helps you as well!
Thank you so much for sharing this! The pattern is very easy and makes a great bed for dogs. It was exactly what I was looking for!
yayyy – have fun with it!