• Contact Kim
  • Stay Connected
  • Shop Printables
  • Nav Social Menu

    • Facebook
    • Instagram
    • Pinterest
    • Twitter

Salvaged Living

Easy DIY home decor and craft projects for budget home decor

  • Home
  • Meet Kim
    • About KIM
    • Get Kim’s Look
    • Kim’s Bookshelf
    • Kim’s Home Tour
    • Get The House Look
    • Disclosures
  • DIY Projects
  • Faith
  • Home Decor
  • Grow Your Creative Business
    • Grow Your Creative Business Course
    • One on One Business Consulting
  • Classes
Home » DIY Projects » DIY Decorative Balls in a Spring Mantel

DIY Projects

DIY Decorative Balls in a Spring Mantel

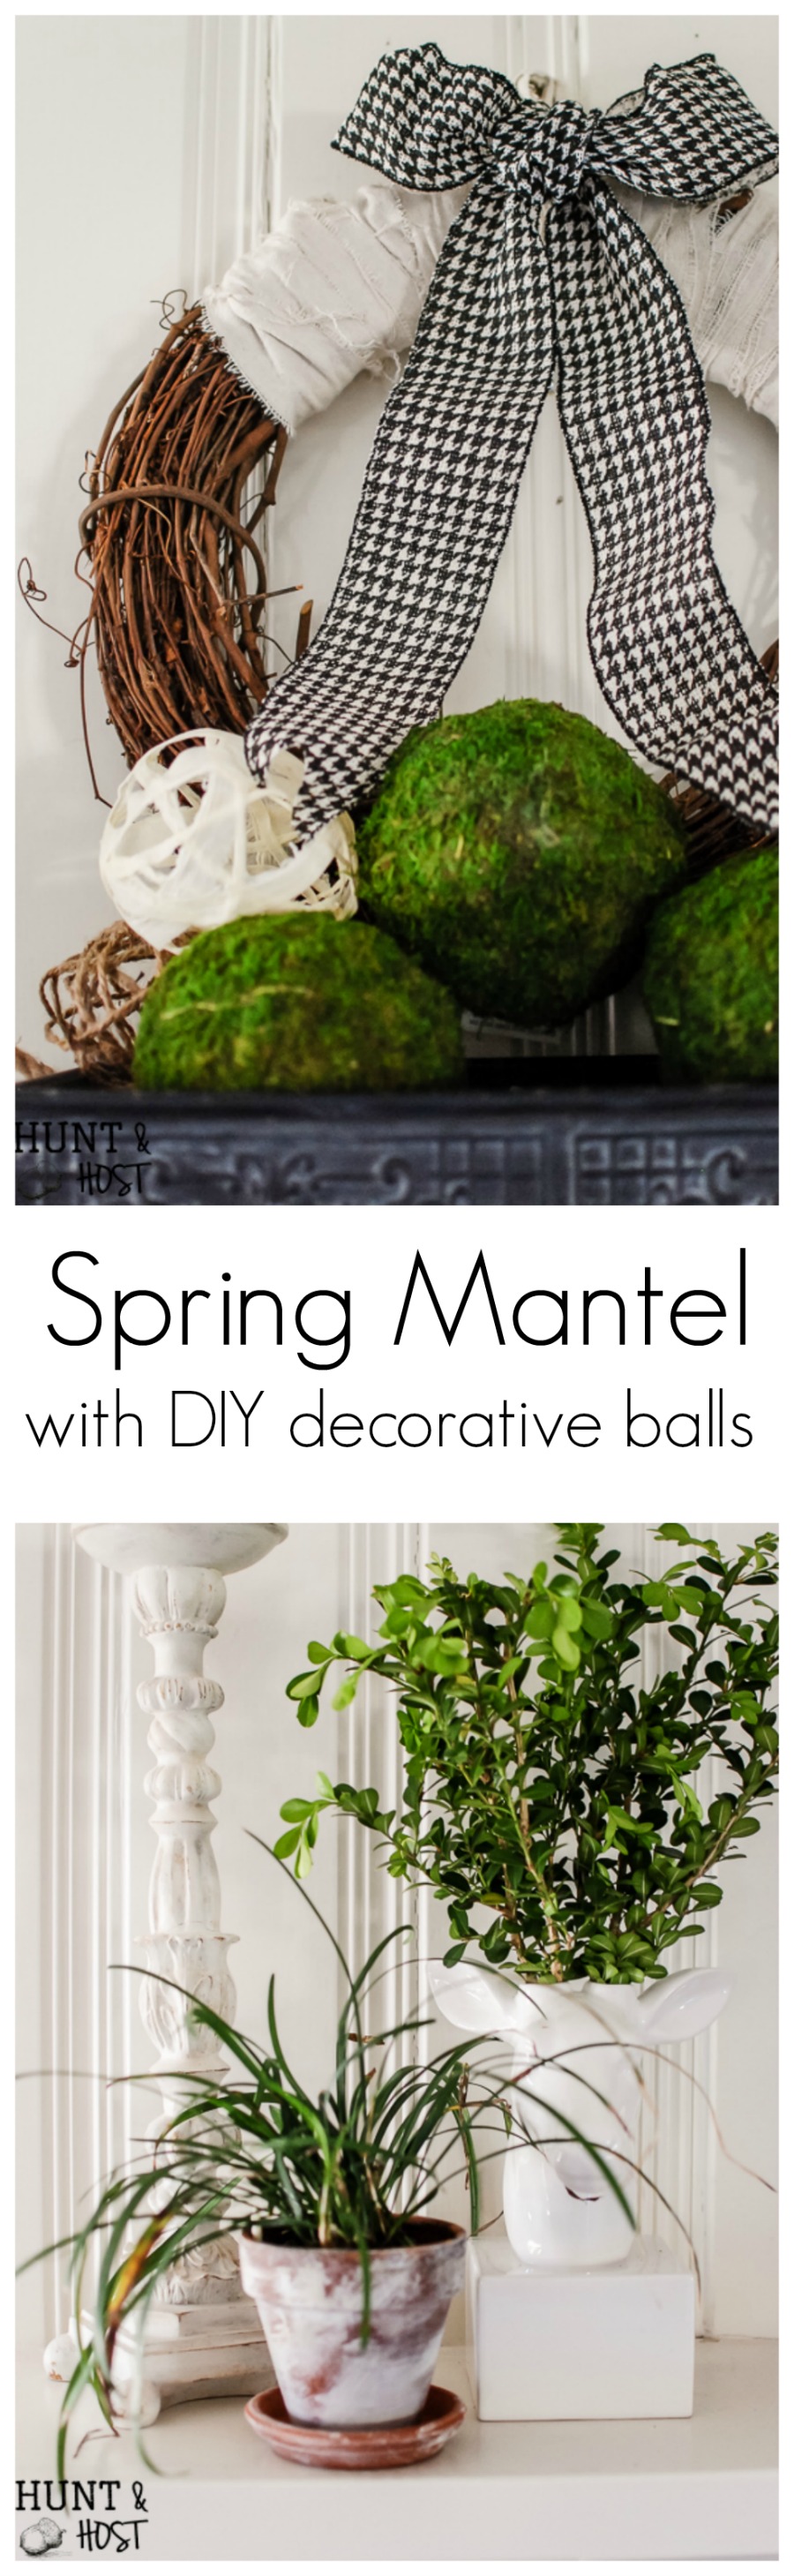
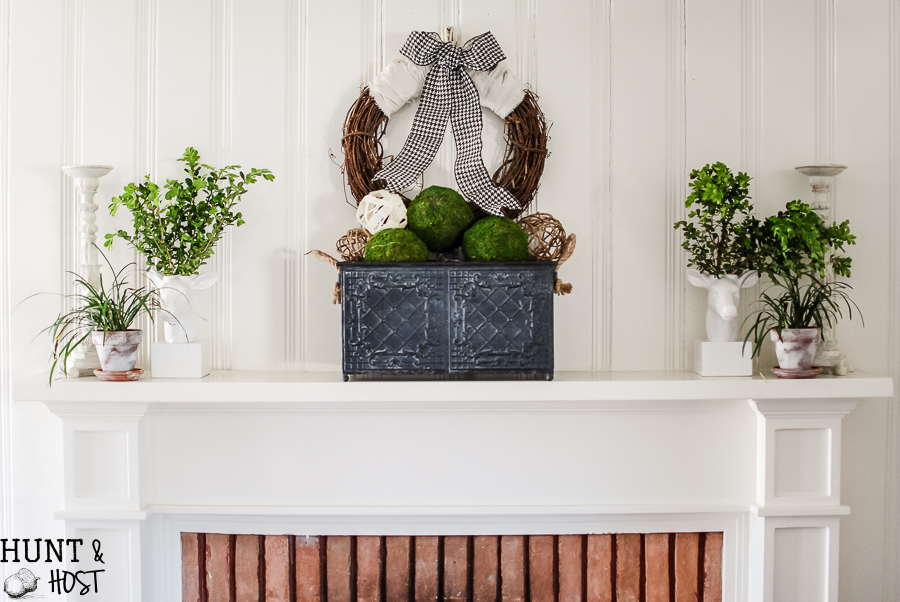
Spring Mantel with DIY Décor Spheres

Today I am sharing my Spring mantel with a DIY decorative ball tutorial. It’s been in the 70’s here in Texas though and all the plants are confused and blooming, it’s a crazy mess of early Spring like weather so I am rolling with it! Who knows, it may freeze tomorrow, that will make for some interesting plant issues. A fresh Spring mantel with DIY decorative balls. Bright, cheery and neutral spring décor you can make yourself!

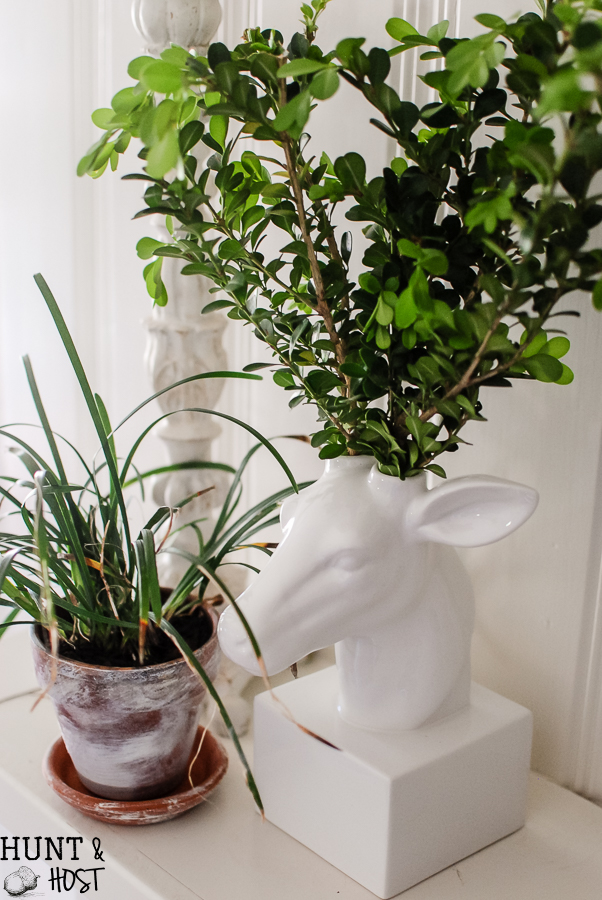
The house needed a touch of bright and cheery plus I couldn’t wait to use a few of the Christmas gifts I received. My mom gave me these deer planter/vases and they are about the cutest thing I’ve ever seen. A fresh Spring mantel with DIY decorative balls. Bright, cheery and neutral spring décor you can make yourself!

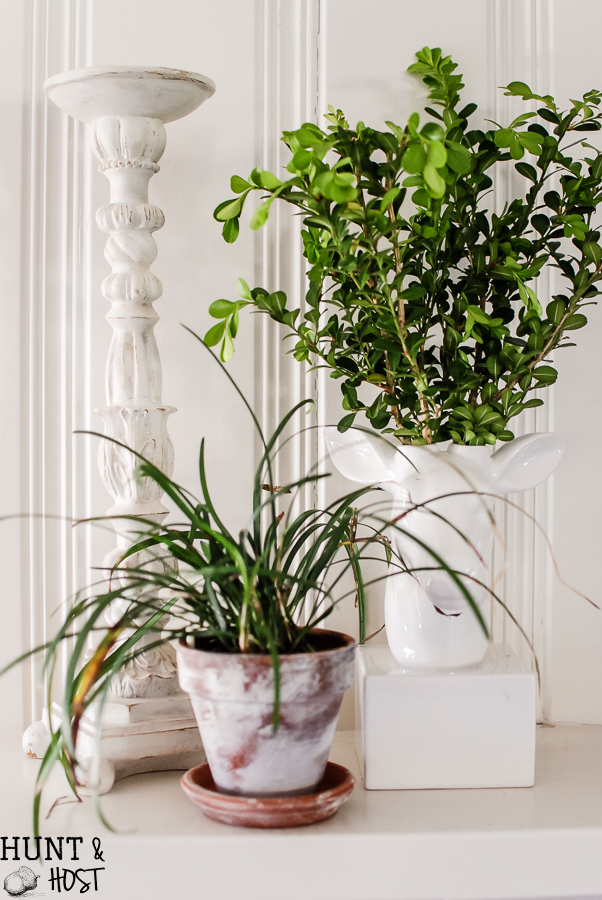
After trapesing through multiple stores on the hunt for some good fake greenery I gave up. Fake greenery just isn’t me so I decided to go the inexpensive route and use what I had. First I stuck branches in the deer then I opted for boxwood cut from the yard. Boxwood lasts surprisingly long in a vase with or without water and they dry fairly nice as well. A fresh Spring mantel with DIY decorative balls. Bright, cheery and neutral spring décor you can make yourself!

Terra Cotta pots are super cheap and a great thing to use inside or out. To age these pots and add a fresh Spring feel to them I simply dry brushed some white paint on them using an inexpensive chip brush. It took all of five minutes.A fresh Spring mantel with DIY decorative balls. Bright, cheery and neutral spring décor you can make yourself!

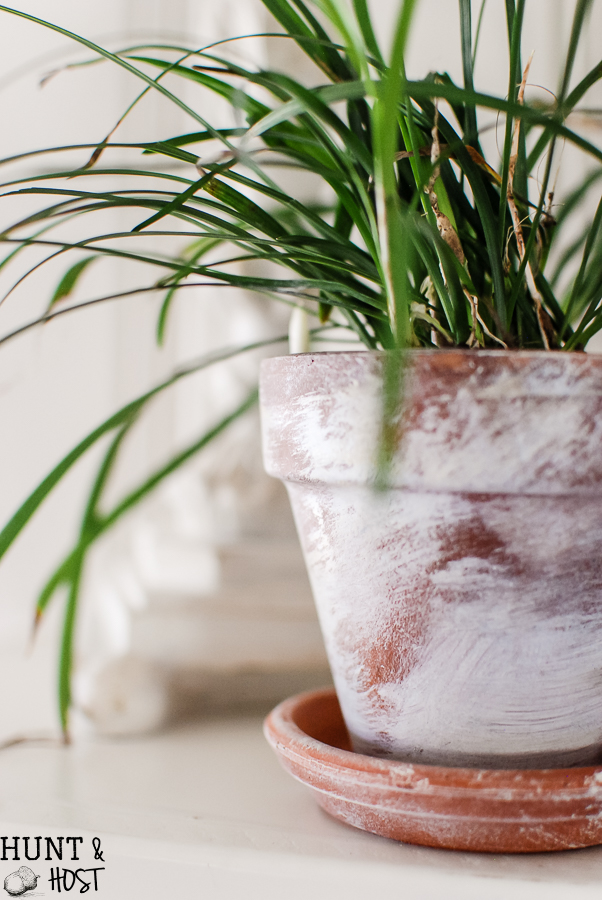
Next I dug up some Liriope (or Monkey Grass as we called it growing up) from the yard. Liriope spreads, so if it’s in your yard you likely have an abundance of it. This is such a hardy plant, it does well in shade or sun and can stand being ignored. All these traits mean these plants might live through Spring on my mantel and if they don’t, oh well, they were free! A fresh Spring mantel with DIY decorative balls. Bright, cheery and neutral spring décor you can make yourself! 
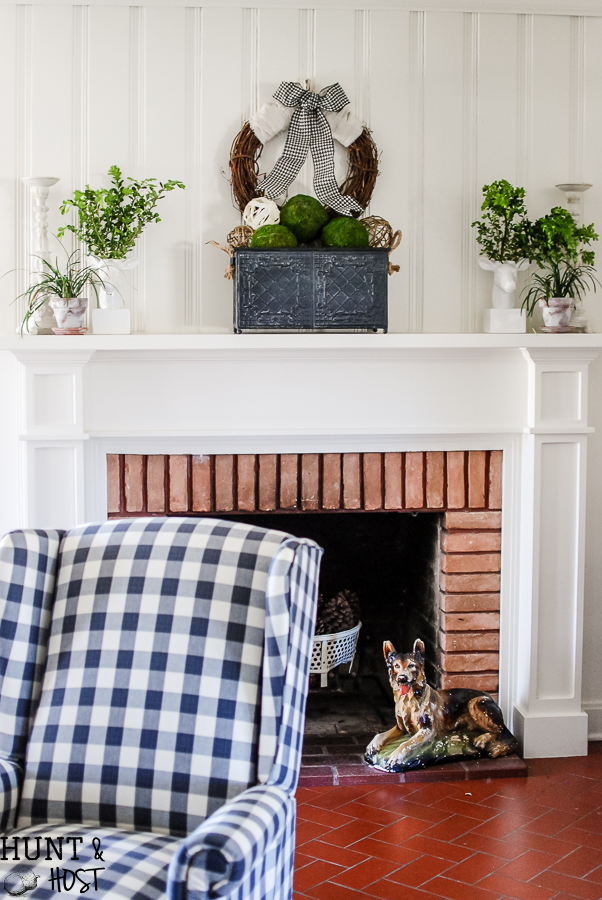
My sweet Mother-in-Law gave me this metal basket for Christmas, isn’t it fun? A fresh Spring mantel with DIY decorative balls. Bright, cheery and neutral spring décor you can make yourself!

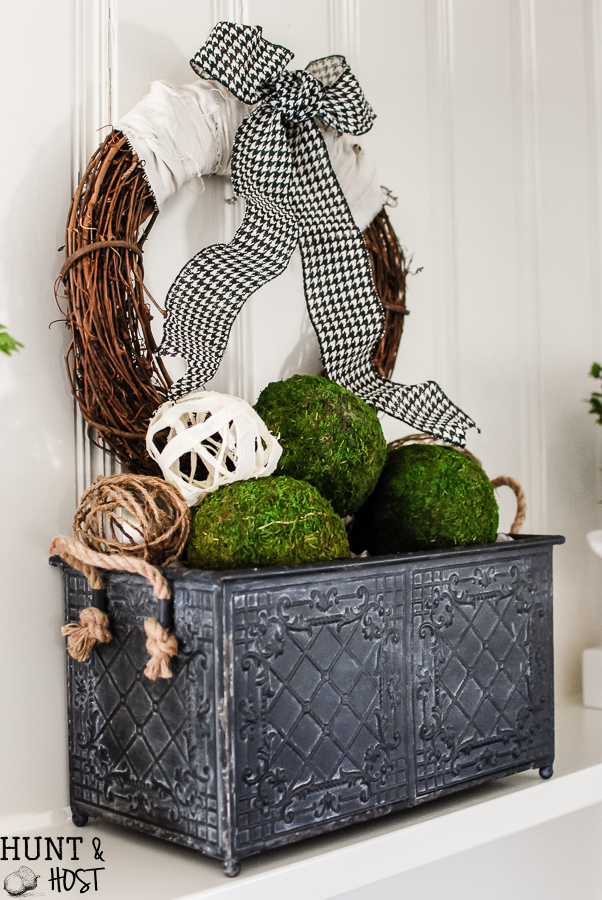
I broke down and bought the big green moss balls because I think it would have cost me the same or more to make them, but as I was looking for filler spheres I just couldn’t bring myself to pay for them! Here is how I made two different decorative balls to add to my Spring Mantel:A fresh Spring mantel with DIY decorative balls. Bright, cheery and neutral spring décor you can make yourself!

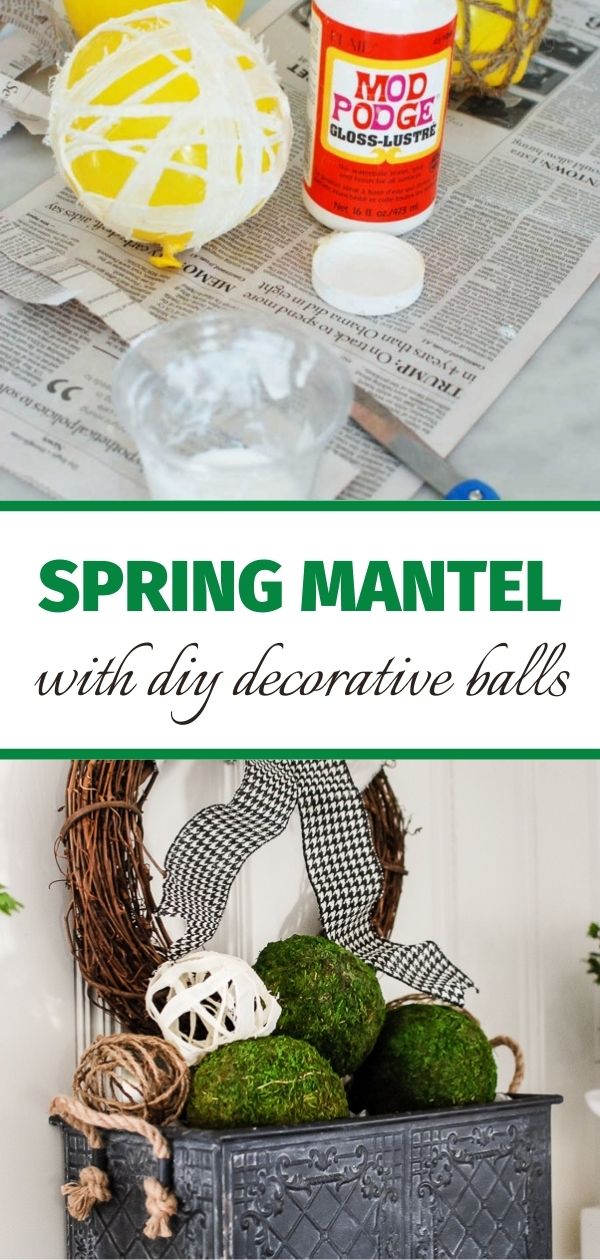
DIY Decorative Balls Supply List:

* affiliate links below. This means if you make a purchase, I might make a small commission to support the blog, thanks!

twine, jute, yarn, thinly ripped fabric or string

Mod Podge

Scissors

Plastic cup or bowl

balloonsA fresh Spring mantel with DIY decorative balls. Bright, cheery and neutral spring décor you can make yourself! 
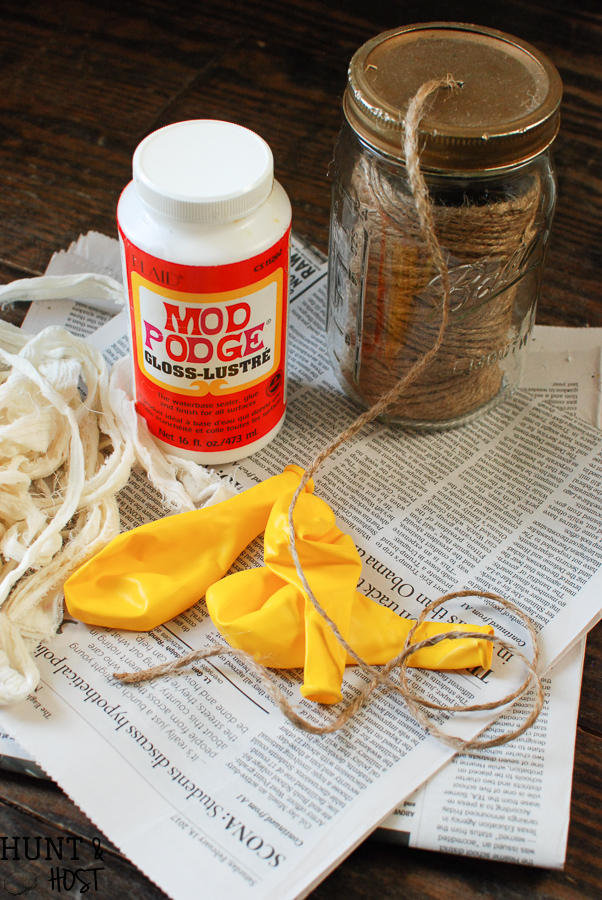
Make sure you use a work surface that can get dirty. This is a little messy. Blow up balloons to the desired size, I wouldn’t recommend going too large. Pour Mod Podge into cup or bowl and completely coat your material. Next remove the excess glue and begin wrapping in a random pattern around your balloon ball. A fresh Spring mantel with DIY decorative balls. Bright, cheery and neutral spring décor you can make yourself!

Let dry COMPLETELY overnight. When you are ready to get rid of the balloon, gently press the balloon away from the material before deflating. When you are separating the balloon and material if it still feels damp separate and let dry some more then deflate the balloon.   A fresh Spring mantel with DIY decorative balls. Bright, cheery and neutral spring décor you can make yourself! You can make a bunch of these for way less than you can buy them, plus there are a ton of material options you could try. I’d love to hear what you use so I can try it too! Hopefully you are enjoying nice weather wherever you are reading from. Happy early Spring! Please be sure to save or share this project for later.A fresh Spring mantel with DIY decorative balls. Bright, cheery and neutral spring décor you can make yourself!

Blessings, Kim from Hunt & HostConnect more here:

E-mail Subscription / Pinterest / Facebook / Instagram / Grow Your Creative Business


9 Comments

Stay connected

Don't miss out on the latest!

By being included in our newsletter delivery, you consent to receive new post updates and occasional promotional emails related to the Salvaged Living family. We promise not to over stuff your inbox!

Previous Post: « Rustic Winter Tablescape: Log Candlesticks
Next Post: Bath Tray with Book Rest »

Reader Interactions

Comments

  1. knottedthreadtales says

    March 2, 2017 at 8:01 AM

    I definitely need to green up my home. The garden center is open today and I am off!

    Reply
    • Kim at Hunt and Host says

      March 2, 2017 at 4:41 PM

      The Garden Center is Heaven on Earth!!! Enjoy!

      Reply
  2. Kim Muncy says

    March 2, 2017 at 4:11 PM

    Wow, im now ready for cute projects thanks for sharing Kim

    Reply
    • Kim at Hunt and Host says

      March 2, 2017 at 4:41 PM

      You are welcome, Spring always gets the creativity flowing! Have fun

      Reply
  3. Janie Meador says

    March 2, 2017 at 6:04 PM

    Hi Kim– you still look like that beautiful little girl I have always known! Love your blog❤

    Reply
    • Kim at Hunt and Host says

      March 3, 2017 at 8:34 AM

      Hi Janie – So good to see this note from you! I am so glad you are doing well, you were heavy in my prayers for a while there 🙂 Thank you for saying hi! Hope all is well with you and yours!

      Reply
  4. Dianne Lanier says

    March 22, 2017 at 9:19 AM

    I love the balls, what a clever idea!

    Reply
  5. Lori says

    March 9, 2020 at 8:46 AM

    Love this Kim! So fresh and fun! Especially the deer. That’s so cute with the boxwood “antlers”.

    Reply
    • Kim at Salvaged Living says

      March 13, 2020 at 8:53 AM

      thanks, those little deer are some of my favorites!

      Reply

Leave a Reply Cancel reply

Your email address will not be published. Required fields are marked *

This site uses Akismet to reduce spam. Learn how your comment data is processed.

Primary Sidebar

  • Email
  • Facebook
  • Instagram
  • Pinterest
  • Twitter

Hi! I'm Kim. I believe getting your hands dirty can be a way to get your heart clean. This blog is a decorating and DIY guide to seeing God in the details of your day, hobby and home. Read more...

Learn to grow a creative business with Kim from Salvaged Living!

Check these out:

  • DIY Projects
  • Faith
  • Home Decor
  • Lifestyle

Stay Connected

Don't miss out on the latest.

By being included in our newsletter delivery, you consent to receive new post updates and occasional promotional emails related to the Salvaged Living family. We promise not to over stuff your inbox!

Stay connected

Don't miss out on the latest.

Footer

You might also like

Make your own jewelry with dollar store supplies. These DIY dollar store jewelry ideas will get you stylish in a flash for any budget. You HAVE to see these cute accessory ideas from the dollar tree!

Dollar Store Jewelry

The one picture everyone needs in their home.

One Picture Every Home Should Have

Hunt & Host Home Tour: Boy’s Bathroom

Rusty dog hunt and host

Goodbye My Dear Friend

My favorite neutral rug choices. Making way for some stylish rug layering!

My Favorite Neutral Rug Choices

© Kim Jones and Salvaged Living, 2019. Unauthorized use and/or duplication of this material without express and written permission from this blog’s author and/or owner is strictly prohibited. Excerpts and links may be used, provided that full and clear credit is given to Salvaged Living with appropriate and specific direction to the original content. Please only use one picture with a link back unless individual permission is given otherwise by Salvaged Living. Full disclosure here.

© 2021 Salvaged Living

We use cookies to ensure that we give you the best experience on our website. If you continue to use this site we will assume that you are happy with it.Ok