It’s beginning to look a lot like spring and summer, which means more outdoor time! I was in desperate need of a wooden patio furniture makeover and luckily this update is affordable and easy to do in a day. I’d like to thank Rust-Oleum for sponsoring this makeover!
I have a short attention span for a project and like to keep them simple so this project was a good one for me. I adore the vintage beer garden table I found at Round Top Antiques Week years ago, but it was time for a little refresh.
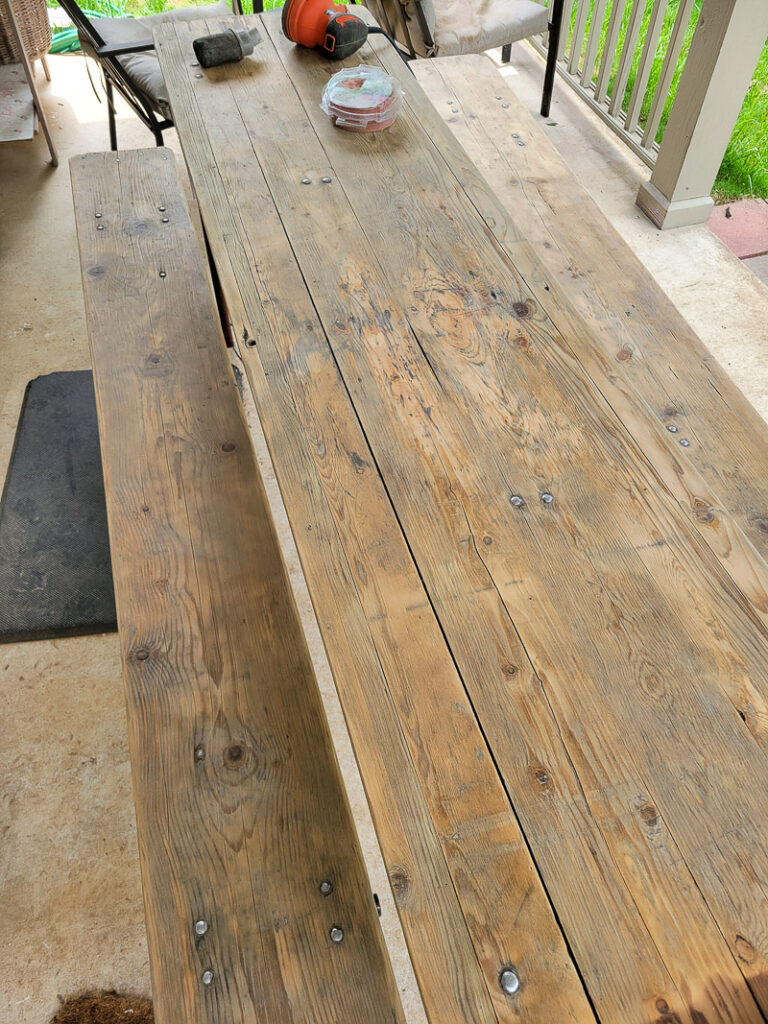
Anytime you leave wood furniture outside, especially in direct sun AND you use it a ton, you are going to need to freshen it up on occasion. It’s been years since I laid a hand on this wooden patio table and you could tell!
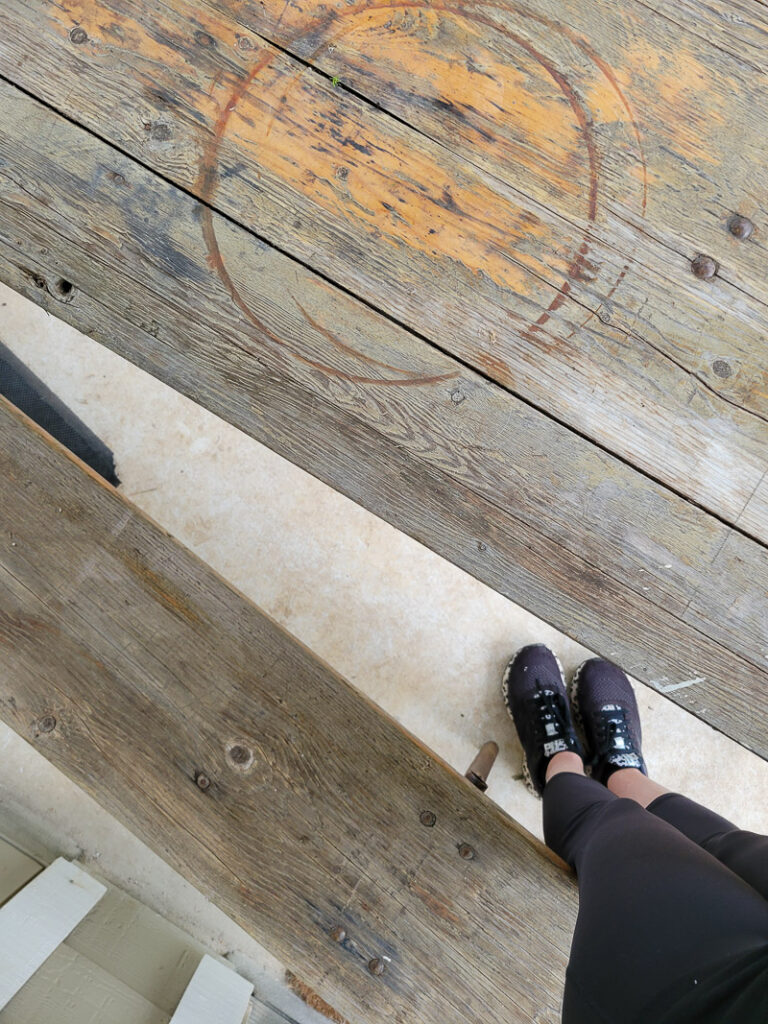
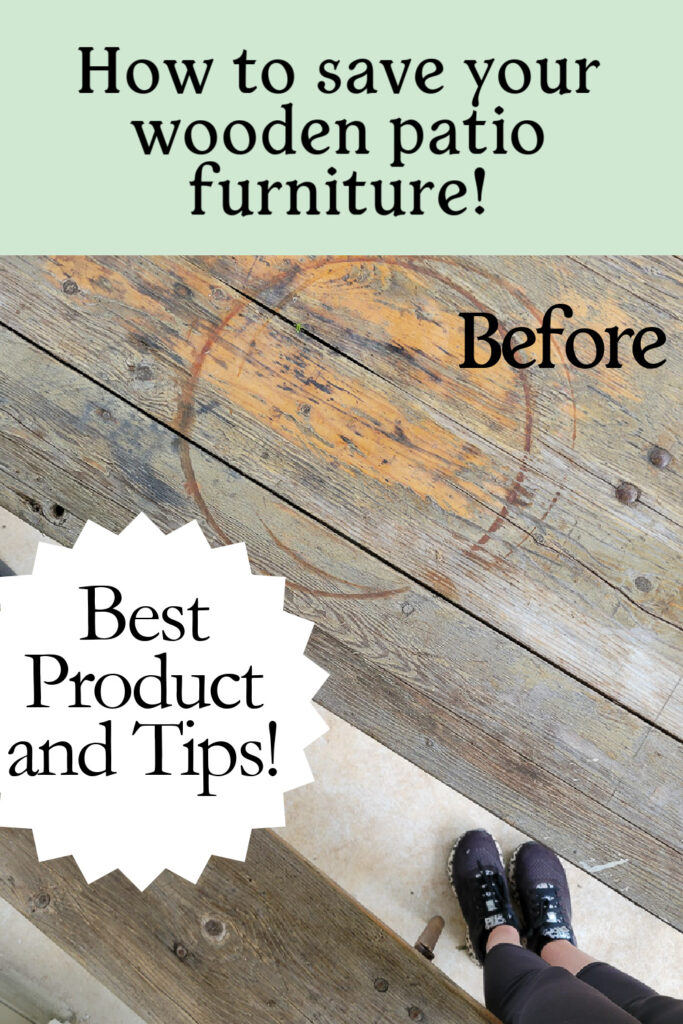
Just look how worn and tired this wood looks! You can see old stain gunked up, discoloration, and splintering all over the place. Here are my steps and tips on how I made this tired-looking wooden patio furniture look like new, without losing its vintage charm! There is a supply list at the bottom of this post as well so you can get your outdoor living space ready for entertaining!
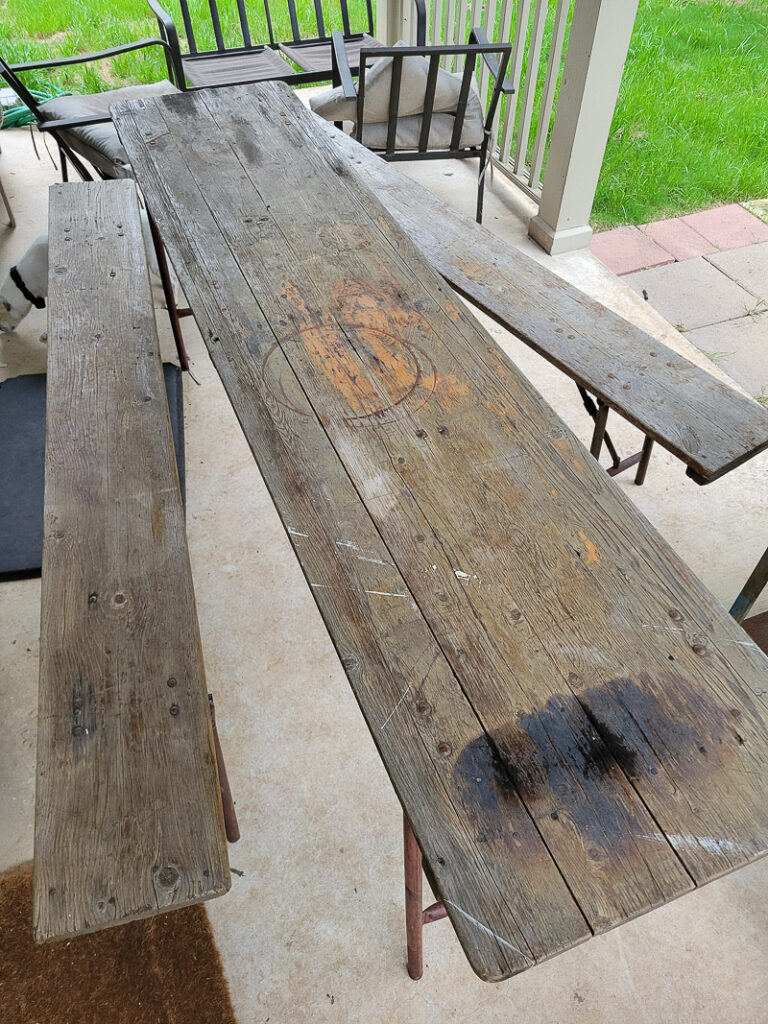
How to Stain Wood Patio Furniture
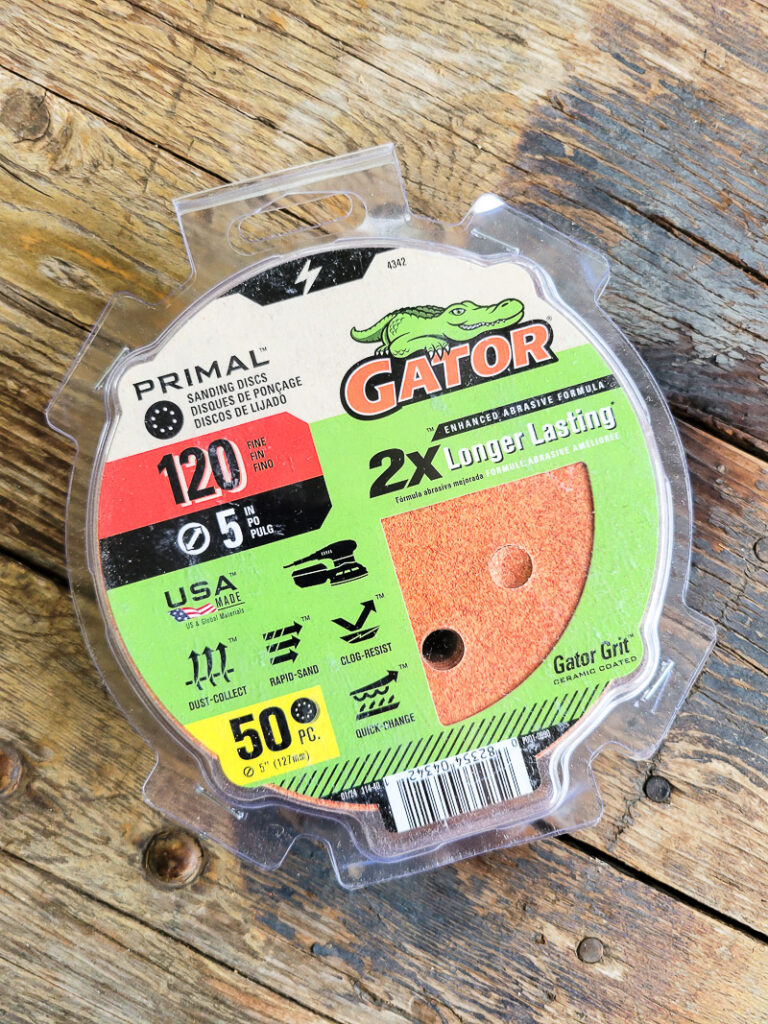
Start by sanding your wooden furniture. This is essential, especially of your furniture is worn and splintered like mine. I use Gator sand paper, it lasts a long time and does a fabulous job. My circular orbit sander did the trick on this project. It would be a very hard job to sand this much by hand, I suggest some form of electrical sander and a good batch of sanding sheets. Be sure to change out your sandpaper sheets regularly. It’s tempting to try and use every last grain of grit, but it ultimately makes the job take longer and is harder on you. Change your sandpaper pads frequently and make sure you buy enough that you aren’t afraid to go through them as you work. I got a 50 pack of Gator circular sandpaper pads in 120 grit.
When I sand, I work in small areas, in an organized manner so I get the entire surface completely covered. If you sand large areas I find it easy to miss spots. Work one board at a time, one leg, one section, whatever it is, moving through each area completely before going to the next. Looking better – see the side by side difference in the sanded versus unsanded spots!?
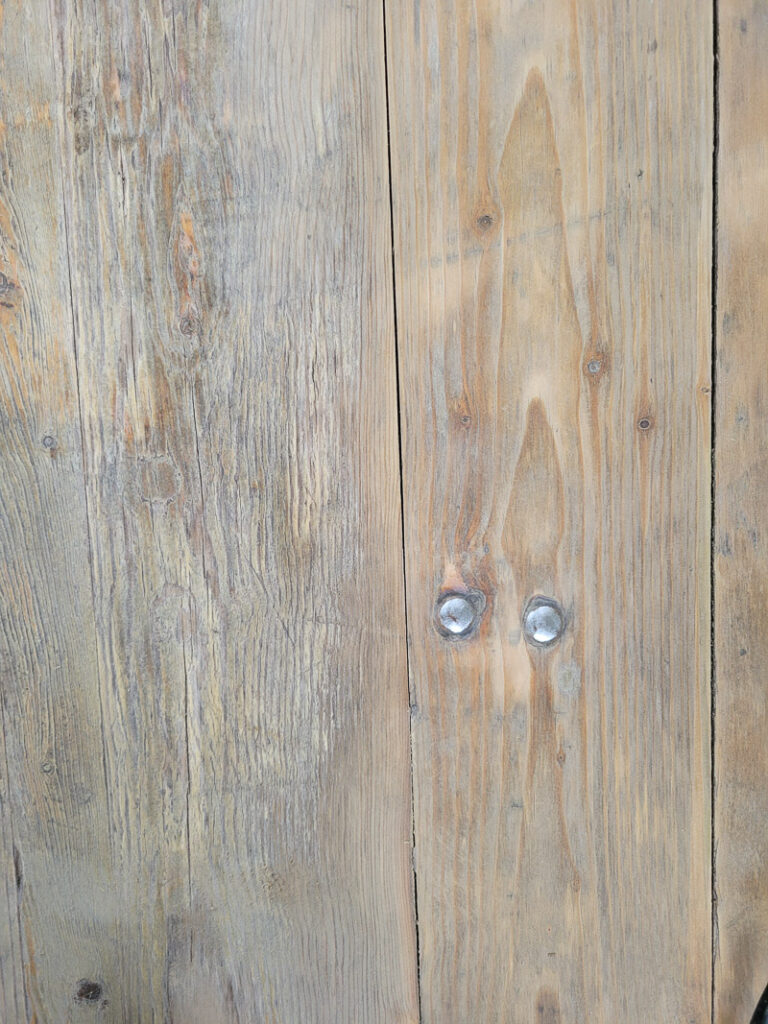
While it’s important to get any residual paint or stain off the wood, you can decide how much you want to sand away. I love a piece to feel well loved and used so I’m ok with some stains, chips and scars. They add to the character of a piece, so I tend to not completely erase them.
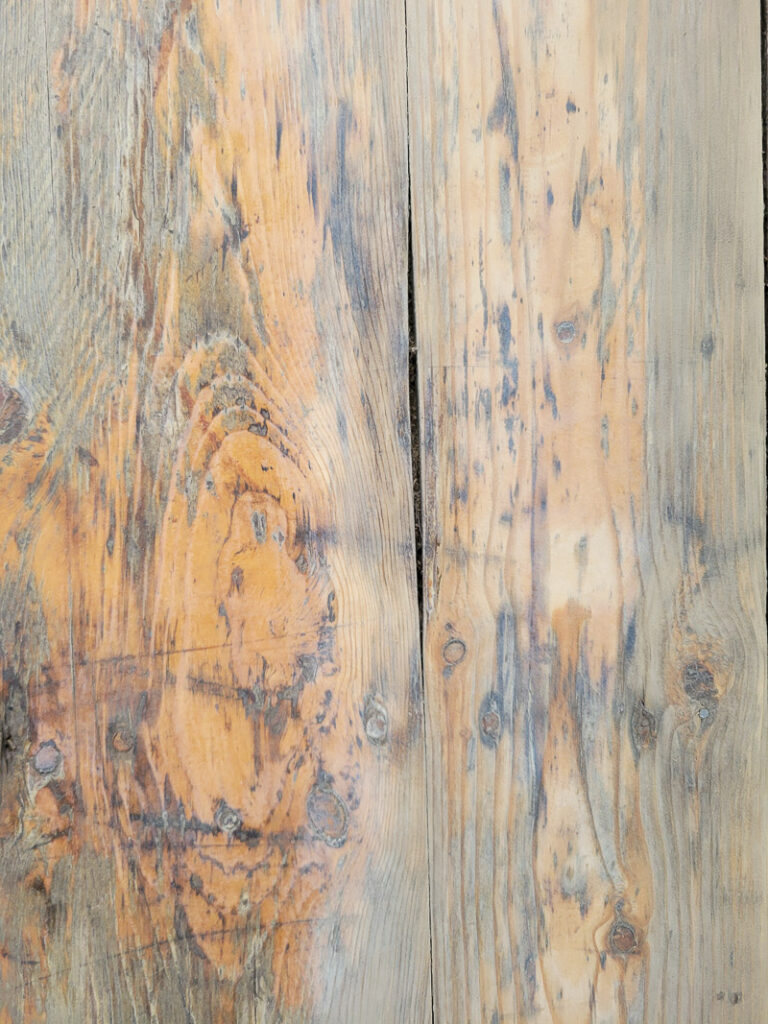
Wipe gown your sanded furniture. Make sure to use a slightly damp cloth and wipe down the surfaces of your wooden patio furniture. You want all the dust removed from the surface before you start staining. Otherwise those particles could stick in your stain or sealer and cause a gritty surface.
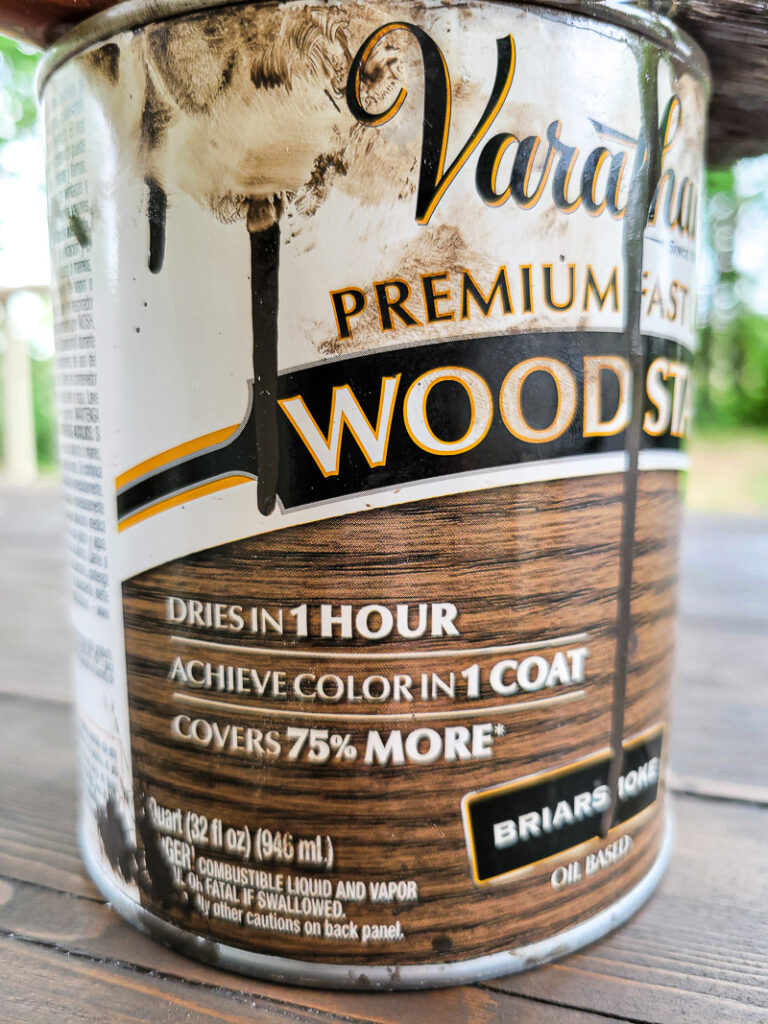
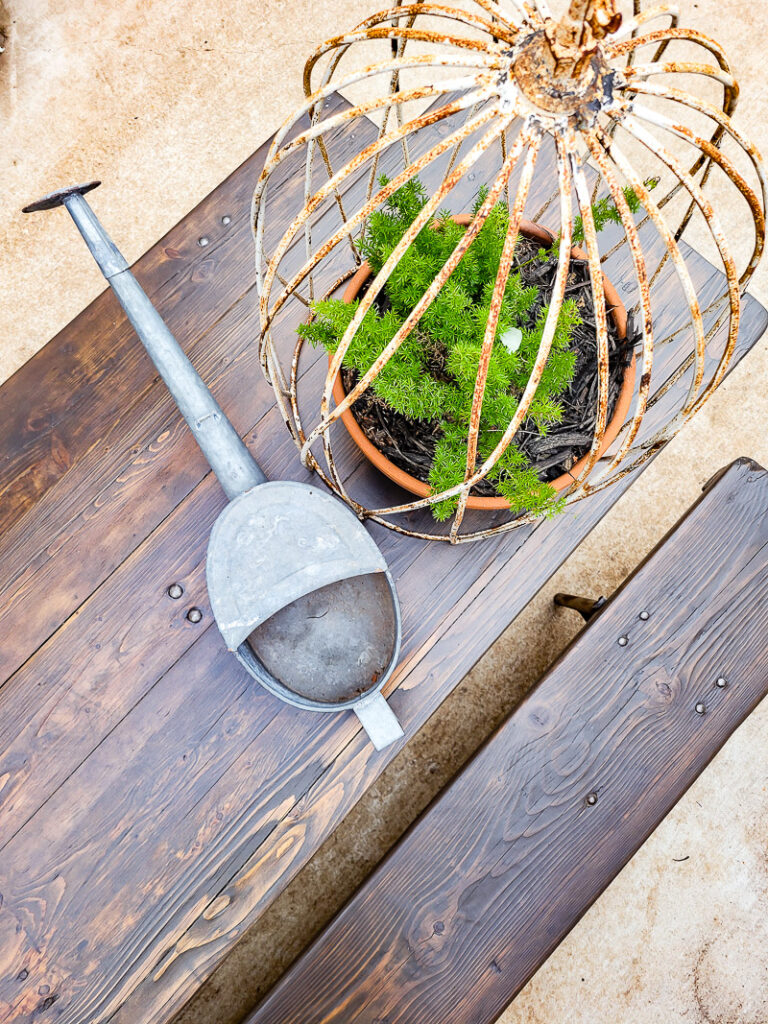
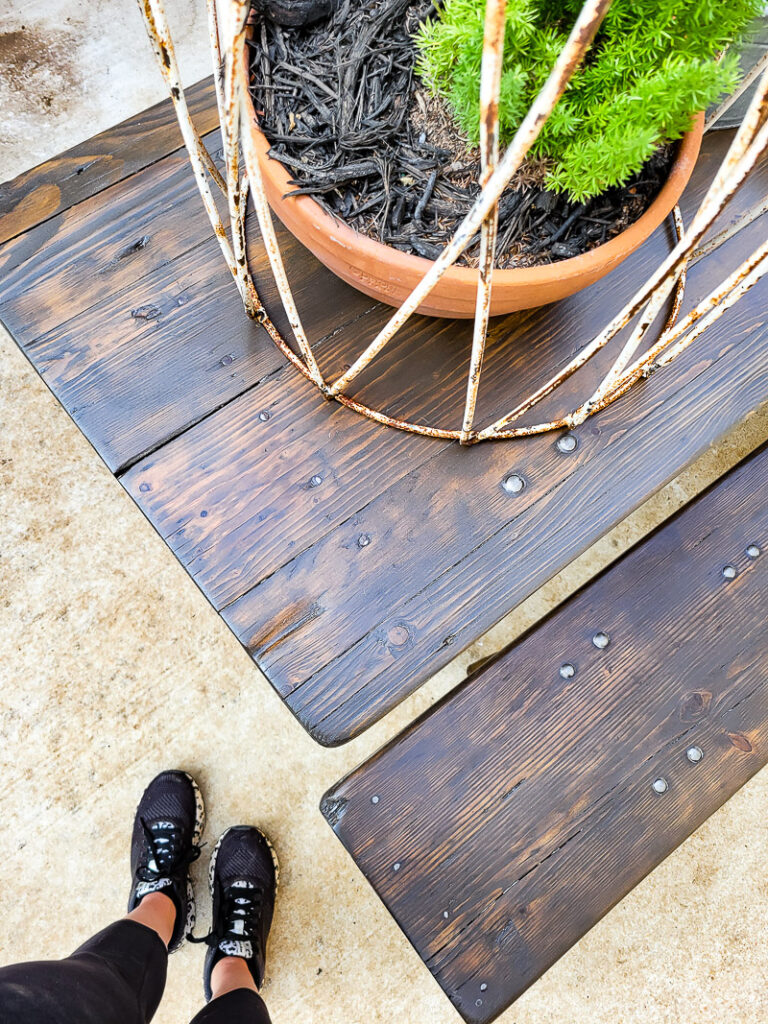
Stain the wood. I love Rust-Oleum products, I’ve used them a TON and I trust them to be easy to use, good quality and have amazing color choices. I chose Rust-Oleum’s Varathane Premium Fast Dry Wood Stain in the color Briarsmoke, it turned out to be a beautiful grey brown stain that added a rich finish to my beer garden table. It looks so clean, updated and elegant! Plus it was super easy to apply. I used the oil based stain and all I can say is oil based products have come a long way! I found it to be basically odor free, applied like silk and was easy to clean up.
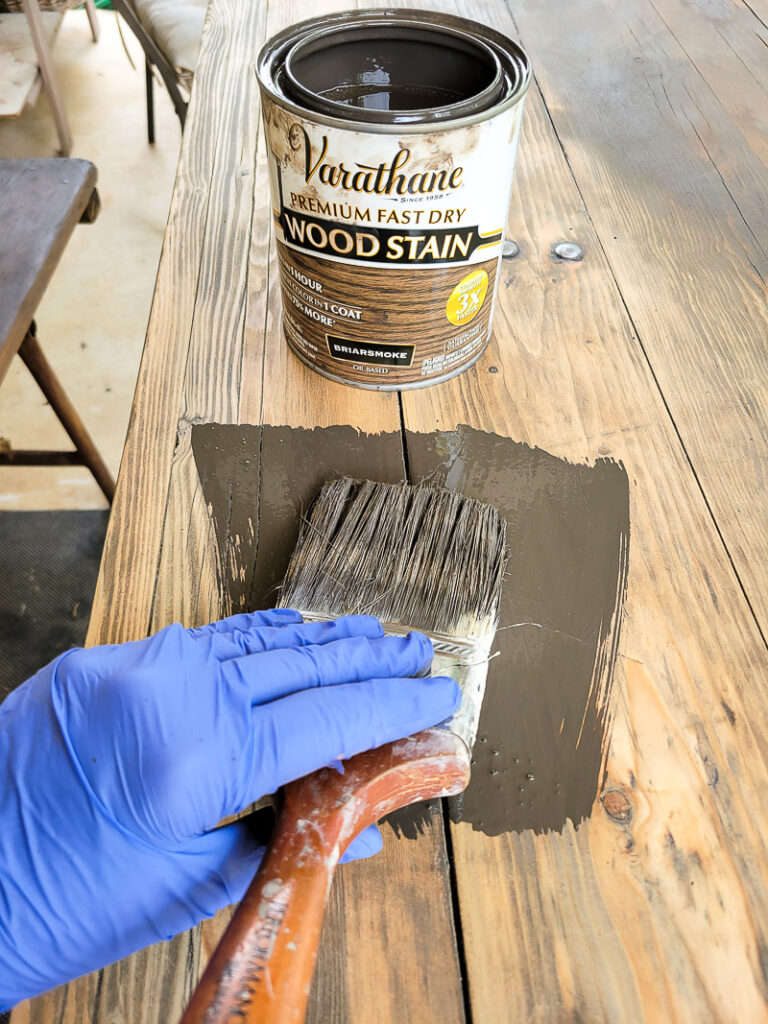
Use a synthetic bristle brush and paint on the oil based stain. It goes on like a thin paint, very light and smooth. Depending on how much you are staining, you may want to work in batches. Let the stain soak into the wood for two or three minutes. This is another reason its’s important to sand your wood properly, the exposed wood will eat up the stain and that is a GOOD thing. If you leave old stain or paint, the new stain can’t get to the wood!
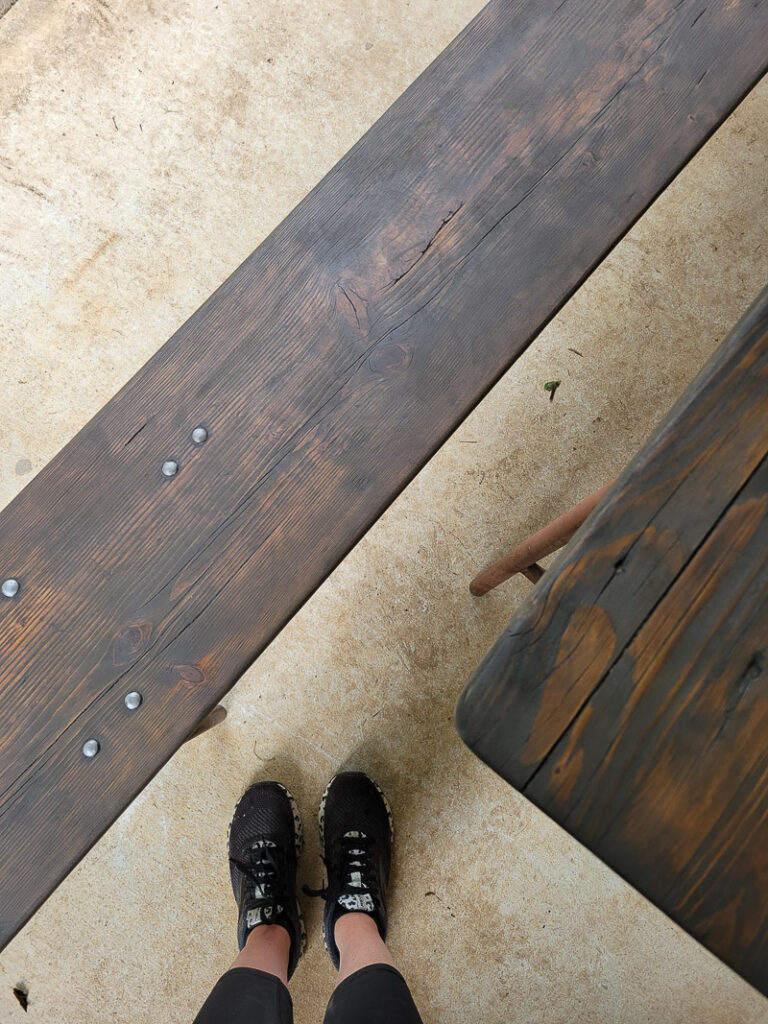
After a few minutes wipe away the excess stain with a lint free cloth or rag. You will see the beautiful stained grain of the wood pop through as you wipe away the extra stain. You might want to wear gloves for this step to protect your hands. It really makes clean up a breeze! I always use them when I stain. This oil based stain is formulated to dry fast which is another amazing feature and new to me, oil based products typical take a long time to dry, but not this one! Such a win. Allow the stain to dry completely and move on to the sealer.
Seal Your Wood Furniture. When selecting the products you use for an outdoor patio makeover, select ones made for the outdoors. There is a difference and you don’t want to test it out! I chose Rust-Oleum’s Varathane Ultimate Spar Urethane in a clear satin finish for exteriors. Sealing your stain is going to help it stay fresh looking, protect it against the outdoor elements and overall protect your wood patio furniture. It keeps the water out of your wood, and resists mold and mildew.
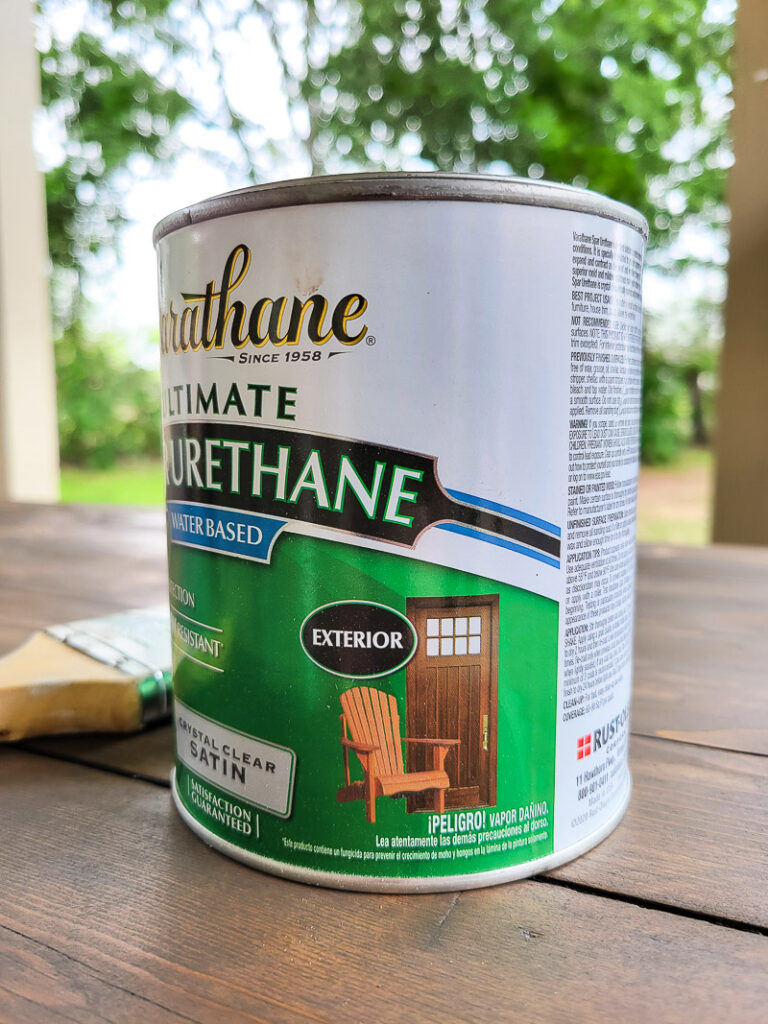
Big tip – don’t shake the Urethane, stir it, this helps prevent bubble in the finish. Use a synthetic bristle brush and paint on the sealer. Don’t over work the Urethane, again to prevent bubbles in the finish. If bubbles form while you are brushing, don’t over work them. Move on and let them dry a minute then lightly brush over them again and they will brush out. The Urethane will look milky when you first spread it, don’t worry – it dries clear!
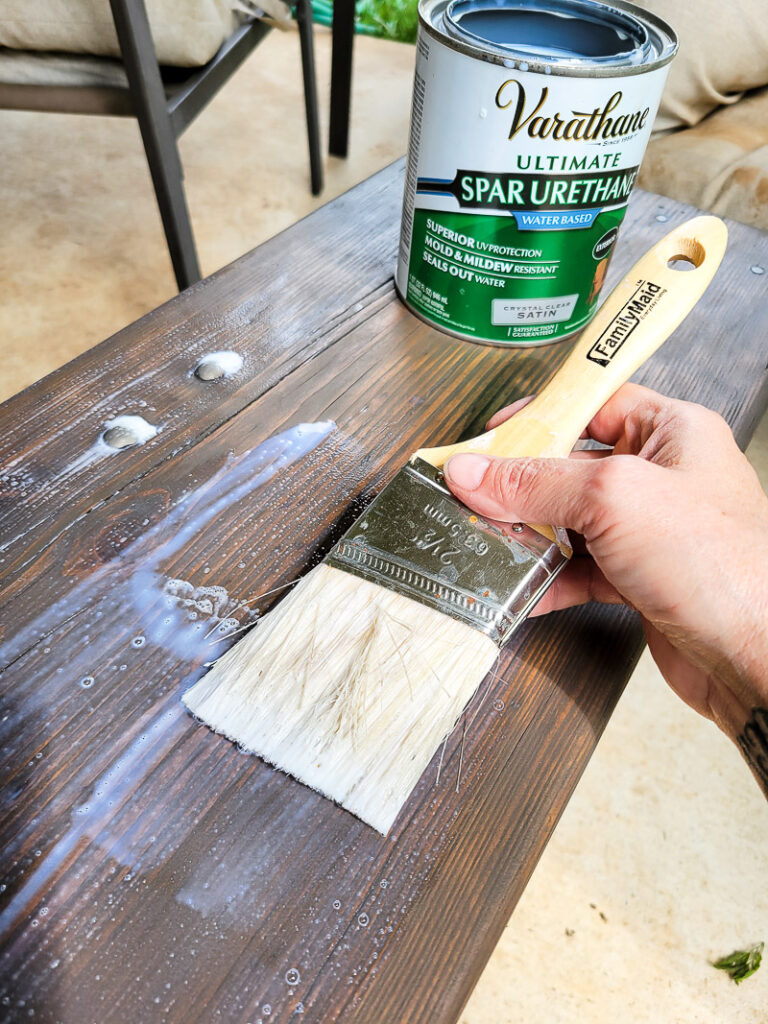
Watch your drip line – the corners and underside of your furniture. Bubbles and excess Urethane will collect there. Be sure to brush it out before it drys! Let dry 2 hours and add an additional coat. If you don’t want to stain your wood and love the natural look at it, go straight to the sealer for protection and a long lasting finish.
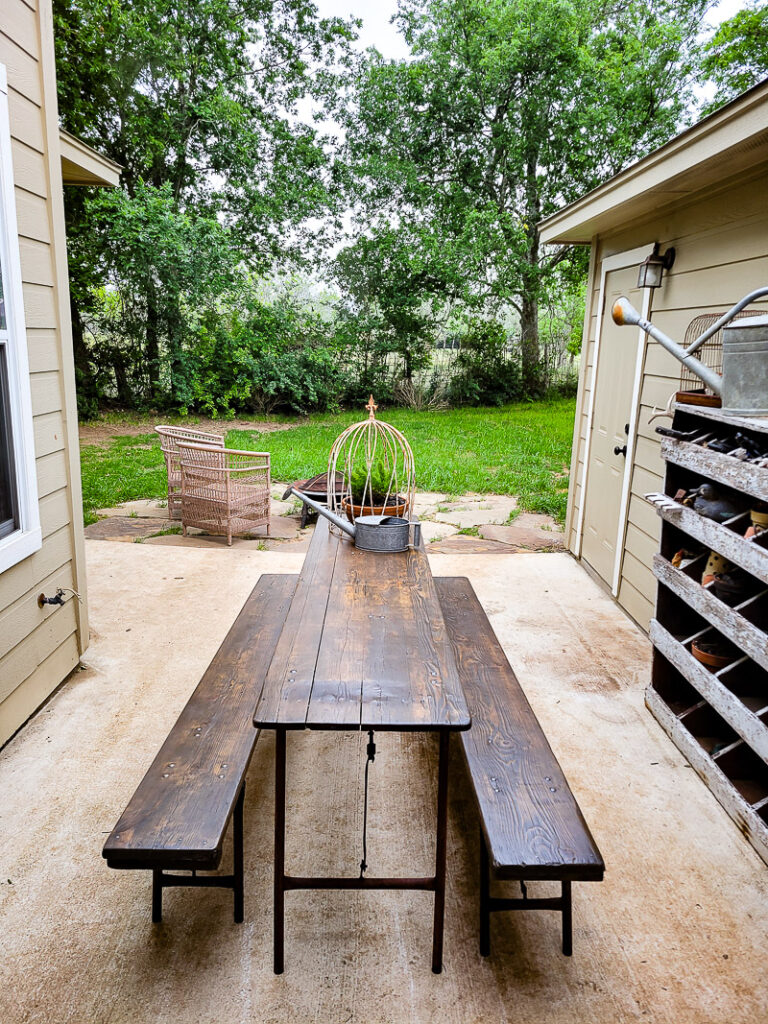
Now you have a beautiful piece of wooden patio furniture that looks like new, but isn’t! If you invest in quality wood furniture you can make it last a lifetime with just a little TLC! I love that. Here is where you can find the exact products I used, I really believe they make the job easier and are top quality:
Wooden Patio Makeover Supply List
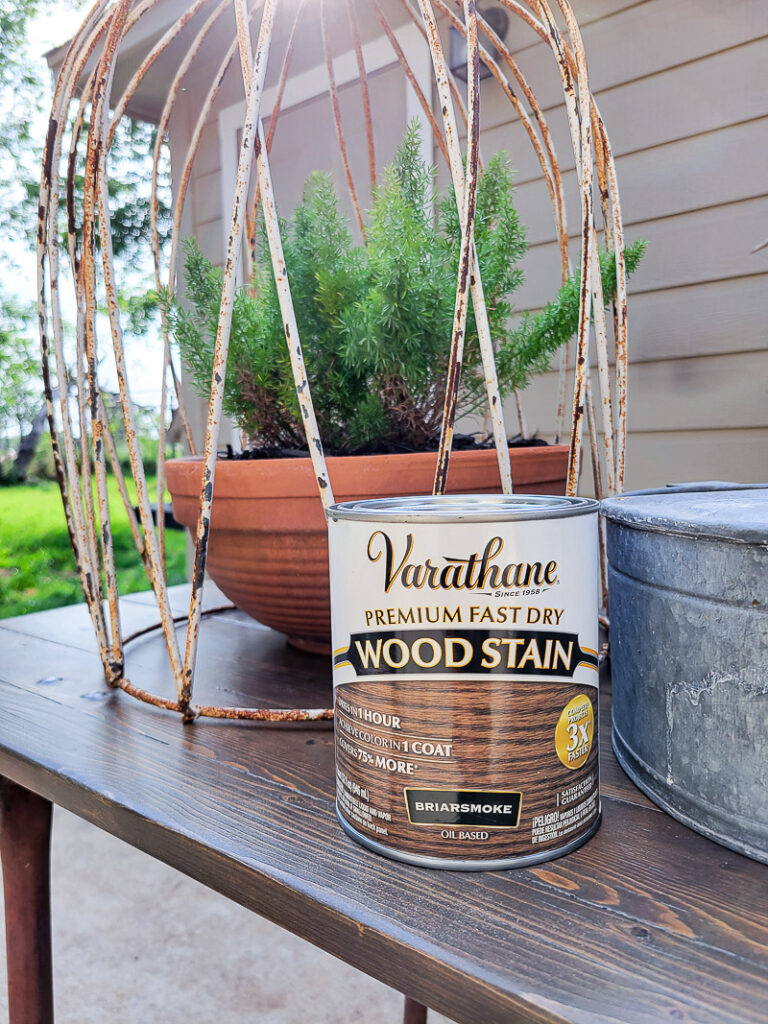
Rust-Oleum’s Varathane Premium Fast Dry Wood Stain in the color Briarsmoke
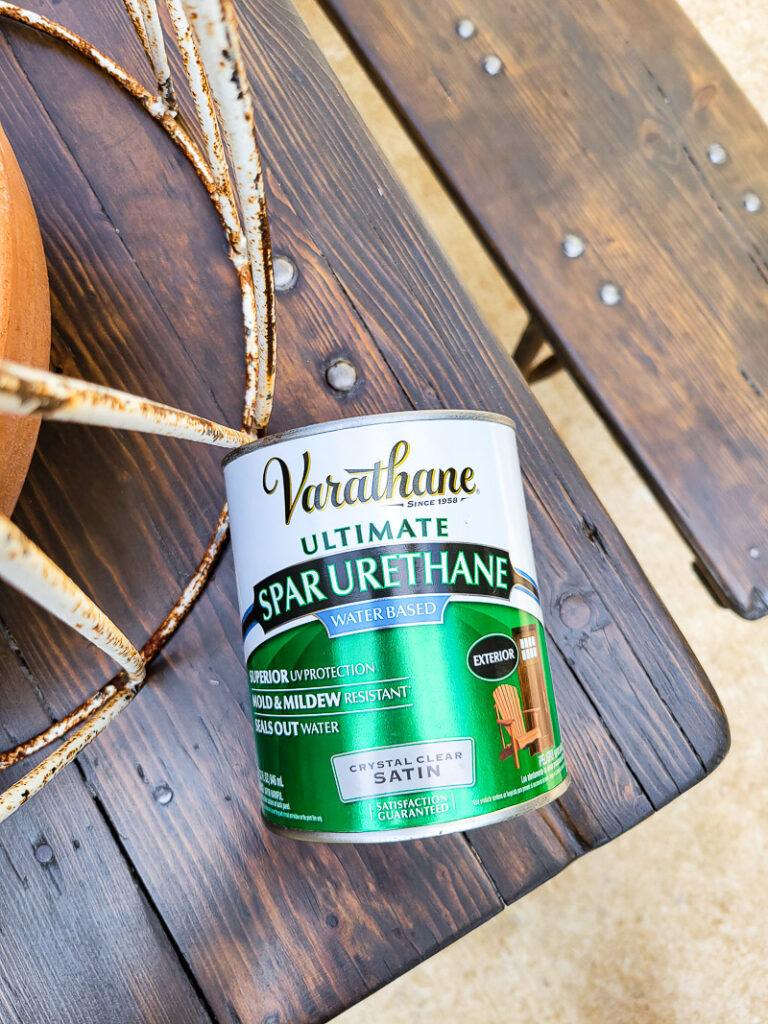
Rust-Oleum’s Varathane Ultimate Spar Urethane in a clear satin finish
Gator Finishing Products
Be sure to save these tips and products for later:


Leave a Reply