There are many ways to age paper and I decided to give them a try for you! Figuring out the best way to age paper and what technique give you the best results for aging paper takes a minute, so I thought I’d save you some time and do the work for you! I hope this helps with your home decor, junk journal, and other paper-crafting or mixed-media activities! I’ve even included a FREE bookplate download for you to experiment with, the link is at the bottom of this post. Plus there is a supply list below! Whew – that’s a lot, now let’s get started.
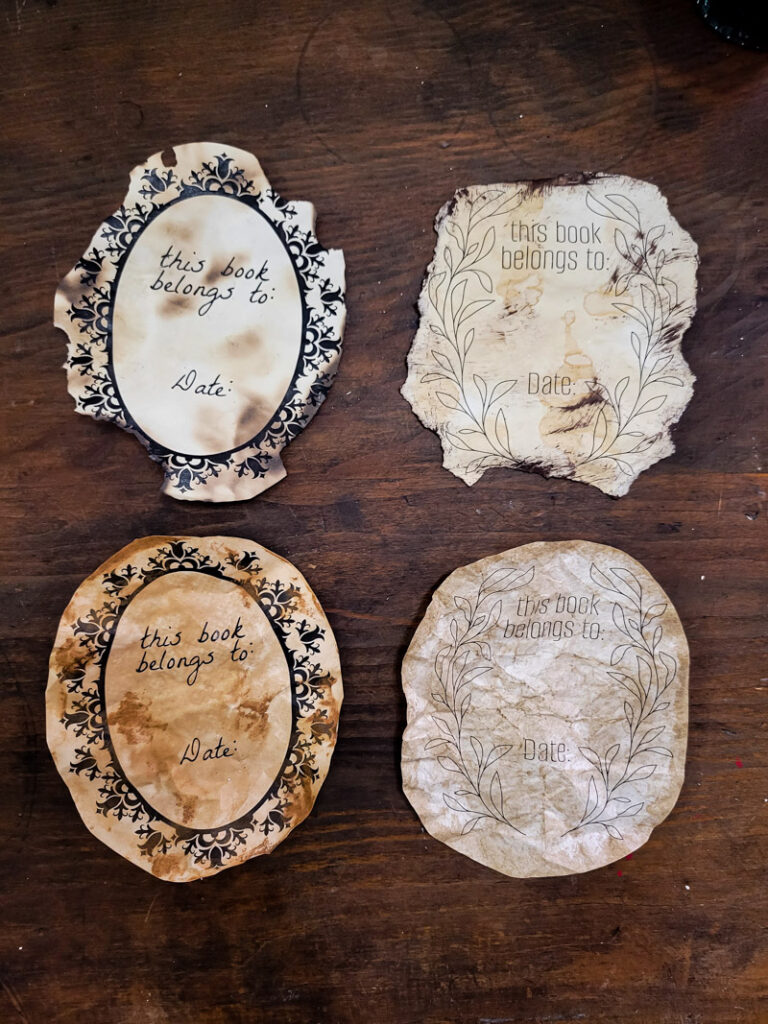
You know I’m always down for a good papercraft and if it involves a vintage knockoff, then count me in. Collecting old items is a favorite pastime of mine, but sometimes the hunt doesn’t turn up what I need when I need it or the price tag is a little too steep. It’s good to have an arsenal of DIY techniques you can use to create your own vintage lookalikes. Make some DIY vintage paper out of brand-new prints, it soooo fun! The best technique to age paper is important to know, it opens a world of possibilities! Let’s take a look at our options and you can let me know which one you prefer. I’d also love to hear if you have a paper aging technique that I missed! Here are the main ideas we are going to look at today…
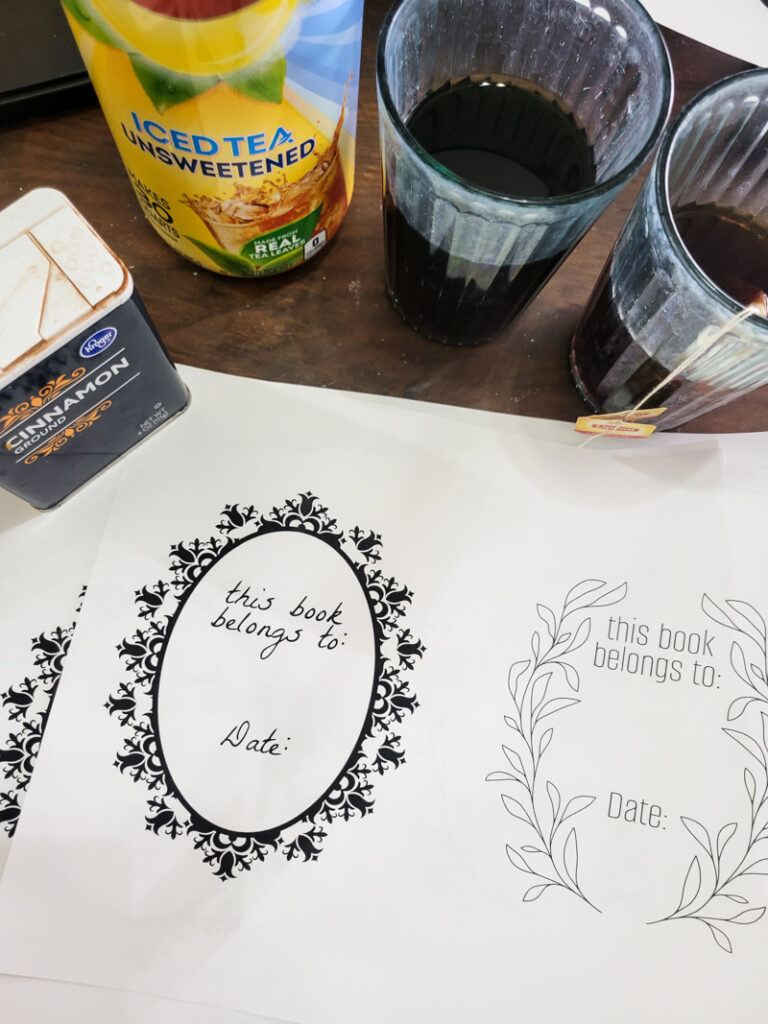
How to Age Paper
- Instant Tea
- Tea Bags or Coffee
- Burn The Edges
- Cinnamon/dark spice
- Wax or Shoe Polish
- Distressing Ink
- Acrylic Paint/Watercolors
How to Age Paper with INSTANT TEA
This method is a personal favorite of mine and gives you control to get light or dark paper staining. You can distress different areas with different intensity. It’s nice to know a jar of instant tea will go a long way in making your own vintage papers, so the cost is really budget friendly. You don’t need much water and you can easily get it strong quickly, making for a nice rich stain with one pass through the mixture.
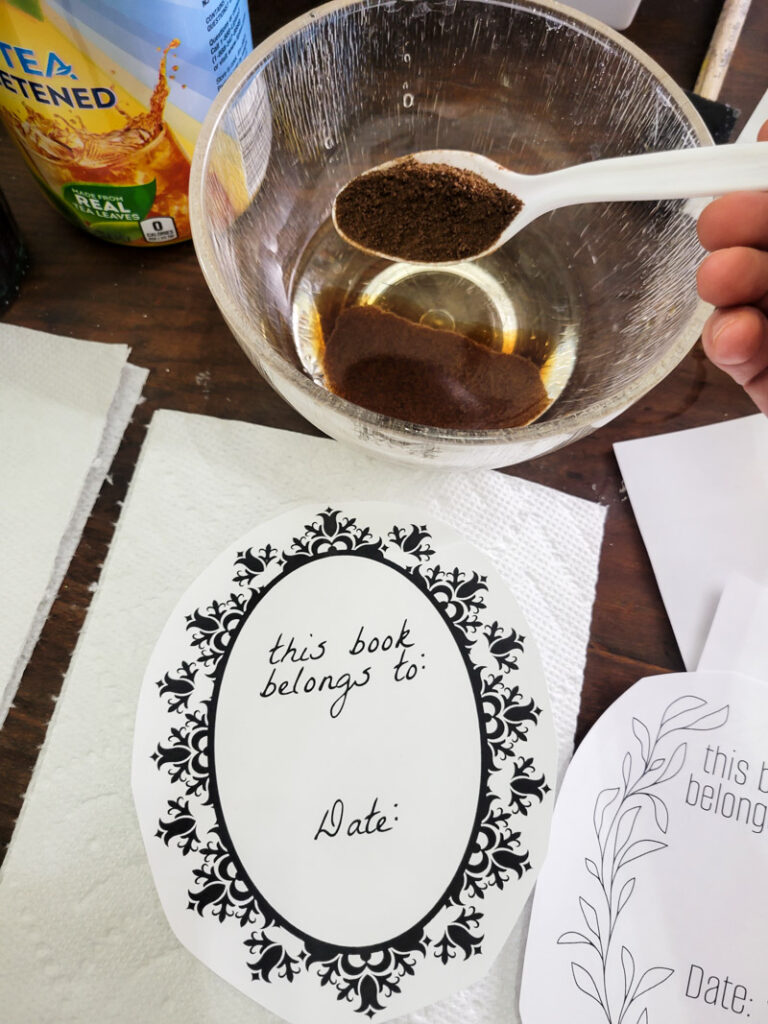
This is definitely the easiest and quickest way to age paper and I think gives the nicest result. I’m curious to see which technique is your favorite. You’ll see the methods side by side further down so you can see how they compare!
Age Paper with Tea Bags or Coffee
This is kind of two different ways, but I think they have similar results. I find that regular coffee doesn’t dissolve in water and will give a chunky effect, instant coffee works better and if you like that, then the instant tea method is your friend!
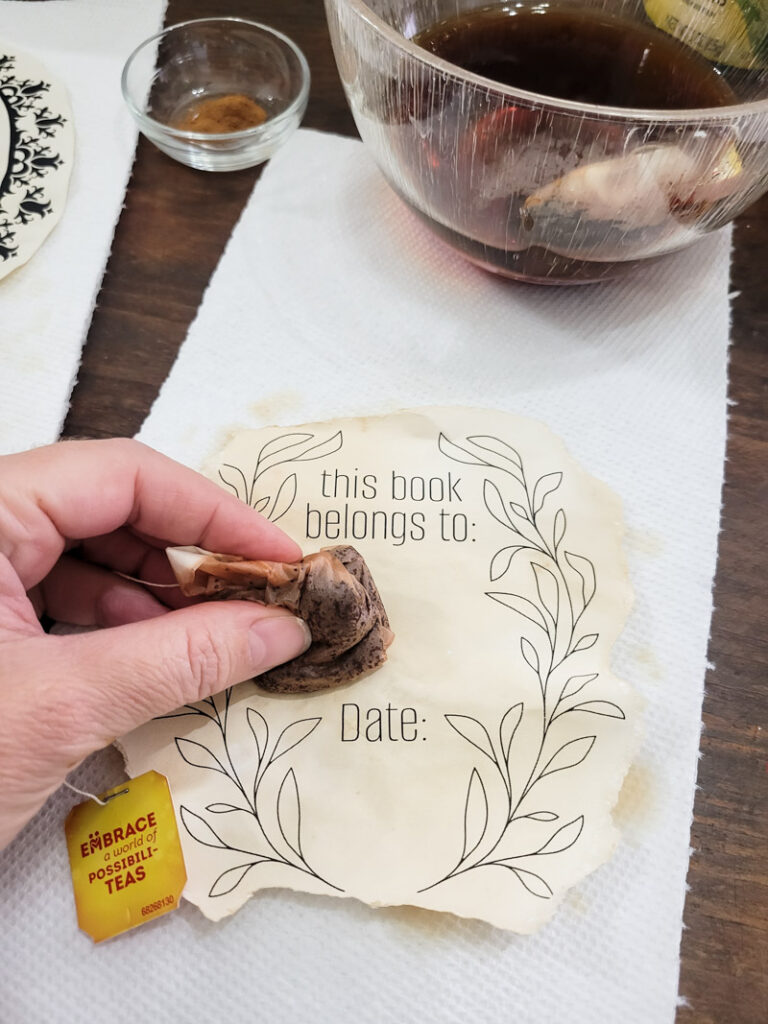
If you only have tea bags on hand, steep some water with a few bags and bathe your paper in the mixture. You can then use the tea bag to blot on the paper for a muddled effect that makes the paper look inconsistently stained and more naturally aged.
Here is the tea bag version next to the instant tea version – you can see how much darker the instant tea is!
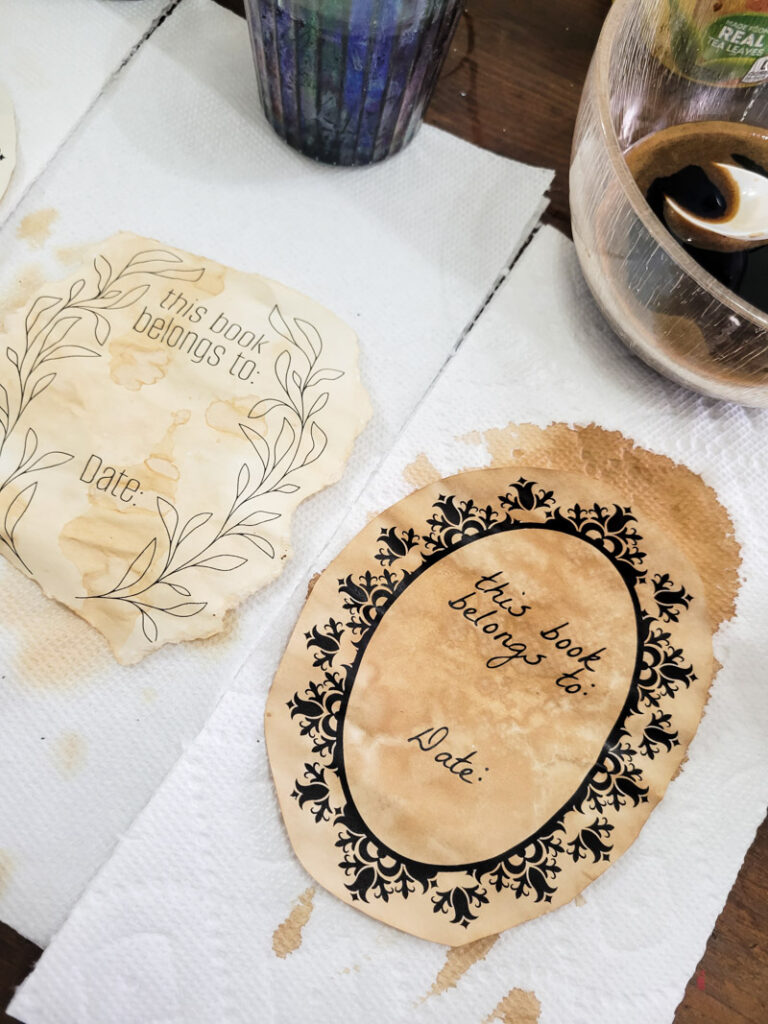
If you use regular coffee, I suggest brewing a few cups – drink one and use the rest to dip your paper in. Don’t add the coffee grains to the water you are dipping in, or you will get that chunky, messy effect I was talking about just now.
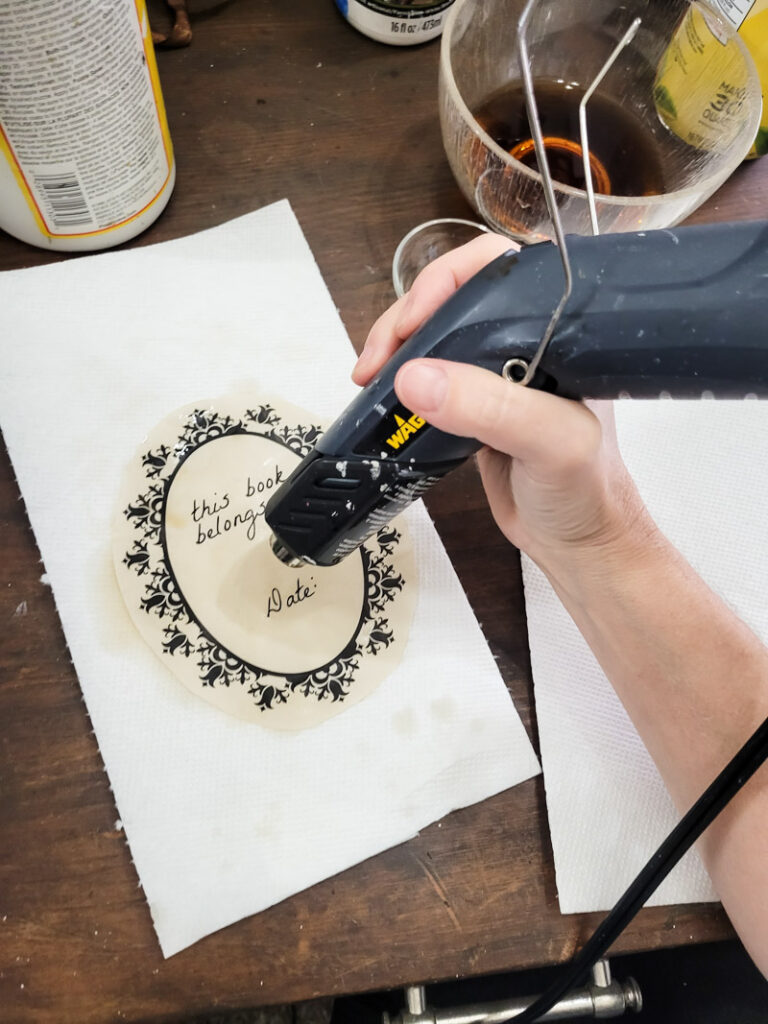
With both methods you can dip and re-dip your paper in the stain solution for a darker outcome. Allow the paper to dry in between as to not oversaturate your papers! With both methods you can brew or steep stronger and longer for a darker dye and aging medium.
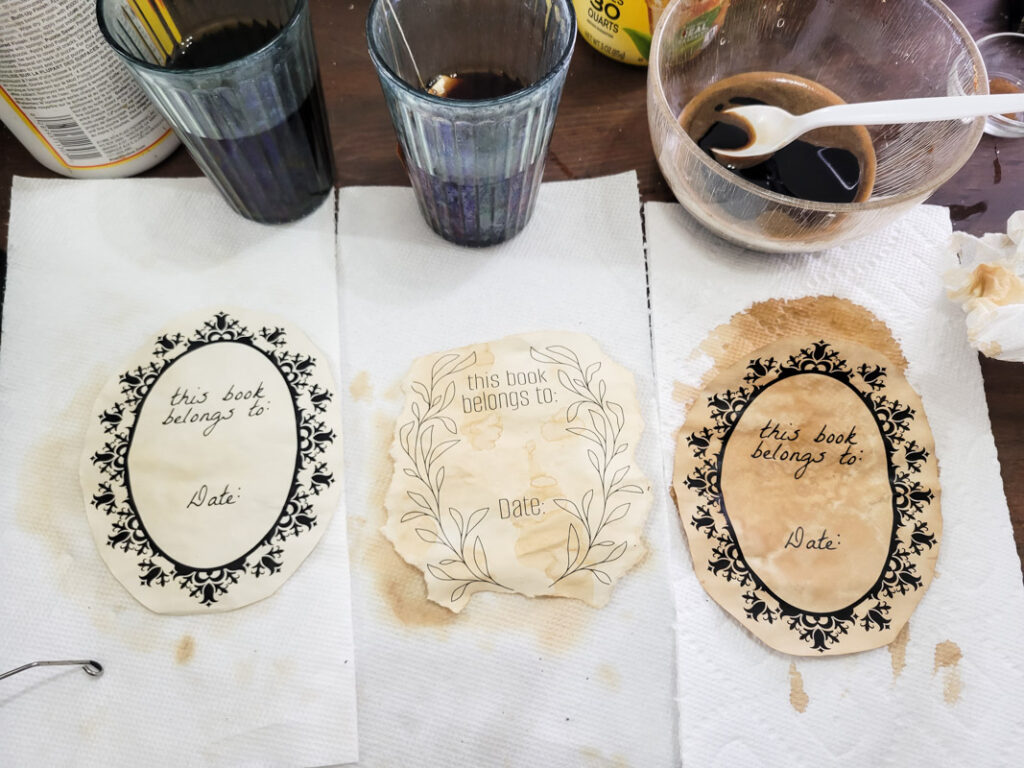
Here are the three ideas we’ve tried so far, side by side… coffee, tea bag, instant tea…
WAX OR SHOE POLISH To Age Paper
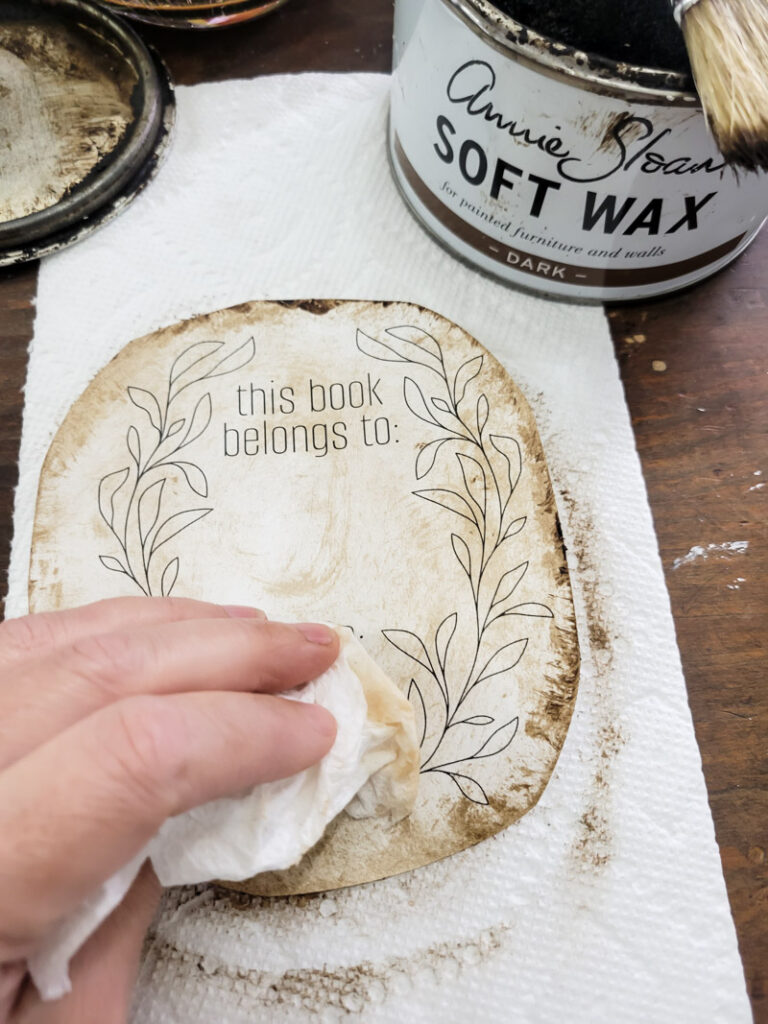
Using a tinted painter’s wax or good old fashion shoe polish is an excellent choice for aging paper to look vintage. I love the soft way you can smear it on a paper’s edge and it gives a smooth polished texture. You can also use this technique in combination with the other ideas you see here. Dye the entire page and then age the paper with wax or polish.
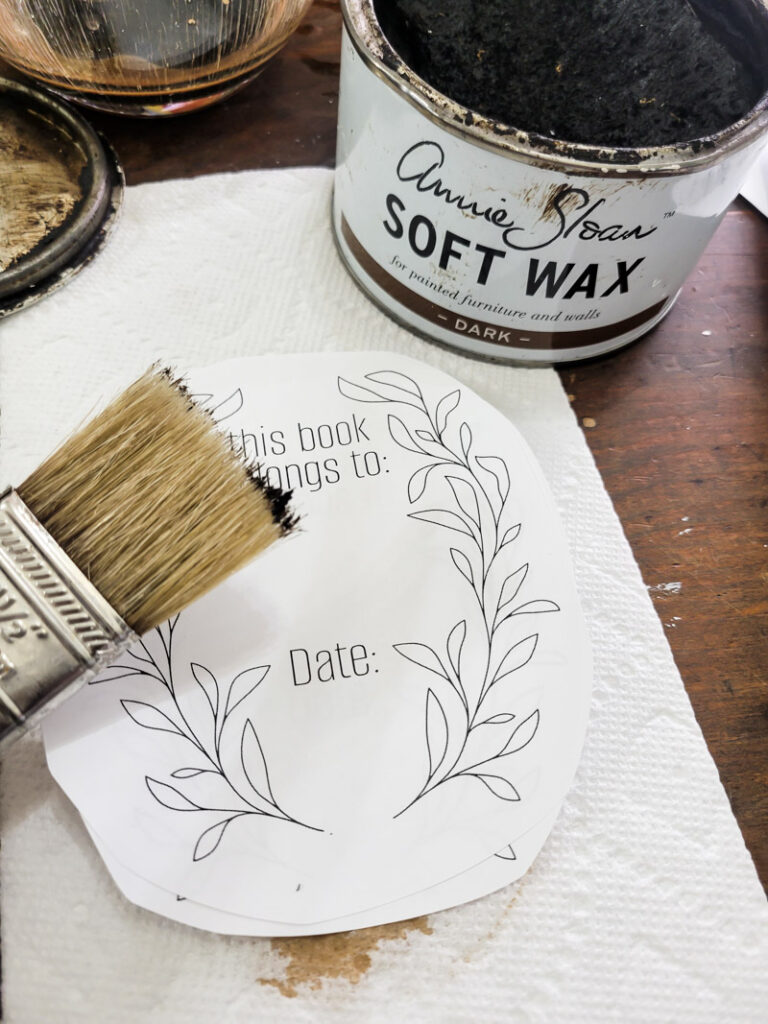
I use a stiff bristle brush to apply the wax, heavy around the areas you want distressed, but a little all over is good too. With a soft cloth or paper towel, buff the wax. This will blend the wax and give your paper a soft finish. You have a lot of control with your pigment when you use wax and can be very intentional about where you darken and stress the paper.
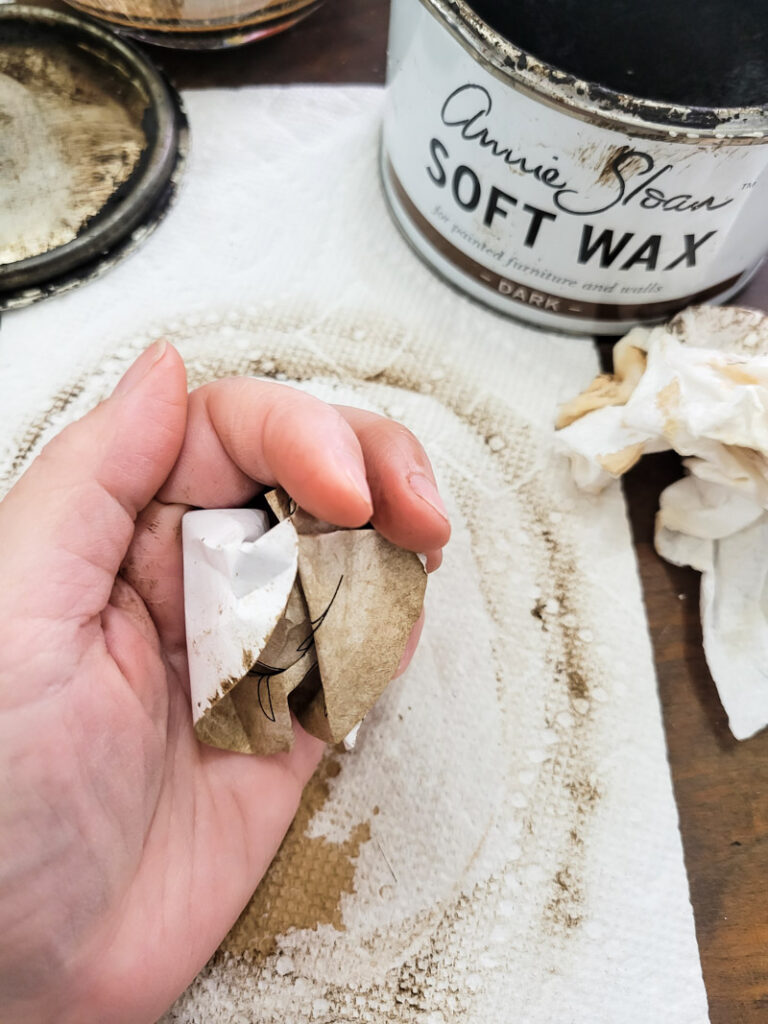
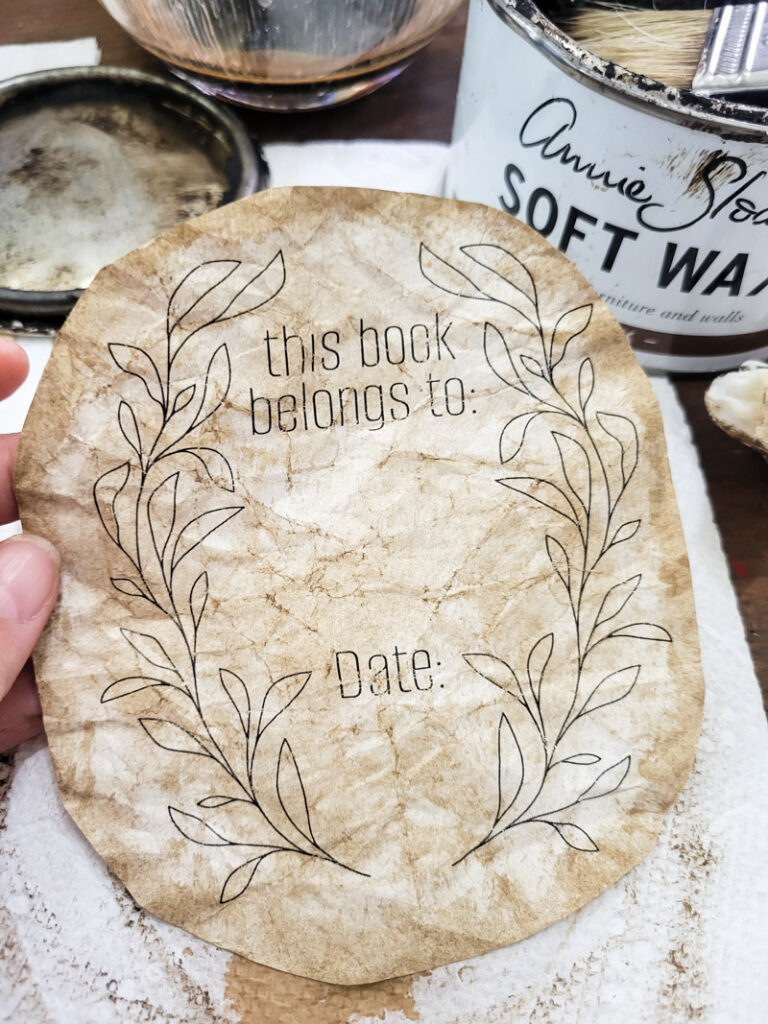
If you crinkle your paper up and add more wax it will settle slightly in the wrinkles and highlight them. I love that look!
See how yummy this finish is:
Use Spices To Age Paper
This is a super fun addition to traditional aging techniques! You have all you need right there in your spice cabinet, so put your kitchen to work for ya. I am seriously in LOVE with this paper aging idea. It work best in combination with one of the overall paper aging techniques, and is great to add a rusty, dimensional feel to your papers. I used Cinnamon, but I am sure there are other spices that would work just as well. Use what you have on hand.
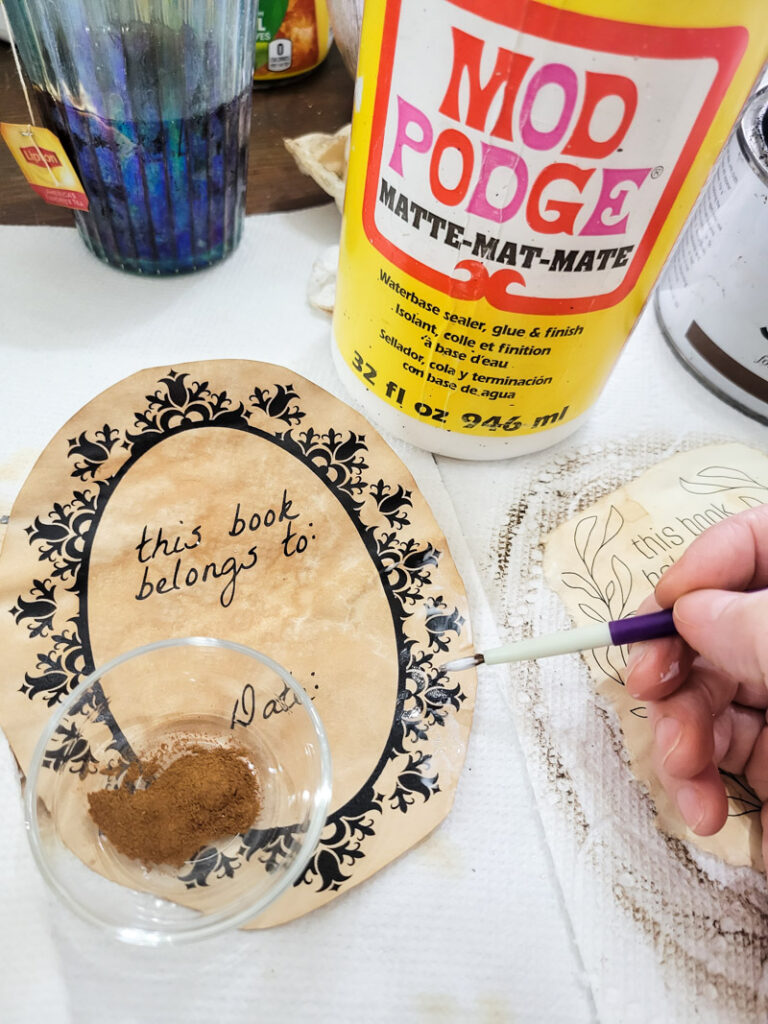
The spices will slightly stain paper if sprinkled on a damp paper, but I don’t think that’s the best use of this ingredient! You want to let your paper dry completely and then use a little Mod Podge to sticky up some spots. Sprinkle your cinnamon on the Mod Podge Spots and tap off excess. You can build the cinnamon up and add it strategically to add the age right where you want it. Such an amazing finish!
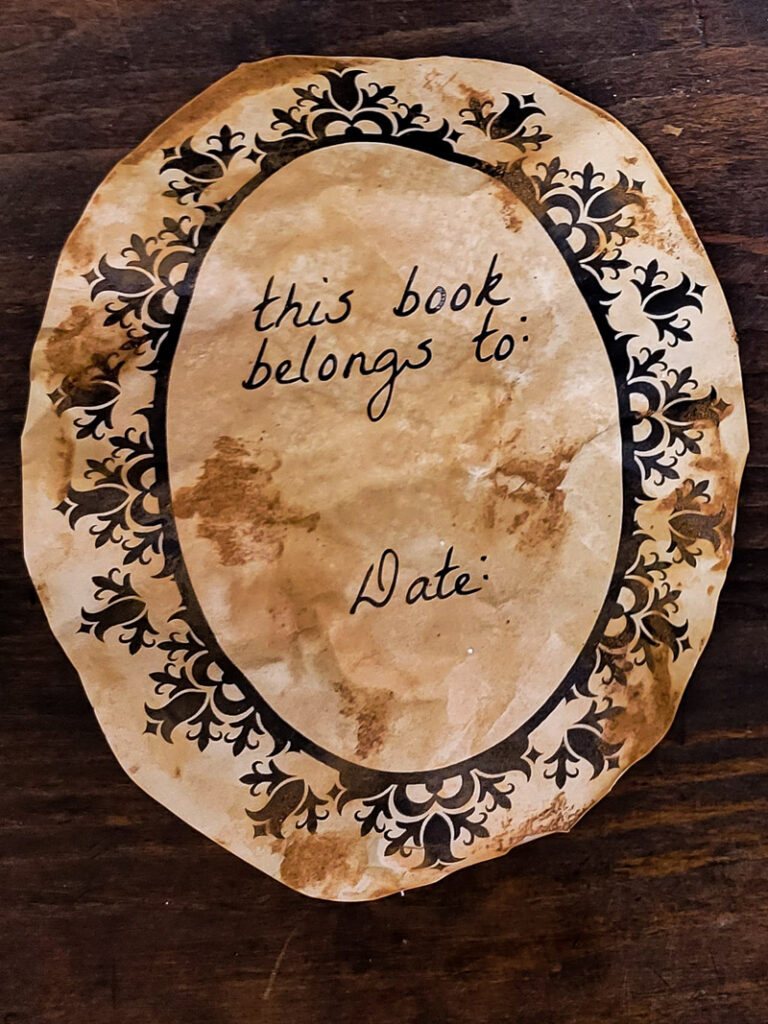
Quickly add age and wear to paper by burning it
This technique reminds me of vintage scrolls or parchment letters. A good piece of worn paper with crisp burnt edges feels like it holds a story to tell. It has survived a trial and lived to tell. You can pair this technique with any of the other paper aging ideas for a double duty old school paper effect.
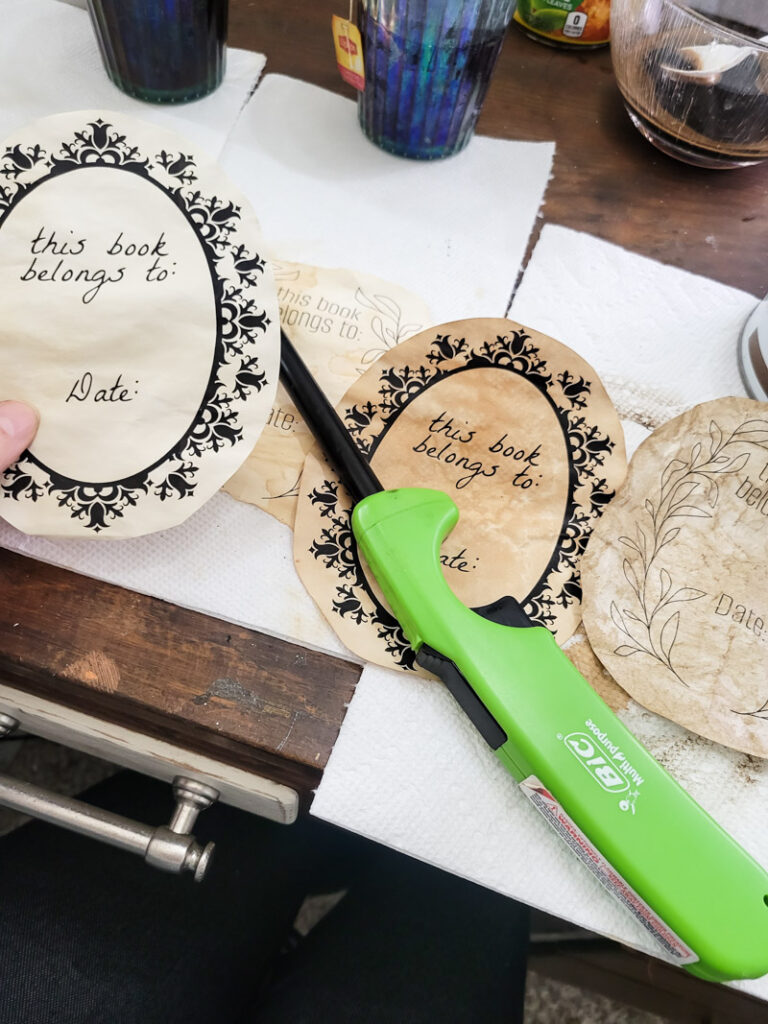
Obviously, burn your paper in a well ventilated area and have water close by in case your burning gets out of hand! A long lighter works best for this as to not burn your fingers and you have more control than with a small lighter or match. Have a damp rag handy to stop the flame in the edge where you want it!
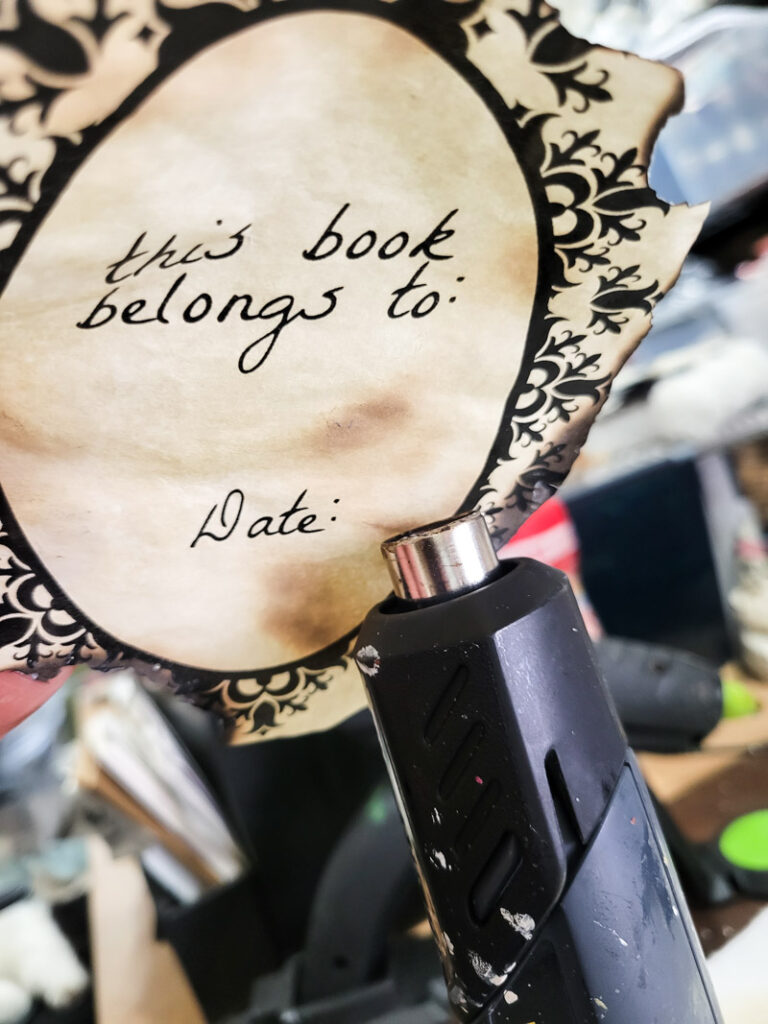
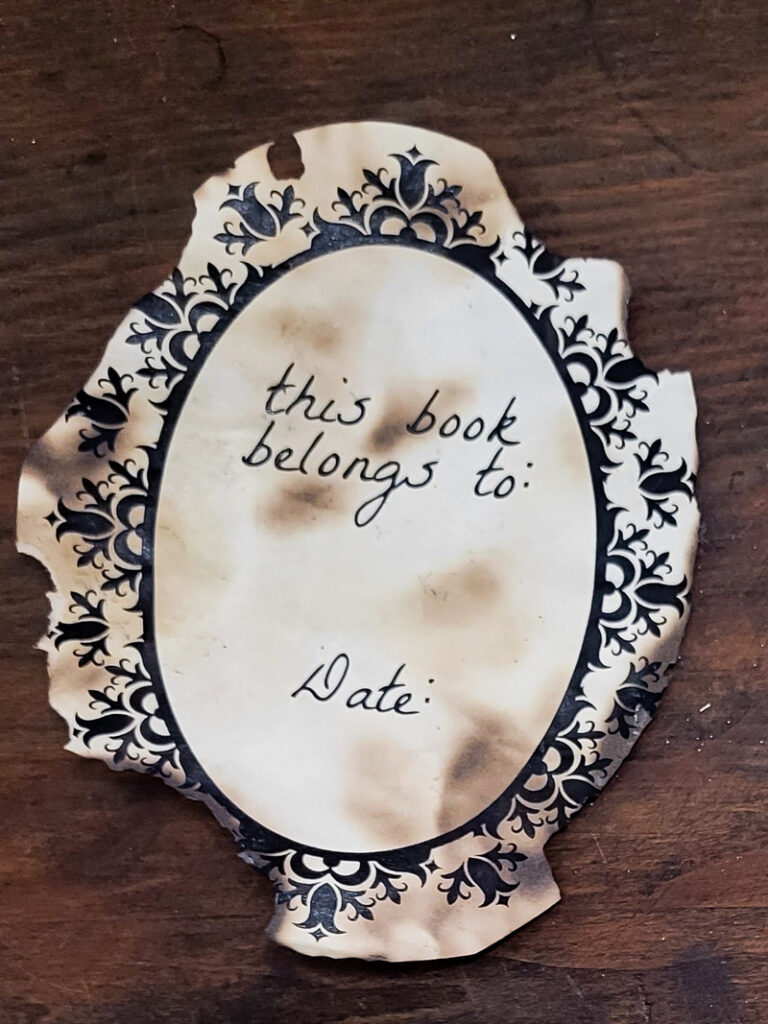
You can also use a heat gun to burn paper. I did a combination of both heat tools for this look. I used the lighter for a seared look on the edges and then used the heat gun to scold the paper in the middle and edges. You have to hold the heat gun to the paper for a little while to get it to start searing the paper. The two tools produce different results completely! Have fun with these techniques and pair them together for a great finish.
DISTRESSING INK to age paper
Created just for the idea of distressing paper and ephemera, this is great for small pieces, and splattering for added distress. I didn’t try this today, but this paper aging technique will allow you to add drops and smears in a somewhat controlled manner. It’s good in combination with the other aging ideas you see here.
Use ACRYLIC PAINT or Watercolors to age paper
Here is one more easy way to make some new paper look old. This technique is not as soft as the others, but it still does the trick. If you use watercolor you can dilute the color to your desired hue and paint the entire sheet of paper. You can go back and layer on color and distress as desired.
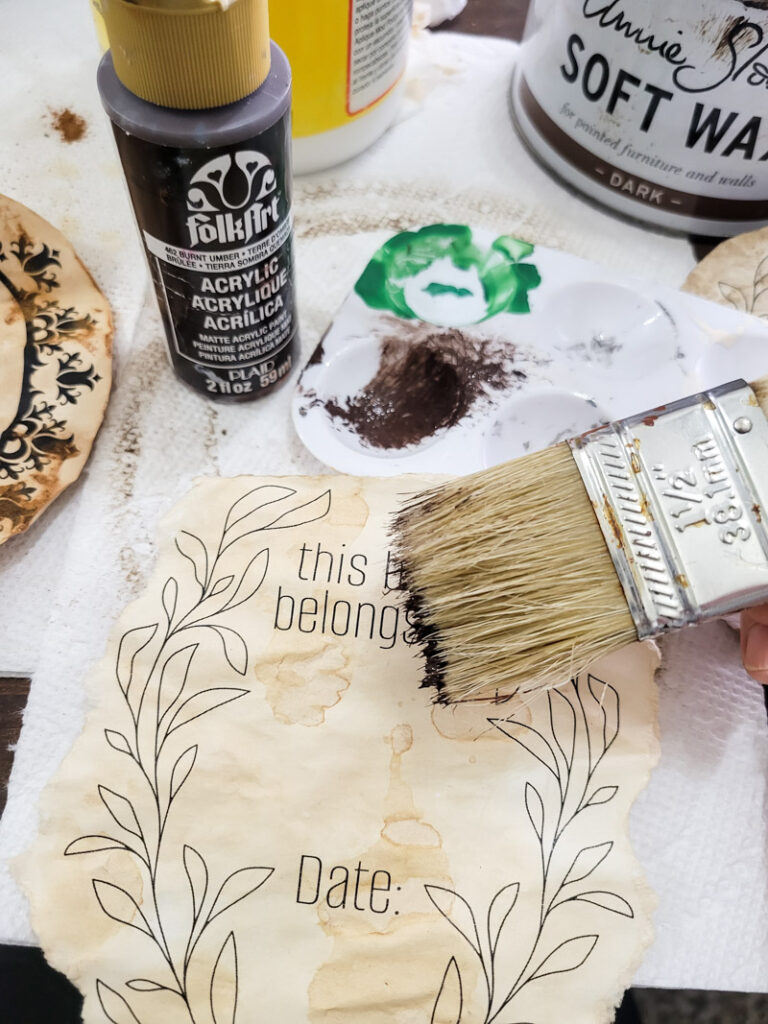
With acrylic craft paint you can dry brush the paint on the edges, slightly rub it across your paper surface or even dilute the paint and paint the whole thing. Acrylic paint is water based, which means it will dilute with water. Put some paint in a bowl and slowly add small amounts of water, stirring until you get the consistency and intensity you want!
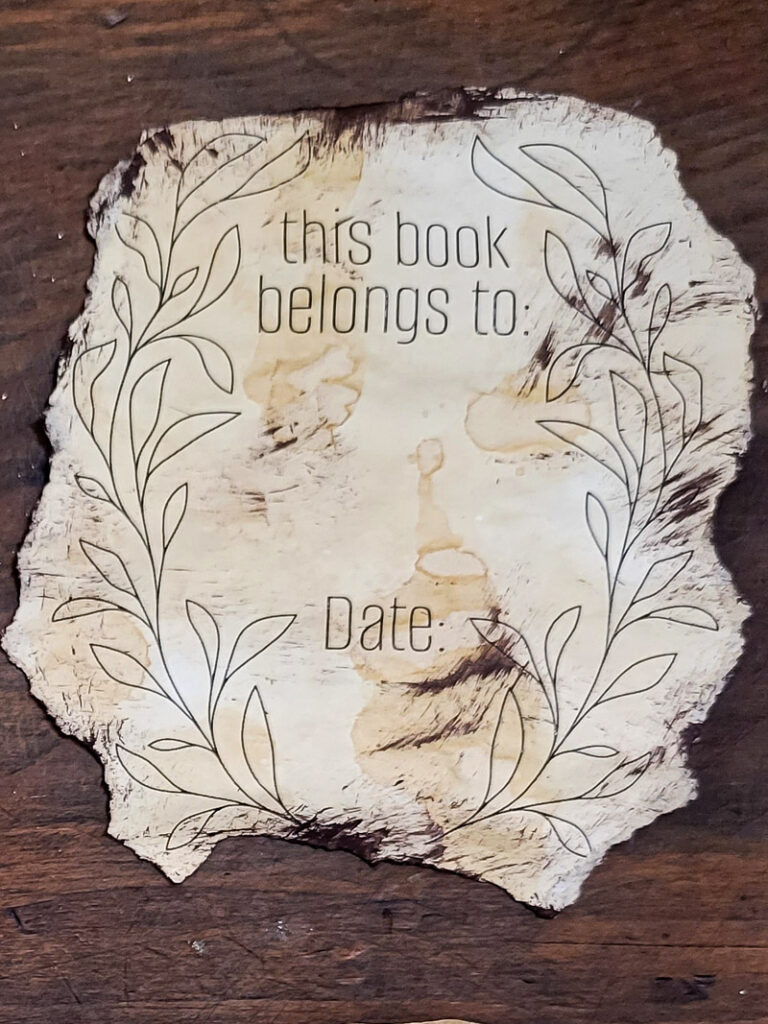
Other ideas to age paper
- Crinkle up your paper for a well lived look.
- Tear the edges for a tattered, been-around-the-block feel.
- Splatter – splatter paint, stain, dye, etc. on your paper for a “been through it all” kinda look!
- Cup Stain – I love the idea of setting a cup into some form of dye (coffee, paint, stain, etc.) then setting it on the paper to form a ring. Looks like a piece of worn paper that was shuffled off someone’s desk. Such a cozy look!
- Color – you can always add some color with colored inks and dyes for a completely different worn look.
- Emboss – Lay your pattern on a surface with a raised pattern and rub it generously to get an embossing effect.
- Stamps – Add stamps and layers to your paper pieces to add history and memories.
Here is a look at the different techniques side by side – which one do you like best, let me know in the comments! There is a supply list and download below…
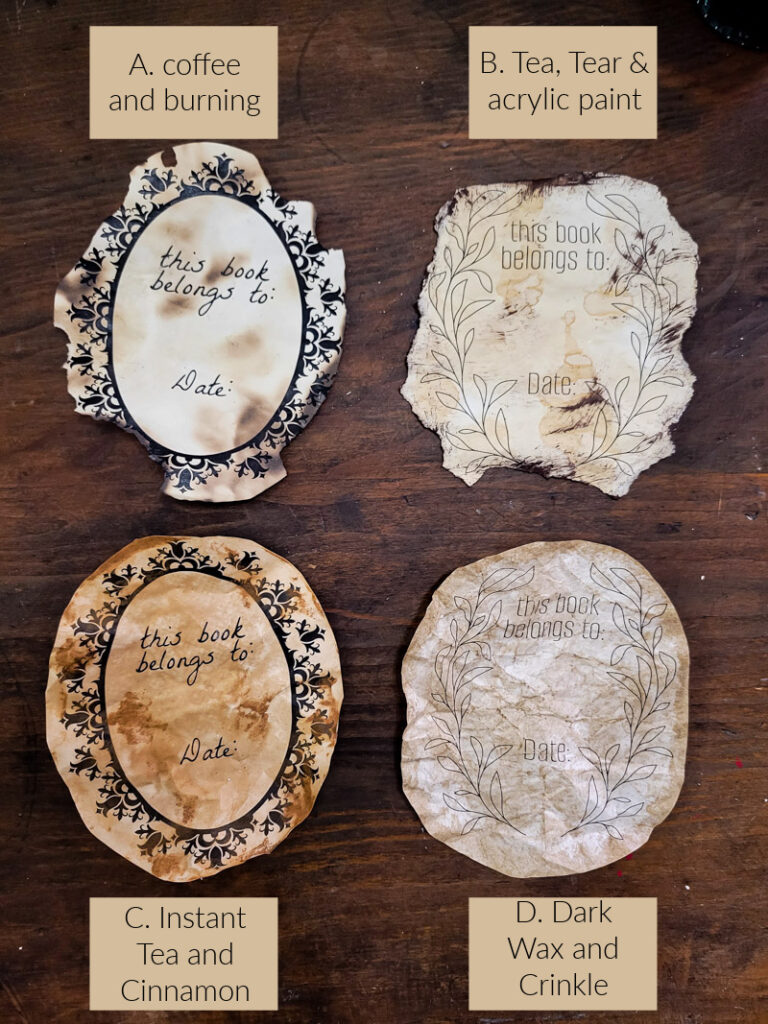
Aging paper is the perfect way to take something new and make it old. If you don’t have access to vintage items these are great techniques to learn and play with. I’d love to hear if you have other methods I should try.
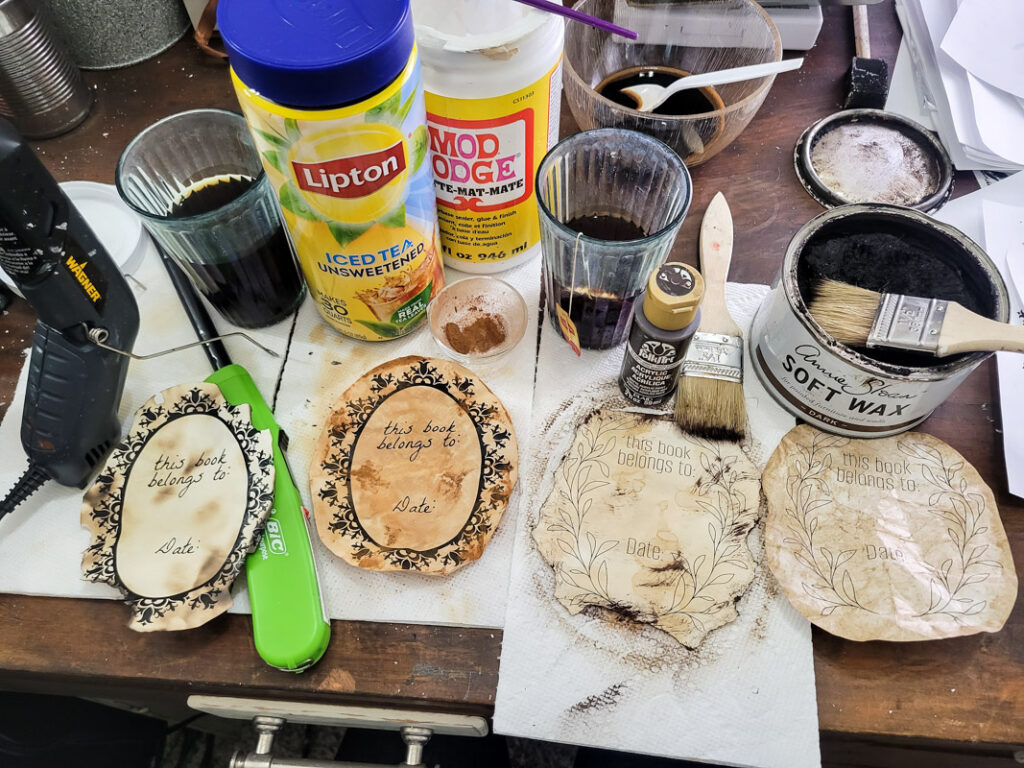
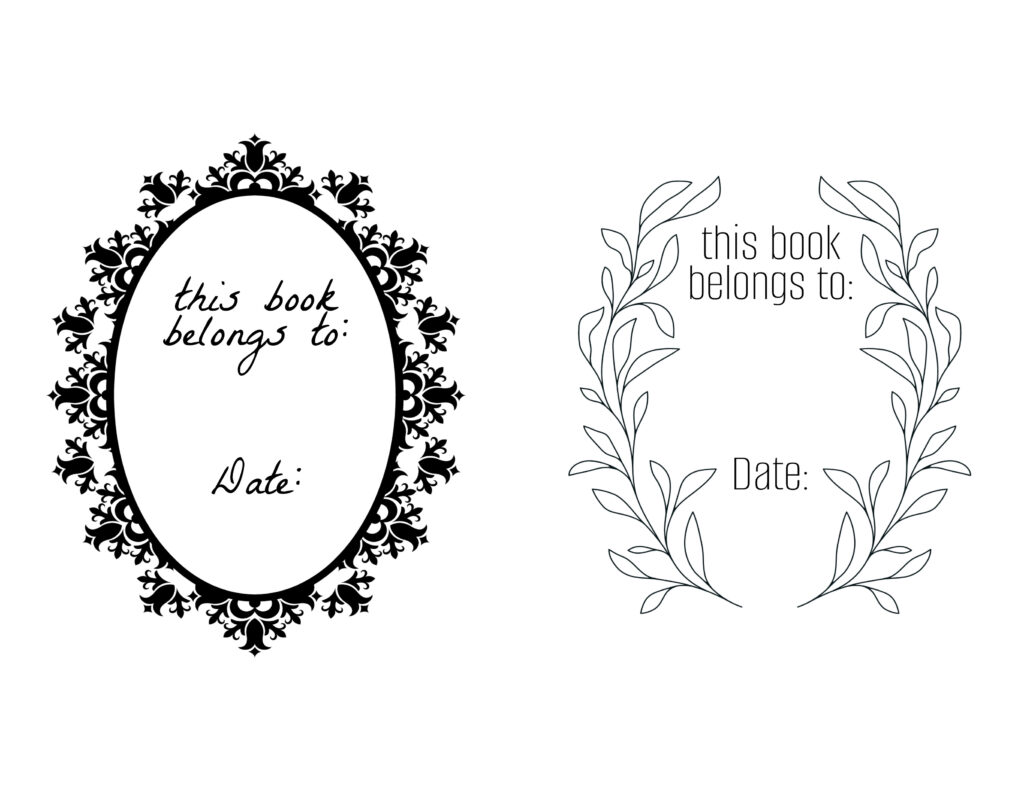
Now here is that FREE digital download bookplate you can use to try these ideas on!!! Can’t wait to see what you create.
Download your Free Bookplate Print HERE
Paper Aging Supply List
Click on the link below for my recommendations:



I used to use the coffee or tea staining method and then dry the paper on a cookie sheet in the oven. It gave my paper a dry, wrinkly feel.