Do you love a gallery wall as much as I do? They are such mesmerizing spaces in home decor and have so much to offer your decorating atmosphere and look. I’m sharing some of my favorite tips for the perfect gallery wall today and I hope they help you decorate your home with love! I have a spot on our balcony that I stared at forever, thinking it needed some life. I could see it from where I sit and drink my morning coffee…
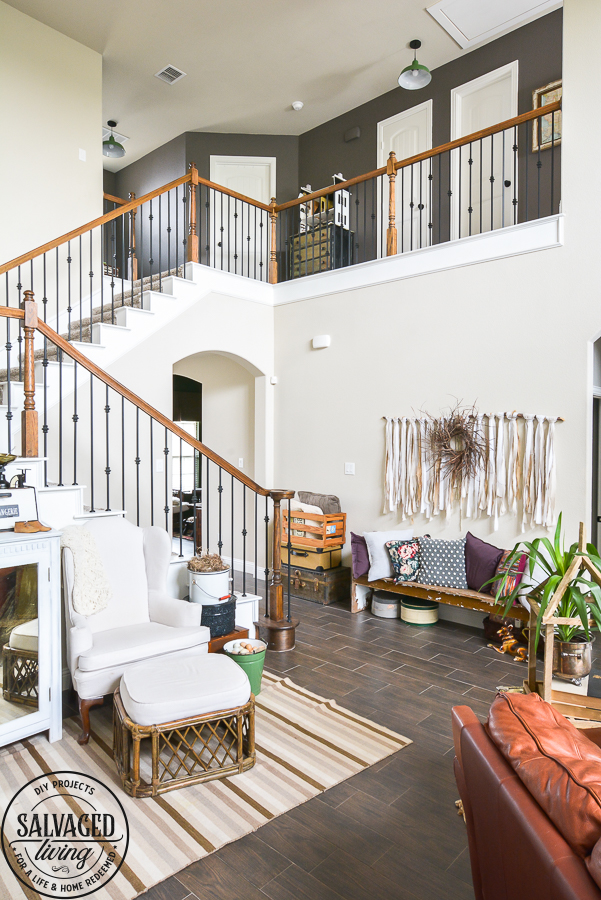
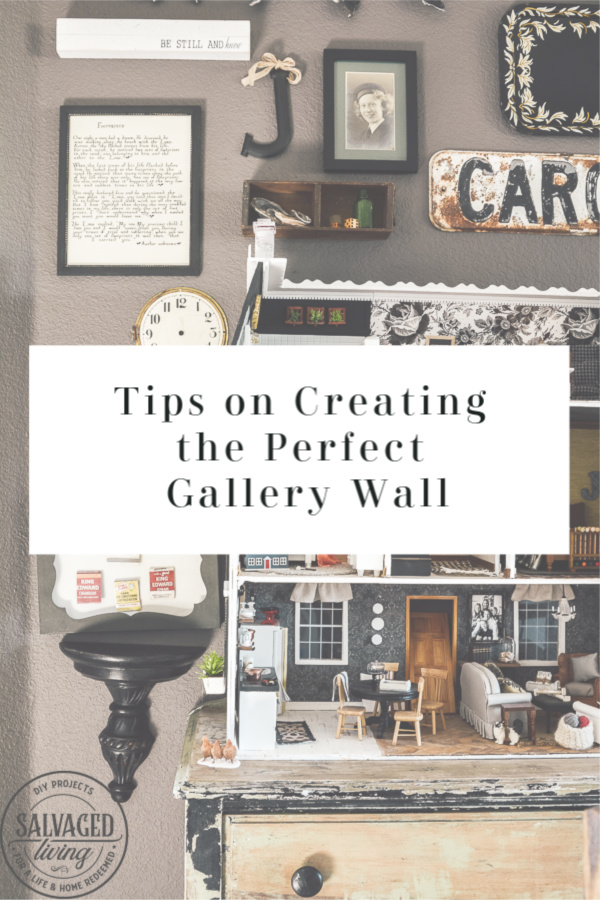
Tips on Creating A Gallery Wall
- Be Personal – A gallery wall is the PERFECT place to spill your guts. Let everyone know what you and your home are about. What you like, fond memories, heirlooms and mottos. Use a gallery wall in your house to tell a story, not just to through up a collection of random home decor items you found at your local decorating store. While I love to mix in generic home decor, I find a gallery wall to be more stunning when it is filled with unique and personal items that mean something to the curator. Think of it as a giant scrapbook page. Here is my wall space before I attacked it with a gallery layout.
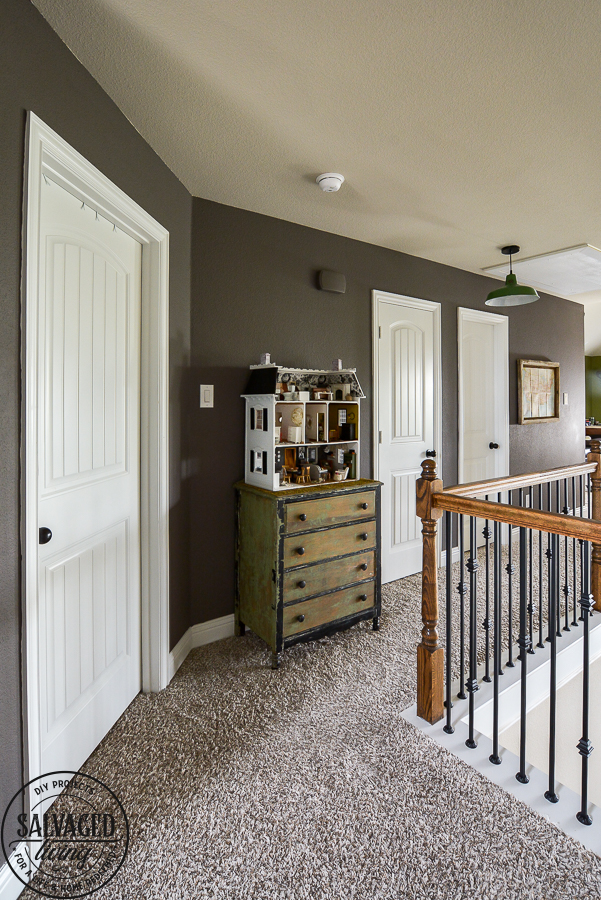
- Spacing – Space things together on your gallery wall closer than you think you should. When items are spread to far apart they lose unity and the spot feels disjointed instead of it working together as a large piece of artwork. I’m not one to hang a gallery wall with completely even spacing between all items, but rather creating a relationship between objects that feels comfortable. Of course if you are displaying an exact grid type gallery wall then exact spacing is a necessity!
- Texture & Pattern – Many gallery walls fall flat with lack on interest because there is no variation in texture or pattern to the items in the collection. If everything is the same it is boring to the eye. For example baskets, fabric and metals add a great variety of texture to traditional picture frames and wood signs.
- Too Many of the Same – Avoid having too many of the same type item. I love a cute graphic sign, but a gallery wall looks better and each object is more impactful when there are only one or two of each variety.
- Variety – It is the spice of life y’all and while I just talked about not having too many of the same thing I thought I’d give you some ideas on options to consider so you have a well rounded gallery wall situation on your hands! Think: metal, wood, glass, fabric, paper, photographs, frames, floral, wreaths, ribbons, cross stitch, macrame, garland, signs, square, oval, rectangle, odd shapes, stacked, layered, shelves, cabinets, crates, hoops, oil painting, watercolor, graphic art, dishes, platters, architectural salvage.
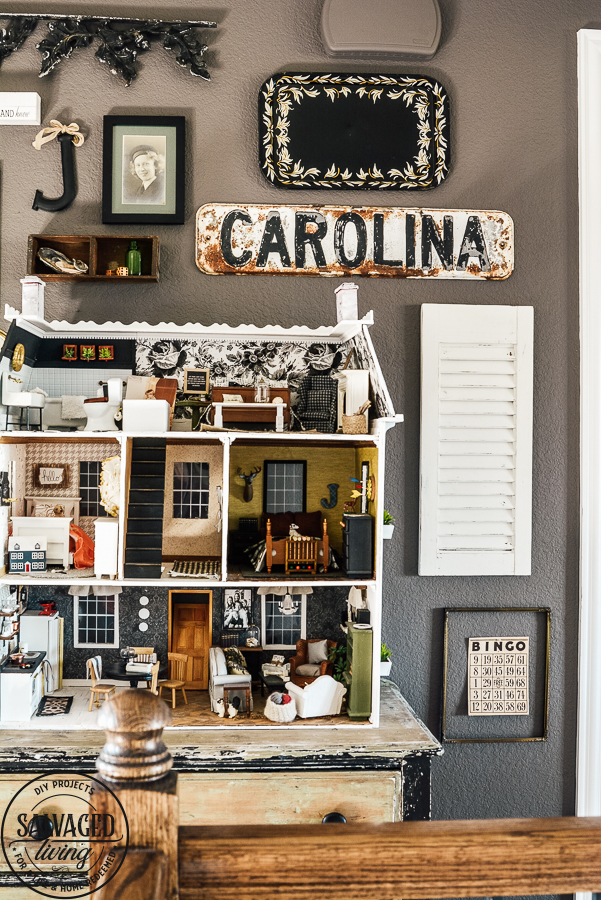
- Color Theme – You might want a complete hodgpodge of color, but I find that sticking with a color pallette can help bring cohesiveness to a gallery wall. I’m partial to black and white, but you may have a color theme that is all your own…and one more piece to the personality puzzle of your gallery wall!
- Unify – If you have a variety of art or photographs that don’t exactly go together try unifying them by using the same color frame across the board. The artwork will be different but the delivery system will blend and bring them together. Also having a unifying theme can help tighten up a gallery wall.
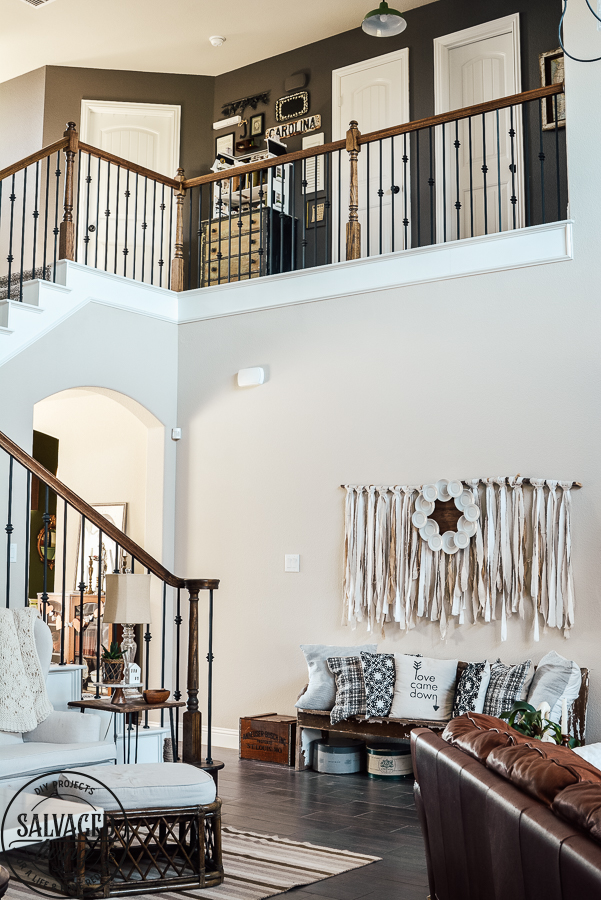
- Where you put it – Gallery walls can be big or small. I love them in a crowded nook, over a staircase, in a hidden hallway or over a couch. They work just about everywhere, just remember to keep the groupings tight! Especially if you are placing a gallery grouping on a large wall. Don’t feel the need to fill the entire wall, just draw the eye in to the focal point – your gallery collection. Also – don’t be afraid to go floor to ceiling for impact. Be sure to start the gallery wall hangings close to the top of a couch or dresser if you are hanging it behind an furniture piece on a wall. Don’t hang it too high! You can also lean items on the wall that sit atop a piece of furniture to connect the furniture and wall into one giant continuum.
- Seasonal – If you have a great bones on your gallery wall it’s fun to carve out a space or two that you change out seasonally or for the holidays. This is a quick and easy way to change up your decor by replacing one or two items. Easy -peasy!
How to Hang Items in Your Gallery Wall
- I am not one of those people that lays out the entire gallery wall and creates a template first. I just go for it! Here is how I approach creating a gallery wall.
- Start with the largest/heaviest item first. I don’t mean weight heavy, I mean visually heavy. Decide if that will be your center or bottom center. You want it prominent in the gallery wall to weight the items around it and draw them in.
- Separate items. If you have two baskets or two very similar items you might want to make sure they are not on top of each other, so have a plan to separate them in your layout.
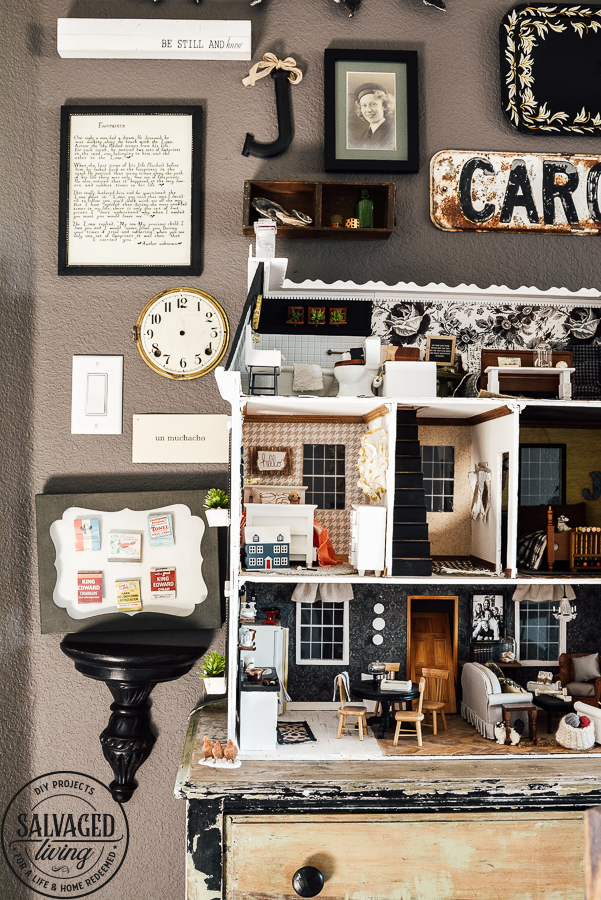
- Start grabbing items and try to vary texture/size/style of each item and begin working your way out from the large center point.
- Hang like a tennis match. Move side to side and keep hanging in a balancing order…side to side, top to bottom.
- Don’t overthink it.
- Step back and look. Remove yourself a bit from the wall and see if you have gaps, heaviness or dull spots and rearrange. Sometimes you need to sleep on it, get up and take a fresh look the next day.
- Curate, don’t rush. Don’t add something just to fill a space. Decide mentally what you need to fill the gap and rummage through your home or take time hunting for a new item that will complete the space as your minds eye sees it. Don’t settle.
- See my complete guide to hanging odd shape/heavy/weird items here for extra hanging help!
I hope these tips and ideas help you create a gallery wall you love and are proud of. If you have any questions, I’d love to help you out, just let me know in the comments! Your ideas matter to me as well, so tell me your best gallery wall tricks…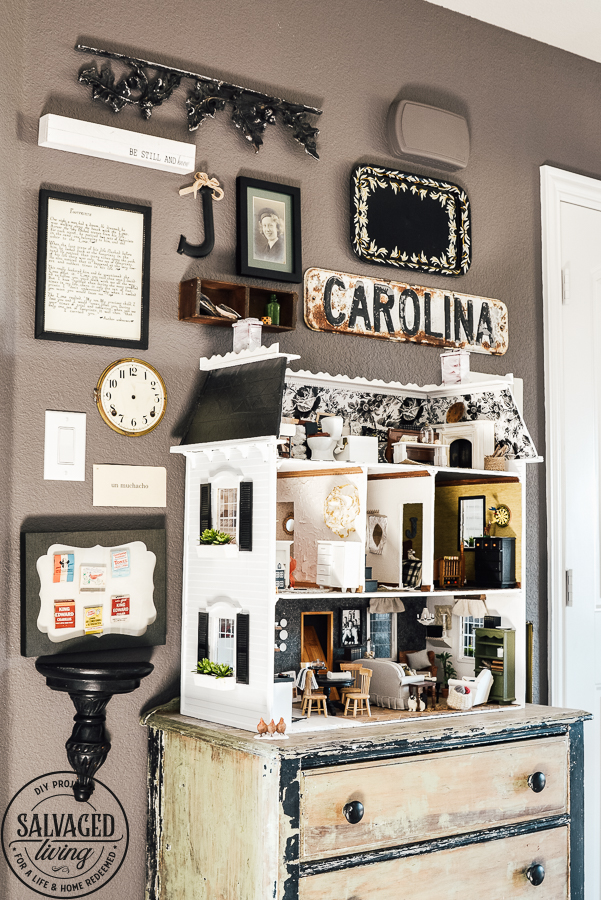


I love the wall hanging with the strips on a stick! Do you have a tutorial for that? It would look great above my bed.
thanks here is a brief tutorial wall hanging
I love the wall hanging with strips of fabric too ! A tutorial would be great … also did you make all the lovely things in the doll house ? I would like more information on that too , my daughter and I are working on one so ideas would be great ! Thanks … love your wall ideas too !
Thanks Michelle – here are a few links:
Wall hanging
Dollhouse kickoff…there are multiple links in this post to walk you through the whole dollhouse makeover!
Please tell me that Carolina sign is for sale!