I have a super easy and fun thrift store glass vase makeover for you today! Y’all are going to love this new product I used to makeover a cheap glass vase. I’m sharing these cuties styled in my fall centerpiece, but you could use them just about anywhere! Wait until you see how cool this vase makeover is. This post is sponsored by Rust-Oleum, all ideas and opinions are my own.
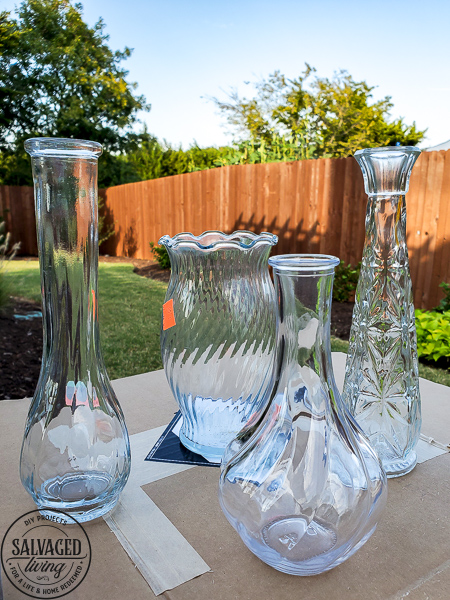
I’m betting you have some of these glass vases stored under your kitchen sink right this minute! Am I right? You know, the glass vases you collect when someone sends flowers and then you just know you’ll use them all the time, so you store them under your sink with the 7 others you already have but never use.
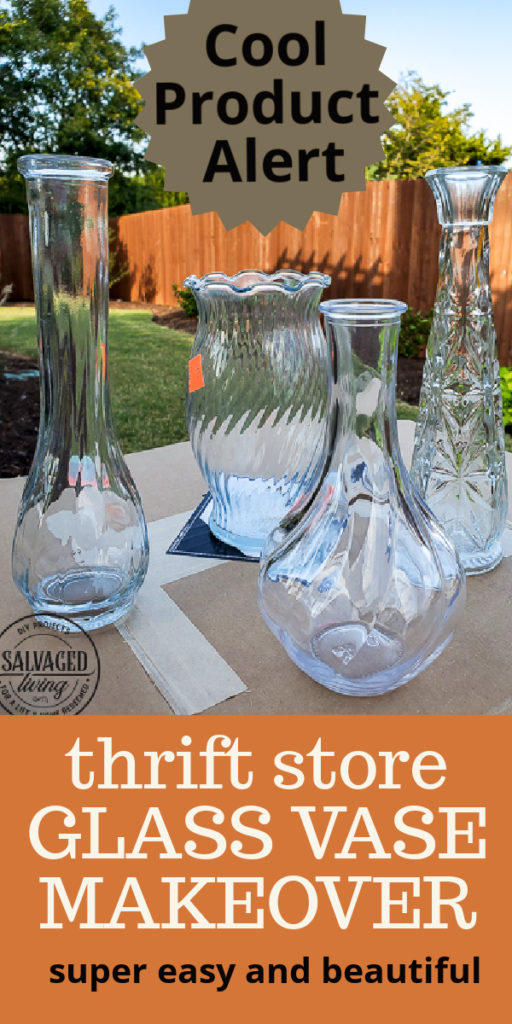
Or maybe you don’t have any? That’s ok. I scored all of these glass vases for $1 each at my local thrift store. The best part about a makeover project like this is you can use a ton of mismatched, awful color vases and unify them into a show stopping centerpiece.
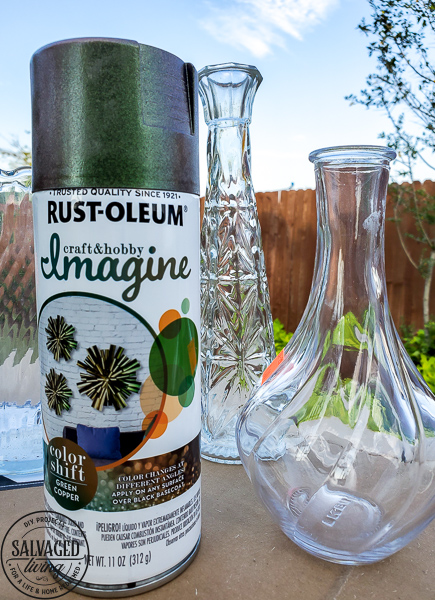
Warm copper tones are hot this fall and just about any metallic is always a favorite in my book. Add green to it and I’m a smitten kitten. I was anxious to try Rust-Oleum’s Imagine Color Shift Paint and I knew these vases were the perfect candidate. I went with the green/copper color shift spray paint and it is a total winner!!! They have multiple other color combos available and you can find this paint at Joann – click here to see the colors and get a can or 10!
DIY Vase Makeover Instructions
- Get your Rust-Oleum Color Shift paint here and grab a can of the Rust-oleum black basecoat while you are at it.
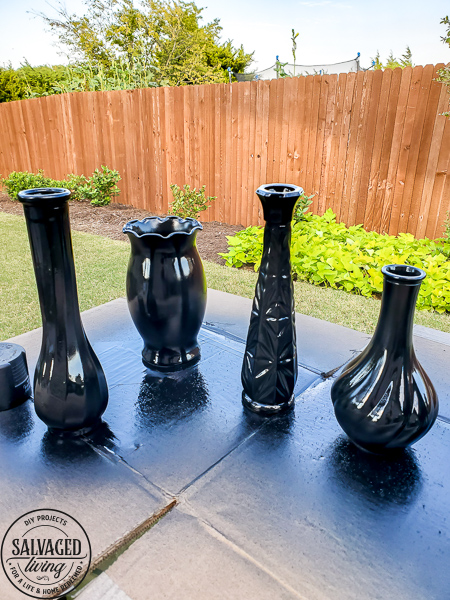
- There is an important step you need to do first – use Rust-Oleum black basecoat. This paint will work on any surface as long as you have black underneath. I sprayed a quick coat of black spray paint on the glass vases and let it dry.
- Shake your Rust-Oleum Color Shift Paint well! You can see more about this paint on Rust-Oleum’s website here!
- Next, I lightly sprayed the glass vases. The BIGGEST advice I have on using spray paint, especially on a slick surface like glass, is go light and do multiple coats. Also hold the can away from your surface a good 10-14 inches. Be patient in the process so you don’t get a drippy mess. If your paint is dripping you are too close and spraying too much in one spot at a time. The coats dry pretty quickly so it doesn’t take long to do multiple (like 4 or 5) thin coats of the color change paint. The more light coats you do, the more pronounced the color change effect. You do not need multiple coats of the black, just a decent base coat will do.
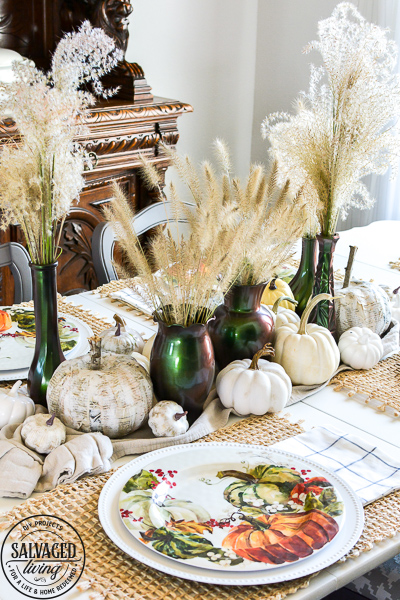
- Let it dry completely so you don’t get messy fingerprints in your beautiful work.
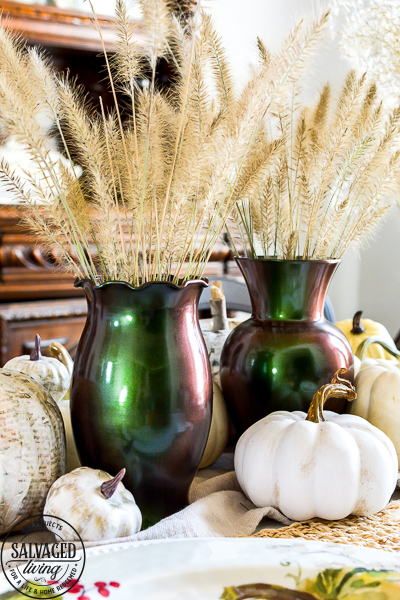
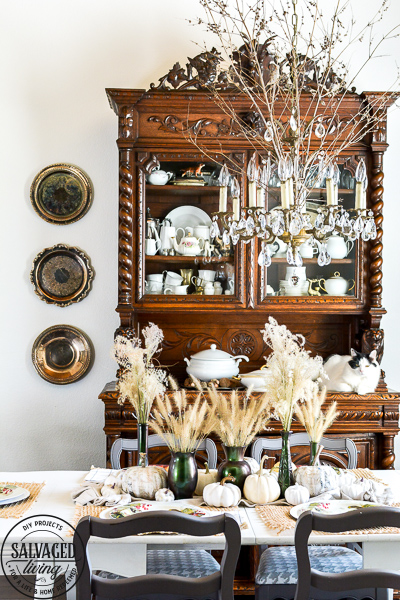
- Style it like a pro. Y’all I promise these vases look so amazing, the finish doesn’t look like something you should be able to pull off DIY style. They truly shift colors! You can see the color variation at a stand still or when you move around. When the light hits these vases they are simply brilliant.
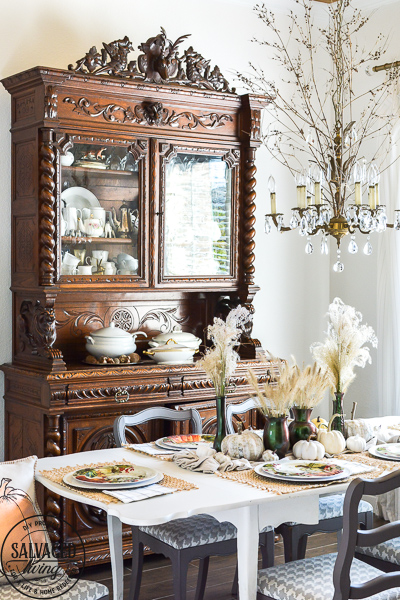
I wanted the vases to be the star so I used neutral decor around them, faux and real white pumpkins, grass plumes clipped from the yard, Dollar Tree chargers, woven placemats from Wal-Mart, pretty melamine plates from Family Dollar and neutral napkins. Budget friendly at its finest.
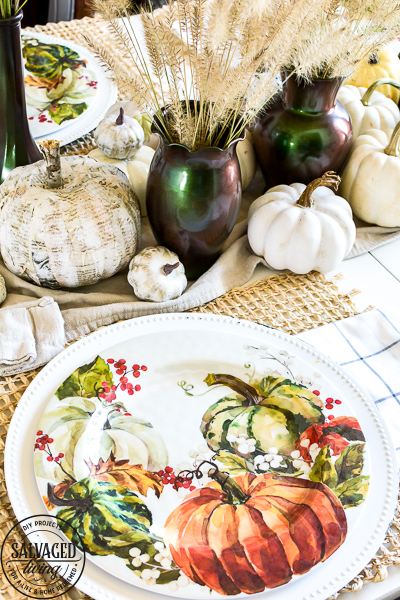
I think this table turned out gorgeous and I can use these vases in other spots when the holiday is over. Win – win if you asked me. 😉 Tell me what out of date item do you have in your house that could use a cool makeover like this??? Be sure to save a pin so you can come back to this tutorial easily. If you’d like to see some other budget friendly fall decor ideas, start here!


Love this. I’ll be making a trip to Joann’s to get this paint & i’m Excited to see the other colors. Thanks so much for this post. Hope you & your family are doing well.
Thank you Gloria – I think there are some fun color options for the holidays!
Thank you for the great craft idea. The color is absolutely beautiful.
It really is so cool, I don’t know how it works lol!!!
They look great!
yay – so glad you like them Linda!
Love this!! I Will be making a trip to JoAnns today!
woohoo – have fun and I hope you get some fun colors!
These look so beautiful! I have never heard of this paint before, but I am going to go get myself some today. I have tons of vases and now I can put them to use ????
God bless!
Lori
It really is such a cool product and you will have fun with it! So excited for your makeovers!
Beautiful! Thank you for letting us know about this paint. I have never heard of it before.
I hadn’t either hope you have fun playing with it!
Did you spray the inside of the vases? I love this idea and can’t wait to try on my many vases!
No! I just painted the outside. Have fun
Those are pretty! I think crinkle paint would look good also? Maybe tape off a portion and do both?
sounds cute – Haven’t tried that paint yet!
Your table looks AMAZING! Hard to believe it is done with budget items. Looks so high end and in such a lovely setting. I admire your styling talents. Also love your China hutch. All beautiful!
Thank you Sara – I appreciate that, I really try to be budget friendly ALL THE TIME! or at least mix in some budget ideas!
Is it possible to get this printed?
I’m sure you can print it, probably need to right click your mouse and try to print from there!!??
Can you please HELP me? I have a large amount of vases and bought everything to do the copper/green but I have a friend who wants me to do the champagne color. Would I use a black base as well? Logic tells me no but I am just a beginner here and cannot wait to get started. Can you please help me????? Email is psmith1518@gmail.com. Thank you
HI Patsy – I already emailed you but will answer here as well in case others have this same question! You need to read the directions on each individual spray can and it will tell you what base color to use! I am not sure of each individual color because I haven’t used them all, but that will get you on the right track! Have fun and hope this helps!!!
Hi, Do you seal the finished vase with a clear coat or is this paint all that is needed?
They are beautiful!
thank you! The painti s all you need!
These are beautiful! Did you have them on a pole/stick upside down when you painted them? just wondering how to do it without the bottoms sticking to a newspaper and have a clean line near the base.
Thanks
Missy
I just sprayed them, but you could totally do that!!!
I have a white ginger jar lamp I would love to try this on!