DIY Textiles for the Dollhouse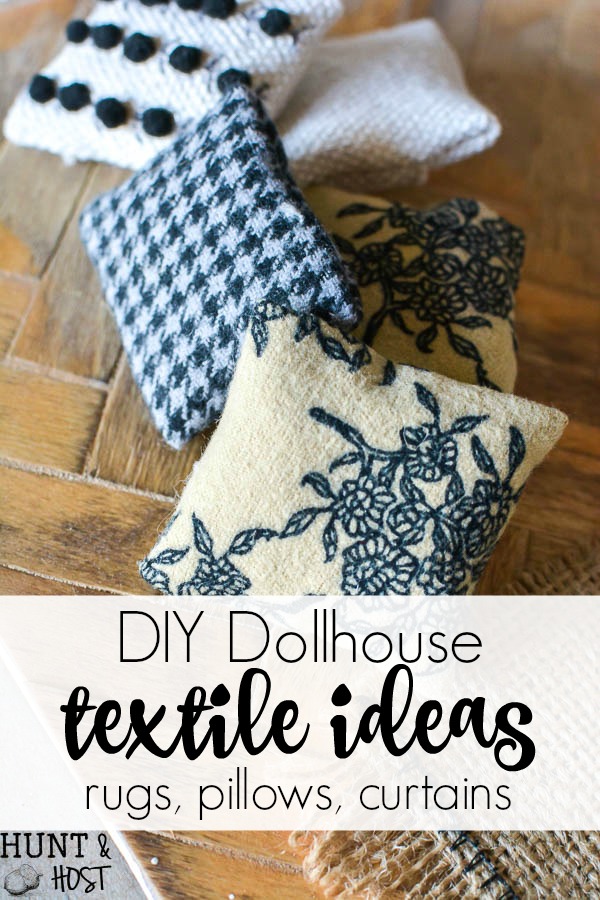
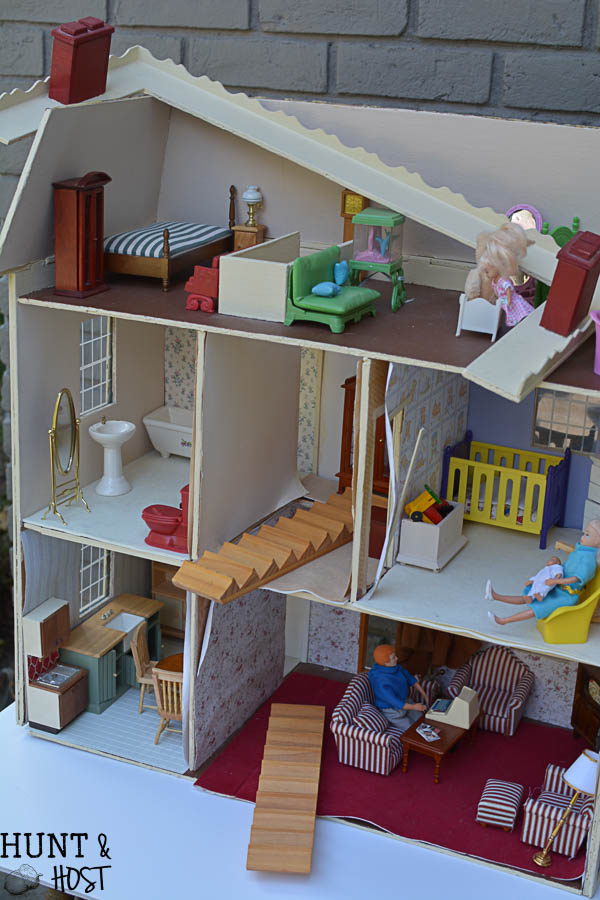
I am still having so much fun with this one room makeover…dollhouse addition! I tackled textiles this week, they are such an important part of a room. I even got the sewing machine out which NEVER happens! It’s safe to say sewing is not my gift, but for a few small seams I survived! If you enjoy watching a makeover in progress you can view some stunning transformations take place in the One Room Challenge happening on Calling It Home. Again, I would like to thank miniatures.com for sponsoring this Dollhouse makeover (stay tuned for a great giveaway in week 6 – reveal week!!!) This post is sponsored by miniatures.com, all ideas and opinions are my own. This post contains some affiliate links for your convenience. Purchases through these links will help support this blog so I can keep creating things to share with you, but you will never pay more by using an affiliate link. Thanks so much for your support!
 I can’t wait for the dollhouse room to come together, but I have noticed chopping up the projects in a room makeover makes the process way more streamlined. Maybe that was obvious to you, but I am a scatterbrain decorator and just start messing with whatever draws my attention! This makeover challenge has forced me to be organized and sharing a piece of the makeover each week gives me a deadline to get the tasks done. By focusing on one project type at a time I can really key in on what I want that aspect of the room to look like. I will definitely take this tip with me next time I tackle a real room makeover!
  1. Dollhouse Curtains:
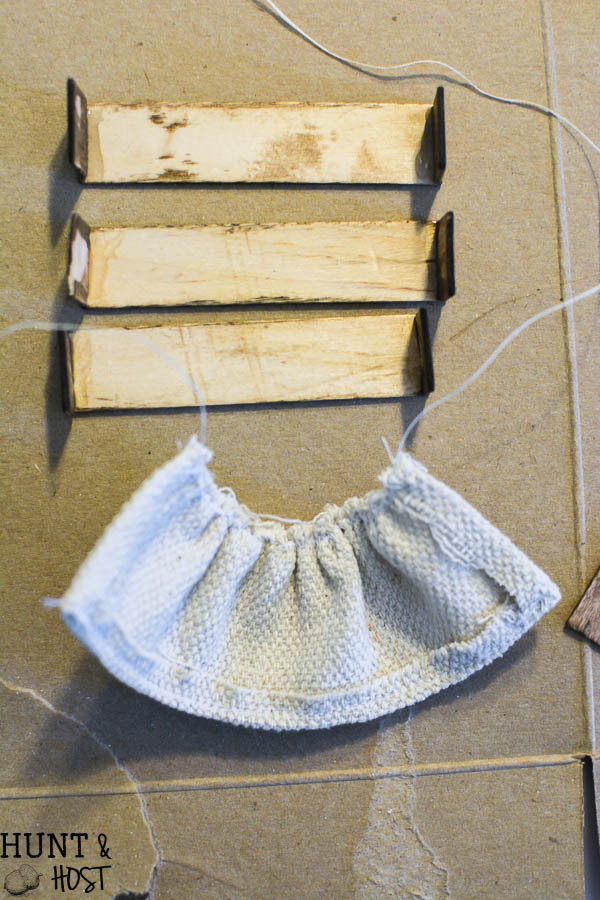
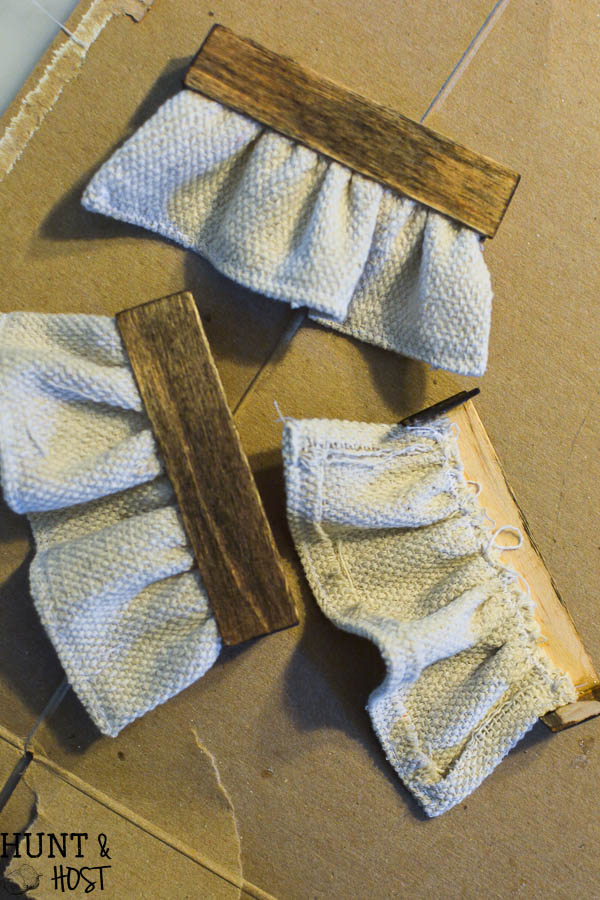
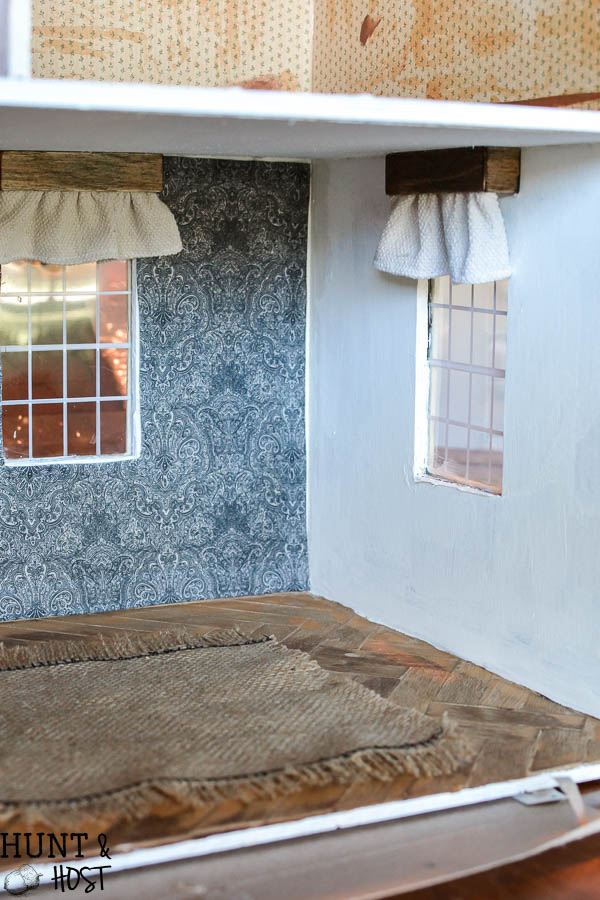
This week’s textile projects started with the curtains. Because I love my kitchen curtains I decided to replicate them in the dollhouse. Once again, popsicle sticks to the rescue! I cut down the fat popsicle sticks to 2.5 inches, which is a little wider than my windows, then cut down short side pieces. I stained them with a darker wood stain than the floor, this time I used Espresso from Minwax. I love that color! Once the stain dried I glued the pieces together, I find this glue works great for small wood projects like this. It dries very quick and holds like a champ. 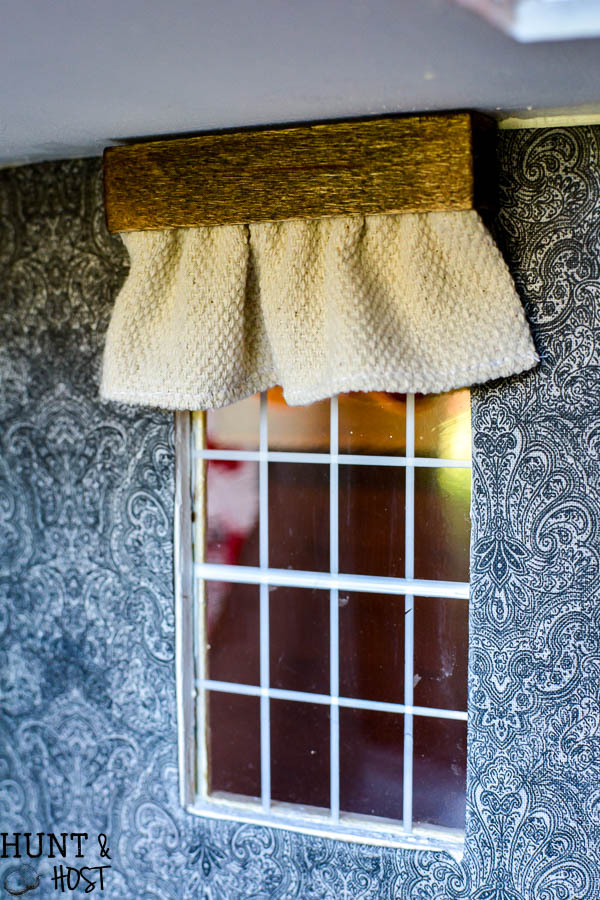 For the curtains I used drop cloth material and cut strips 2 inches wide and one and half the length of the window valance. I hemmed the sides and bottom. Using my mom’s go to gathering trick I sewed waxed dental floss into the top hem and used this to slide the fabric into a soft ruffle. Using this glue I attached the fabric curtain ruffle to the valance. Then using the other wood glue I attached the valance to the wall, nestled up to the ceiling to add height to the room and extend the look of the windows. I originally was going to add panel curtains, but the rooms are small and I need the wall space for furniture so these simple toppers made more sense!
  2. Dollhouse Pillow Ideas:
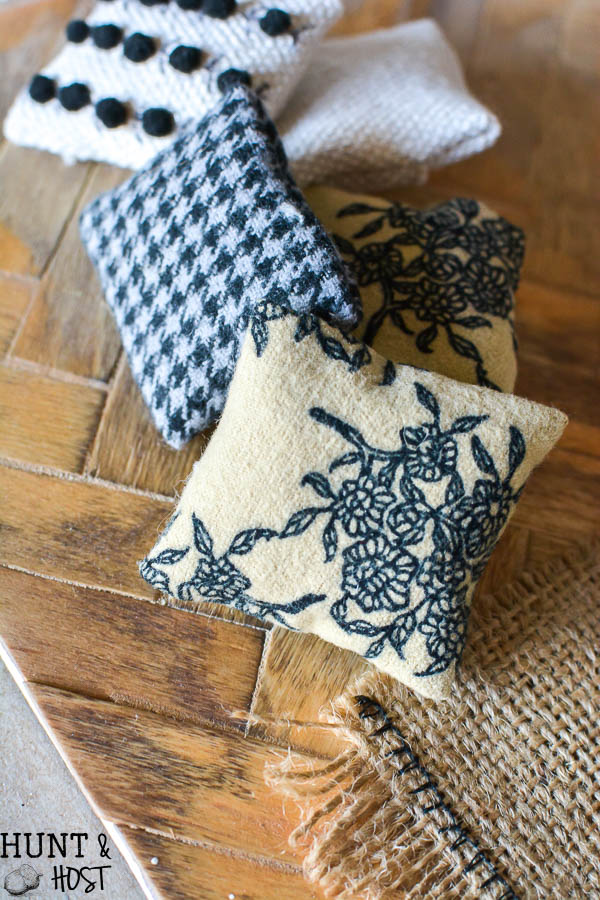
I went ahead and made an assortment of pillows while I had the sewing machine out. I had a bunch of fabric scraps and I just picked a few favorites, plus some extra drop cloth ones I might paint on later!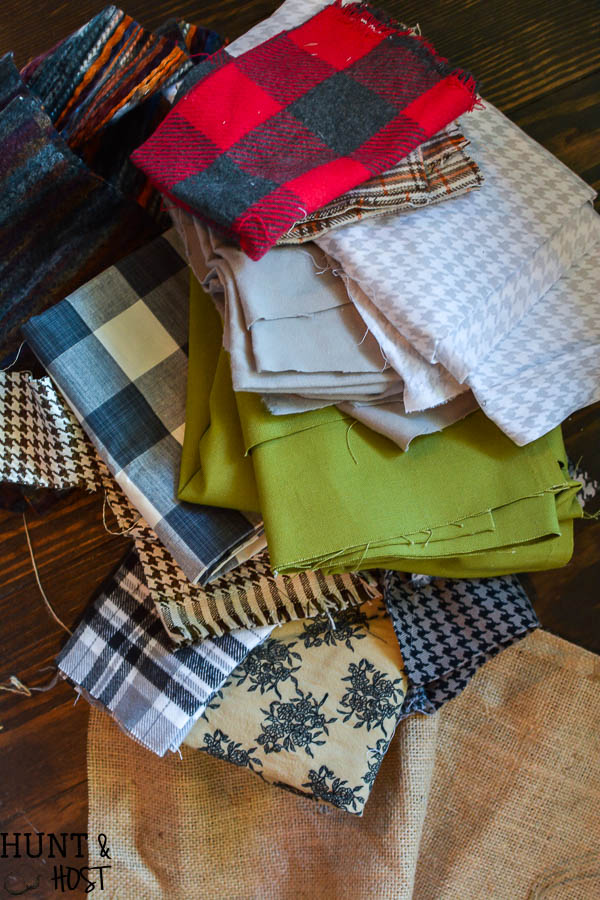 I used the same concept on these bitty pillows as my real life pocket pillows (tutorial here). For the cute pom pom one I used tiny pom poms I had stuffed away in my craft pile (it pays to be a semi hoarder), fabric glue and tweezers to attach the little poms to the pillow, then I drew in stitching with a thin tipped sharpie.
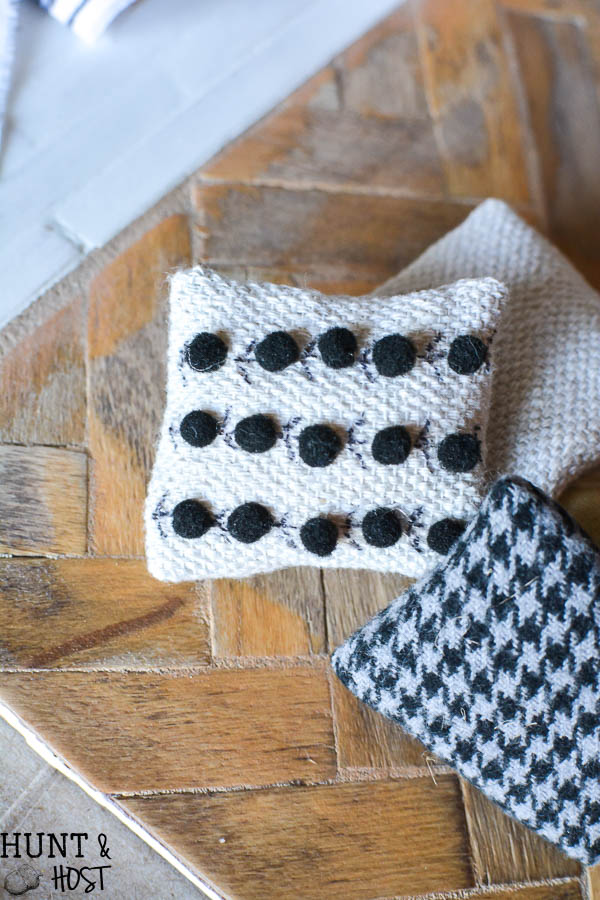 Since I am not the sewer, I didn’t have stuffing on hand so I used cotton balls to stuff these little guys…shhhh!!
  3. DIY Dollhouse Rugs:
Rugs change everything and I knew this room would need a large rug to pull it all together. Using a piece of Burlap I cut a rug to fit, shredded the edges and then sewed a design into the rug using on of the stitch options on my sewing machine. I am sure this is not rocket science, but for me, this was a huge win!!!! I figured out how to change the stitch size and everything! If I can do this…anyone can. I am loving my version of a large jute area rug and the price was awesome…aka FREE!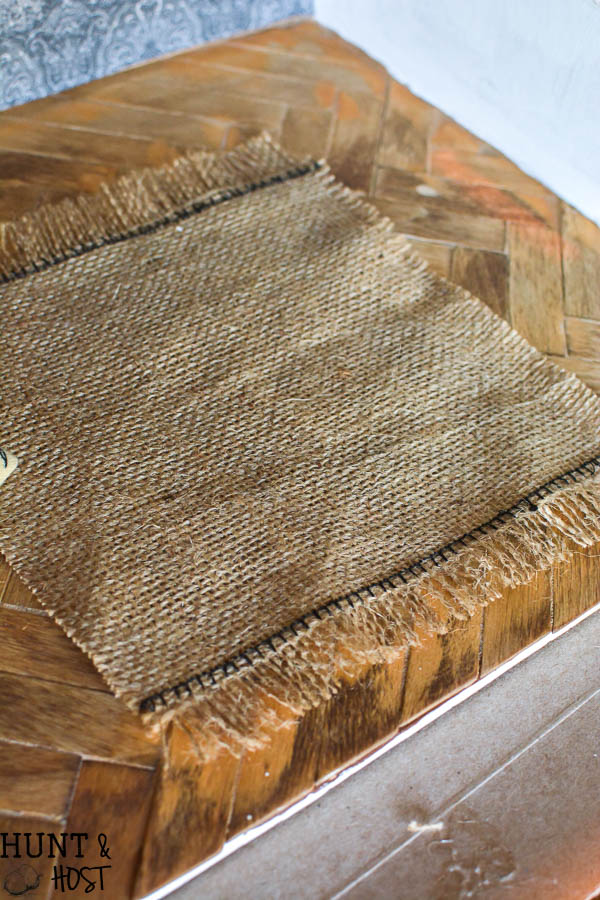
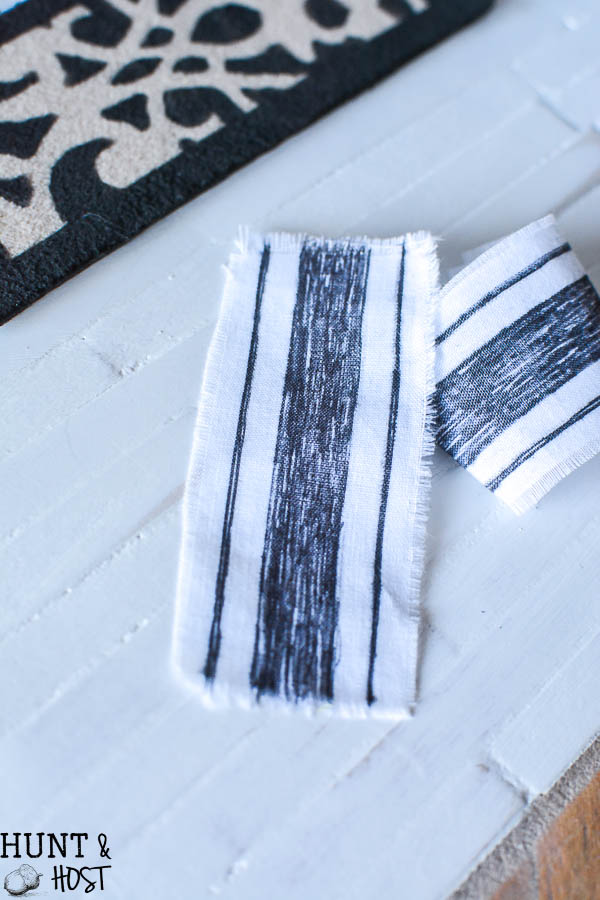
For the kitchen I made a runner type rug out of some of the carpet I demoed out of the house. Using Frog tape and a stencil I painted a bold frame and design on the rug with acrylic craft paint.  Every kitchen needs a tea towel so I made some from scraps off a white bed sheet. Using a sharpie I colored in some ticking lines and farmhouse tea towels came to life in a matter of minutes! I am sure I will need to incorporate a few more textiles in the room as I go, but for now I have a good start to the base of the room and the really fun parts come in the next few weeks!
 I still have kitchen shelving, furniture flips, trim work, a stair makeover, wall art and knick knack decorating to do! My mind is full of fun miniature ideas! Can’t wait to show you the progress next week! You can look back over the first few weeks here:



I made miniatures for years, and simply don’t have the room or time now, so I am really enjoying watching this come together. Thanks for letting me build vicariously!
it is so fun! I am glad you are enjoying following along, I am anxious to work on it more than I have time for!
The kitchen runner rug has a face on it, ha! It is all coming together so nicely..all the elements of a classy but cozy home!
that is funny!!! It is a small part of a large damask stencil, I didn’t even see it…lol!!!
Kim, I think I’m gonna faint, changed the stitch on your machine!!! I love the rug!
I knew you’d be impressed AND shocked!!! 🙂
Super cute. Loving the black and white pillows in different textures!!!
thank you friend 🙂
There are my valances you taught me to make! 😉 So cute!
yes – just like for real on my house, I want to see yours!!!