Succulent Garden in a Sugar Mold plus a money saving tip!
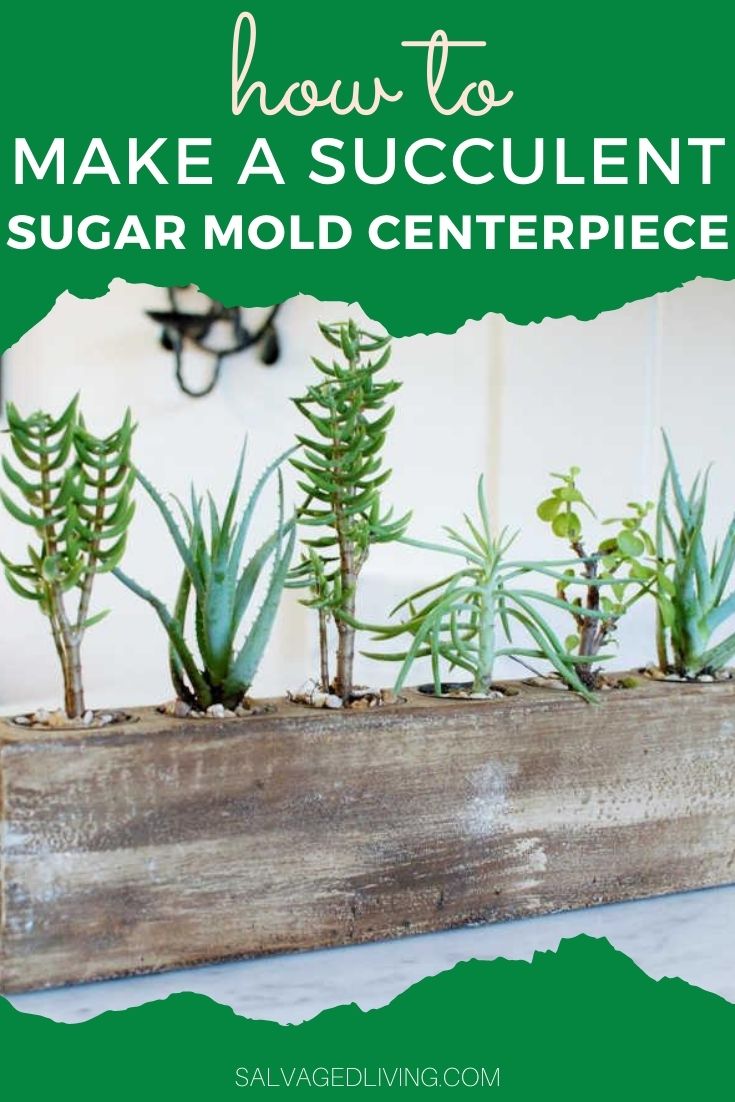
Create a succulent sugar mold arrangement for an easy home decor idea.
Hi friends! Hope summer is treating you kind! Today I am sharing a Round Top Antiques Week favorite find with a garden tip. Are you familiar with Mexican sugar molds?
I have a variety of sizes I’ve picked up over the years in my junkin’ travels. They are the handiest decoration. They can be used for flowers, candles, crayons, knick knacks and just about anything you can think to put in them.
For years in Mexico they have been used for the sale of pure sugar cane syrup. Back before granulated sugar was a thing.
The molds are filled with pure sugar cane syrup. Once the syrup is dried the molded cone shape is easy to sell, transport and measure for users.
Cool huh? Don’t have a sugar mold? Don’t worry, I found some online and have an affiliate link below for you.

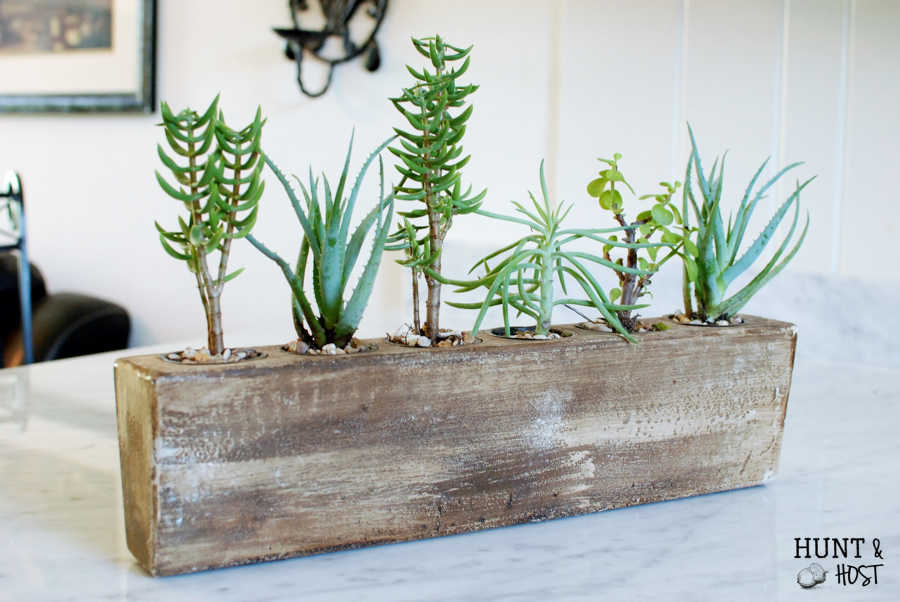
My sugar molds tend to move all over the house and get used in different ways depending on the season. Today they are hosting succulents. Changing out the flowers and greenery in my house is something I love to do. It adds fresh life with little effort.

The kids and I were picking up a few things at our local home and garden center when I came across racks of clearance items in the garden section. I started off picking up individual containers of succulents, marked $3-$5 each.
When I realized this project would run over $20 I put them back and moved to plan B which should have been my plan A! That is way more than I like to splurge on indoor plants.
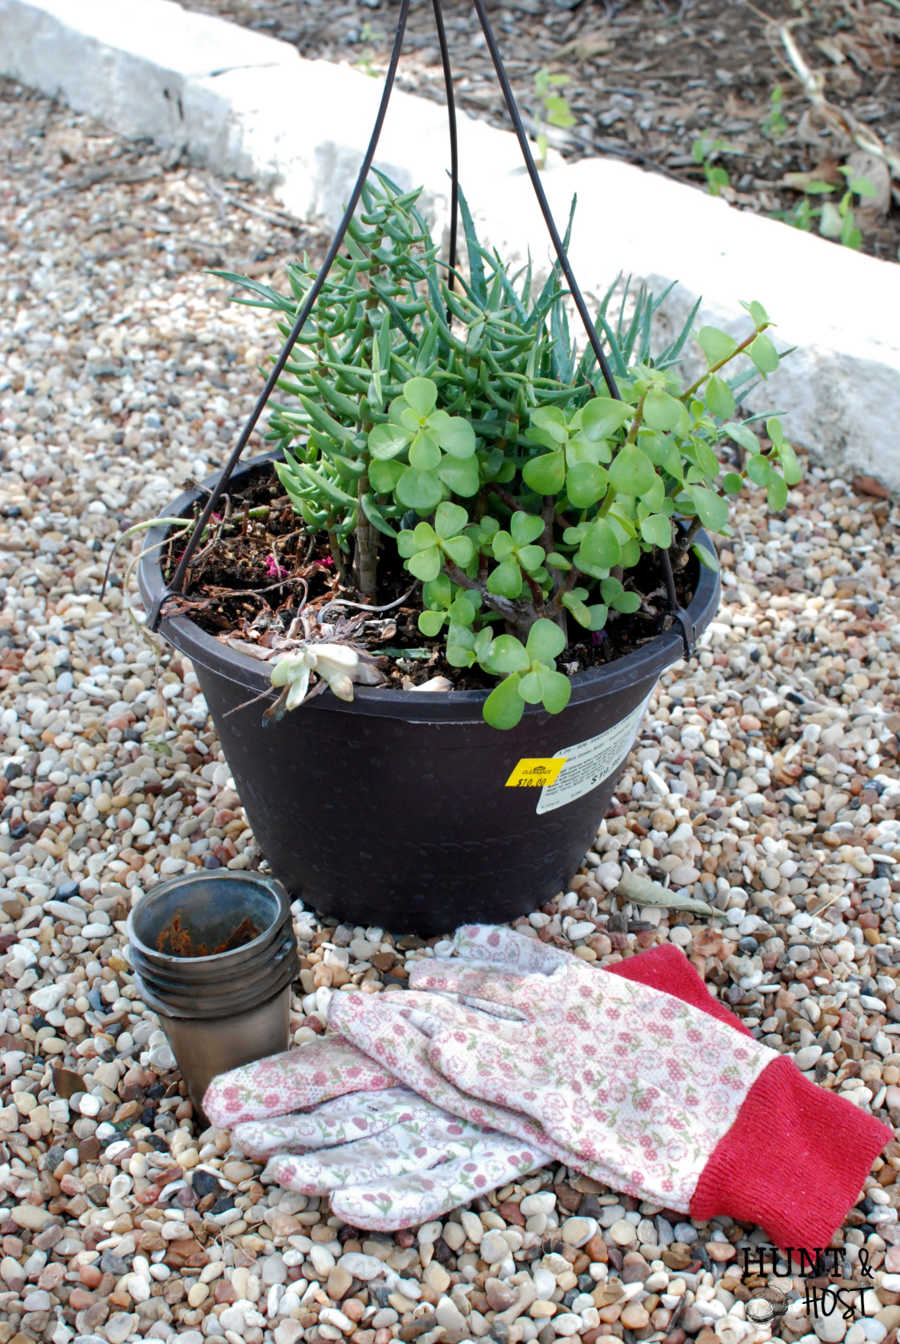
Especially since I usually cut free stuff from my yard! I looked around some more and found this guy for $10 with more than enough little plants to do the job.
That brings me to one of the best tips I have to share about container gardening!
Divide and Conquer Your Plants
Anytime you are working on potted plants, indoor or out, you can often get more bang for your buck purchasing a larger plant that you divide.
A 3 gallon shrub will cost you less that three 1 gallon shrubs, but can easily be divided to fill multiple containers.
I do this all them time with my outdoor pots, especially seasonal flowers. Plants in larger containers tend to be more mature too. This means a higher success rate in keeping your new friend alive! I always need help in that department 😉
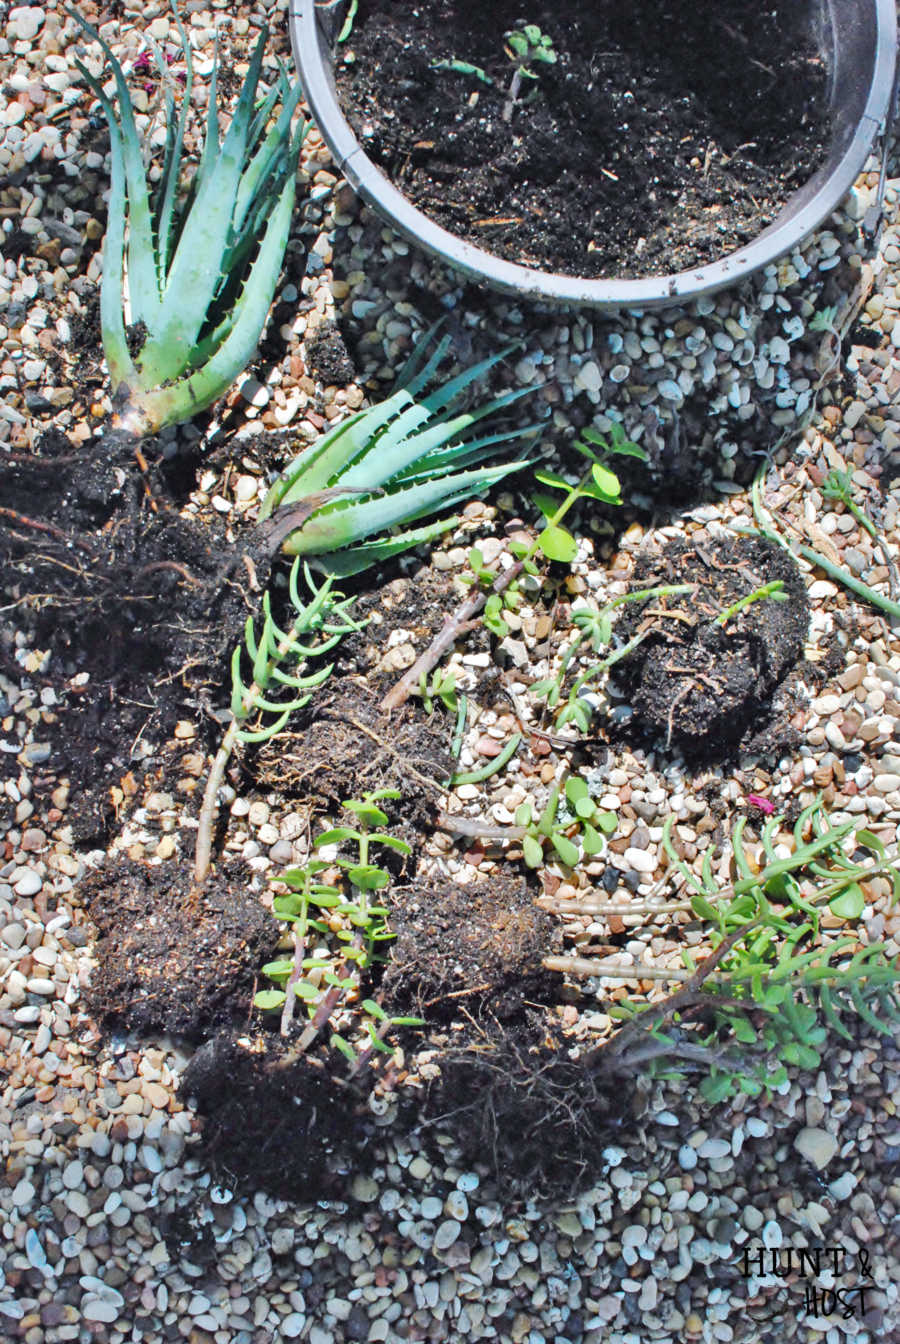
This trick worked like a charm for my succulent sugar mold display and the leftovers aren’t to shabby on their own. They don’t even look like I stole from them! Here are the leftovers:
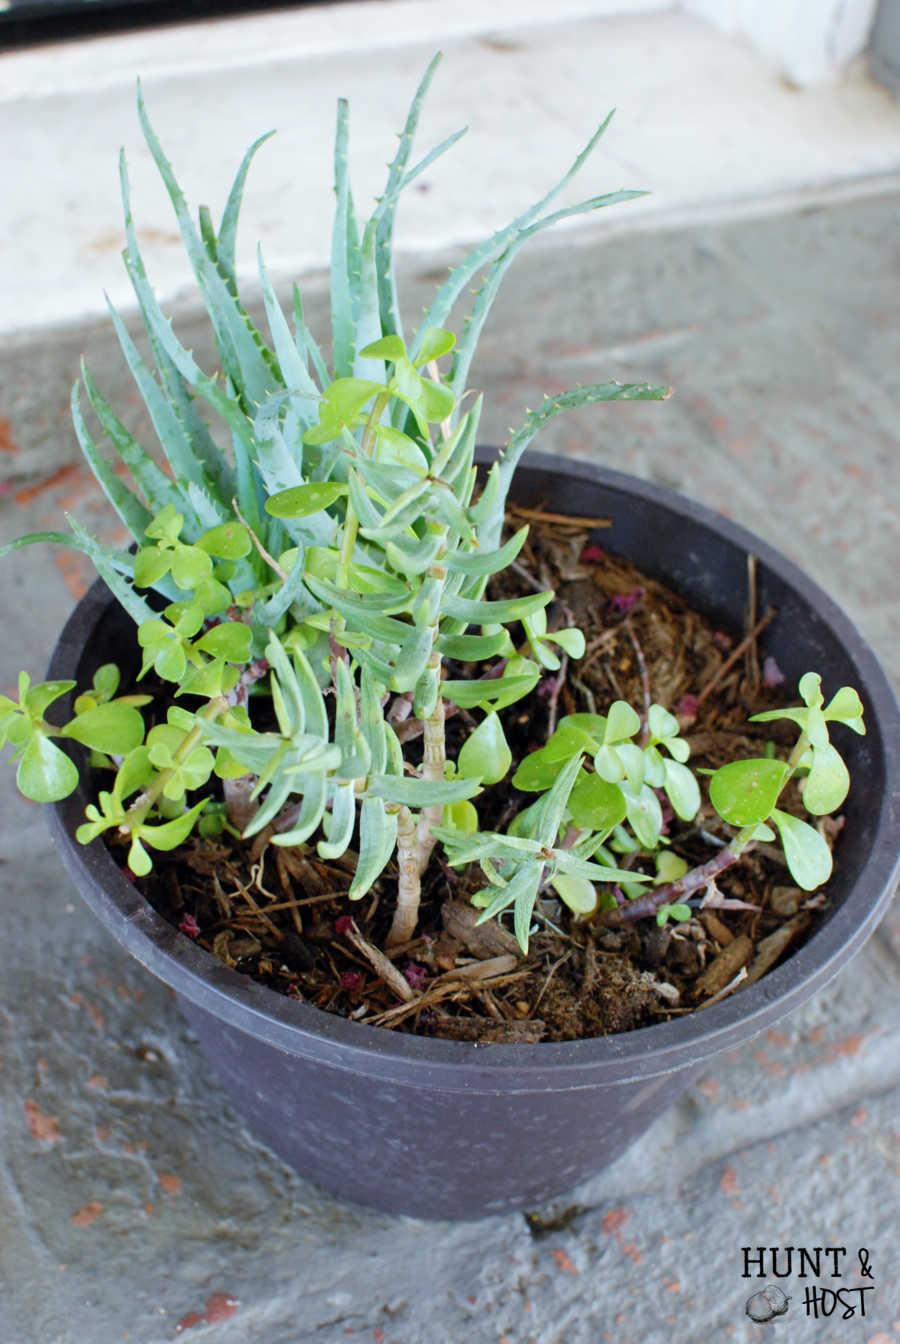
Simply dismantle your purchase to see what you have to work with and then re-pot the individual plants in their own container. I added some gravel on the bottom so the plant’s feet aren’t sitting in water and more on top as mulch.
Since the liners for the sugar mold do not have a drain hole, be sure to water sparingly. Succulents like to get dried out between waterings. Luckily, if I kill one off I have back up!

Here is what you will need for this project:
- 6 Hole Sugar Mold
- Sugar Mold Tin Inserts-Flat Bottom (6)
- Pea gravel
- Succulents
Maybe this little trick will save you a few dollars and inspire you to check out the garden center near you!
Here are a few other similar ideas for you…
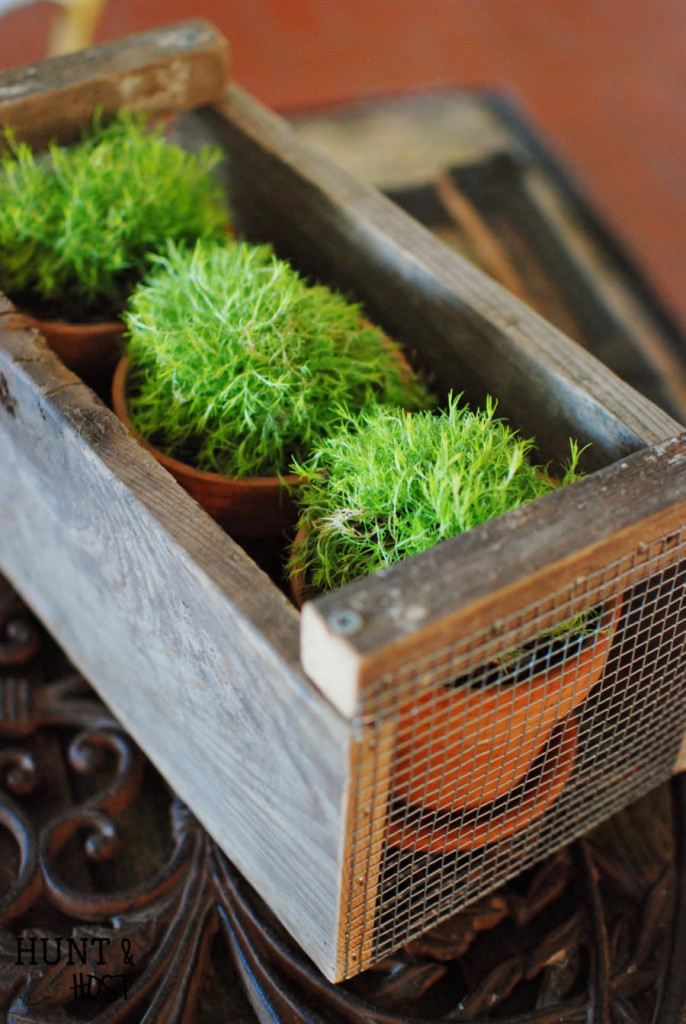
Another time I split one large plant into three little ones:
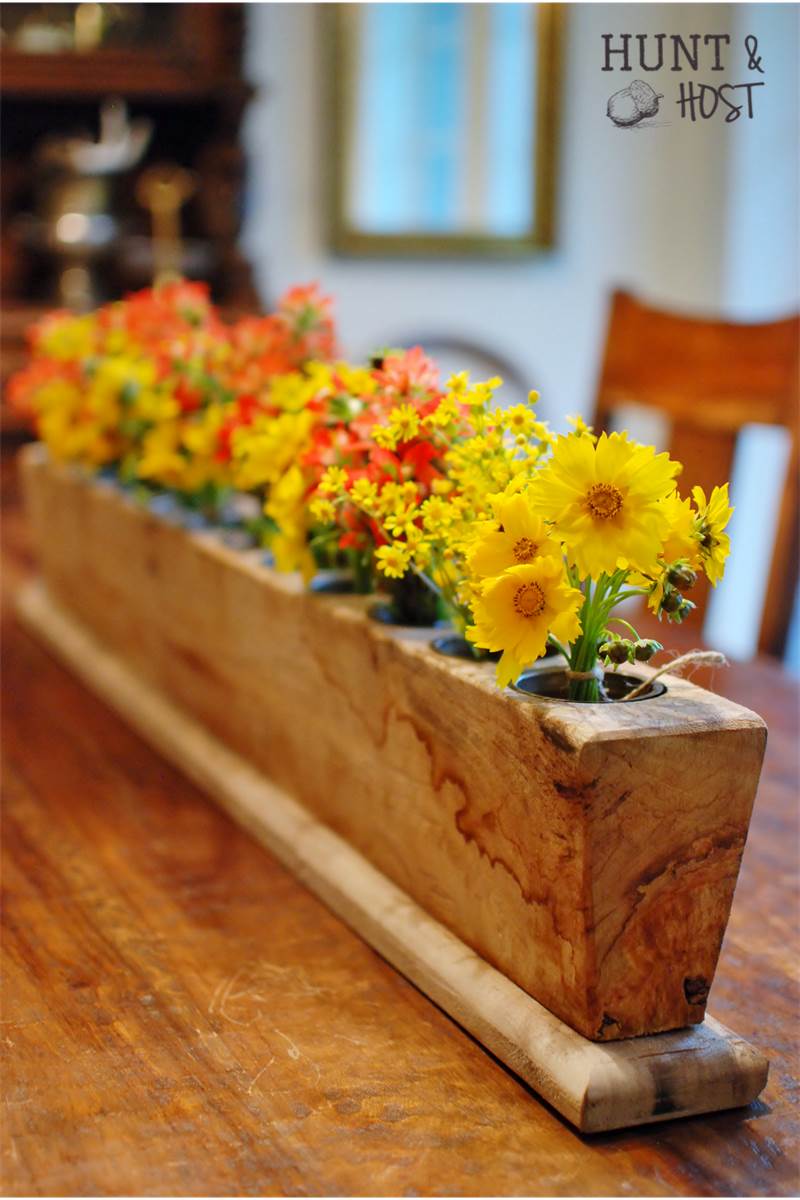
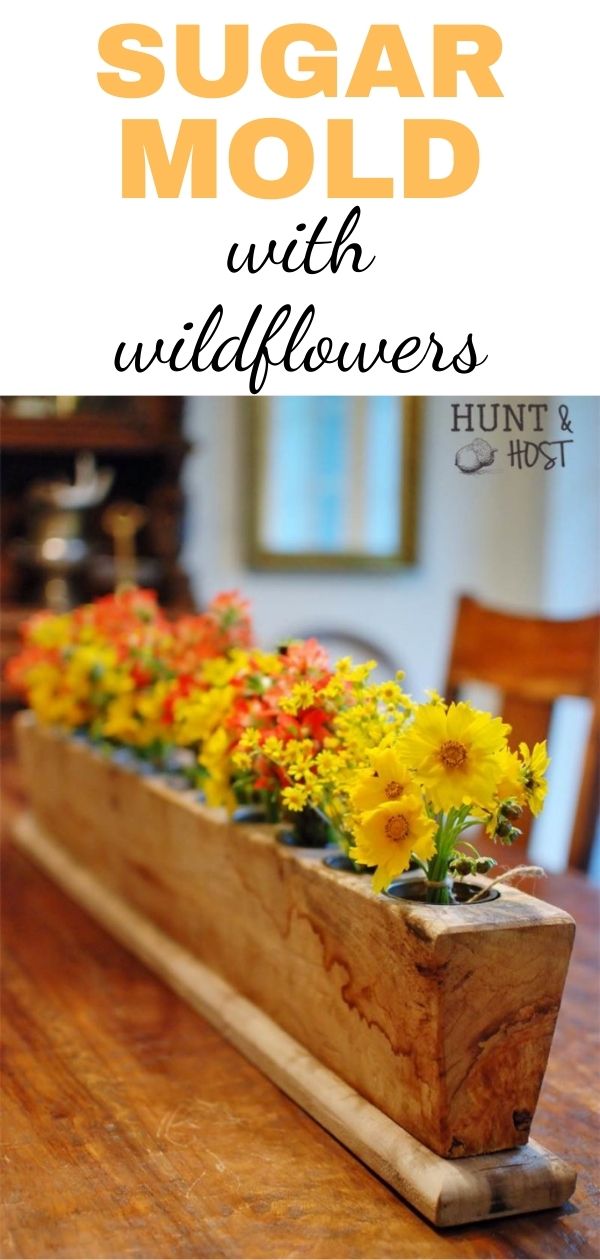
Another centerpiece using a larger sugar mold and wildflowers:
You may also like these home decorating ideas:
Make a beautiful DIY succulent sugar mold arrangement with this simple tutorial. This makes a great addition to your home. As an Amazon Associate and member of other affiliate programs, I earn from qualifying purchases.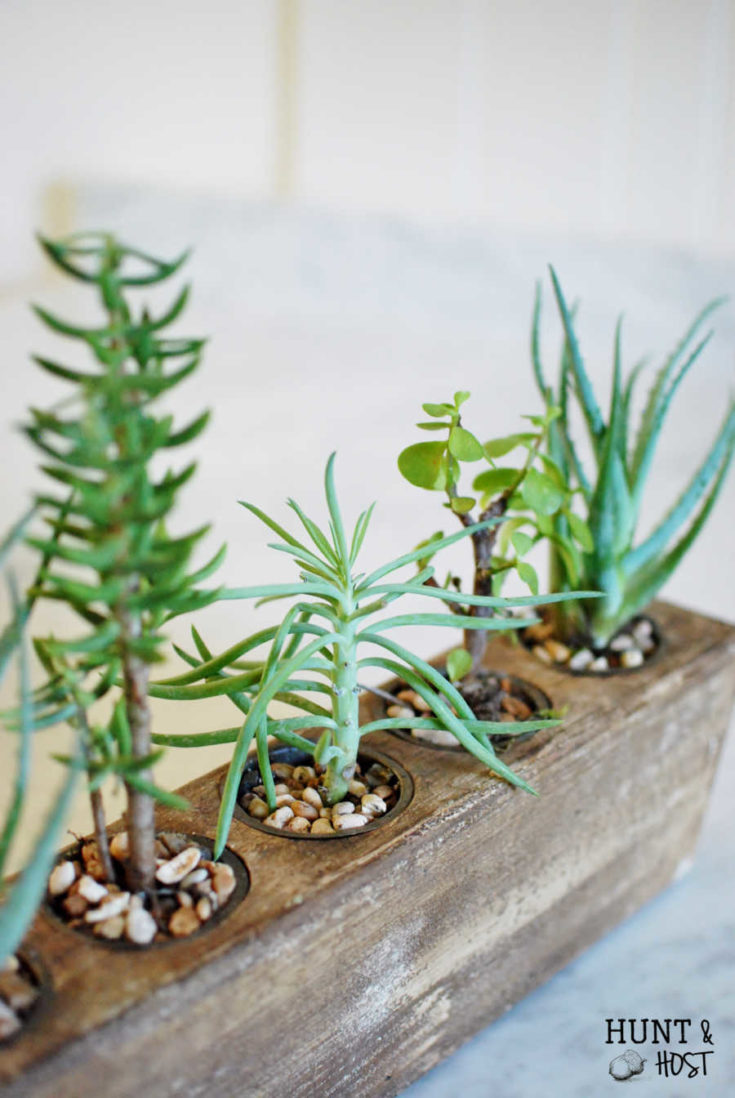
Succulent Sugar Mold Arrangement: Plus a Money Saving Tip
Materials
Tools
Instructions
Recommended Products


Kim


Instead of “watering” succulents I have had more luck misting them with a spray bottle!!
That is a great idea…I’m going to do that instead! Thanks for sharing
Thank you for sharing your great ideas using your sugar mold. I have one that I never know what to do with. I would love to see more of your ideas! Have a wonderful day!
Great…i will definitely share some more. I have a good one coming for fall!
I just saw a sugar mold at a shop last week. Going back to get one. If I remember they had several sizes! I love this idea. I’d love to try and put one on my mantle. Thanks for sharing this! I’m pinning!
They do come in a variety of sizes. I have seen from one hole to 12. It is a really versatile décor piece! Hope you get one and it works out.
Random question…do your cats eat the succulents (or is Mini just crazy?!)?
lol! No my cat doesn’t mess with them, but he goes outside a lot and I think he eats random plants out there. If Mini is in all the time she may resort to whatever you have on hand 😉
Love this! Pinning 🙂
Thank you! I always appreciate the shares!
I finally got one of these this weekend and hope to be able to keep some succulents alive in it!
yay – can’t wait to see them….VERY little water. Ask me how I know :/
I bought a 6 hole sugar mold sometime ago and the plants keep dying. Where do I get the moss and pea gravel to try that way? Also mine came with the tins and they are shorter than the holes. Do they grow better in the tins?
I use the tins because the water leaks if I don’t and the gravel is from my yard, but you can get at landscape supply places. My guess is you are overwatering. They take VERY LITTLE water. The ones that have lasted have stuck around because I haven’t done much to them, when I water to much they die quickly. Hope that helps!
I absolutely love your sugar mold and how you’ve used it several different says and the succulent tip is great! Shared it on FB
thank you for sharing, they are so fun to have and really have a lot of decorating opportunity
How did you keep the wildflowers upright? Is there dirt at the bottom?
You have to use some type of “flower frog” to hold them in place. I used small rocks/pebbles. You could use dirt, small marbles, etc anything to help stabilize them.