Looking for an easy way to update your stone mantel to a DIY wood mantel and wondering if you should change your mantel material? This may sound like an odd project but it is one I have really been wanting to do and am so glad I did!
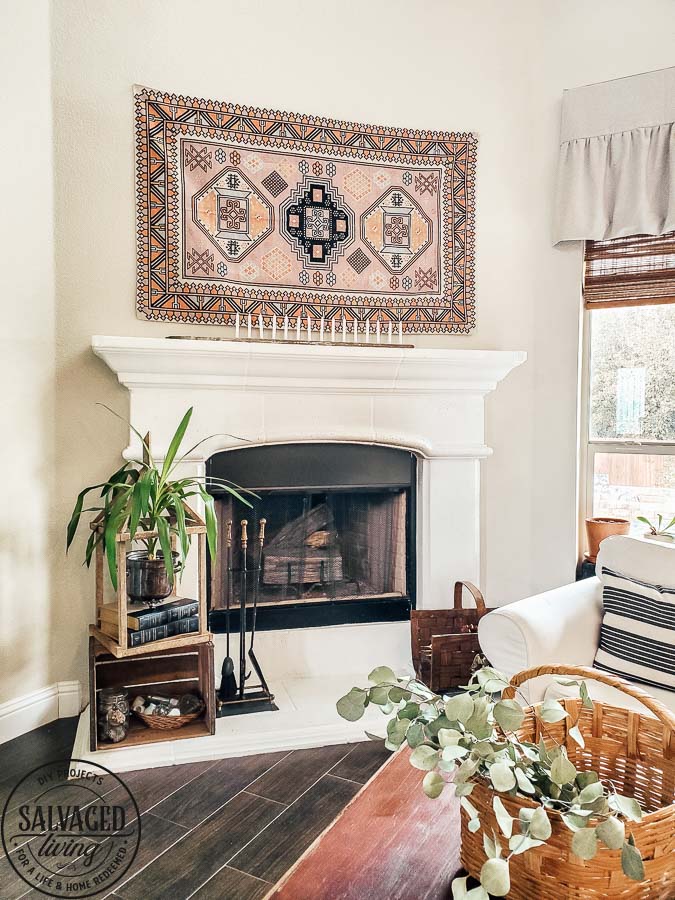
While changing my mantel from stone to wood is not going to create world peace and cure cancer it is solving a decorating dilemma in my house. I feel like it sounds like such a strange thing to dislike in my home, but the stone mantel on our fireplace drives me nuts. I actually like the way it looks, but when it comes to decorating it can pose a challenge. Especially for a girl who changes her mantel decor regularly!
You see every Christmas when I want to hang stockings, or in the spring when I want to lay cute garland across the mantel I have to use a ton of command strips. They work great, but I really want a good old thumbtack! I want the freedom of hanging heavier things on the mantel and having nails and poking holes. So I devised a simple solution I should have done a long time ago!
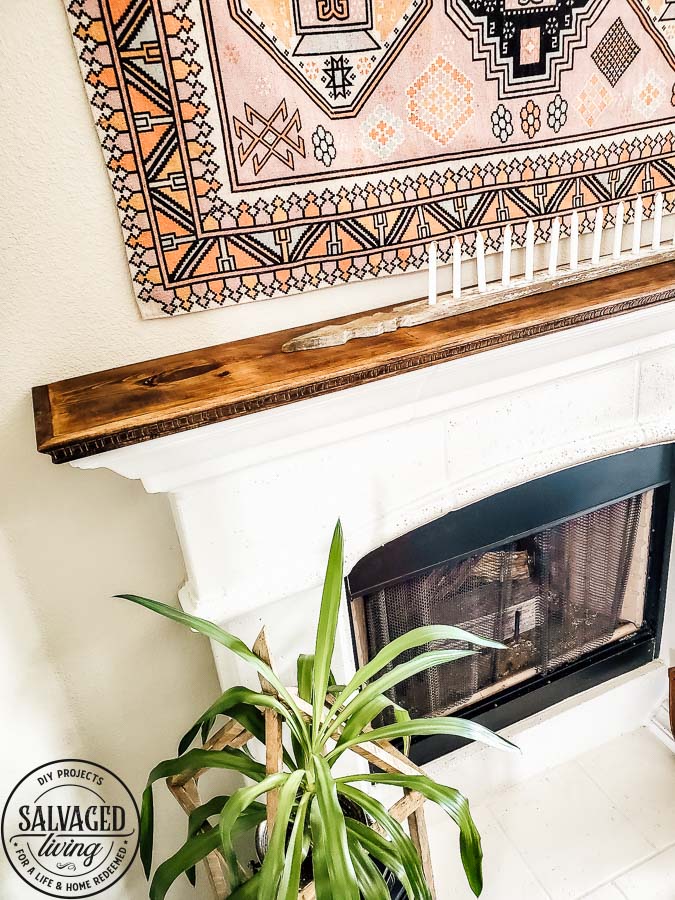
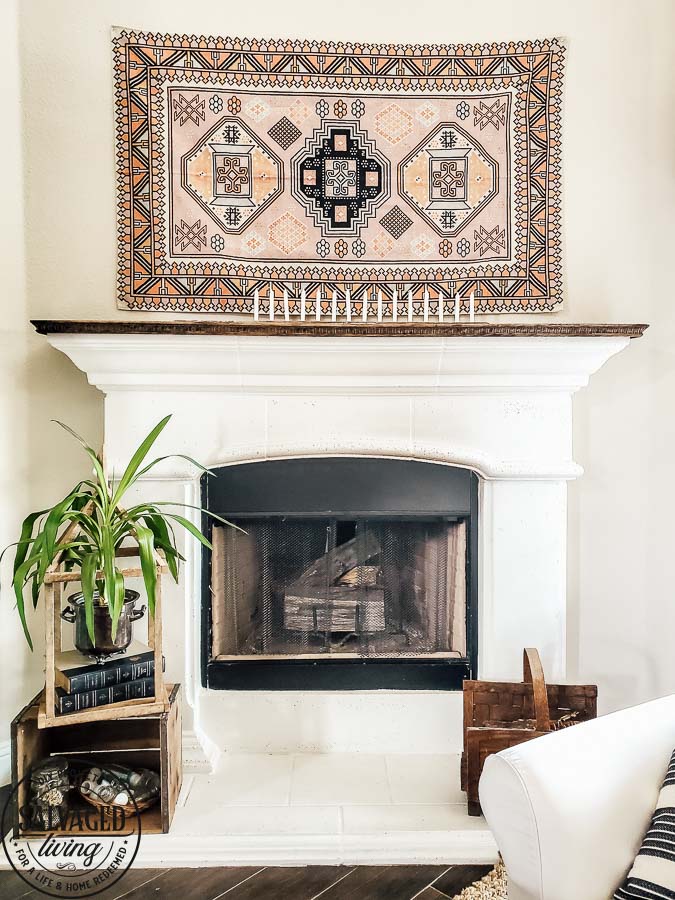
I added a wood cap to the stone mantel. Problem solved! Here is how you can do the same if a pesky stone fireplace is giving you decorating fits.
How to build a DIY wood mantel piece
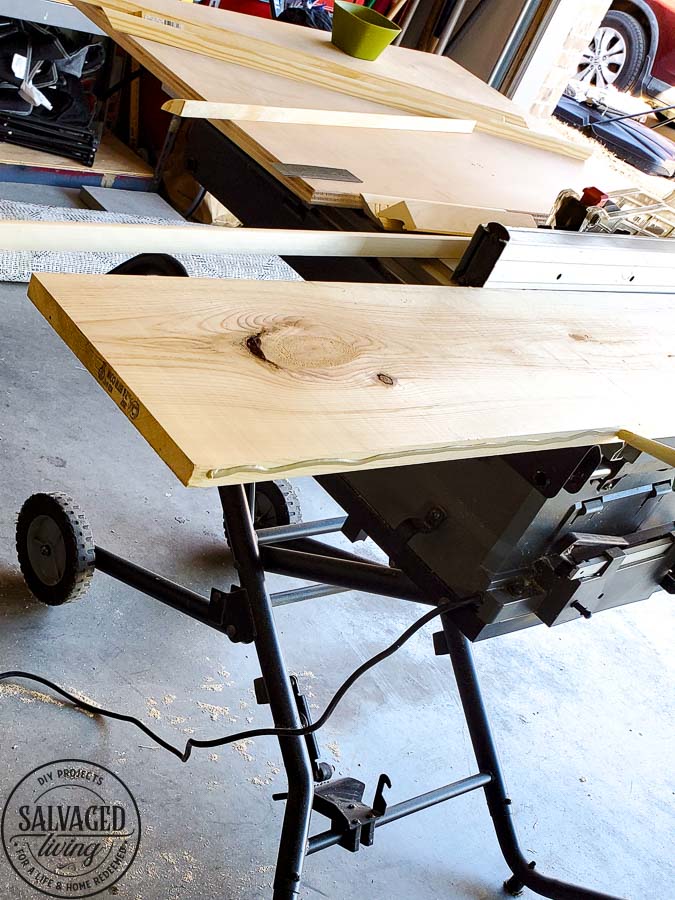
- Get a piece of wood the length of your mantel and slightly wider than the original. Decide if you will paint or stain your piece and this can help you determine what type of wood to purchase.
- Browse the wood trim section of your hardware supply store, there are so many beautiful options. I would have picked a taller trim if I could do it over, but I am still pleased with this piece. You need one the length of the front and enough to trim the sides as well.
- Cut your long board to fit the mantel, making it slightly longer than the original.
- Cut the trim with a miter saw at a 45 degree angle to fit the from face of your board.
- Cut the two end pieces with 45 degree angles and straight angels to add to the sides.
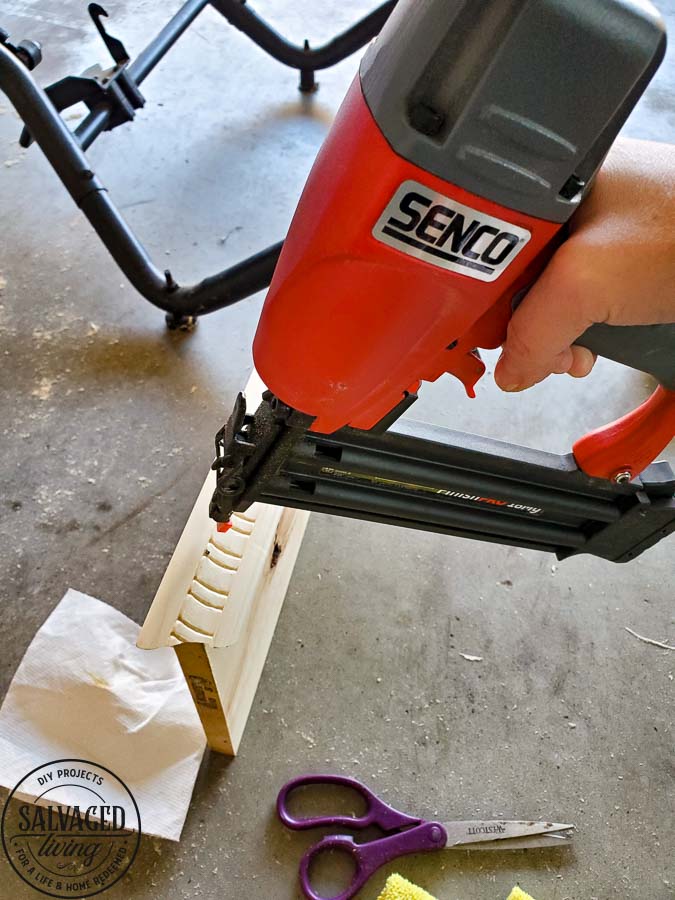
- Use wood glue to add the trim and secure it with a finish nailer.
- Allow the wood to dry and will the gaps and corners with wood filler, be sure to use stainable filler if you plan on staining your wood mantle.
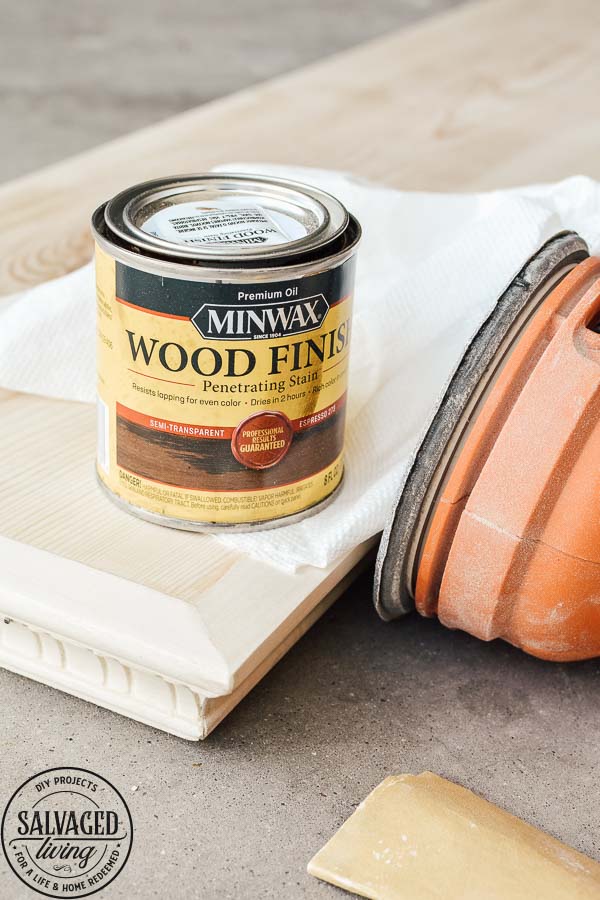
- Once the wood filler is dry sand the mantle piece well in the areas where the trim meets the mantel for a uniform look.
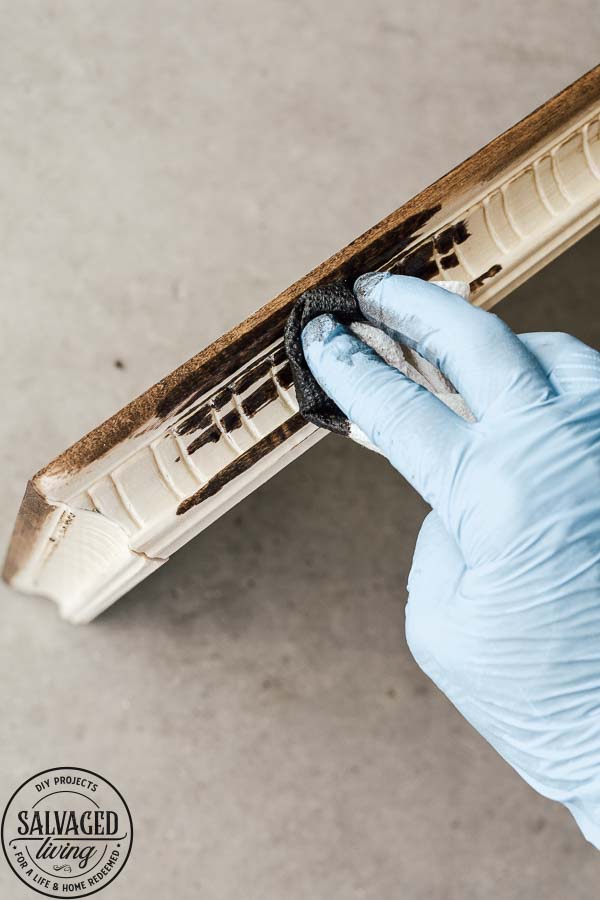
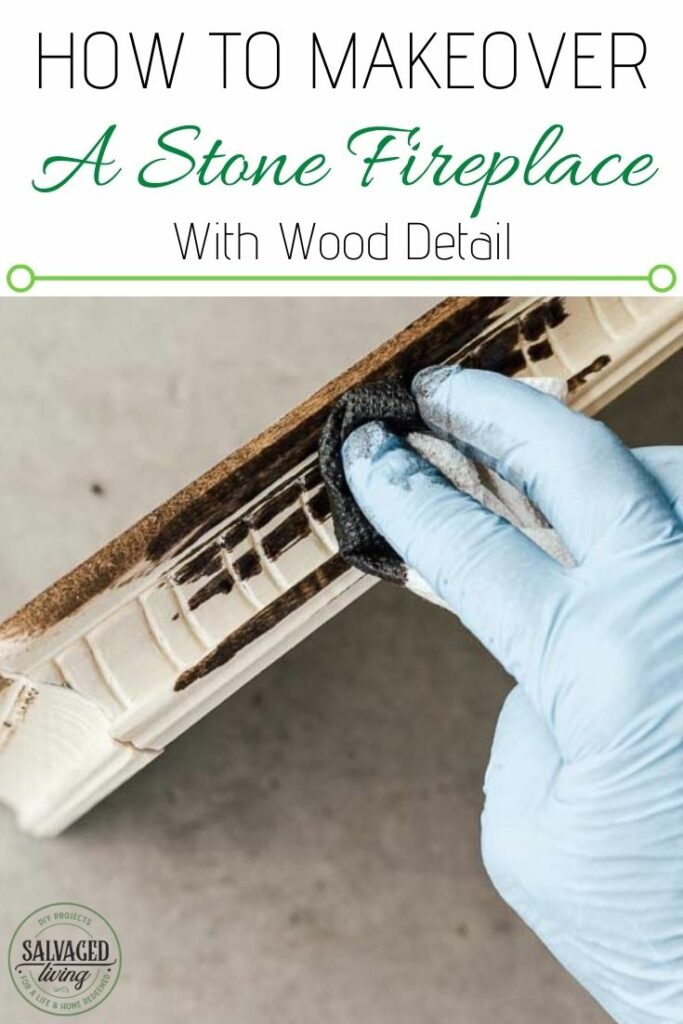
- Stain or paint.
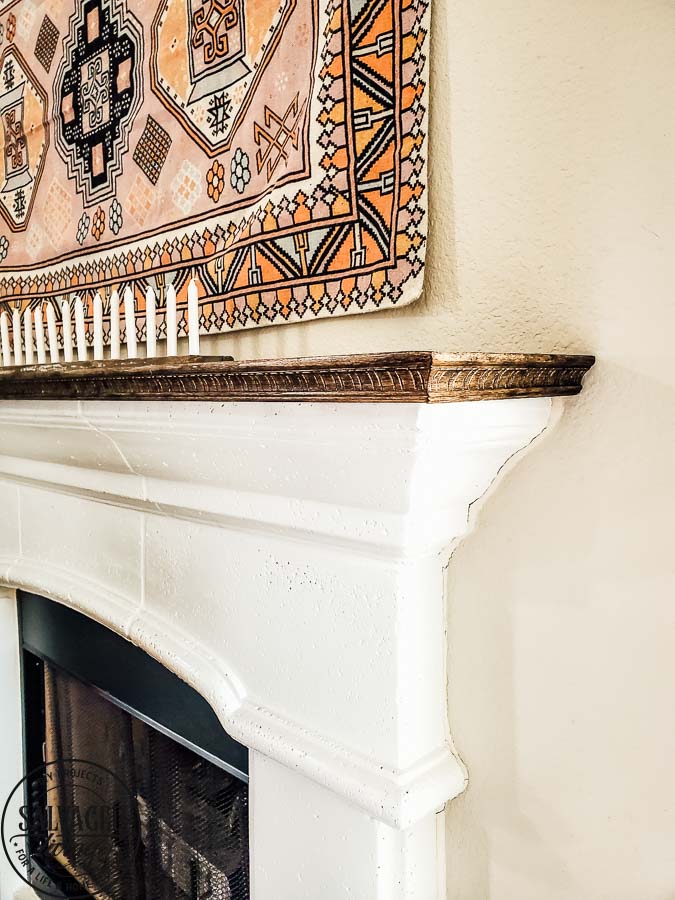
- This new mantel cap can rest on the existing mantel with no damage. You can secure it with L brackets if you feel the need, but I haven’t and it is sturdy and fantastic!
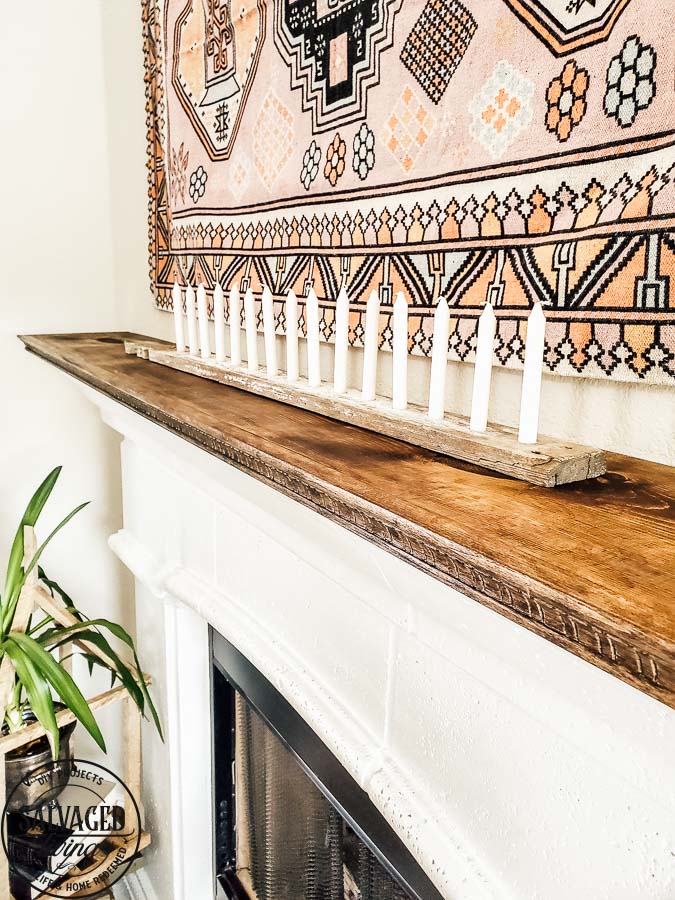
This solves a little decor problem and looks nice as well. I can’t wait to decorate with the freedom securing things to a wood top versus a stone top will allow AND I can always go back to the stone in a second if wanted or needed! That’s a massive decorating win if you ask me. Hope this little solution helps you too.
PIN FOR LATER:



And it looks better. It just seems to have added a little something to it. Looks great
Thank you, it warmed it up a bit I think!!!
With your beautiful brown floors it is just the touch you needed!
thank you – it certainly made a difference for me!