I know you can buy 1.34 million different signs in the stores nowadays, but sometimes you just need to make your own simple sign. Because you need to display your saying, your emotion, your personal “thing”. That’s what this easy DIY sign idea is all about. Making it your own.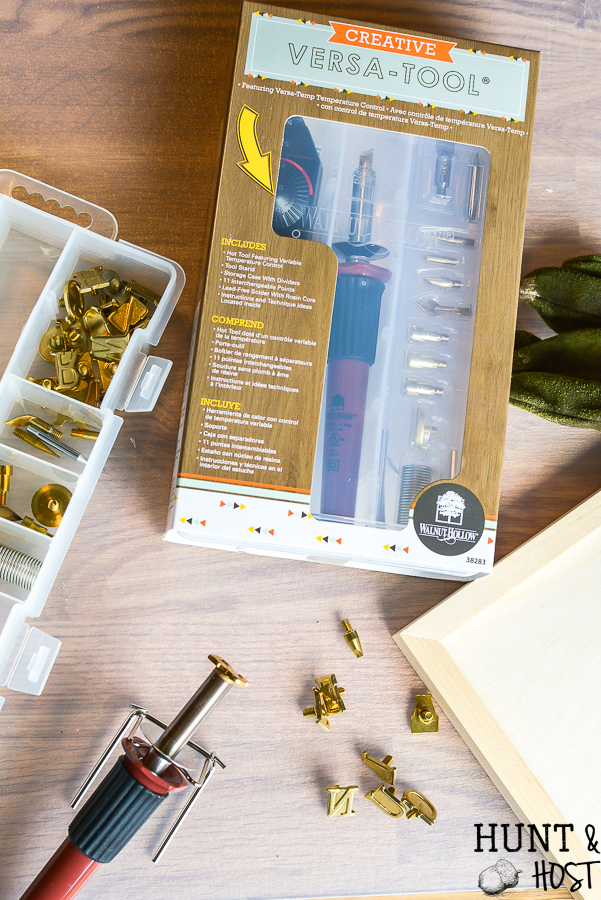
I partnered with Walnut Hollow on this post, but this idea and all opinions are 100% my own. There are also affiliate links in this post, if you make a purchase I might make a small commission you price stays the same.
I have had a wood burning tool for a while now and have used it for little craft projects here and there, but I have been dying to try out the wood hot stamps from Walnut Hollow. Now I am addicted. 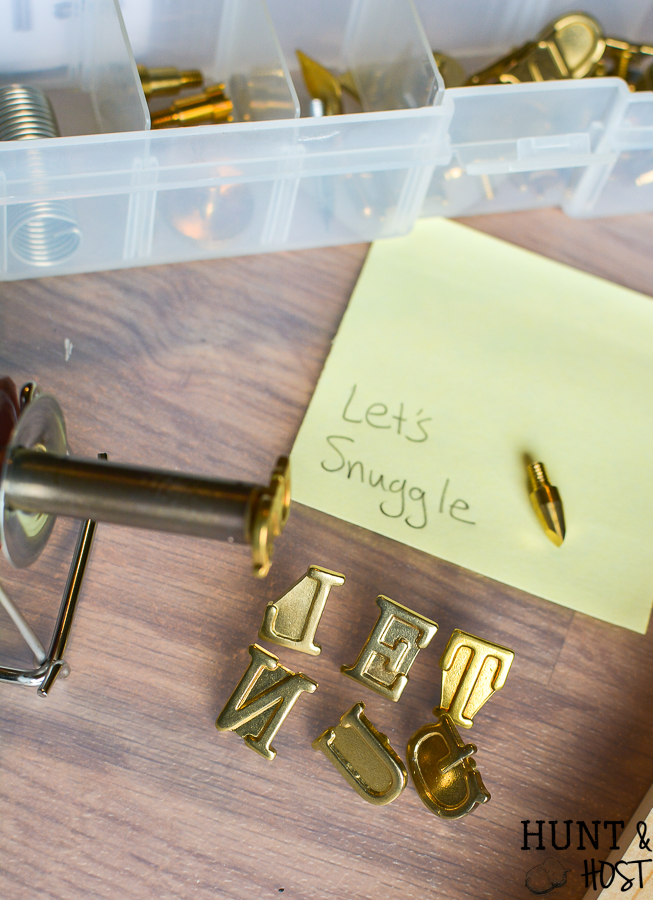
The good news is Walnut Hollow also sells a TON of wood products you can burn up with your new heat tool. In fact they have a bunch of great products and my girlfriends and I all picked our favorite to try out, see the rest of their project ideas below!
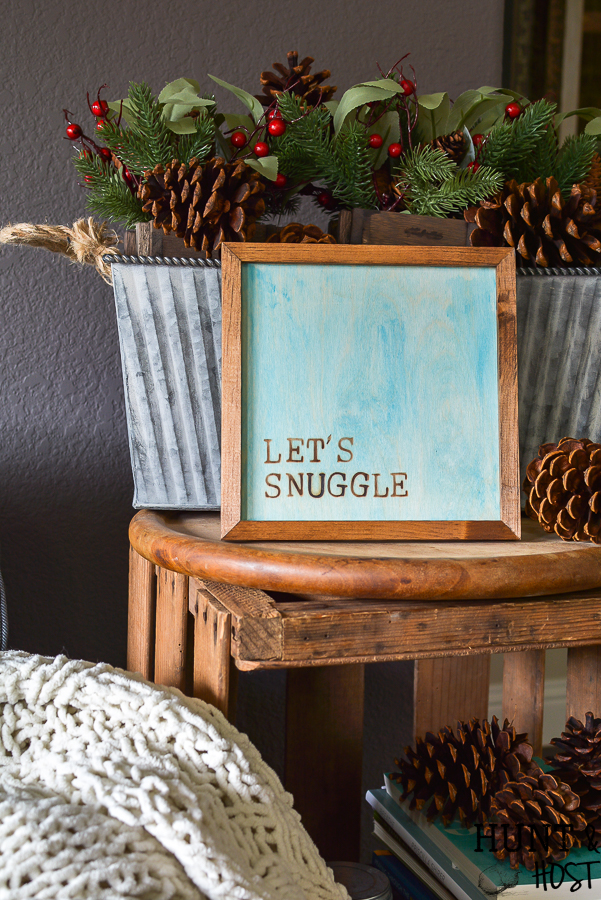
I got this simple wood framed sign from them and made it my own. You see we are snugglers. My boys especially. In the morning they creep up in my lap and snuggle while I drink coffee. The older they get the farther apart those moments become and pretty soon they won’t fit in my lap. Cue tears. But I will probably still encourage them to pile up on me anyways because it is literally one of the best things on earth. Their stinky morning breath and warm, fresh out of bed bodies make my mama heart swell.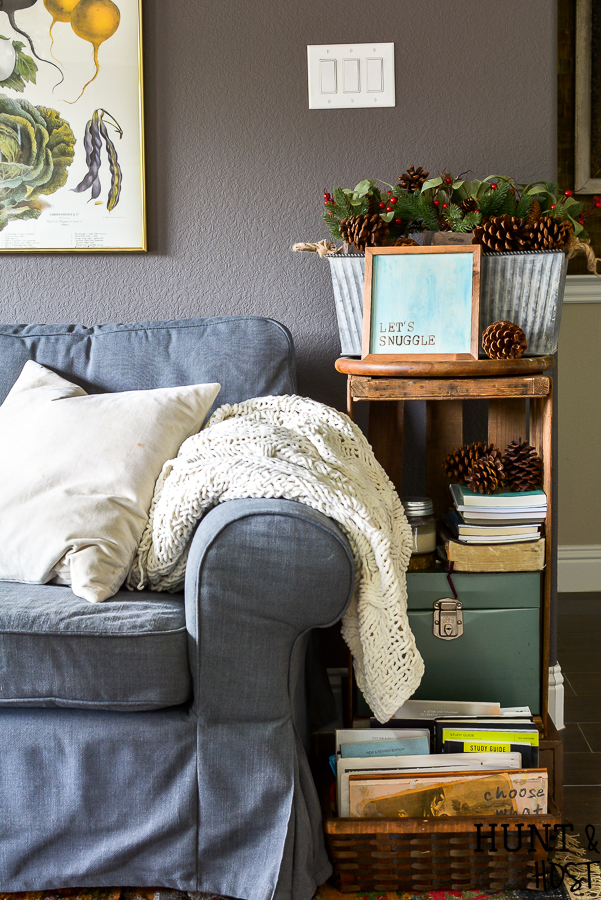
So yes – it’s just an easy wood sign, but it means so much more to me. That is why no store bought, pre-made saying can take the place of what makes you, you and your family uniquely yours.
Tips on using a Heat Tool with Hot Stamps:
- Let tool heat up all the way
- Have a practice piece of material available, you can use these stamps on wood, leather, cork and a variety of materials, practice first!
- Adjust the setting to the bet heat setting for your project (practice helps with this). For this project I set the tool like this:
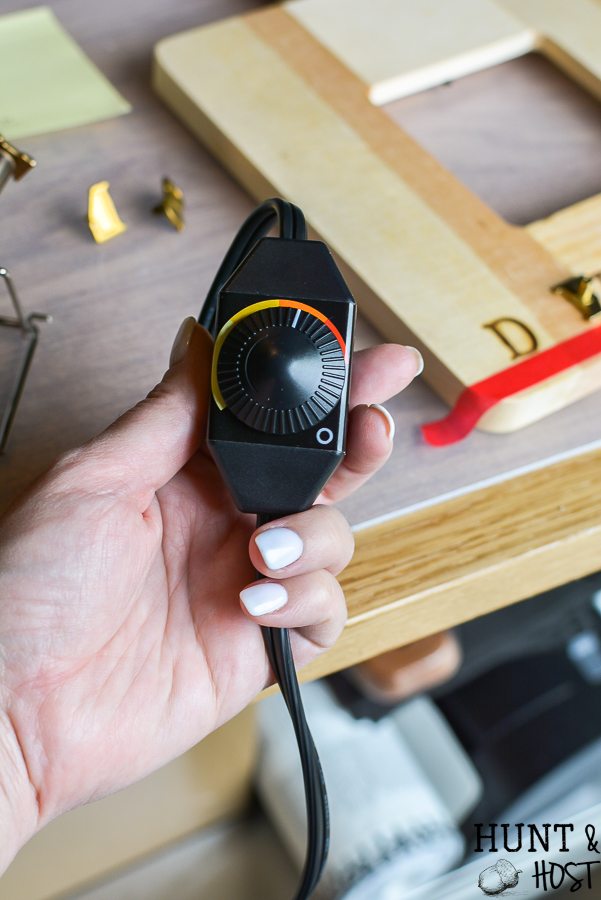
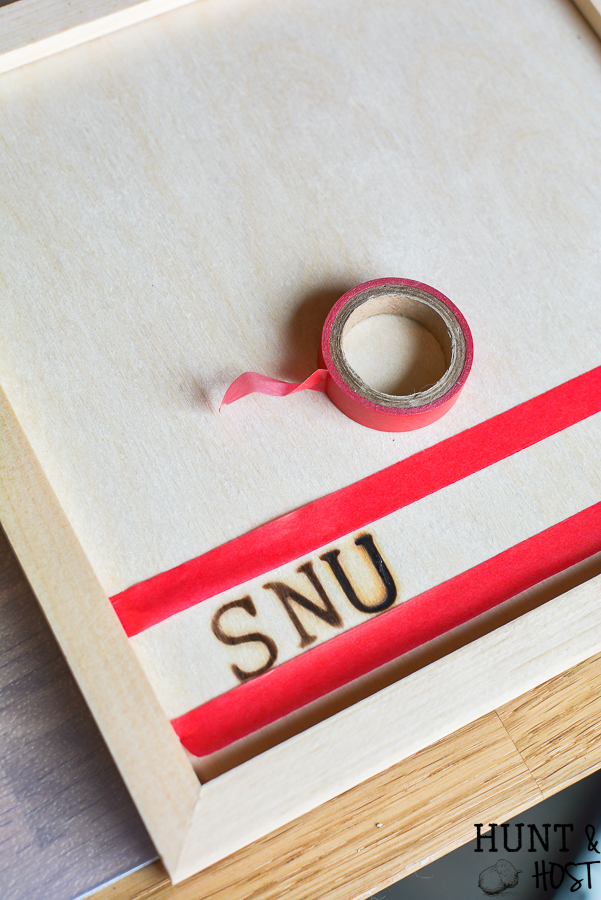
- Use tape (washi tape works great!) or an erasable line for a placement guide.
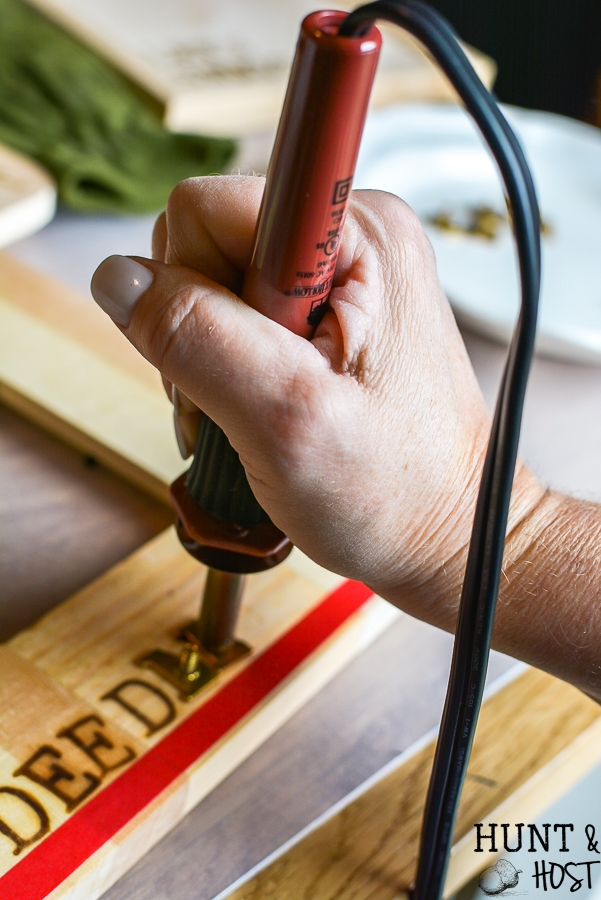
- Stamp directly up and down.
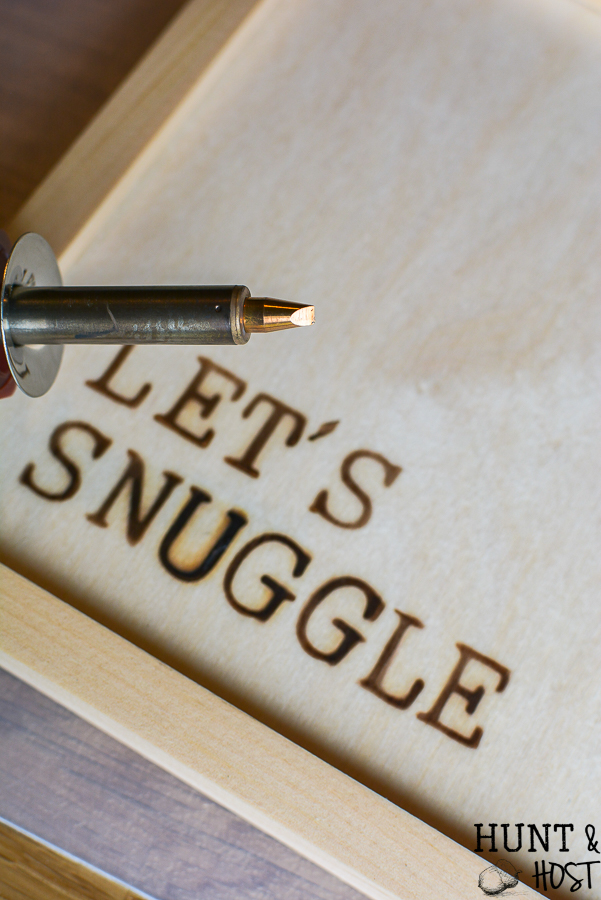
- Stamp on raw wood when able, stain, paint and wax will change how the hot stamps look and work.
- Use leather gloves/heat resistant gloves to change out stamp letters. I used a tip that came with the kit for the apostrophe.

- Rest hot letters on a plate or burn proof surface.
Once I stamped my sign I prepped the sign for painting with painter’s tape, covering the frame so I could paint the canvas part. I watered down some blue acrylic craft paint and used it to lightly stain the inside of the frame. For the outside I taped the canvas and used Miniwax English Chestnut wood stain. Perfection!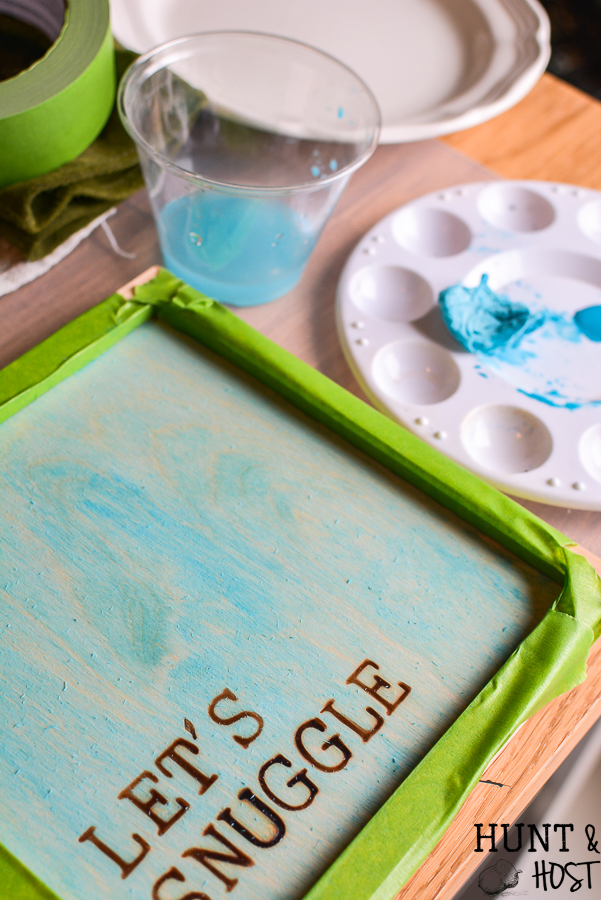
Simple DIY Wood Sign Supply List
Walnut Hollow Versa-Tool Wood Burning Kit
Walnut Hollow Hot Stamp Upper Case Alphabet
Walnut Hollow Small Wooden Sign
Protective gloves
Acrylic Craft Paint
Be a dear and pin this before you go please!? thanks! 


When you paint the canvas how do you keep the paint from filling in your previously stamped letters? I just bought my burning kit and am excited to start!
Just lightly brush over and around and make sure your brush is not over saturated. Plus when the wood burns it kind of seals a little and you can wipe it if you need to, you will see it is pretty easy to do a light wash like I did. Have fun! I love my heat tool!!!