Am I the only one that thinks garland could solve the world’s problems? I mean really – it makes everything look better and the best part is most types of garland are so easy to make yourself. Raise your praise hands. This simple DIY felt garland is shockingly effortless to make. You will want to drape it on anything that will stand still! 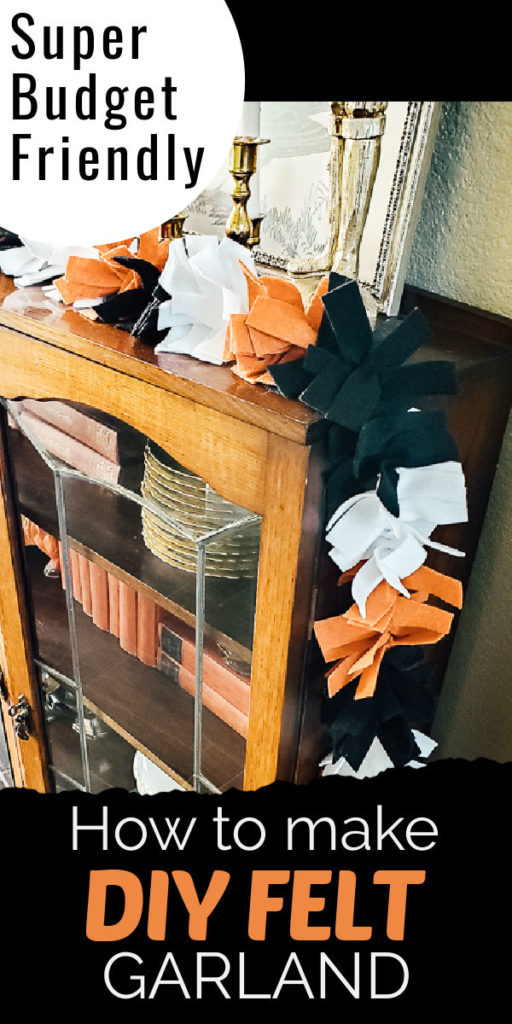
Where can I hang garland?
Just in case you are needing some fresh ideas on where to use this gorgeous little felt garland you’re about to whip up then think about a few fun places you might try mixing in a garland for your holiday decor (or any day if you ask me!)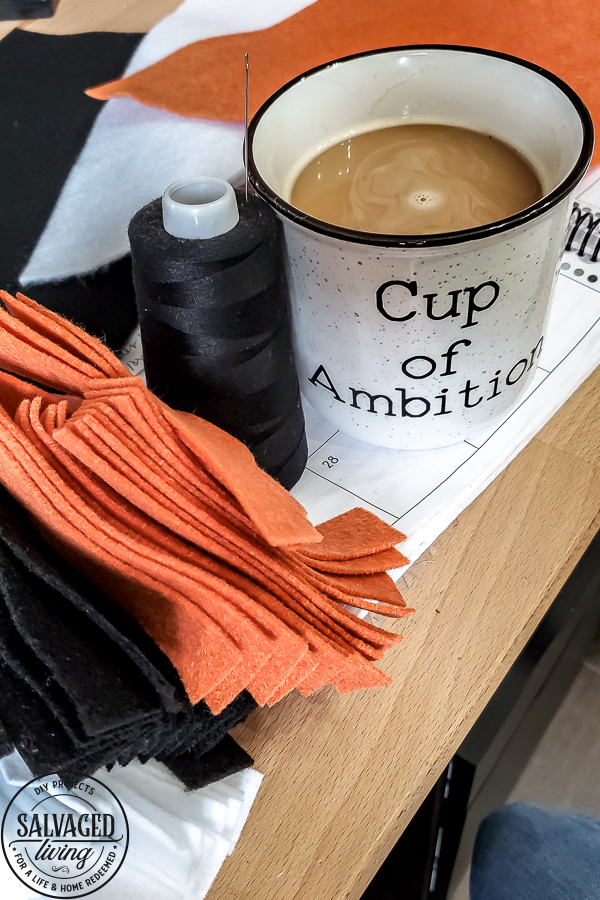
- On your mantel – duh but it had to be said!
- Over a mirror
- Across a buffet in your kitchen, entry or dining area.
- Across a wreath
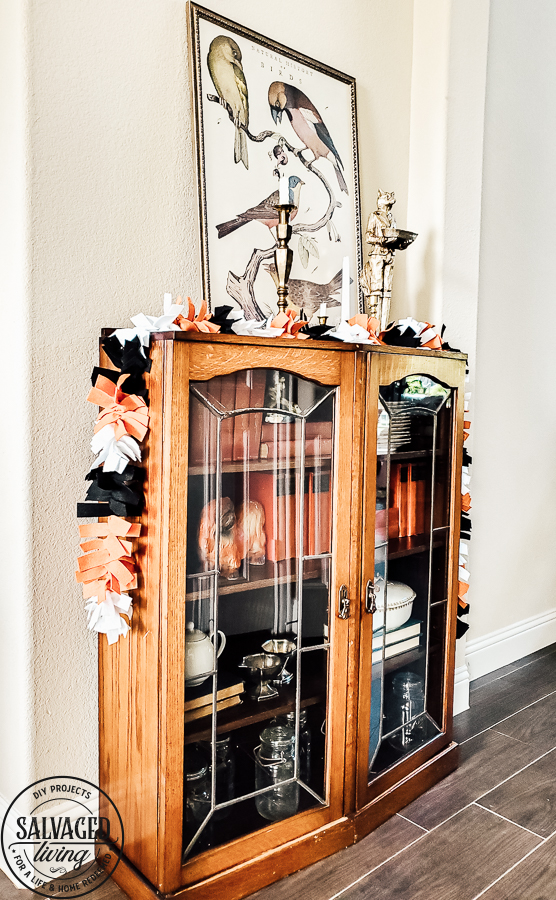
- On your headboard or foot-board in the bedroom (so fetching for holiday decor!)
- Across an empty picture frame. This makes the cutest vignette!
- On a wall as a focal point
- Draped over a picture in a gallery wall
- From a shelf (especially if you don’t have a mantel)
- Party decor
- Over a bookshelf
- From a large opening or entryway
- Run it down the middle of a table for a runner
- Above your stove on the back-splash
- Down the staircase banister
- On a plant or tree
Be sure to tell me your additional idea…we want to make sure the list is super complete. 😉
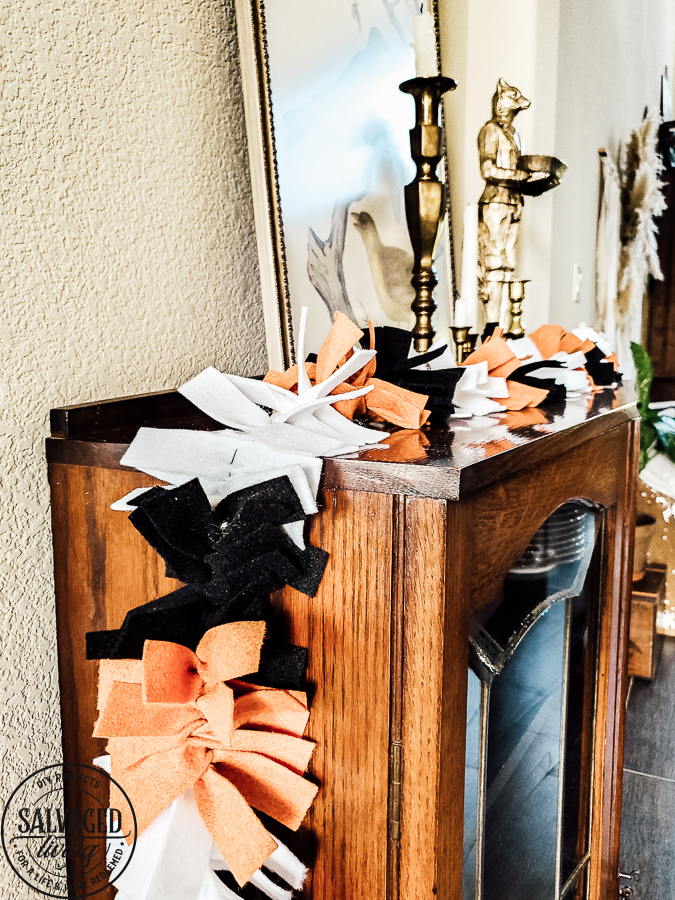
Now to make this simple rag garland you need a few things, but all in I made this 7 foot garland for less than $5!
Felt Garland Supplies
Felt Squares – I bought three colors, 4 squares of each. You could make this solid or add in more colors. The ones I bought were 33 cents each and measured 9″X12″ My finished garland is approximately 7′.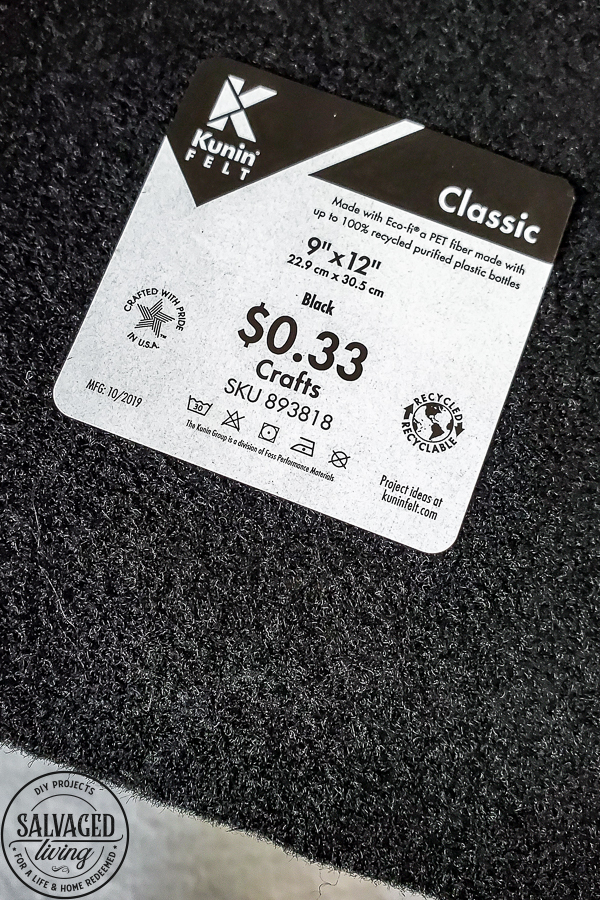
Thread
Needle
Scissors/Paper Cutter/Rotary Cutter
I cut each square into one inch strips cutting the short side so I ended up with 12 – 1″ strips. Next I cut those strips in half so I had 24 – 1″X4.5″ strips from each piece of felt.
Next I stacked my felt into stacks of 10 so I didn’t have to count as I threaded the pieces. It was just easier to me!
Next, I tripled up standard sewing thread so it would be a little more sturdy. I started with a long piece, but I added on as I went so I didn’t have to start with a super long piece of thread that would be hard to manage. 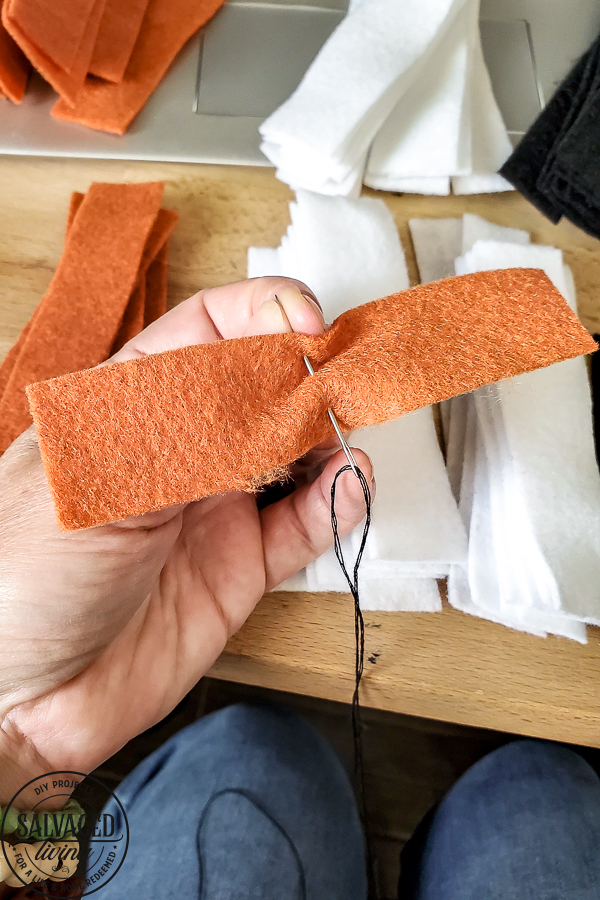
Take each piece of felt and thread through the middle, piercing the felt three times to “gather” it slightly. For my garland I did 10 pieces of felt for each color and repeated.
When you get to the end tie, loop around the last piece a felt a few times and tie off securely so the garland stays tied up nicely. Viola! Gorgeous, simple felt garland for you to have a party with. Isn’t this such a cheery little project. You can whip one of these up in your favorite color scheme in no time – have a blast! 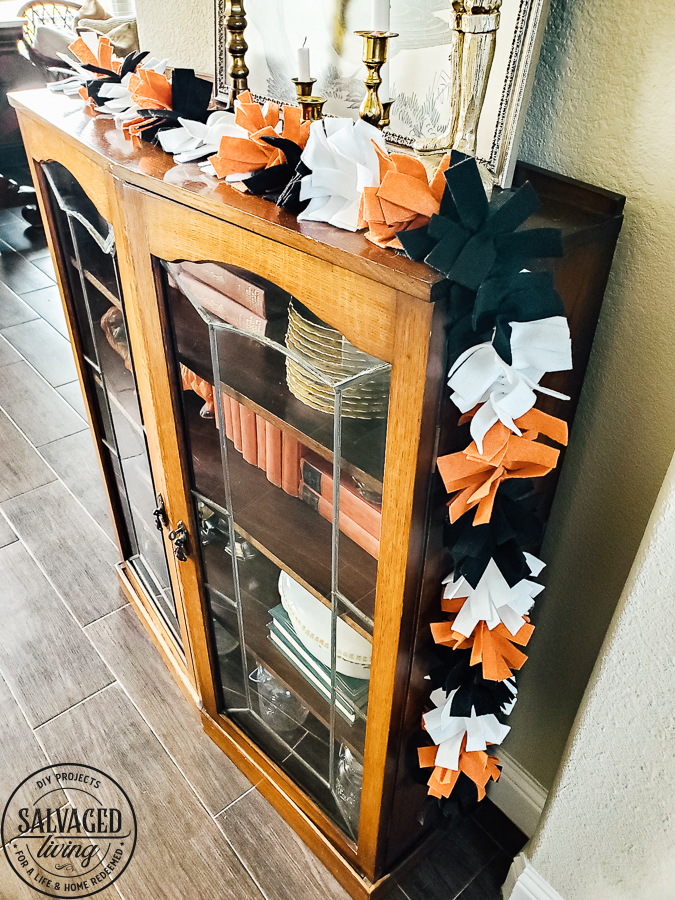


So cute and easy, thank you Kim.
Glad you like it friend! super simple, my favorite
Love this Kim! I’ve used this to make scarfs before but not as decor! Clever and so mindless, what a great craft to do while listening to morning devo! A great pop of color for Any holiday!
yes – so simple to make and I think it would be gret to have in a ton of colors to use for parties and holidays!
What size needle did you use?
I don’t know – I don’t really sew lol, so I just used one that worked!! 😉
Love this!❤️ I always wondered how these were made. Thanks for sharing
so simple! I hope you have fun making some yourself!