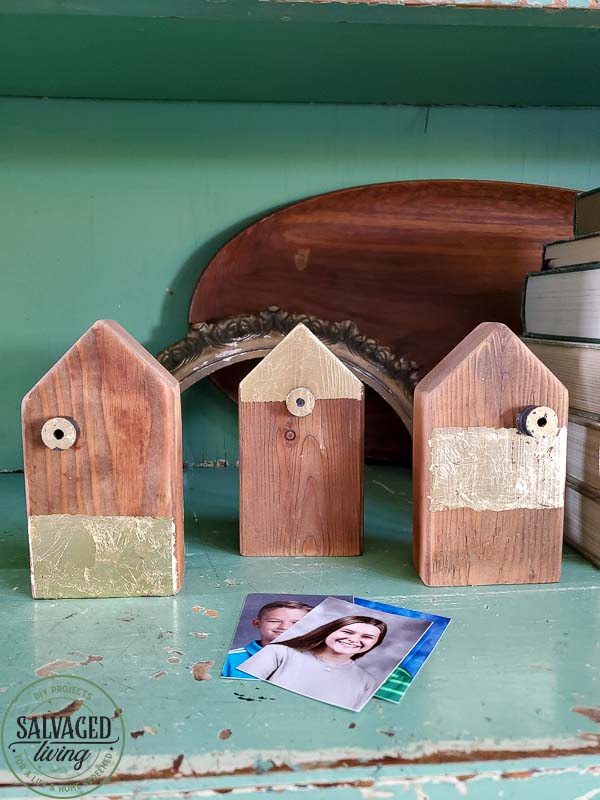
Y’all. We are about to take scrap wood up a notch. This little scrap wood picture holder house is beyond precious and will make those kid’s school pictures look even cuter (if that’s even possible!?). You will want to make these for all the moms and grandmoms in your life, the great part is they are budget friendly and easy! wohoo, let’s get started.
This may seem weird, but I don’t display a ton of family photos in our home. I never really have and I can’t tell you why because I have no idea! I just don’t! BUT – I’ve been thinking it would be much nicer to display those sweet little faces of mine some more and put their school pictures on display. So you don’t think I am a cold hearted mom I scrap book EVERYTHING and am current to date on our family albums. I felt the need to tell you that. 😜🤣
Of course you could use this little idea to display regular photos, holiday cheer or inspirational quotes, but I am displaying school pictures. I have never displayed school pictures before. If my kids faint I will not be surprised. LOL. I do hope it is a tiny showing of how much I adore them.
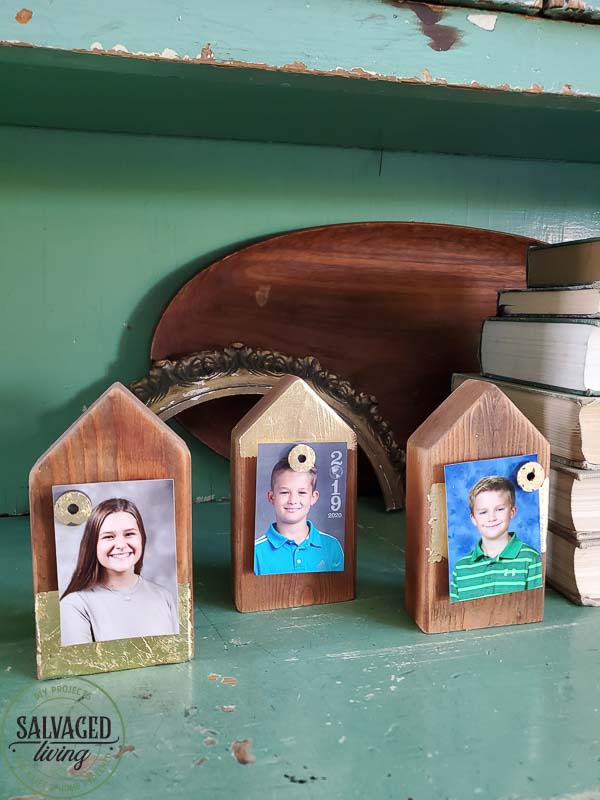
How to Make a Scrap Wood Picture Holder House
- Start with any size scrap wood you want. I personally used a 2″ X 4″ and found it to be the perfect size for a small school picture.
- I cut the 2″ X 4″ into 6″ lengths.
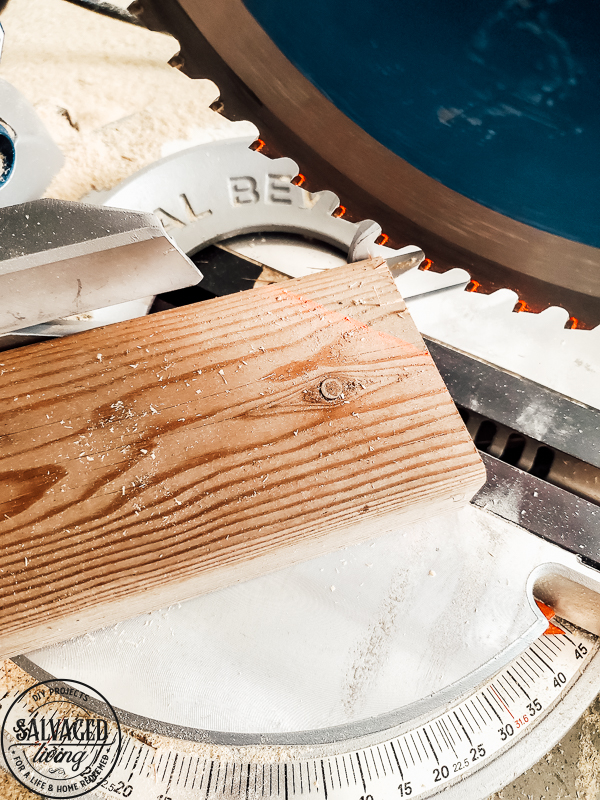
- With a miter saw I cut the house roof at a 45 degree angle from the middle of the wood to form the peak.
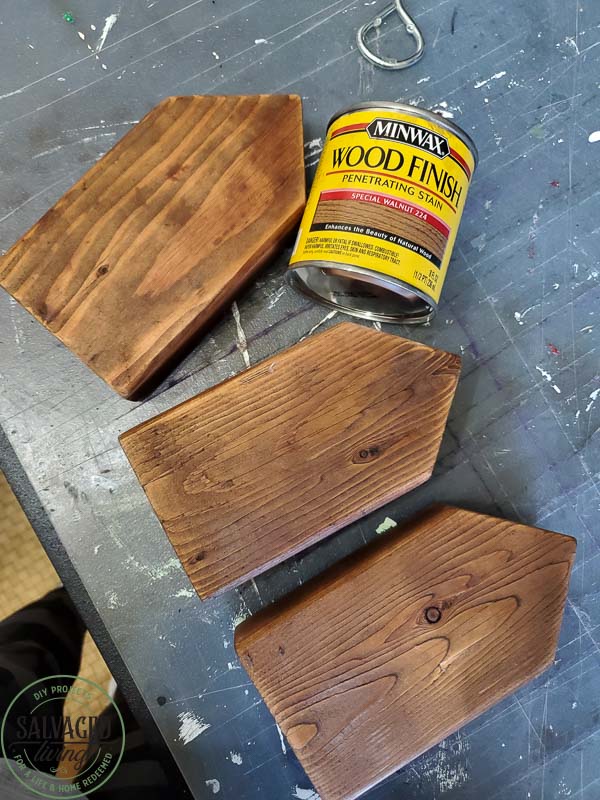
- Paint or stain your scrap wood house.
- For the roof, to add some glam I used gold leaf gilding. It is am extra touch that really takes this project home a notch. You can get the exact gold leaf gilding I used here. Don’t forget to get the size adhesive AND the Gold Leaf!
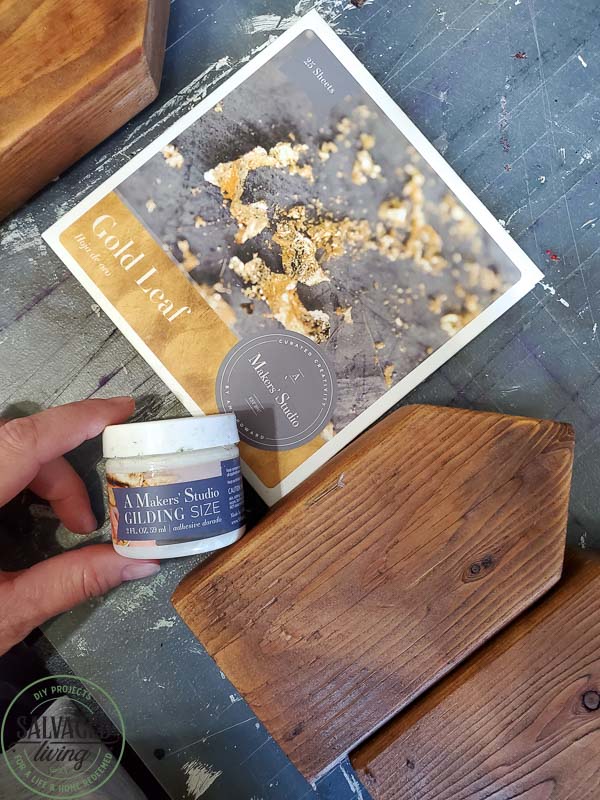
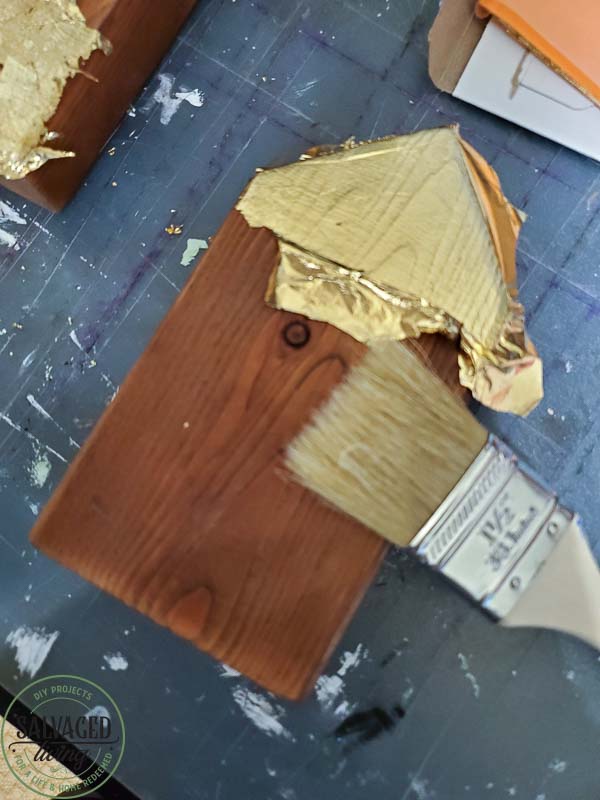
- To apply gold leaf, lightly brush on gilding size and allow to dry to tack. This means it isn’t completely dry but doesn’t come off on your finger gunky. It takes just a few minutes. Lightly press gold leaf sheet onto sizing. Give it a few minutes to dry then use a dry chip brush to brush away extra gold leaf. You can make this as full coverage or vintagey (is that even a word, if not it should be!) and rustic as you wish! You can see I did a color block kind of pattern, but you can do whatever your heart desires.
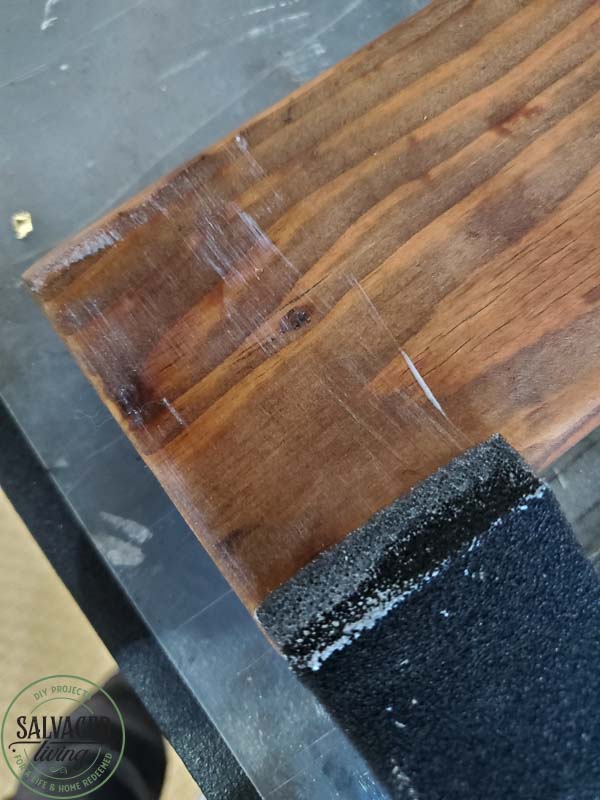
- Use a dry chip brush to wipe away the excess gold leaf and if you need to reapply in some spots you can! The gold leaf blends together well when layered.
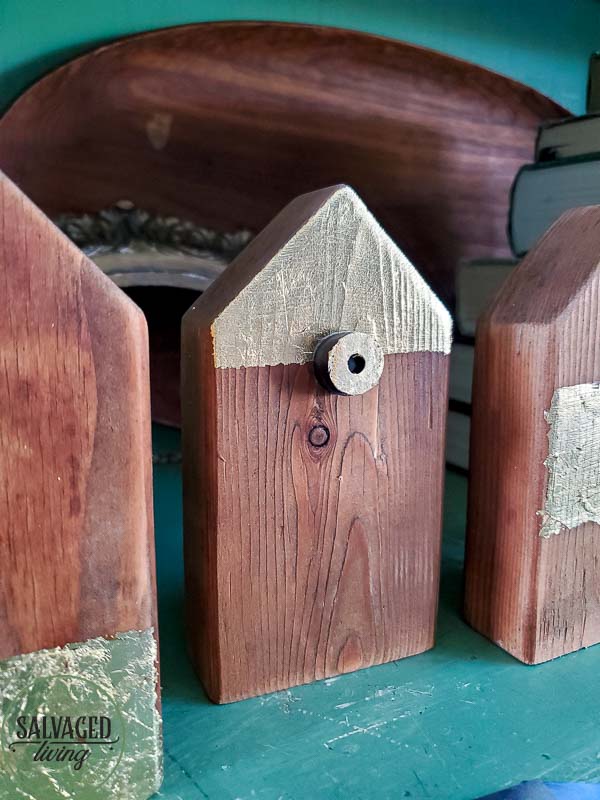
- Of course you can use any combination of paint or stain, spray paint the gold instead of gold leaf or come up with your own fun design. This stain idea might be cute for a red schoolhouse!
- I gilded tiny magnets to hold my photos or you could attach a small clothespin to hold photos, they have great ones at Dollar Tree.
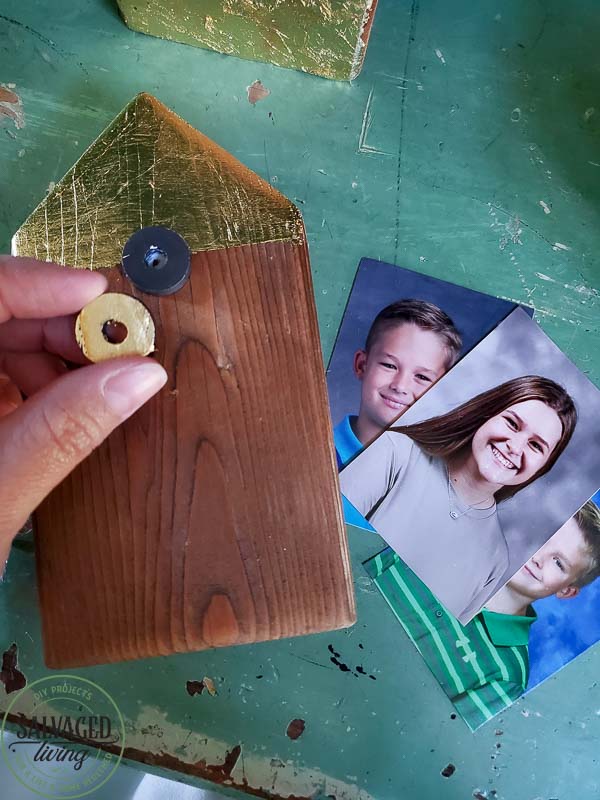
- Display or gift and enjoy!


Leave a Reply