We made our boring game room into a rustic cabin room with easy DIY burlap wall coverings and double wall mounted TVs for a cozy family room the whole family can enjoy.
This post is sponsored by Everywhere Agency on behalf of SANUS; however all thoughts and opinions expressed are my own.
Our new house has a large game room upstairs and the kids LOVE it. It’s the perfect space for them to hang out, watch movies and play games with friends, but like the rest of the house, it was pretty boring to look at. My husband’s dream idea was to have TWO TVs so you can watch sports and play video games at the same time. Insert eye roll from the girl who doesn’t watch much TV, but I get it so I was happy to work that into our rustic cabin design. It actually turned out awesome.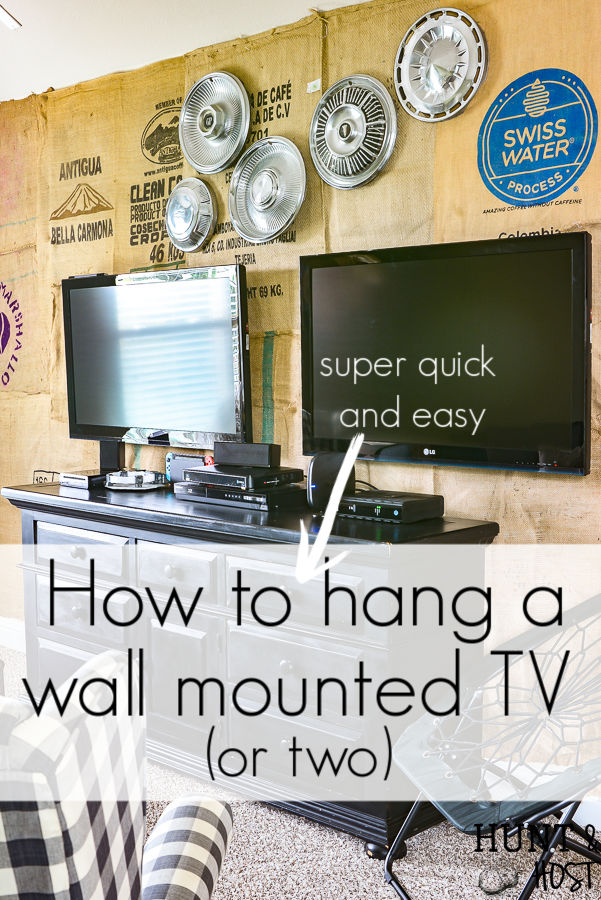
To turn this boring box into a rustic cabin we started with the TVs. Be prepared: mounting a TV on the wall is so easy you will be shocked. Honestly, my husband was dreading the project, he even doubted how simple the wall mount hardware looked! But in a matter of minutes, he was eating his words, lol! SANUS makes mounting a TV to the wall a breeze.
How to hang a wall mounted TV (or two):
- You can start with the ultimate guide in picking a TV mount. Seriously…all the info you’d ever want to know!
- Next go through SANUS’ mountfinder process online, it will help you find the exact TV mount unit you need for your exact TV (mine are below). There are a few different options, like full motion (it let’s you move your TV around a bunch of different directions), fixed or tilted. We chose fixed because it’s best not to give the kids an option of messing with the TV and the sleek way it hangs close to the wall is best for our room. Mounting the TV to the wall provided a safe alternative to a TV just sitting on top of a console in a space boys are bound to rough house, throw balls and shoot nerf guns! (here is a good read on why TV placement is a safety issue to take seriously)

- Once you order your SANUS TV mount (YIPPEE – all my friends can get 20% OFF with the code huntandhost) and it arrives then you can follow my simple steps or watch this short video to help out.
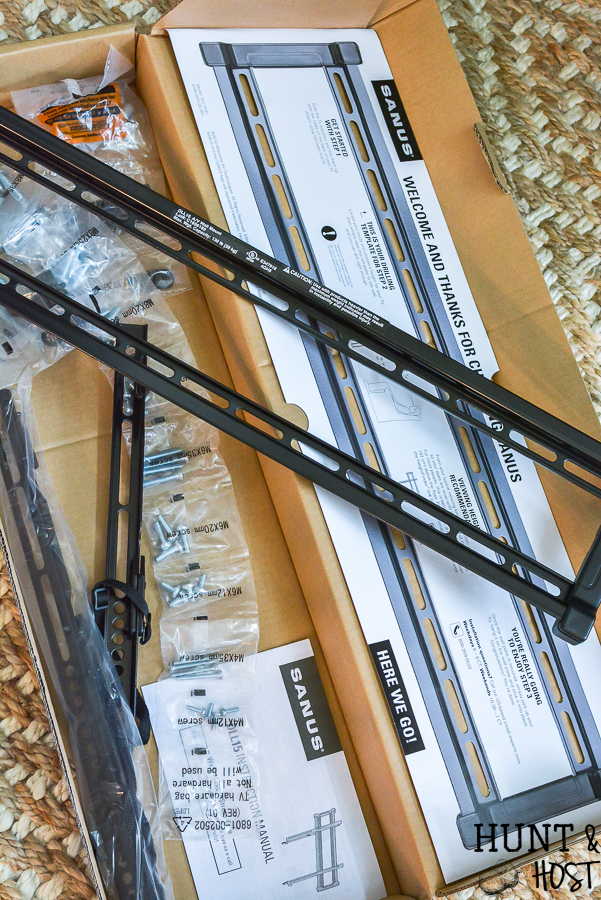
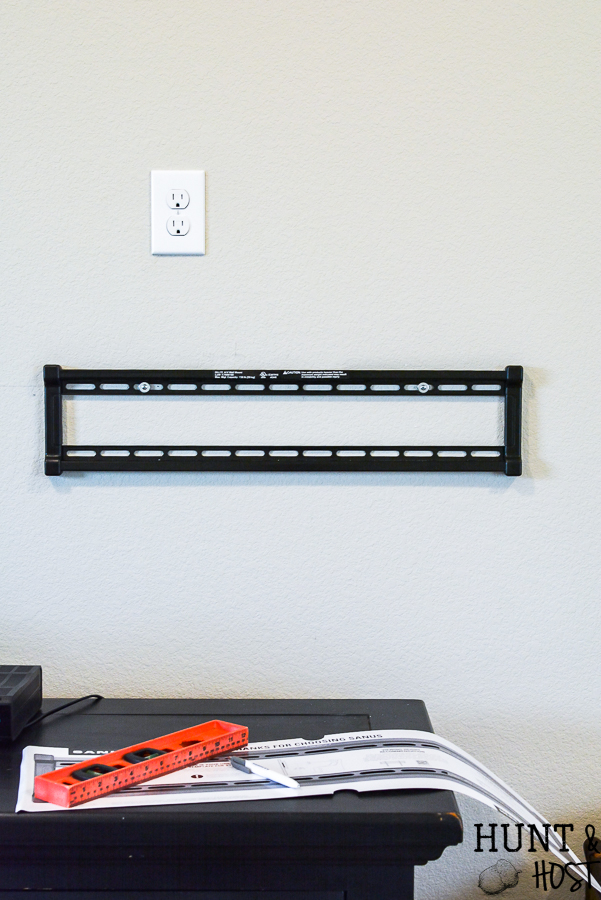
- We started by selecting the site we wanted to mount the TV and used the template that came in the box.
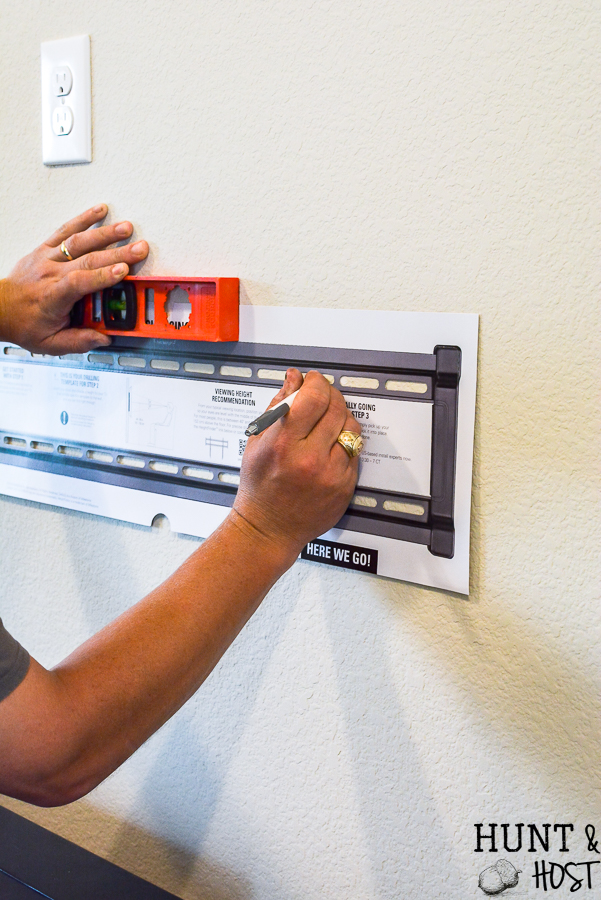
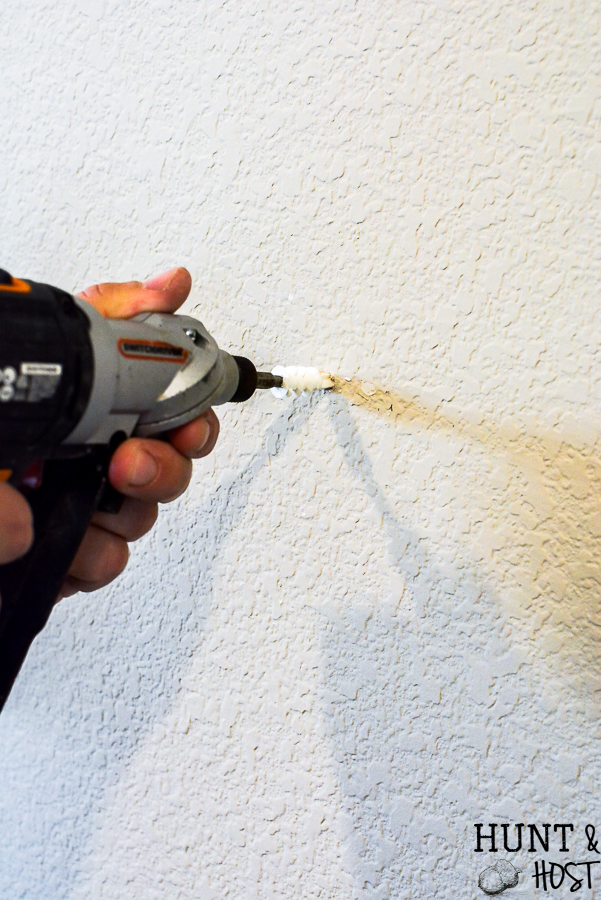
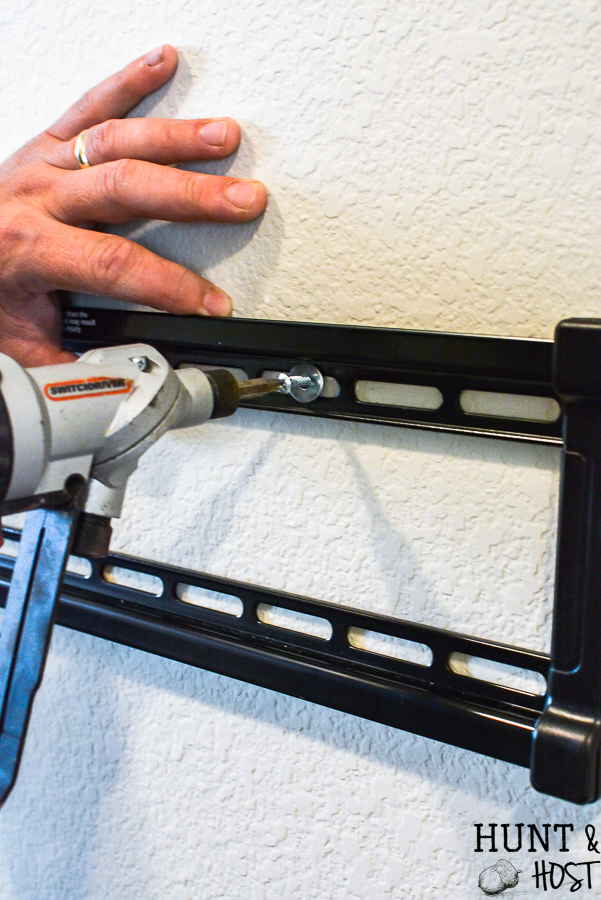
- Next we drilled holes in the sheetrock according to the template.
- Attach the backplate to the wall.
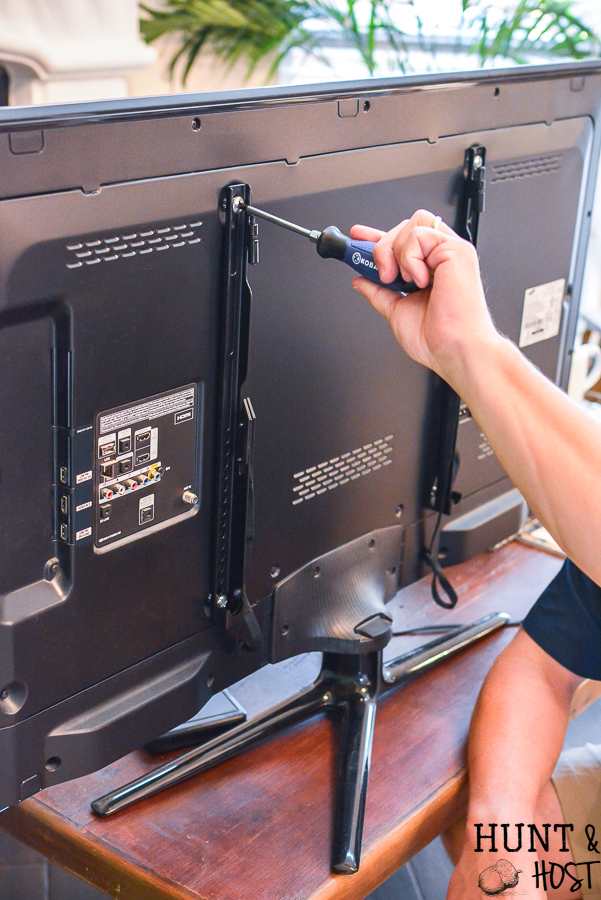
- Attach screws to the back of the TV, each mount comes with a variety so you will have exactly what you need. We had been using our TV on the little base it came with, we removed that after we had the screws attached.
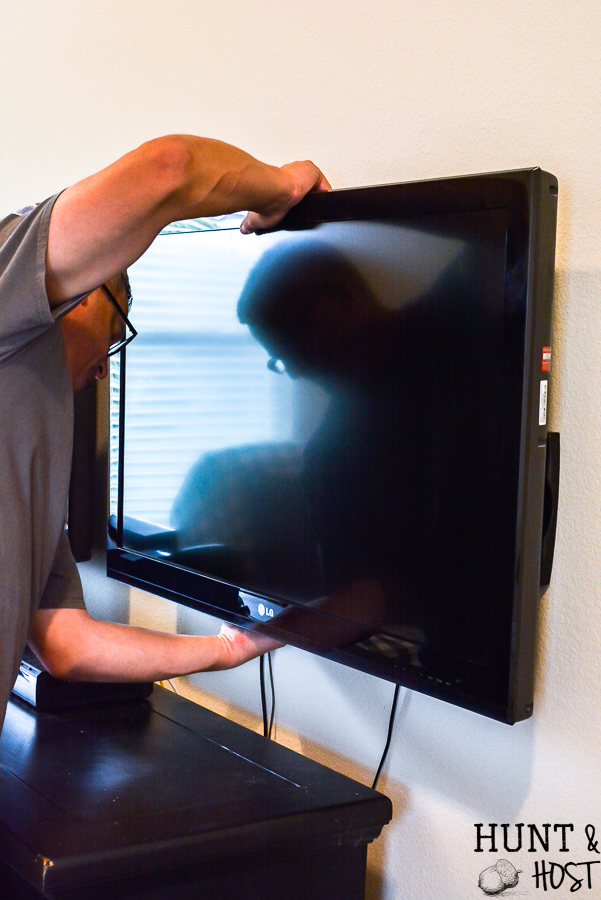
- Hang the TV on the wall unit.
- That’s it, you’re done! Unless you hang two then repeat. I mean really, how simple was that?
Now for that awesome burlap wall covering! I picked up a stack of burlap sacks from a coffee roasting company near our old house. They were $2 each! I choose to use sacks because they have great graphics, are inexpensive, add fantastic texture and an aged feel to our rustic cabin game room. I suggest you look for a local roaster online, or find a feed or grain supplier in your area that might have similar bags you can buy. You could use burlap form the fabric store for a more sleek look, but I was going for rustic and unrefined. It was literally one of the fastest wall applications ever!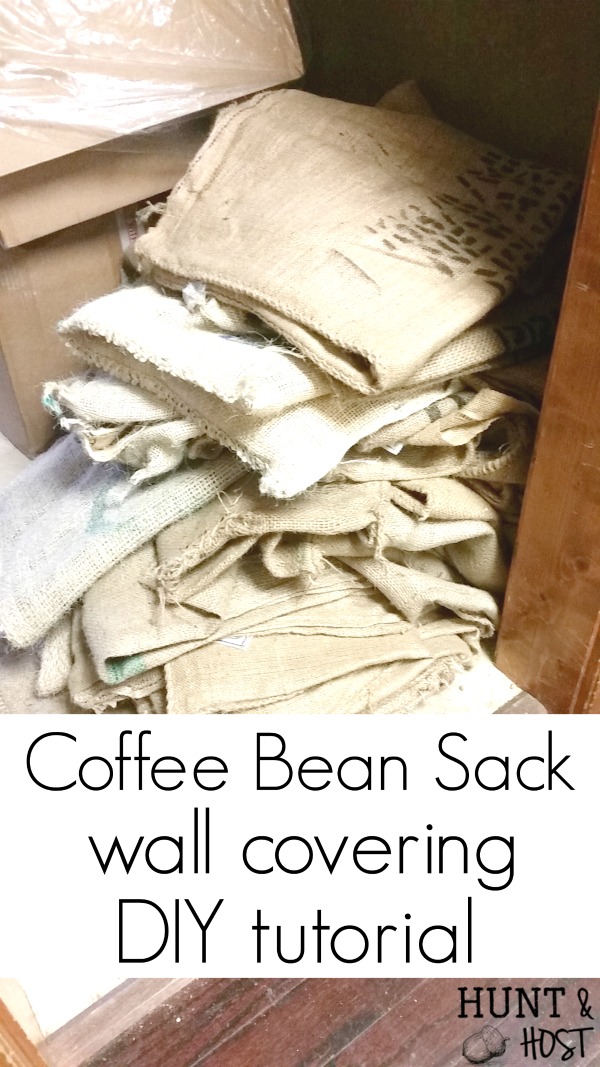
Cut the burlap sacks open down one side and the bottom. a few will need to the back and front cut apart, you will basically be doing a big puzzle and the halves will fill in spots.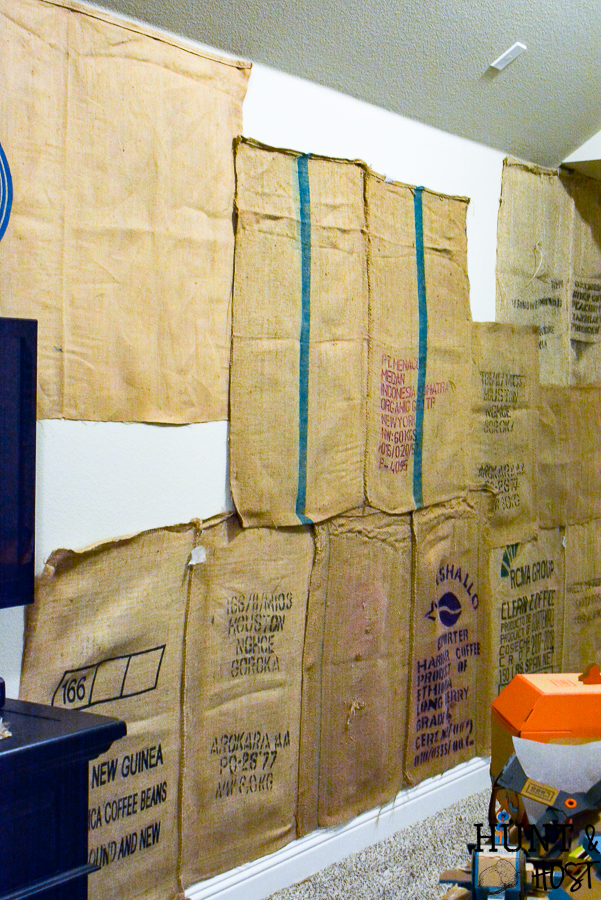
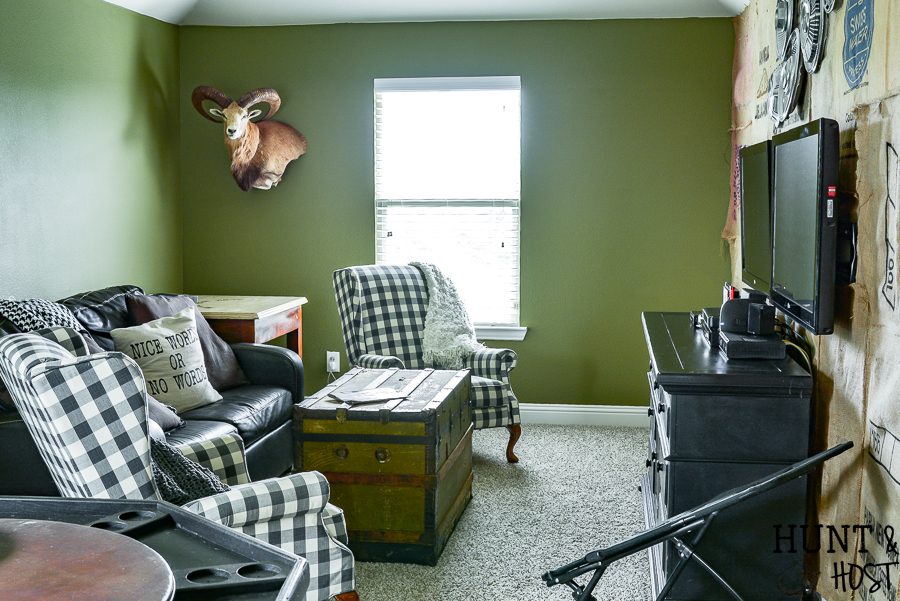
I used my favorite electric staple gun and started in the bottom corner, overlapping and mixing up the various designs in my stack. This was an awesome wall application to use with the wall mounted TVs because when I got the where the wall mount brackets were, I just worked around them, leaving them exposed. We were able to run the TV wires up behind the burlap and to the back of the TV before hanging the TV on the mount…hidden cords! Yippeee!!!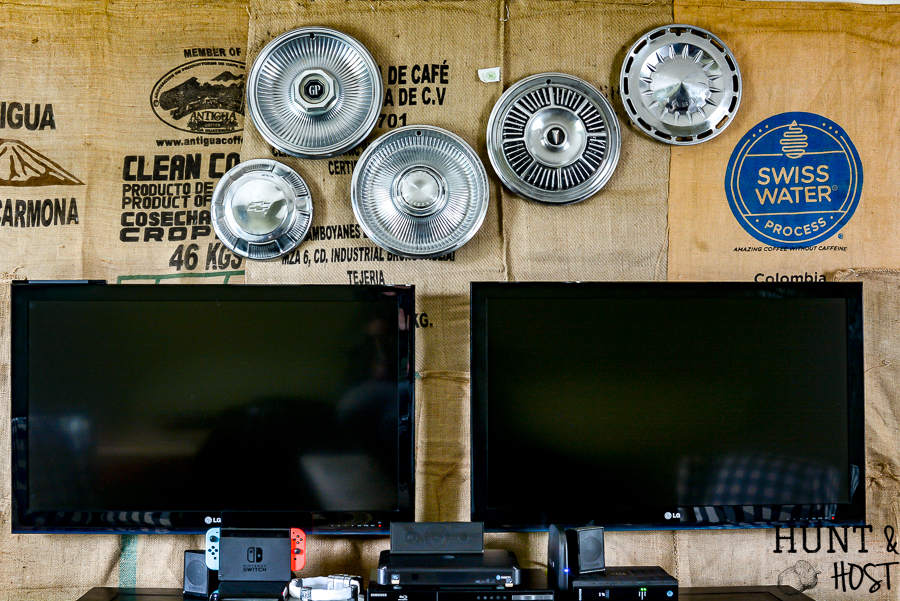
I used the full size sacks and went back and filled in gaps and spaces with half sacks and small pieces of cut up sack, overlapping them randomly and securing with the staple gun. 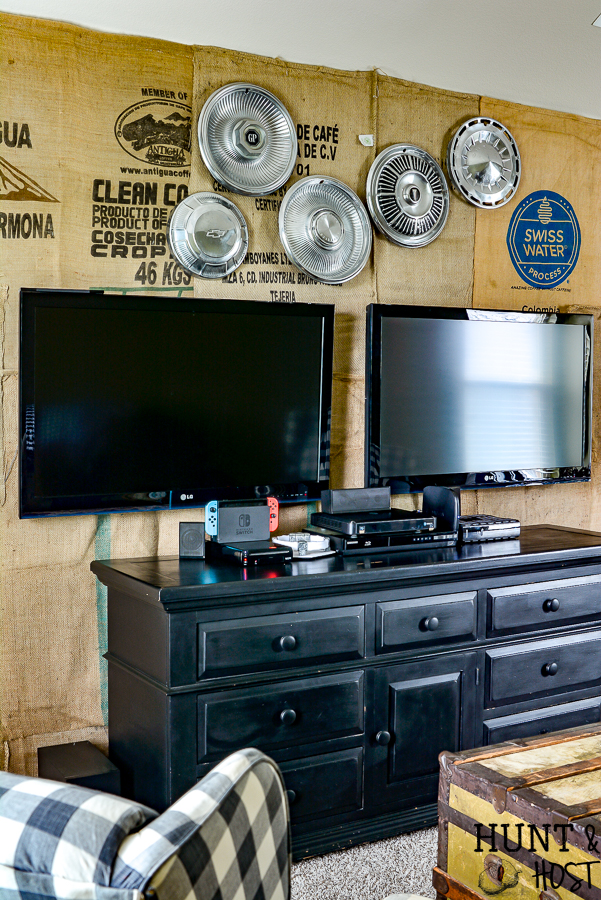 This picture shows how awesome the low profile is of this particular TV mount style. You enter the game room from the side and I didn’t want to see the back side of the TVs.
  After the focal wall was complete I painted the remaining walls an army green, but more on that later! This completes phase one of operation boring game room to rustic cabin retreat! My kiddos (and husband) are thrilled with how the double TV situation is working out and I always know where to look when the house is quiet, lol! Now comes the fun part…decorating. If you are interested in seeing other ideas on how to creatively hang your TV you would love SANUS’ blog, you can read it here. Be sure to save this post for later, you never know when you will need to mount your TV to the wall or cover the walls in burlap! Thanks friends, hope you like the beginning of the rustic game room makeover!


You are so creative!
I’m cheap and just stretch my brain for low cost ideas lol!!