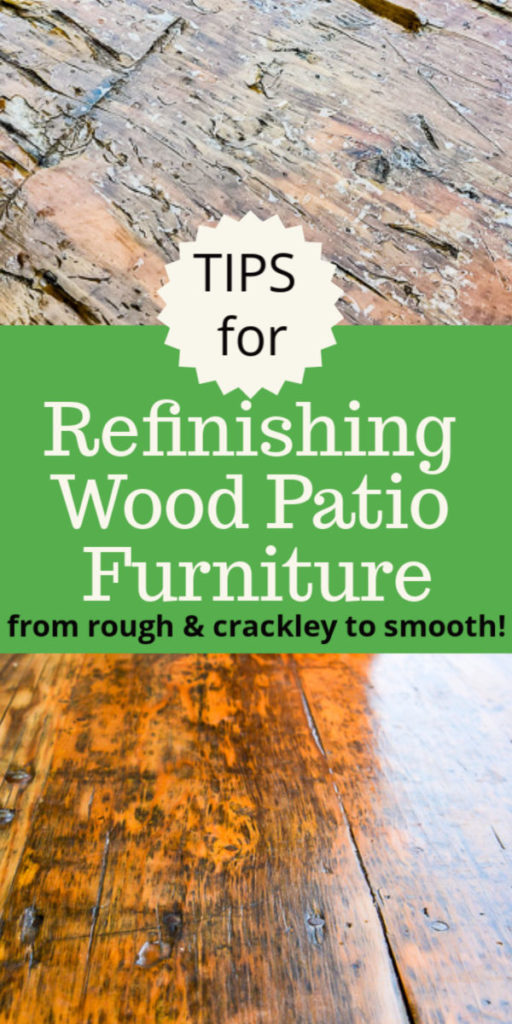
Is your wood patio furniture looking sad? Here are a few tips for refinishing wood patio furniture.
I got this amazing beer garden table at Round Top a while back. It came from one of my favorite vendors and he told me it came from a Beer Garden in Germany. I love that! When I got it the think polyurethane finish on it was not in awesome shape. The blazing Texas heat did a number on that finish and crisped it up like a crinkly fry. I had a girlfriend over and as we sat at the table chatting I was embarrassed that my table keep poking her with it’s chippy (not in a cute shabby chic way) finish. A refinish was in order. 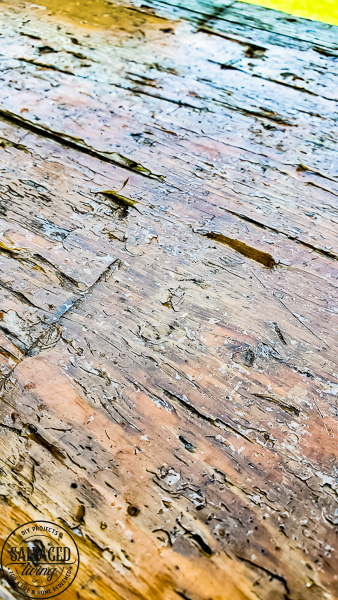
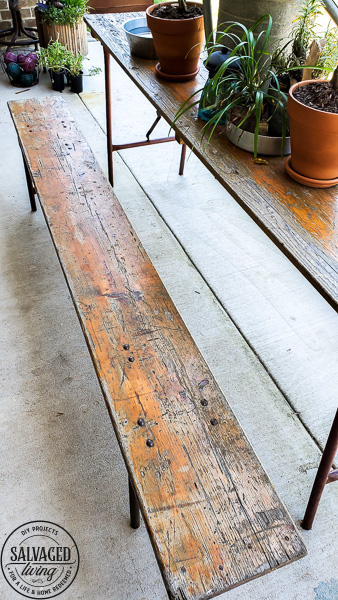
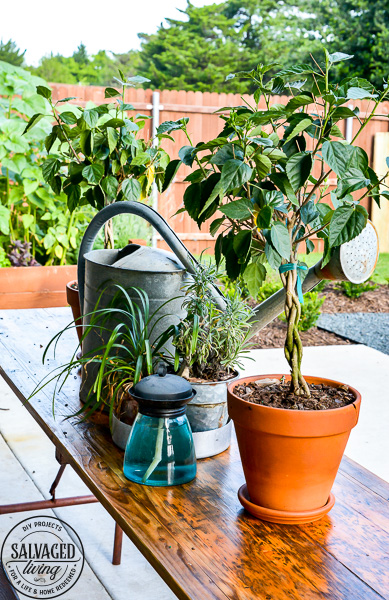
I adore how this table anchor our patio and provides a sweet spot to have dinner together. It peeks through my patio windows and is like an extra room to our home. The unique thin style of this beer garden table really helps you feel connected to the people you’re gathering with around it.
Here are a few tips to refinishing your wood patio furniture if you find yourself in the same predicament! 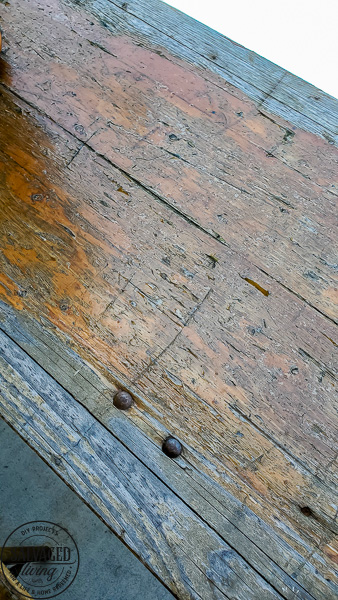
Refinishing Wood Patio Furniture Tips With Supply Links
- In case you love this table but can’t source one I found a reproduction beer garden table here for you! It’s cute and affordable, plus you don’t need to refinish it LOL!
- Make sure you have a great palm sander, I use this one. I tried both sanding and power washing to see what would work best on removing the old poly finish. Sanding was definitely a better option for me. You could use a paint stripper, but I’m rarely a fan of those. Even once they start to loosen the paint you will find you have to sand the surface. Unless the paint/finish is really thick straight sanding works great in my opinion.
- Use the correct sandpaper! This is the most critical part of refinishing a wood piece. It’s important to understand the numbers on sandpaper. The lower the number the more rough your sandpaper and therefore the more aggressively it will sand. For example 60 is a very rough sandpaper and best for removing paint and sealants like I was working with on this patio table. I suggest starting with a rough grit paper and change out your sandpaper pads frequently for the best and quickest results.
- Use a face mask to protect yourself from the dust that could be harmful. If you are working with an older piece (that you suspect is from the late 70’s or earlier) you may need to test the paint for lead before you start your makeover. Best to be safe!
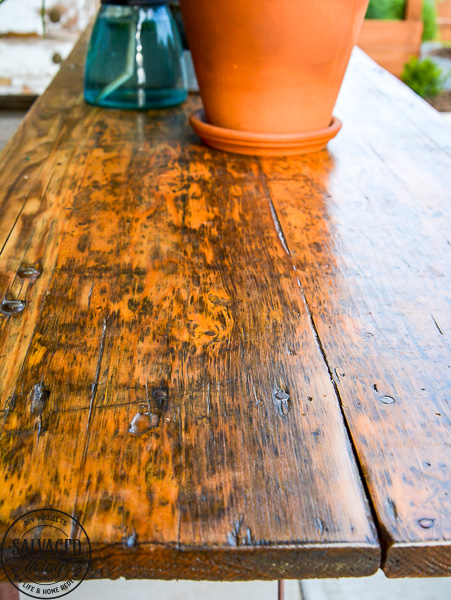
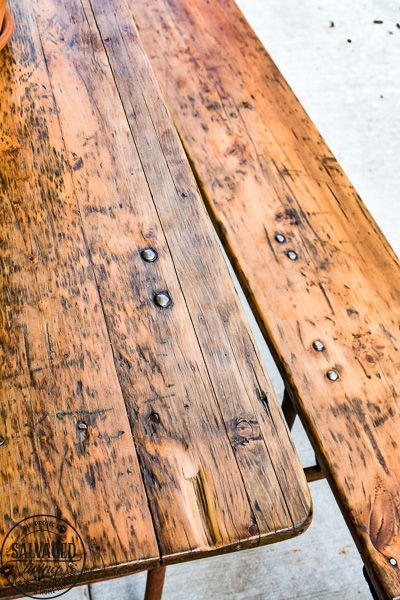
- Do a once over with a more fine grit sandpaper (like 150 grit) after you feel like you’ve stripped away enough of the old finish. Be sure to sand out any grey areas of the wood where the wood has begun to oxidize, especially if you will be clear sealing or staining the wood. This way your wood has a nice even finish. I was able to get the grey out but this table is pretty old and has LOTS of character in the wood that doesn’t sand out – which is great, I love character!!!
- Make sure you select a sealant appropriate for outdoors. This is critical if you don’t want to be redoing this process over again next year! Nowadays you can select different finishes in your sealant, which is awesome. I’m a fan of matte finishes over glossy and I selected a satin finish. I used Minwax Helmsman Spar Urethane Satin Finish.
- Use a good quality brush, I’m a fan of Zibra and Purdy brushes. If you use a cheap chip brush you will likely end up with brush hairs embedded in your finish and that’s no good! Cheap brushes also tend to leave streaks in your paint or gloss.
- Most outdoor sealants are oil based so be prepared with the proper cleanup materials. I prefer to wear disposable gloves while applying oil based sealants so the clean up on my hands in minimal. As for brush cleaning you will need paint thinner or mineral spirits to clean your brush properly. If water based then a warm soapy wash will do.
- Allow the sealant to dry COMPLETELY between coats. Then lightly sand with 220 grit sandpaper to even out your base coat and secure your second coat of sealant. Apply at least two if not three or four coats for optimum protection from the elements for your outdoor furniture.
- Note: I only did two coats and it looks great but I think I will be adding at least one more coat for extra resilience and protection. I highly recommend 3 to 4 coats, especially on wood that is grainy and uneven like this table.
This project is mainly about elbow grease and time to get a great refinish on your wood patio furniture, but the results are completely worth it! Now we can enjoy the patio table in peace and beauty. Hope these tips help you refresh your wood patio furniture! If you want to get your patio surface in gear check out my powerwashing tips here!
[mv_create title=”Refinishing Wood Patio Furniture” key=”7″ thumbnail=”https://salvagedliving.com/wp-content/uploads/2020/06/Refinishing-wood-patio-furniture-tips-and-instructions-3.jpg” type=”diy”]


Leave a Reply