I love Fall. Everything about it. The warm colors, the crisp air. All the smells. Pumpkins. I mean really, it’s my jam. This Fall wreath is a non technical, no expertise needed decoration that anyone can do! I’m sharing it today in hope that it will beckon a cool breeze to blow into Texas. A girl can dream. 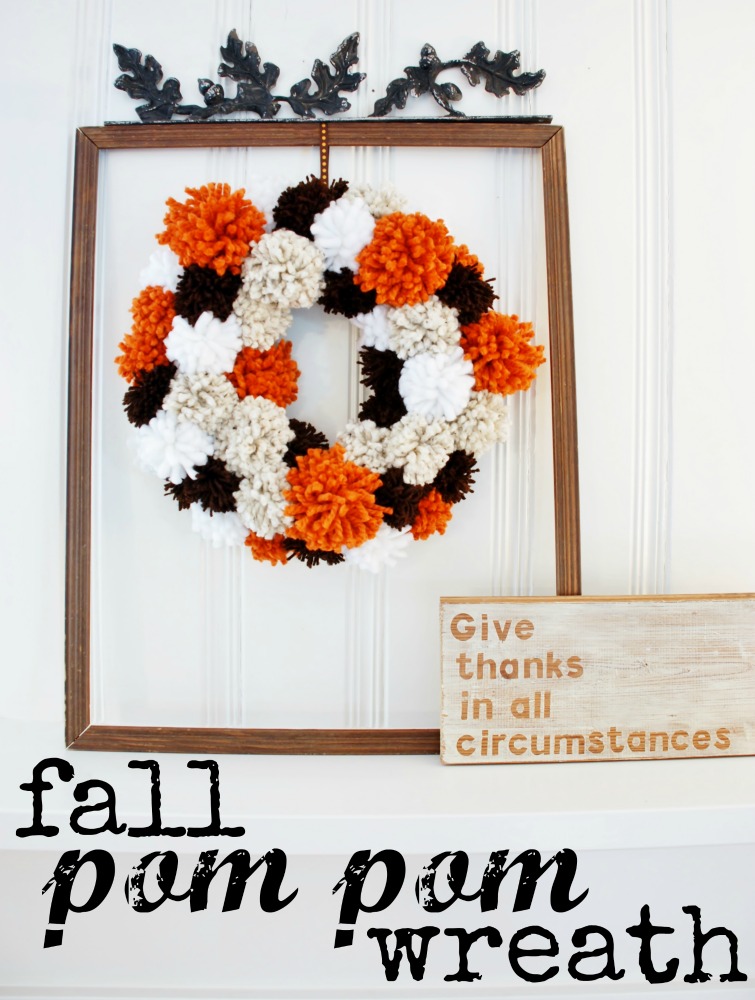
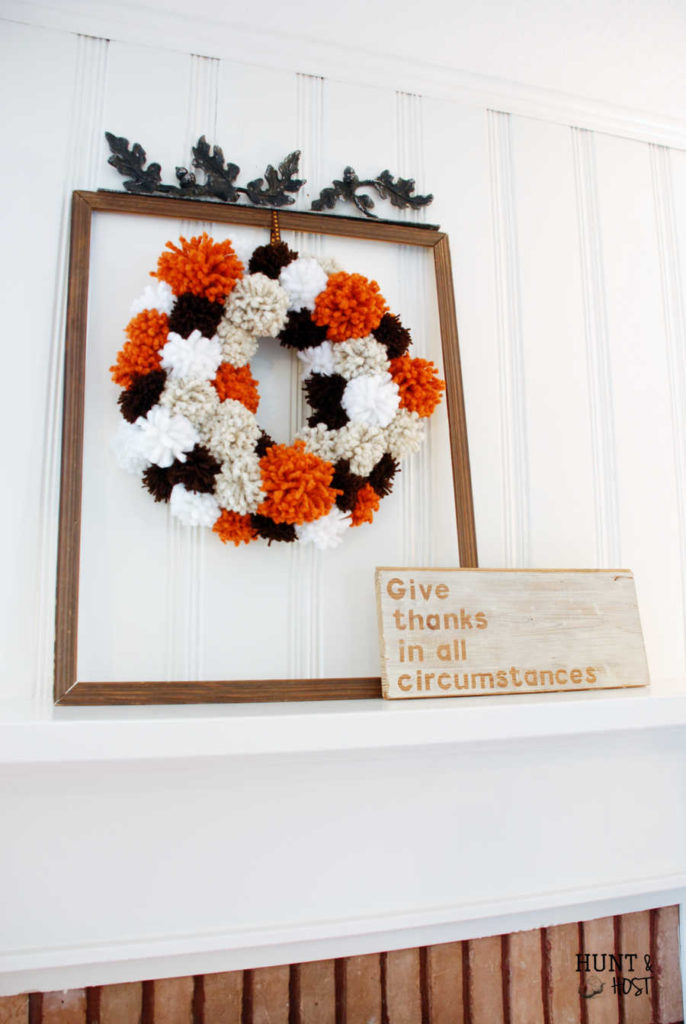
This wreath would be great in a bunch of places, like your door or mantel. Last year I decided to go simple with my Fall mantel and hung this from an empty picture frame over the fireplace. In a few weeks I will be doing a Fall home tour and I’ll be sure to show you where it pops up this year! The awesome thing about this wreath is it’s versatility. You could use any color scheme to make it match your home or holiday. Wouldn’t it be fun for Christmas!?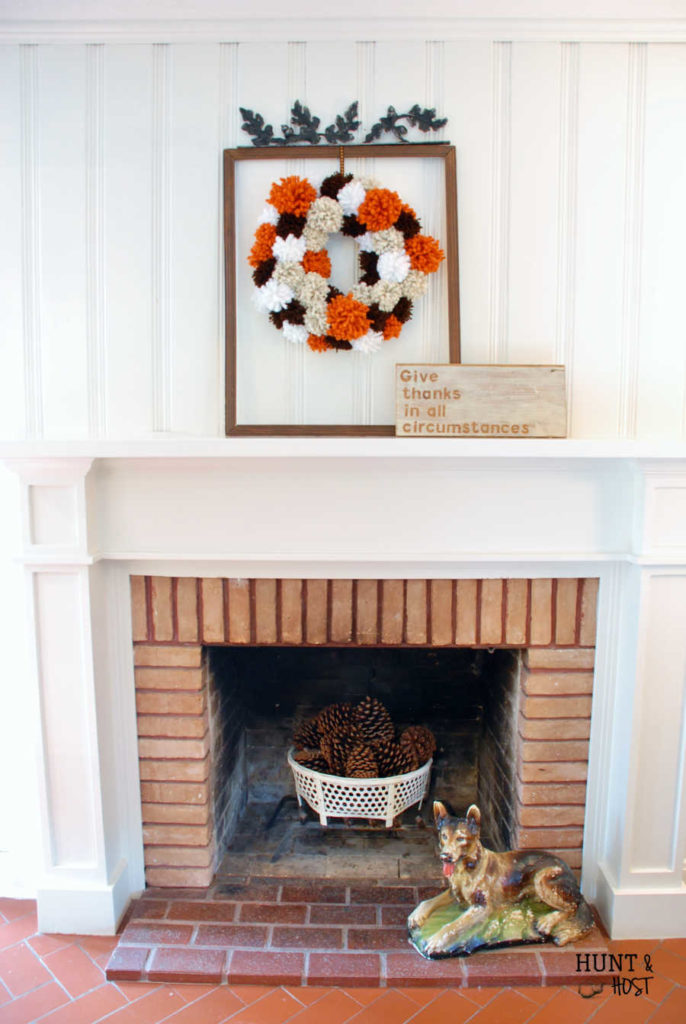
Now let’s get started!
Pom Pom Wreath Supply List
I have included affiliate links for your shopping convenience:
4 Colors of yarn – you can vary the weight for depth and texture. Thicker is better for at least a few colors. Here are a few suggestions you might like:
Pumpkin , Wheat, Santa Fe Tweed, White
Cardboard
Scissors
I have to admit…this project isn’t hard at all, but it does take some time. I suggest taking your supplies and plopping down in front of a season of your favorite show on Netflix. That’s what I did. Every night I would watch TV and make pom poms!
You will be making three different size pom poms. Cut sturdy cardboard into three pieces with various widths to use as a guide for making the pom poms. I used 3 1/2″, 3″ and 4″ widths.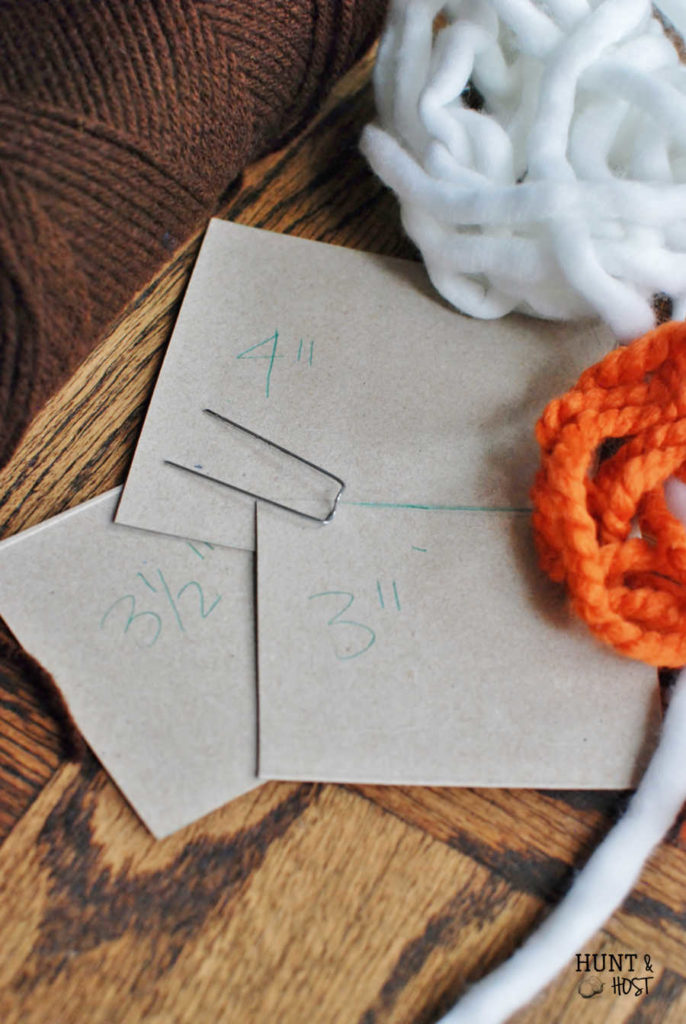
Wrap yarn around the cardboard guide approximately 75 times. This number varies depending on the thickness of your yarn. Don’t make skimpy pom poms! Wrap around a few more times if you think it needs it. Be sure to count so they are even. Thick yarn requires less repetition than thin. Cut your new pom pom from yarn skein and then cut a length to tie it off with. Gently slide yarn off the guide and tie tightly in the middle with the small length of yarn. Cut all the loops and trim any uneven spots. This doesn’t have to be perfect, they will all bunch together in the end! You need to make 12 of each color. Vary the size by color. For example make all the orange 4″, brown 3″, white 4″ and cream 3.5″. The slight variation just adds extra interest!
Lay your straw wreath on a flat surface. Start with your brightest color and place all the bright pom poms on the wreath randomly. You will attach them by using the u shaped hook. Be sure you hook the pin through the center of your pom pom. Press firmly into wreath.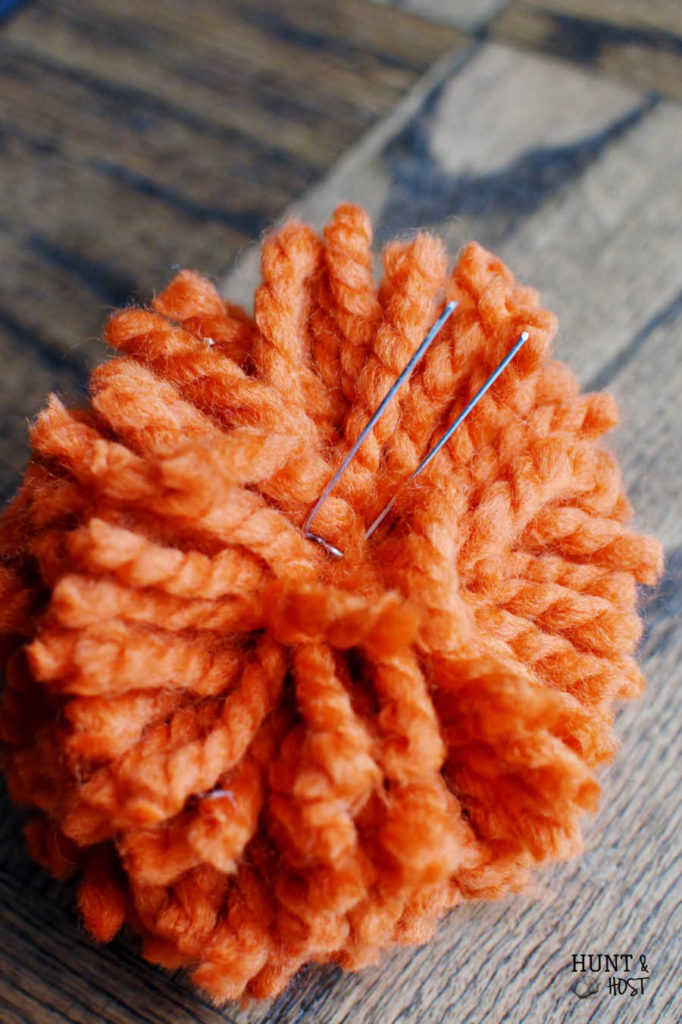
Continue adding different color pom poms in random order until the wreath is filled. You want to nestle them together close enough to look full, but not squished.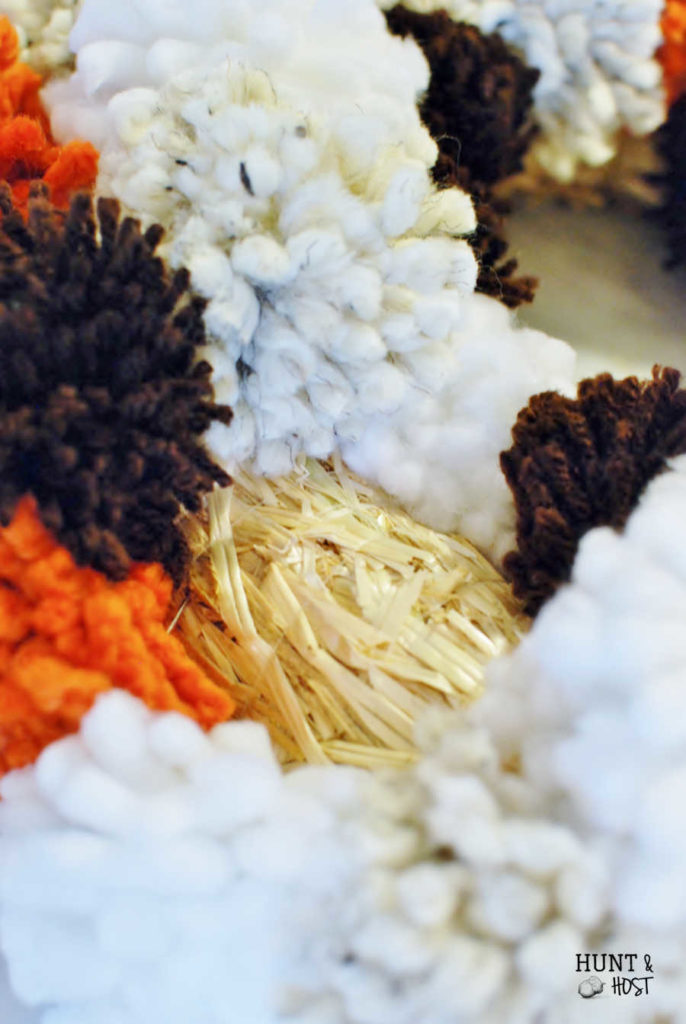
If you would like some more Fall decorating inspiration you can check more Hunt & Host Fall here:
Fall tablescape with free vases
Finding Fall: A bunch of Fall fun



Oh I love this! So cute and simple. Thanks for the tutorial. I love Fall too in fact I love it so much I’m having a party at my blog. I’d love you to come over and link this and all your Fall Themed posts.
Come over here to the party:
http://mychristmasjourney.blogspot.com/2016/08/2016-fabulous-fall-party.html
Begins Sept 1 and runs all the way to Oct. 30! Let’s party!
Thanks for the invite, I will check it out for sure!
This is the cutest wreath ever! I just want to hug it 🙂
It is quite snuggly isn’t it! Glad you like it
Give me all the poms! LOVE it! Definitely will be adding this to my ever growing to do list!
pom poms make everything better right!?