Learn how to create an old dictionary page print! I came across a set of large old dictionaries on one of my recent thrift store jaunts. They were $2 for the set so I couldn’t pass up all that crafting potential. Girl – make sure you keep your eyes peeled for a big old book like this, I’ll show you why!
When you see a large book with yummy old pages, it is the perfect backdrop for printing art on. You can print all kinds of things using dictionary, hymnal or even old Bible pages as your paper. It adds so much depth, age and vintage style to a regular print. I’ve printed some of the monthly Bible verse downloads I give to you guys on dictionary pages and they are SOOOO pretty that way!
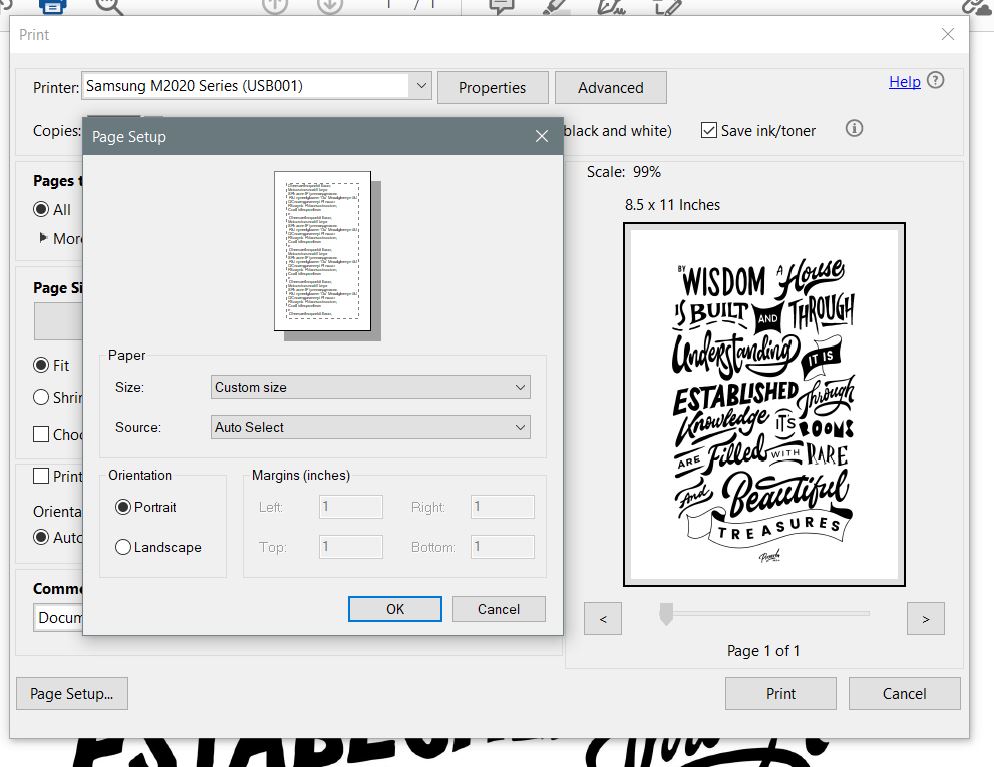
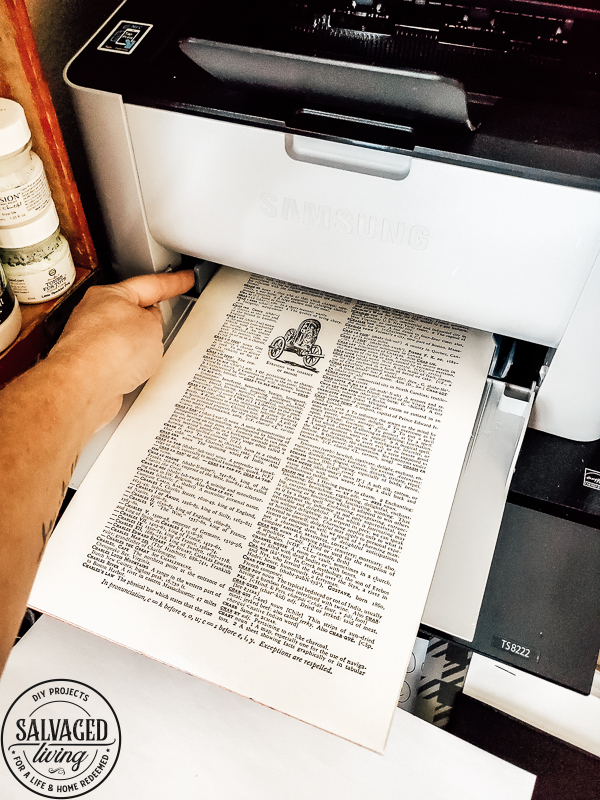
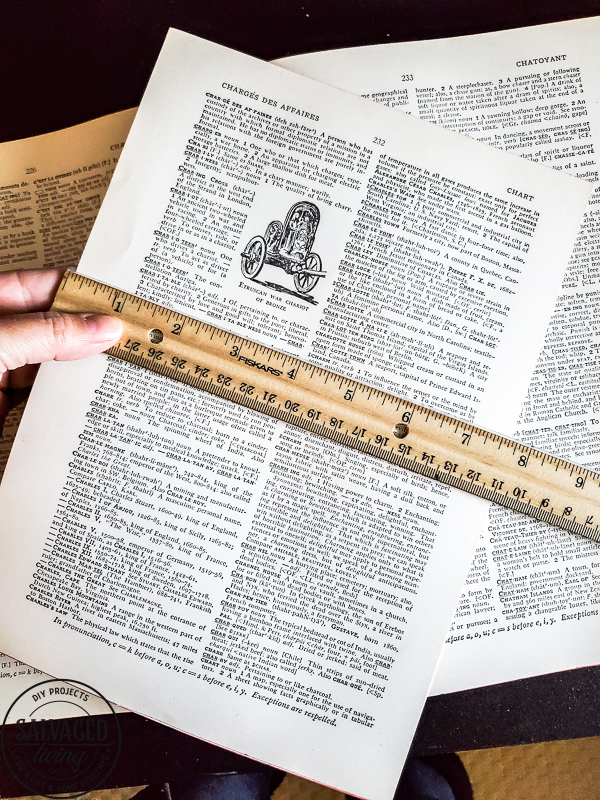
For the most part it’s really easy to print on a dictionary page, you add it to your home printer just like regular paper. You may need to make sure the size is similar to a regular 8.5 X 11 sheet of copy paper so your print will fit properly or select custom size in the page setup menu. If you are printing a full page print, like you normally would, just print it the same as any other print. BUT – if you want to make some sweet little prints to frame or decorate with here is how you make a small dictionary page print!
I also like to make small prints out of the pages and that takes a little extra effort, but is great if you want to create some fun gifts for friends.
Here is a quick tutorial for printing multiple images on one dictionary page. When printing 4 images on one page it is called a 4 up print. (3 is 3 up and so on!)
How to Print on A Dictionary Page
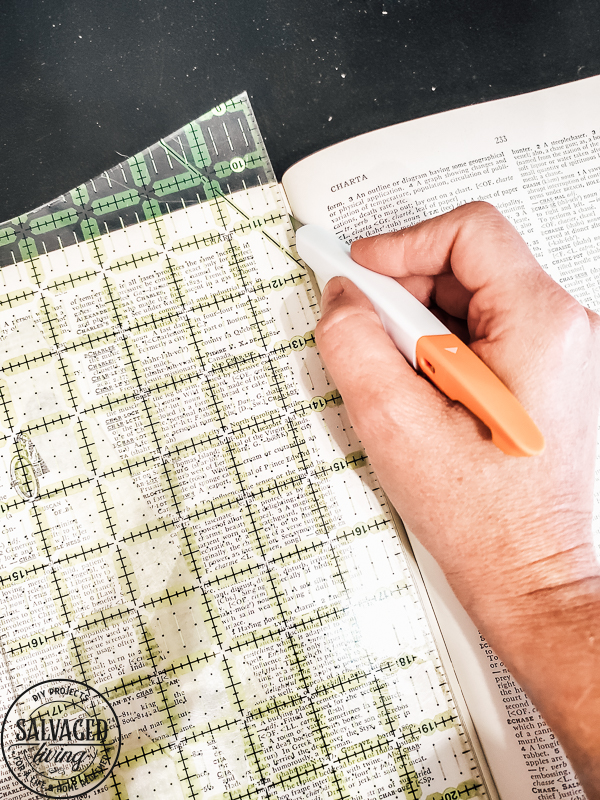
- Be sure to watch the video in this post for the step by step tutorial as well! Use a sharp Exacto knife and a straight edge to cleanly cut pages from your book. You want to get as close to the spine as possible for maximum page size. You can cut out multiple pages at once. It’s fun to find a page that goes with the idea you are printing – like the Christmas Tree definition page for a Christmas print.
- Open Picmonkey
- Create new, select blank canvas
- Select 8.5 X 11 or custom size to fit the dimensions of the page you will be printing on. (scroll down for all the options)
- Pick an image or saying to print. You can get Bible verse prints from my shop here or I often find amazing graphics here, like the one I am using today.
- From the top of the page select add image and import your desired image from your computer. Be sure to save your desired file in a location you can easily find!
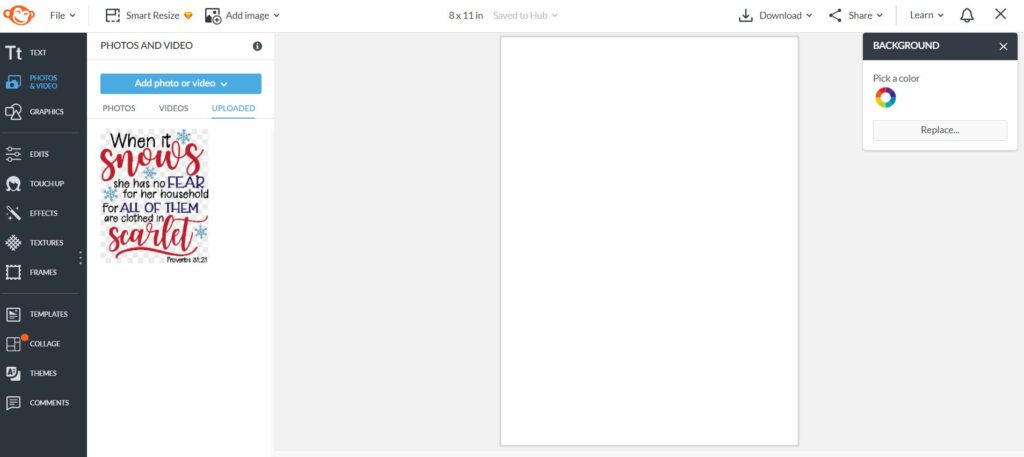
- Drag the image from the left side of the page onto the canvas.
- If you need/want to convert your image to black and white go to effects in the left menu and select black and white. Make sure the graphic is selected in the main canvas. You can print in color if you choose and some printers will let you convert to black and white in the printer preference section. Some printers will also let you print multiple images per page through the printer settings. For example you could print this image, 4 to a page to get the same effect I am explaining here. It all depends on your advanced printer settings, so explore them for options!
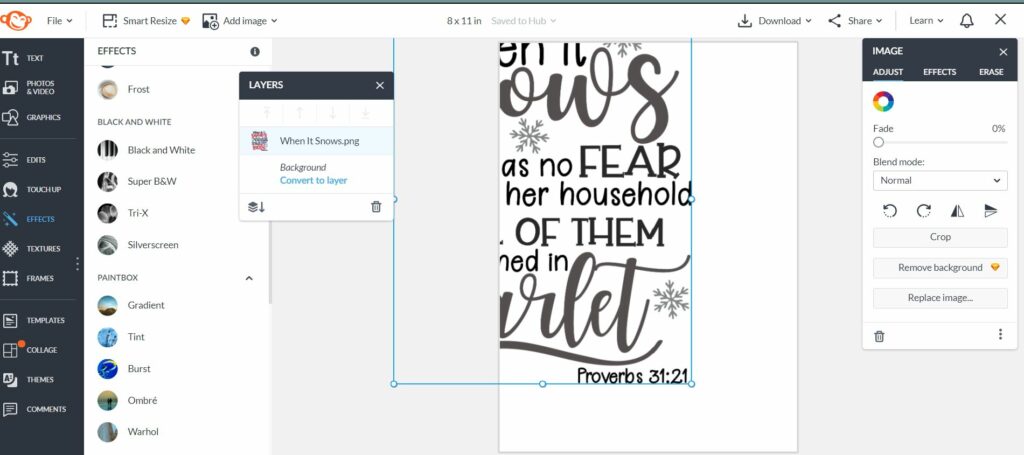
- Turn on the grid lines so you can get your graphic to the correct proportion.
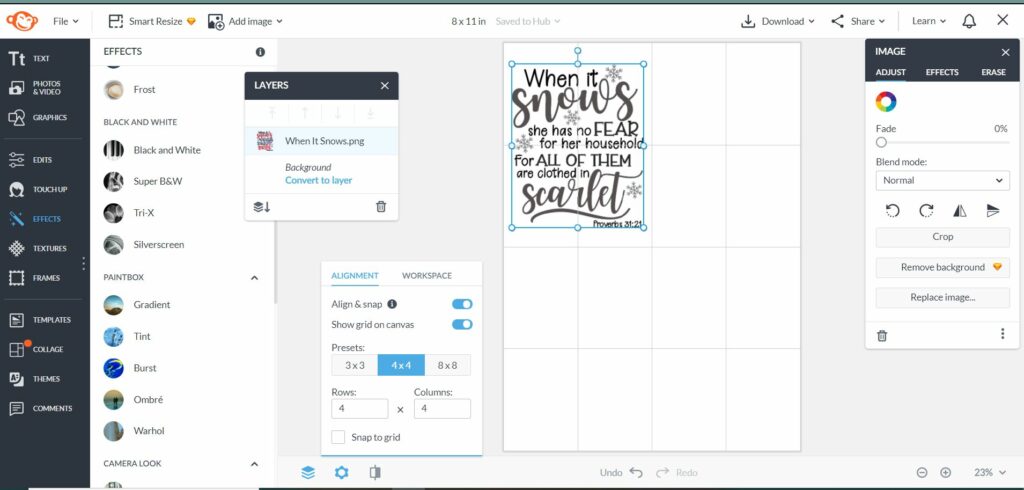
- Click on the corner dot of the graphic and drag it to make it larger or smaller, as needed.
- Right click on the image and select duplicate layer. Do this 3 times.
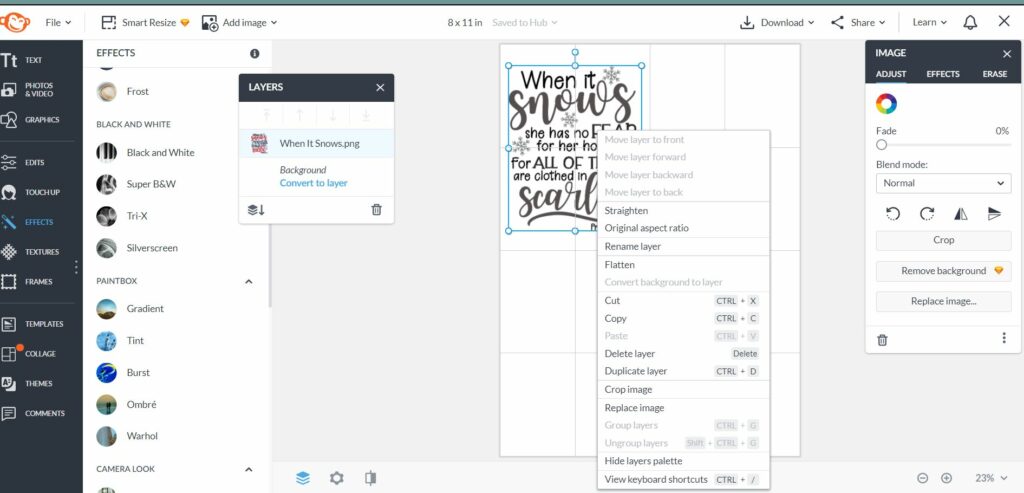
- Drag each layer to it’s correct location, the grid lines will help you snap it to place.
- In the top bar select download and save in your desired location and file type. I typically save as a JPG.
- You will now need to open your file and print. Practice printing on plain paper to make sure your dictionary page will be oriented correctly and the print is as desired.
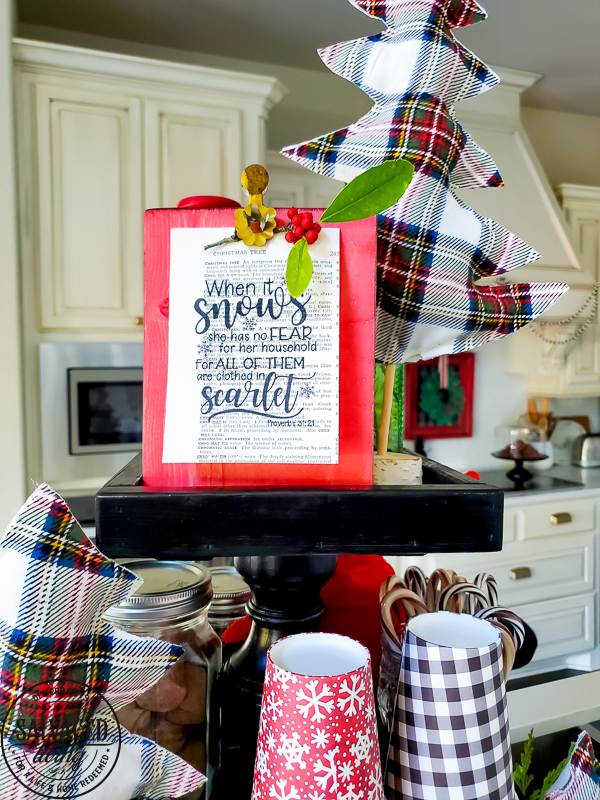
- Display these sweet little prints on this wood block display – they make great gifts and DIY home decor.
Save these directions for later by pinning them to Pinterest!


Leave a Reply