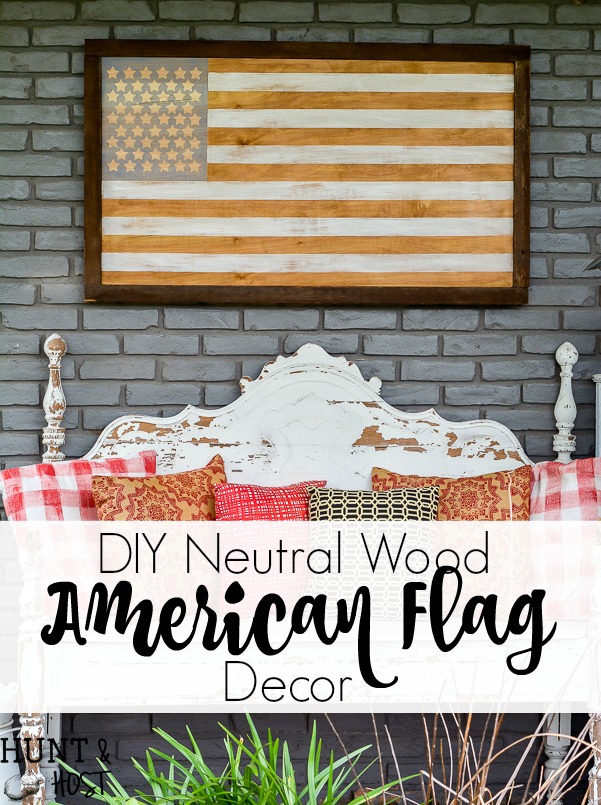
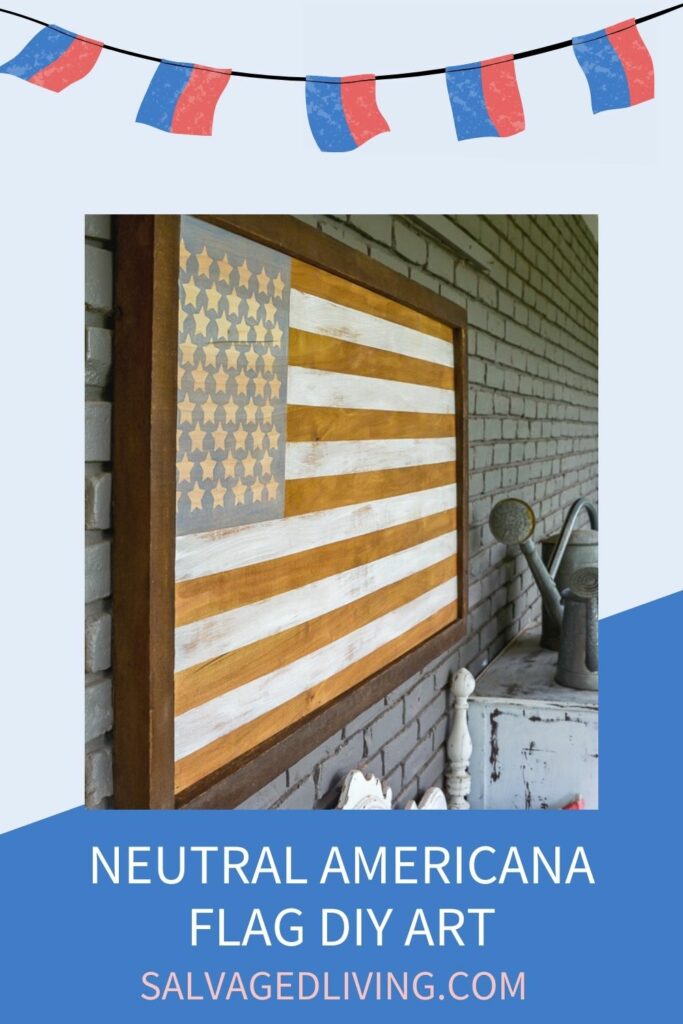
Make a beautiful neutral wooden American flag DIy wall art piece.
The American flag is so often thought of as summertime decor, but really it’s perfect for any time of year. While the flag represents so much it’s the little things it reminds me of that make me smile. The pledge in a school classroom, standing at a high school football game singing the National Anthem with it waving overhead, fireworks and ice cream. We are so blessed to enjoy the privileges we are given under the flag. While I love the original I thought a more neutral American Flag would make for some nice wall art that can be moved around the house. We really love to spend the 4th at the beach and haven’t been able to in the last few years, this lighter feeling flag makes me think of the good times we’ve had beachside. Thanks to Frogtape for sponsoring this post, all opinions and ideas are my own.
Honestly, most successful DIY projects are about using the right tools and supplies. This American flag turned out perfectly because I used the right “tool” in my tape selection. Y’all are in for a treat today because I have multiple project options for you to try out using Frogtape, be sure to check them out! Your summer just got cuter friends.
DIY Nautical Tablecloth | Make Your Own Canvas | Custom Cornhole Boards | DIY Buffalo Check Doormat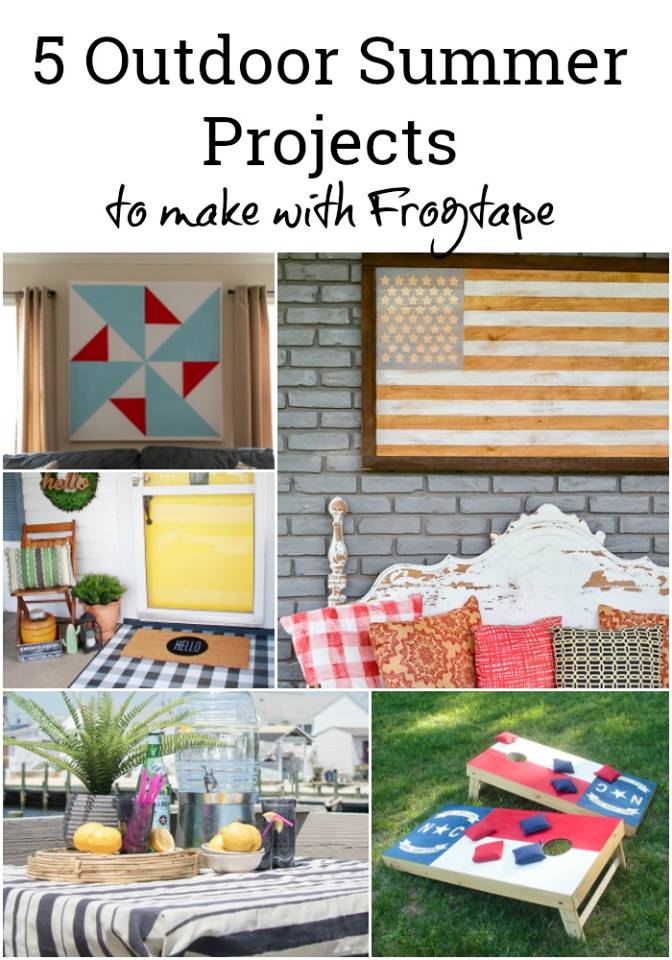
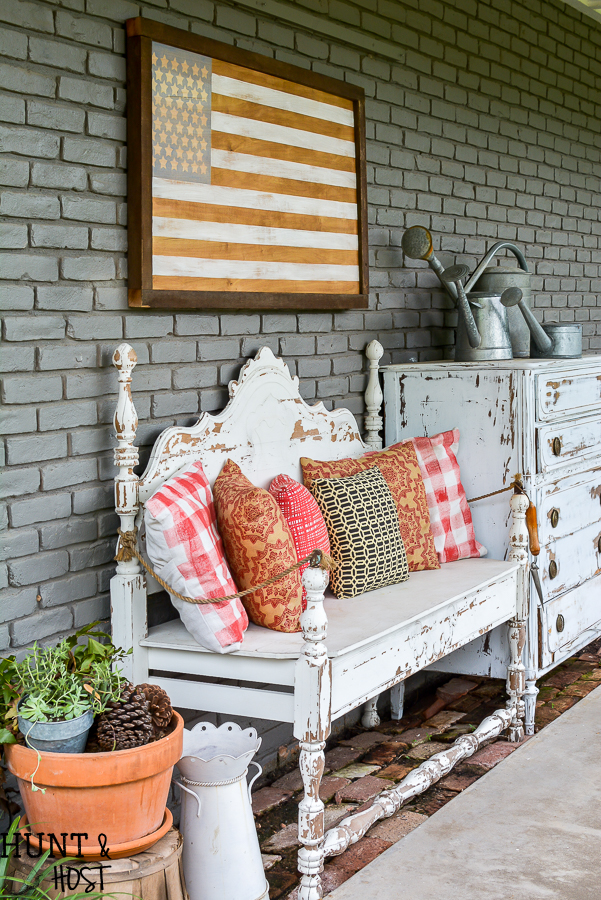
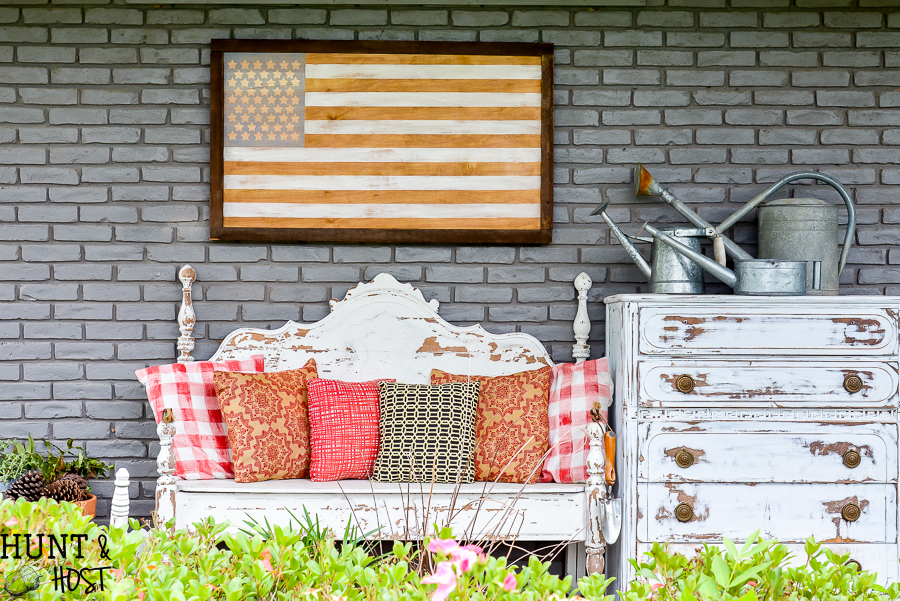
I’ve seen some pretty pricey neutral flag pieces floating around online and knew I could make my own American flag decor for less. Hopefully my flag will help you make one for less too! I have slowly been adding to my Fourth of July decor and I can see this piece up on the mantel or hanging on the front porch, mixed in with some vintage finds and flag bunting. A smaller version would be precious tucked into shelves or propped up on a kitchen backsplash.
I started off by getting a 2′ X 4′ piece of thin wood from the store. I wanted to be as proportionally close as possible. I cut off 6 inches from the 4 foot side for an overall measurement of 2′ X 3.5′. (I have a nifty little supply list at the bottom for ya!)
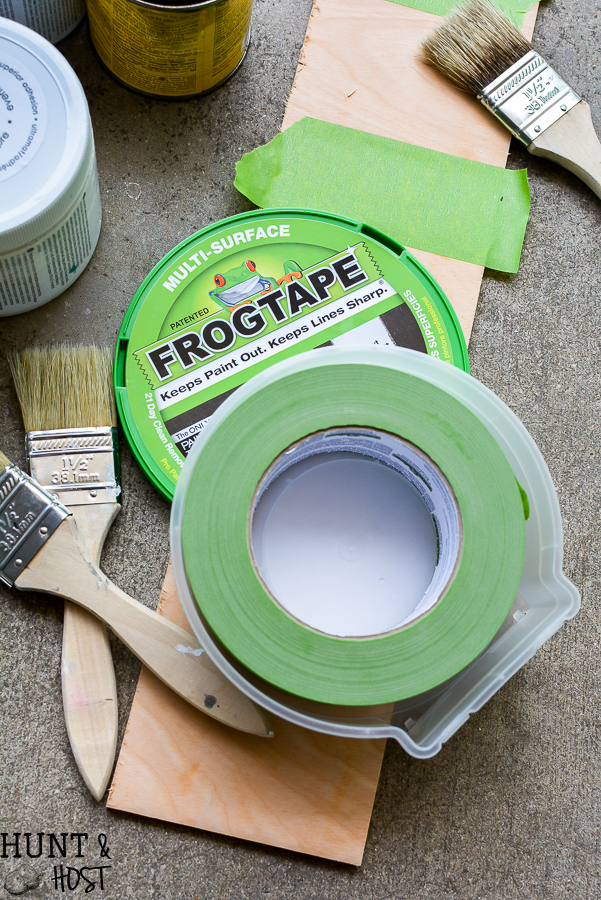
To make matters easy I used Frog Tape as my measuring guide. This project specifically used the 1.88 inch wide Frogtape (this is the fatter width of the two sizes they offer). I followed the flag dimensions as closely as possible, but wanted to make the dimensions work with the Frogtape, so the star area measured roughly 13.25″ X 11″.
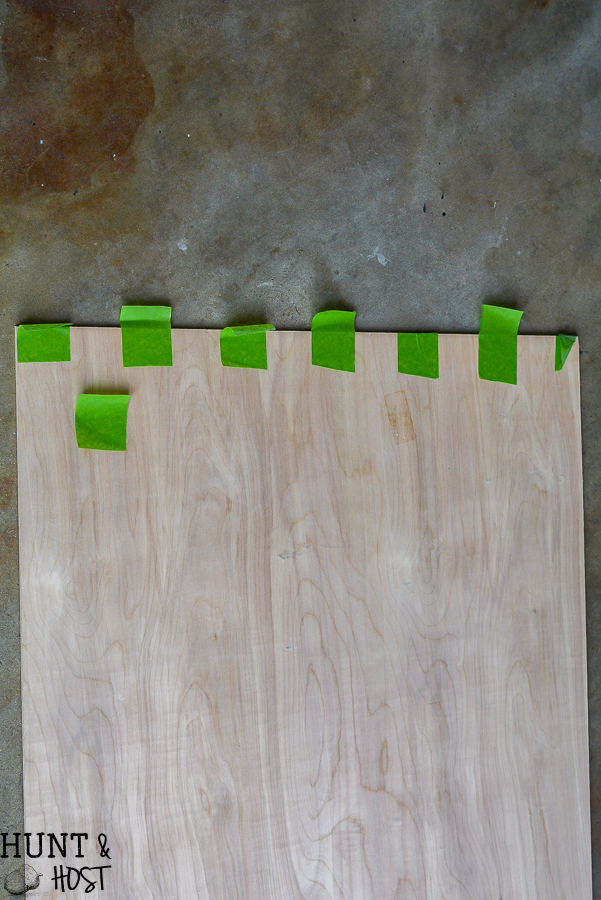
To find the perfect spot to block out for the star area I used little bits of tape to measure off strips. I placed one length of tape square with the top of the board, then got another piece of tape and using the first piece as a guide, laid it down. I repeated this with the third row.
For the fourth row I re-used the tape from the second row as a spacer guide and then laid a new row of tape next to it for the fifth row and continued this pattern for seven stripes. This marked the base of the star square.
Using a T-square I taped off the area (approximately 13.25 X 11) and stained the rest of the wood with a light oak stain. You could easily paint this red or use darker stain color to match your style. If you are careful to place your tape neatly it measures off straight lines and equal widths for you, with out having to do all the hard measuring! Sounds tricky, but it’s super quick.
Painting Pro Tip:
When you use Frogtape gently wet the edges of the tape to “seal” it! This is why I use this tape specifically, it has a special formula in the adhesive that seals the edges when it gets wet.
That’s why Frogtape comes in a plastic case, so the adhesive doesn’t get wet or dry out before use. When wet paint hits the tape it seals it, but I go ahead and use a lightly damp paper towel and press along the edges before painting for extra crisp lines. Also – remove the tape quickly after painting for clean lines.
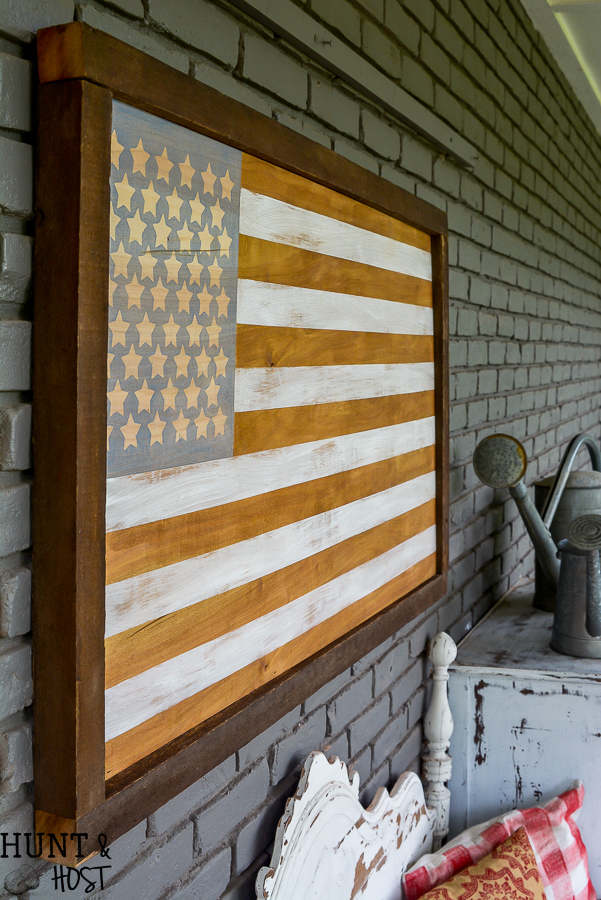
Once the stain completely dried I used the same taping idea as above, but taped off the whole length of the flag, making sure it lined up with the base of the star section. Make sure your flag starts and ends with “red” stripes (or whatever color you use to represent the red stripes). I dry brushed white paint onto the board for a softer, weathered feel. The lighter colors really make this neutral American flag perfect!
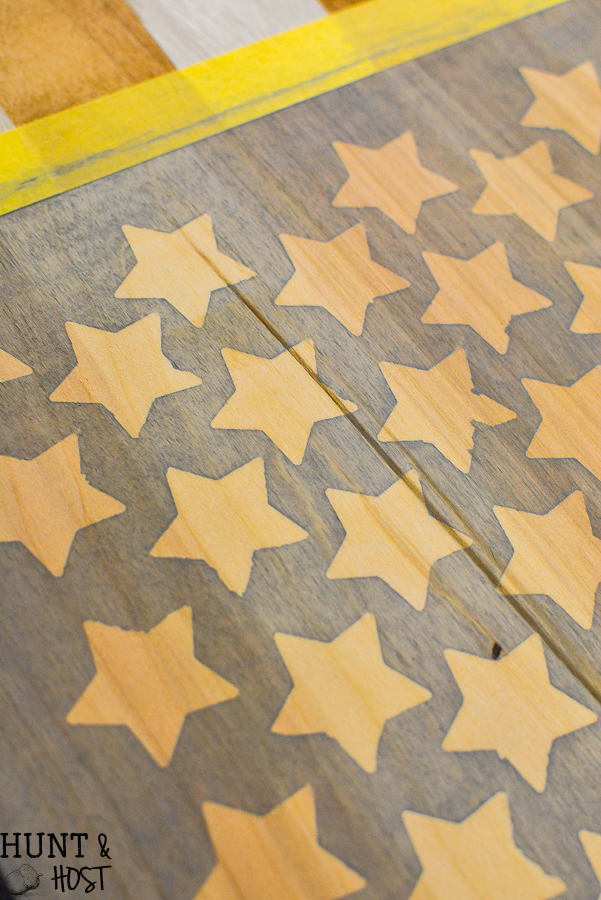
To make the stars I basically made my own stickers using Frogtape. I taped a strip of Frogtape onto wax paper and used a 1 3/8 inch star punch to cut out 50 stars.
I lined the stars up and stuck them to the board (make sure to press them down firmly and seal the edges as mentioned above). Next I used a chambray color stain for a soft blue stained wood.
To create the frame for the board I used 2″X2″ chunky cedar that I stained. I made a basic frame and screwed the corners together with 2.5″ wood screws. I built the frame around the wood sheet and basically secured it in place by tightening the frame around it.
Worked like a charm because the wood is rough and chunky. Because I placed the board in the middle of the frame edges, this could easily be a two sided piece of art that is reversible. I actually painted the other side, but you will have to wait and see what it looks like until later! Questions? Please let me know. Would you be my bestie and pin this for later!?
Don’t forget to check out these other AWESOME projects you can make this summer!
NC Custom Flag Cornhole Boards
Neutral American Flag DIY Supply List
- Frogtape – 1.88″ wide
- 1 – 2’x4’x.25″ wood
- 4 – 2″x2″x6′ wood
- light stain
- dark stain
- white paint
- chambray stain
- Star punch
- wax paper
- wood glue







I love how this turned out Kim! Such a great idea to use the FrogTape to make the stars, too! This project is going to look awesome at your new house, too!
Looks fairly easy, maybe, you did a great job and I agree you can hang them anywhere anytiime.Hope your enjoying your new home.
Kim, this was such a great project! I love how it turned out and those stars look so good!
This flag is so beautiful! I love the subtle, beachy vibe. And, that trick with the wax paper… genius! I can’t wait to test it out on other projects. Cheers! Kristy
I really love the vintage feel! Nothing is as classic as the Stars & Stripes! Clever to use the frog tape with a whole punch! I think Frog Tape should be in every crafter/creater’s arsenal!
Kim this is AMAZING!!!I love the look and the tip about the frog tape. (I better go put mine back in the container! ????) Thanks!!
I was mind blown when I learned that tip = such a game changer!!!