Today I am sharing a lazy furniture tip on how to add age to furniture quickly. The truth is it’s been a crazy few weeks around here. My mom had surgery and the recovery was less than smooth. I am thrilled to say she has turned the corner and doing MUCH better now! I was fortunate enough to spend over a week with her to help out. We all thought she would be better quicker and when that didn’t happen we rolled with the punches. This week has been a good lesson in the fact that things change, they don’t always go as planned and that’s ok. I sincerely appreciate your kind words and prayers. 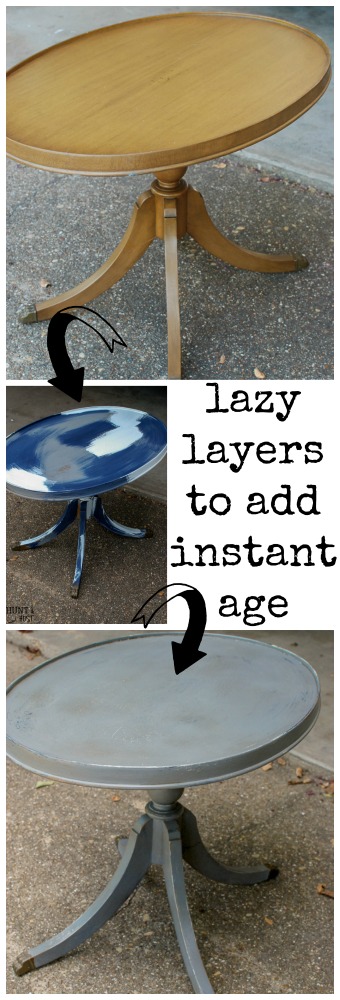
Today is my monthly DIY Furniture Girls challenge and I really wanted to bow out. The project I was going to do just didn’t seem right and I didn’t have time for my next idea. But I really love the ladies in this group and didn’t want to bail on them, even though I knew they would understand. We all committed to each other to show up and sometimes accountability like that is what we need to keep on truckin’. Things change right!? So here I am, with a last minute project, a third idea, coasting in on steam. BUT…it is a project that I had been wanting to get to, so I am glad to have it complete!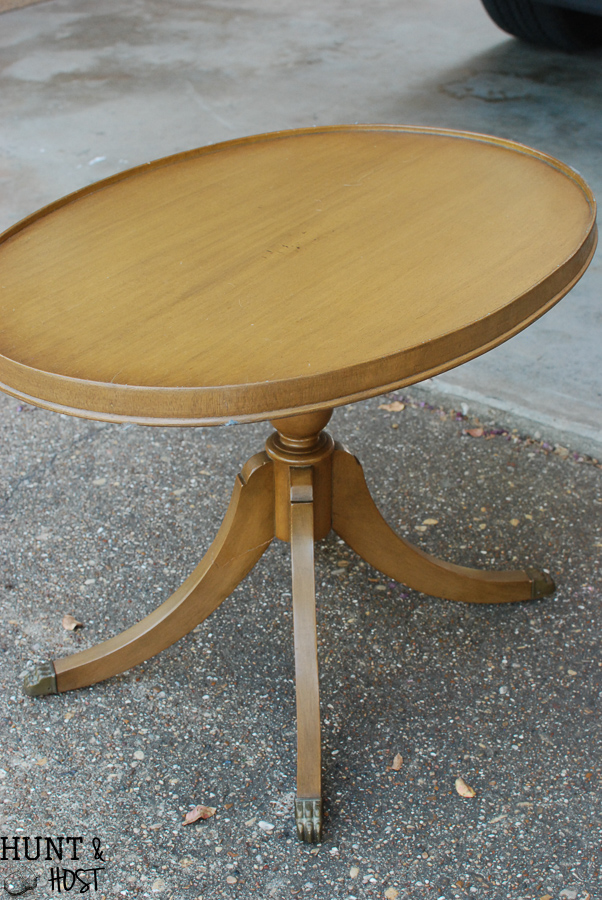
Our theme this month was layers and I am calling this table the lazy layers table. I bought it at a church garage sale (which are often awesome in case you were wondering) and I paid more than I should have but I have a thing for tables with claw feet. It’s an odd height but I felt it would work good in our bedroom sitting area.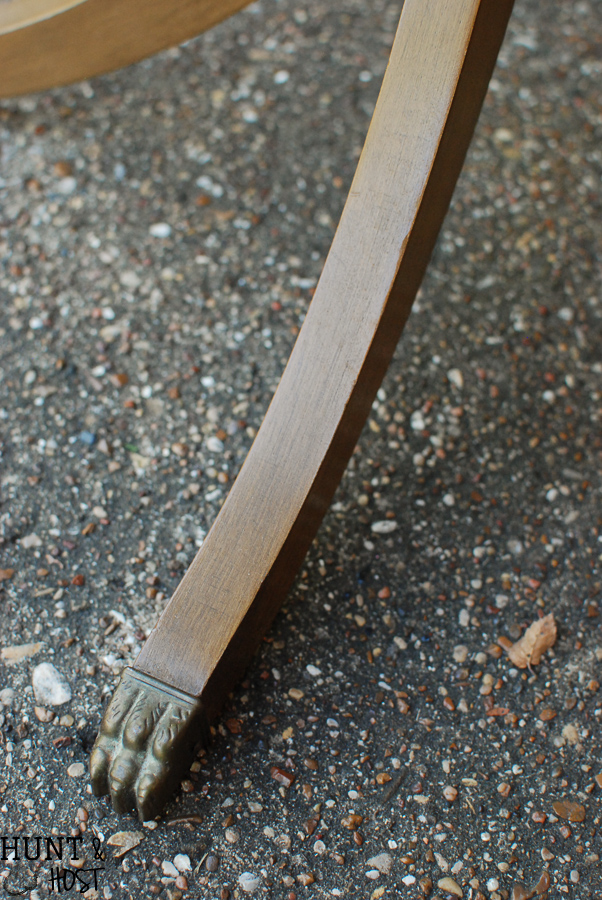
The orangey finish obviously had to go and I wanted it to have a worn, well loved, painted a few times look. So I went with lazy layers. No way was I painting the whole thing multiple times, so I cheated.
I brought out an arsenal of paints and finishes. 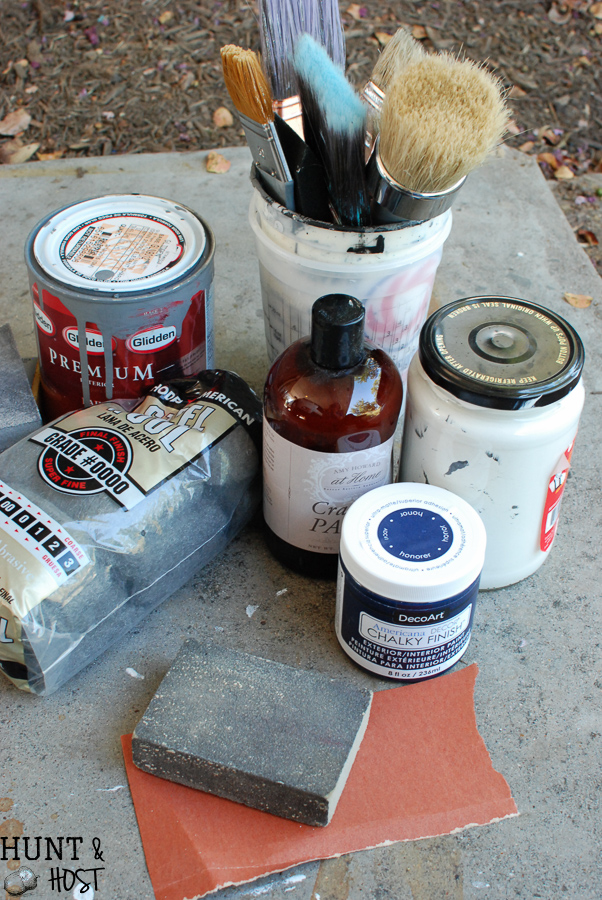
I started by making some homemade chalky paint out of some grey paint I had left over and gave a quick coat over most of the table.
Next I slapped on some navy in a few areas I knew I would distress. 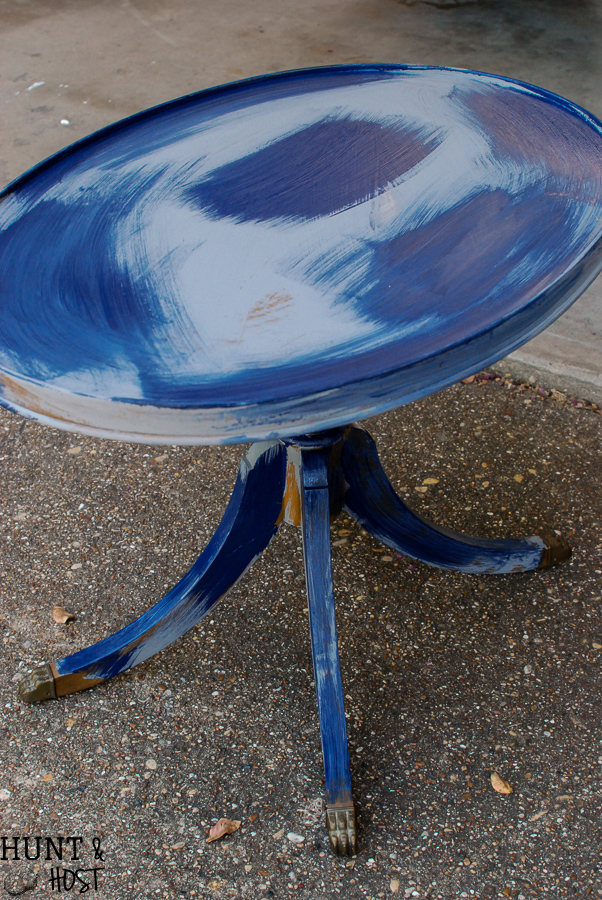
Then I threw in a couple of white patches. 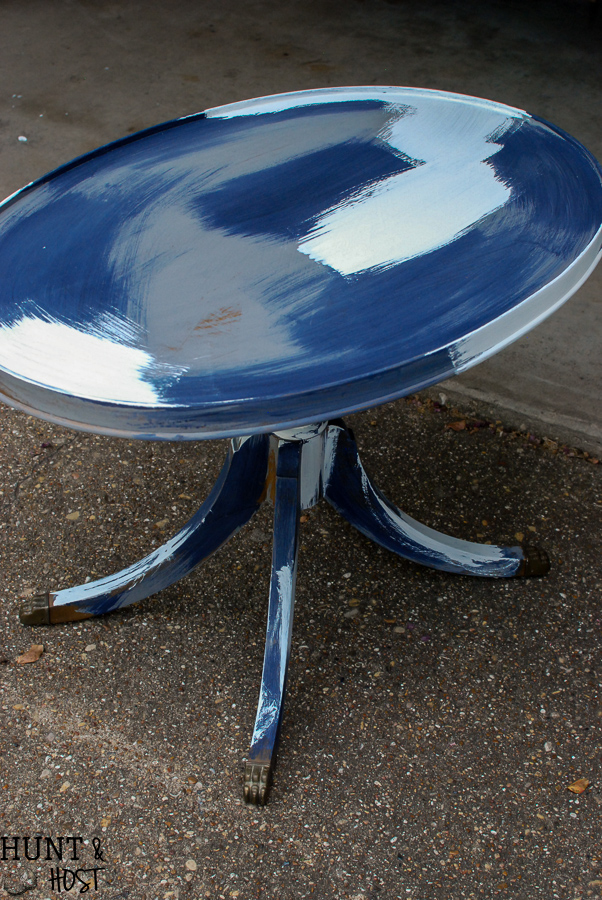
Next I put a layer of cracked patina on and let it dry.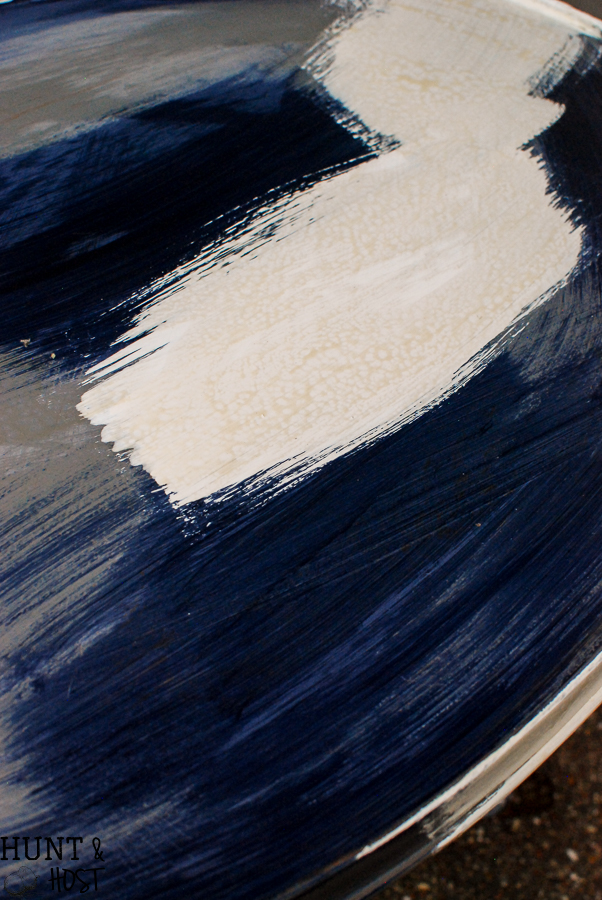
I followed up by painting a layer of grey over the top and let the patina agent do it’s thing. Then I distressed it. 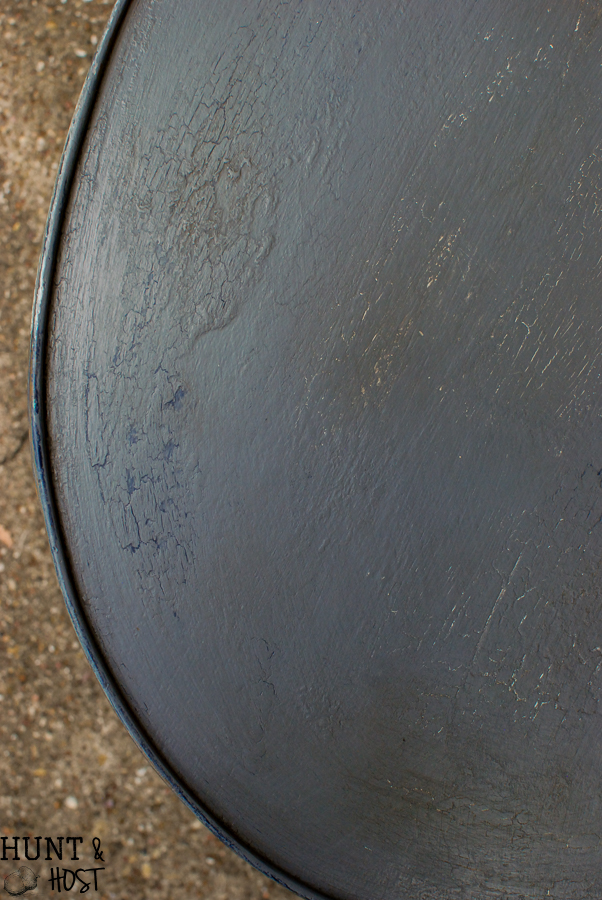
I followed up with a clear wax all over and then dark wax for depth and richness. 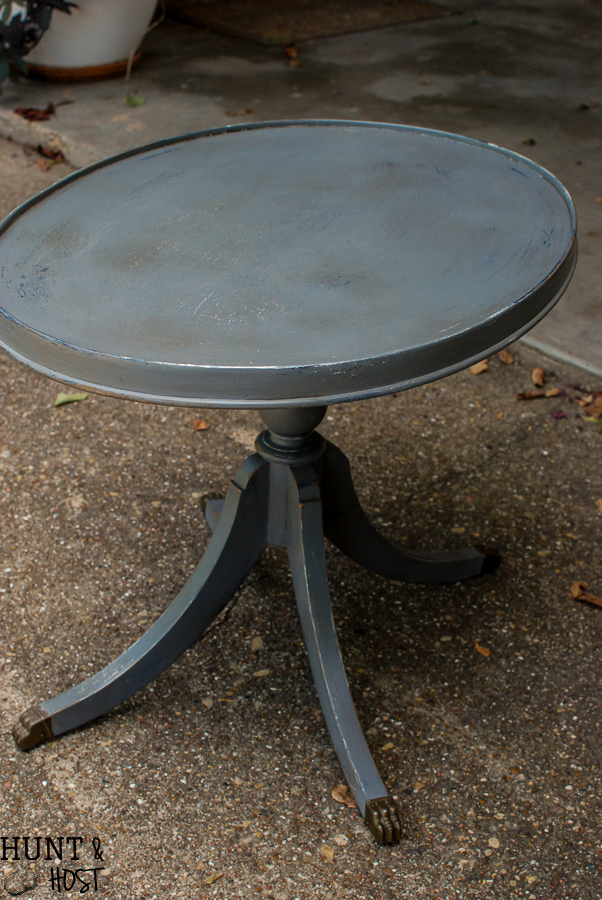
This sounds like a lot of work, but it went so quickly. The drying time was longer than any step I did and it took a remarkably small amount of paint to complete this table. 
I like how the navy and white peek through in various places and the aged crackle on top makes the table feel it’s been around the block. Sorry I don’t have any beautifully staged photos to show you how it looks in my house, but life happened! 
When things don’t go as planned we have to decide to give up or go on and hopefully this will be a little nudge to encourage you to go on! Plus an easy way to add age to your next furniture project! Now please head over and visit some of my friends, they work so hard to bring us amazing projects! Have a great day and thank you again for the love you have shown this past week!


Well – I just love this to the moon and back. The colors – the technique – the final look. Simply perfection. Susie from Chelsea Perfection
Thank you Susie!
Kim, I’m sorry to hear about your Mom. Hang in there! You are a trooper for pushing forward with a piece for this month. I’ve never tried this technique for layers and you have piqued my curiosity – it looks like fun!
Thanks Marie – I went with quick and easy!!!
Such a gorgeous makeover. This table is a great shape!!! Love all the colors you picked!
Navy isn’t my go to but I thought it was a nice addition, glad you agree
You did a beautiful job! It is layered perfection!
Hugs,
Karin
Many thanks friend!
That looks fantastic just sitting in your driveway, so I can only imagine how beautiful it will be in your room! Yes, sometimes life does happen, but I agree it’s times like this that we are grateful for these groups that push us to keep moving! Glad your Mom is on the mend too! XO
Thank you Christy, Community is so awesome and necessary 🙂
I love learning new techniques and your easy layer one is great! Yes, life happens and we just roll with it the best we can. That’s what makes our jobs so awesome it the flexibility. Beautiful makeover! PInned!
Yes – so flexible! Thank goodness!!
Your piece looks timeworn with all of those pretty layers. I’ll be praying for your mom and for you!
Thank you so much!
Wow, your know-how for the taking! Thanks kim! Also, for sharing about your mom. Glad she’s on the mend and that you could be with her.
Thank you I appreciate it!
PERFECT!
thanks 🙂
Sorry, but I don’t think you really improved on the looks of this table.
So sorry you feel that way, but it’s one of the things I love about renovating…making it your own! You only have to please yourself to put it in your house!
This is actually a technique that I could stand to use more often as I love the layered look and this would save so much time and still give me the look of patina that I really appreciate. I think it looks amazing!!!
Glad your mom is on the mend. I just came back from visiting mine in Canada. ;o)
I don’t care much for the grey myself. If more blue and white showed I think it would be prettier
You are a pro! Fantastic makeover 🙂
coming from a real pro, I appreciate that!
I love the effects you used to create a new look for this cute table. Great Job!
Happy Creating,
Karen Marie
Thanks, hope the easy short cut helps you too!