I recently moved, and with that came a smaller bathroom. No biggie, but I did need to find a creative storage solution in my budget, and that would match my style. The Ikea Tarva dresser was the obvious choice since it’s got plenty of storage AND it serves as a wonderful base for a little makeover. You can easily bend it to your style with stain, paint, new pulls, or a combination of these things. You’re about to see just how easy this Ikea Tarva dresser makeover really is! I’m gonna tell you what I used and what I did WRONG! I want to thank Rust-Oleum for sponsoring this dresser makeover.
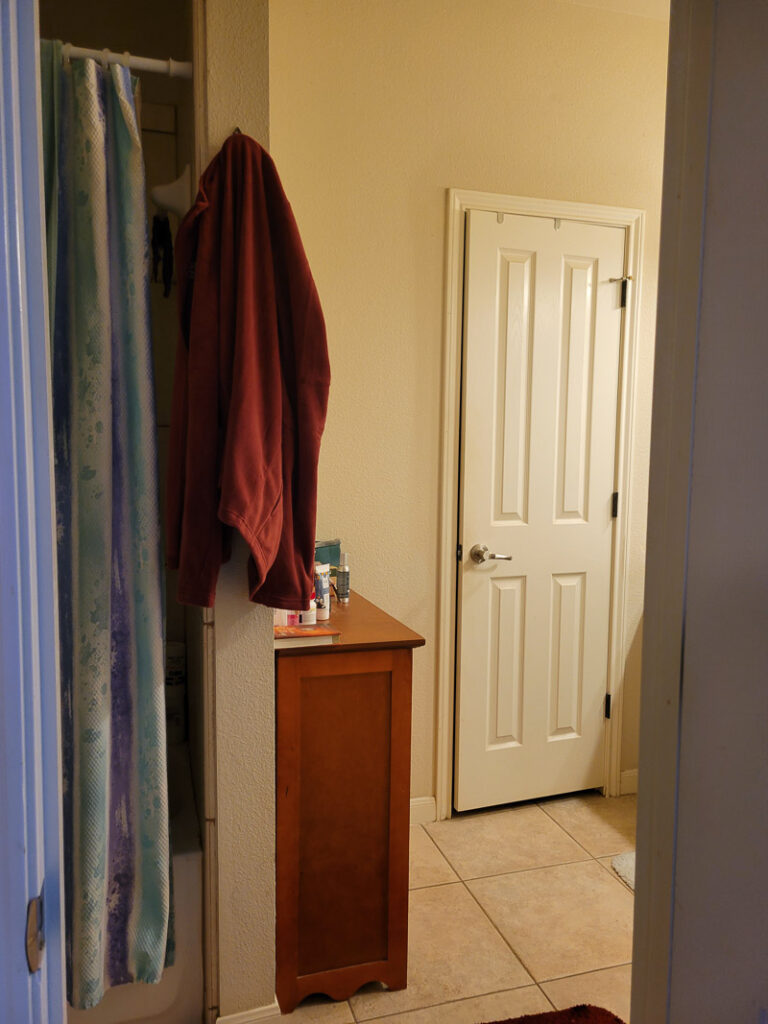
You can see the little dresser my hubby had in this sad little bathroom. He actually sold it after I took this picture, so we were left with nothing!!! I had to act fast!
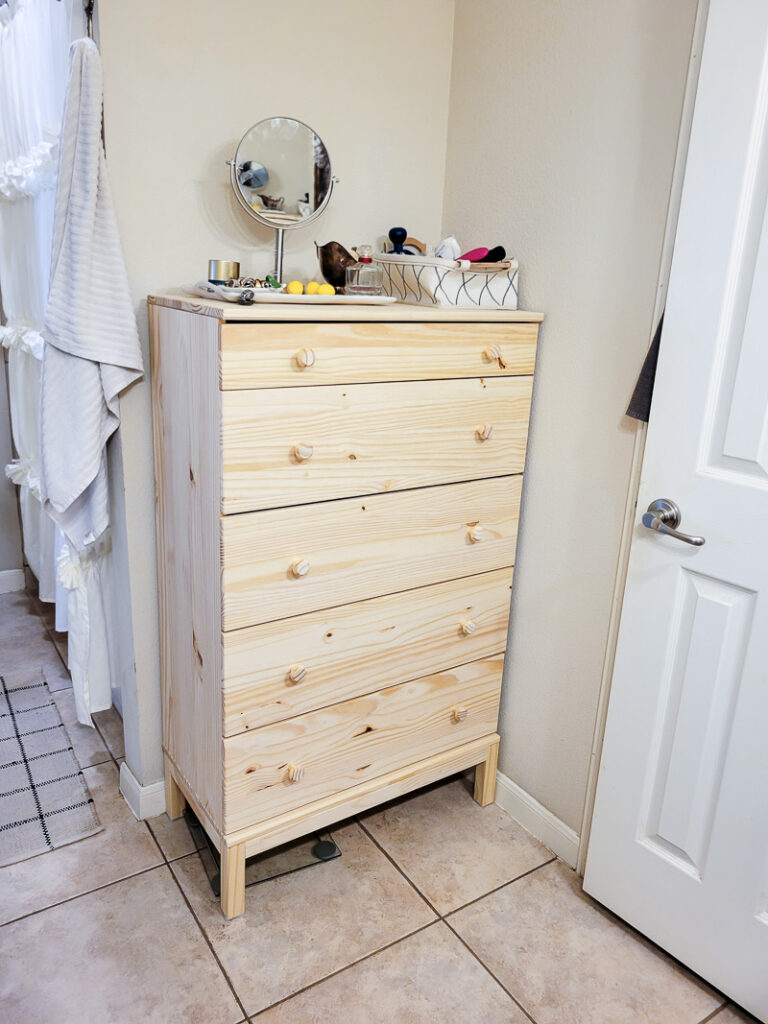
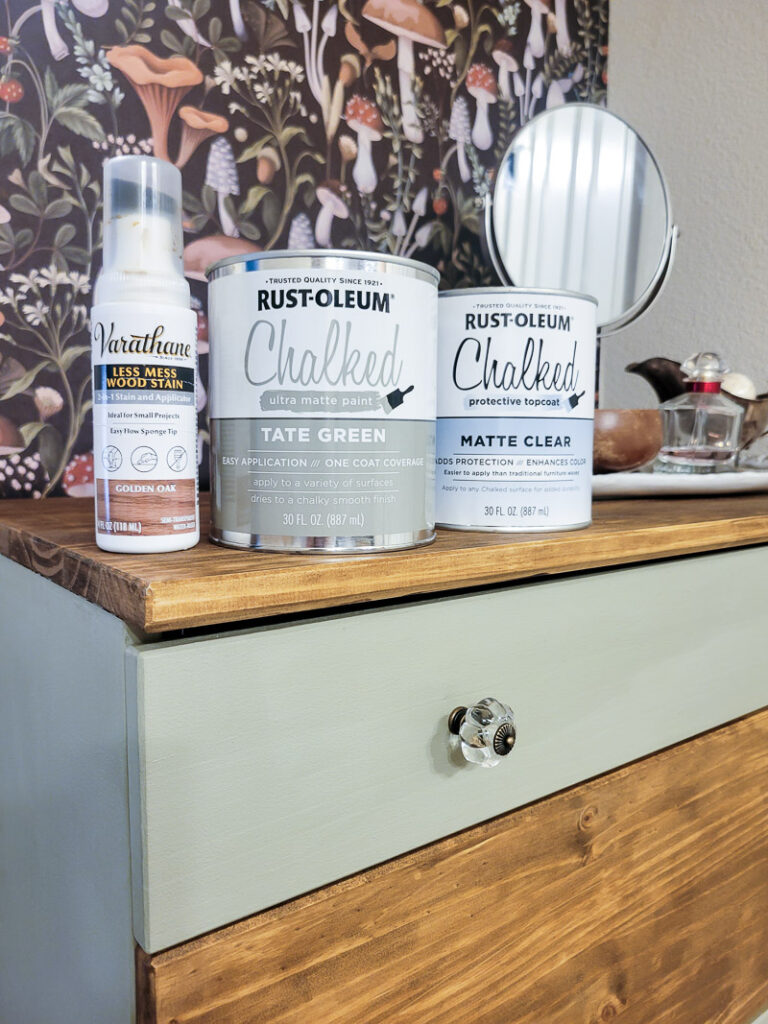
what i used
- Ikea Tarva dresser
- Rust-Oleum Chalked Ultra-Matte Paint in the color Tate Green
- Rust-Oleum Matte Clear Protective Topcoat
- Varathane Less Mess Wood Stain in Golden Oak
- New drawer knobs
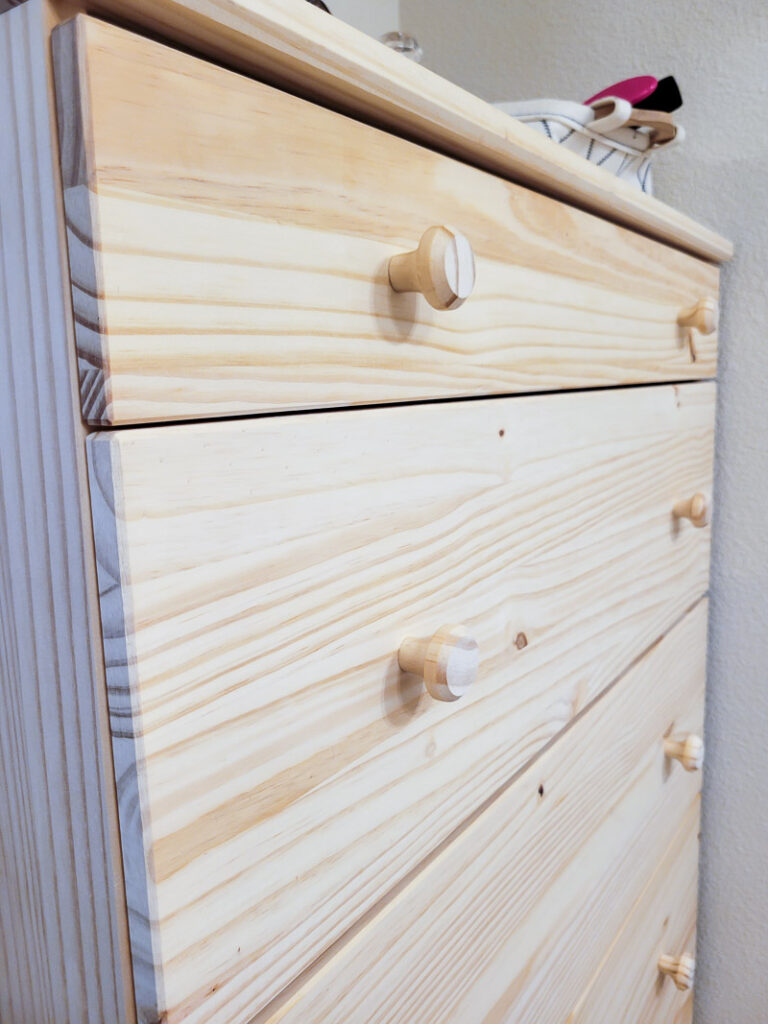
my ikea tarva dresser makeover
I decided to go with a mix of stain and paint for a more modern, fun feel. To do this, I first used the Varathane Less Mess Wood Stain in Golden Oak and ran it over the top of the dresser, the dresser knobs, as well as one drawer near the top.
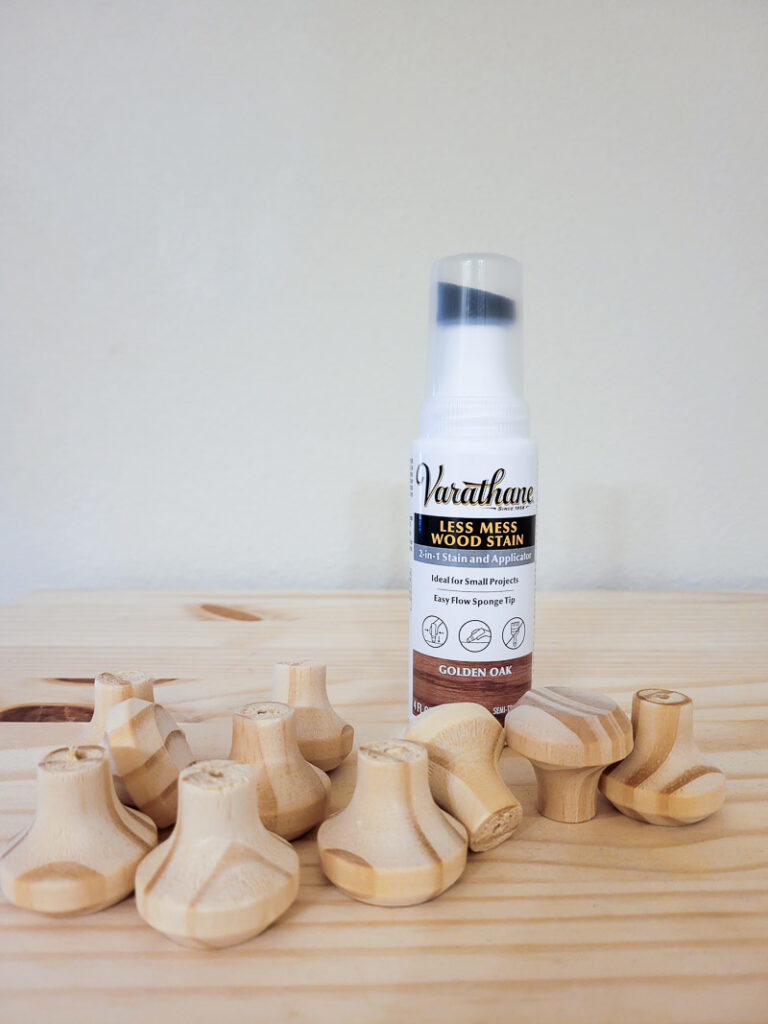
This stuff is SO easy to use, it’s literally a stain stick and it makes the process so much easier. It works best for smaller projects and crafts, just so ya know!
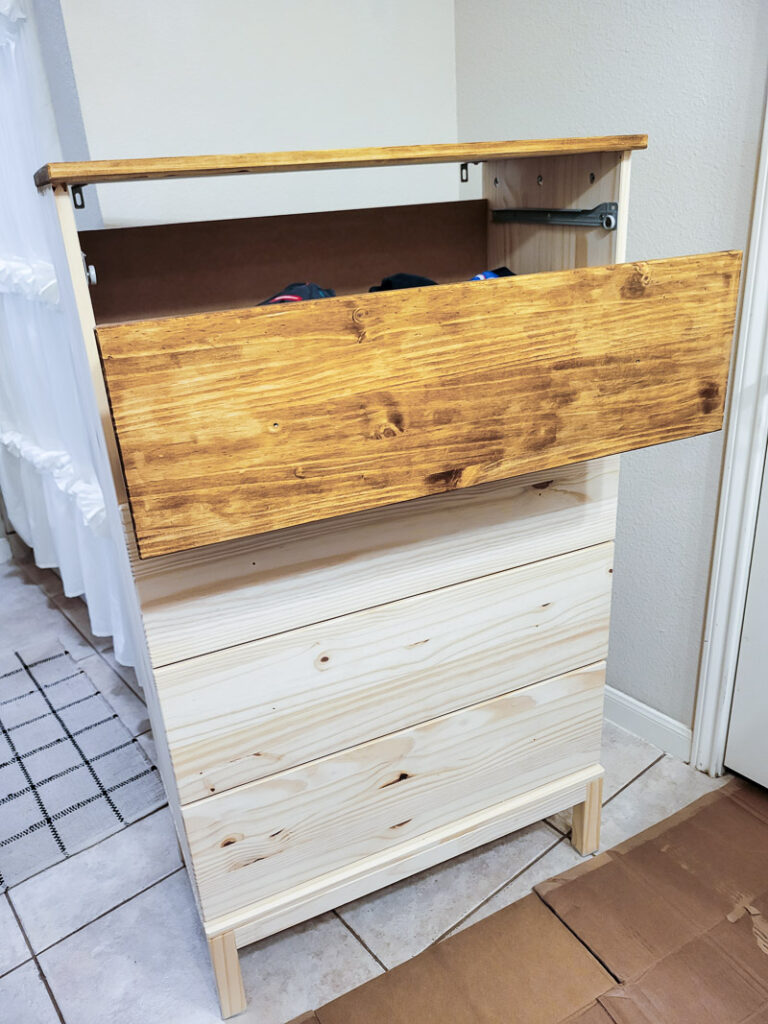
After doing that, I used Rust-Oleum’s Chalked Ultra-Matte Paint in the colorTtate Green and covered the rest of the dresser. This Ikea Tarva dresser is really easy to paint because there aren’t many details or cracks in the pine, so it’s simple to cover. I used a roller brush since it is such a flat surface, and it made for a really quick and easy paint job!
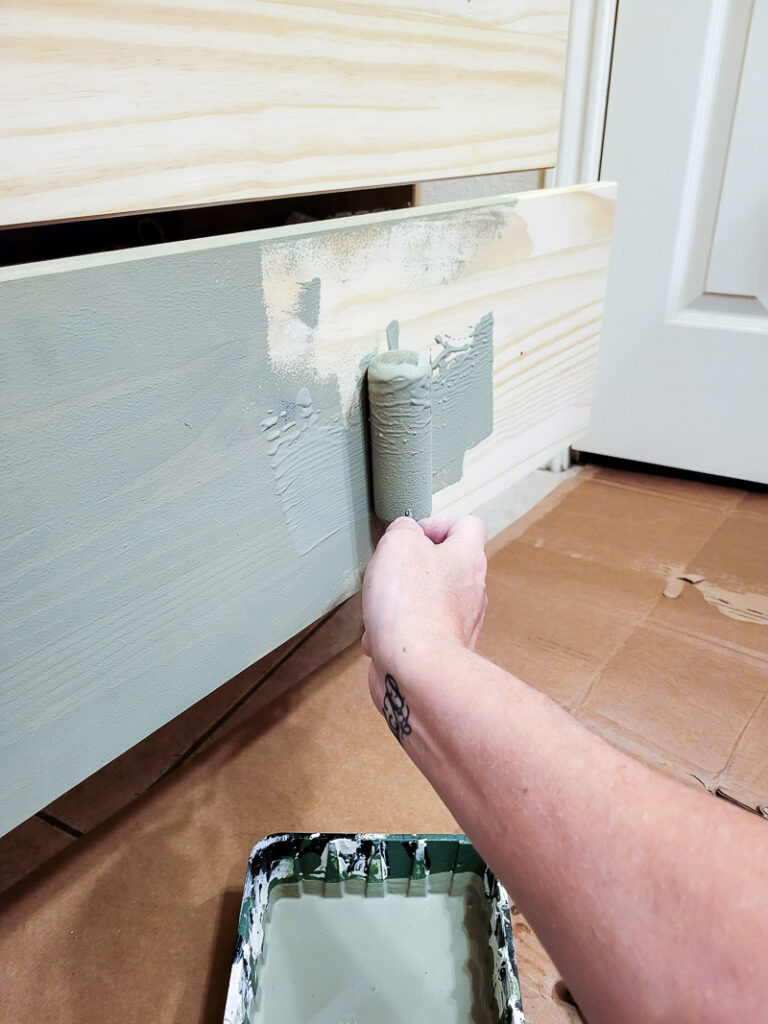
This dresser was so simple to update, we had been using it a while before I got to the makeover part and I didn’t even have to move it out of the bathroom to paint it! That was an extra big win. Just an FYI – this paint gets lighter as it dries, you can see in this picture the color difference between wet and dry paint, just letting you know so you are aware! It dries so beautifully.
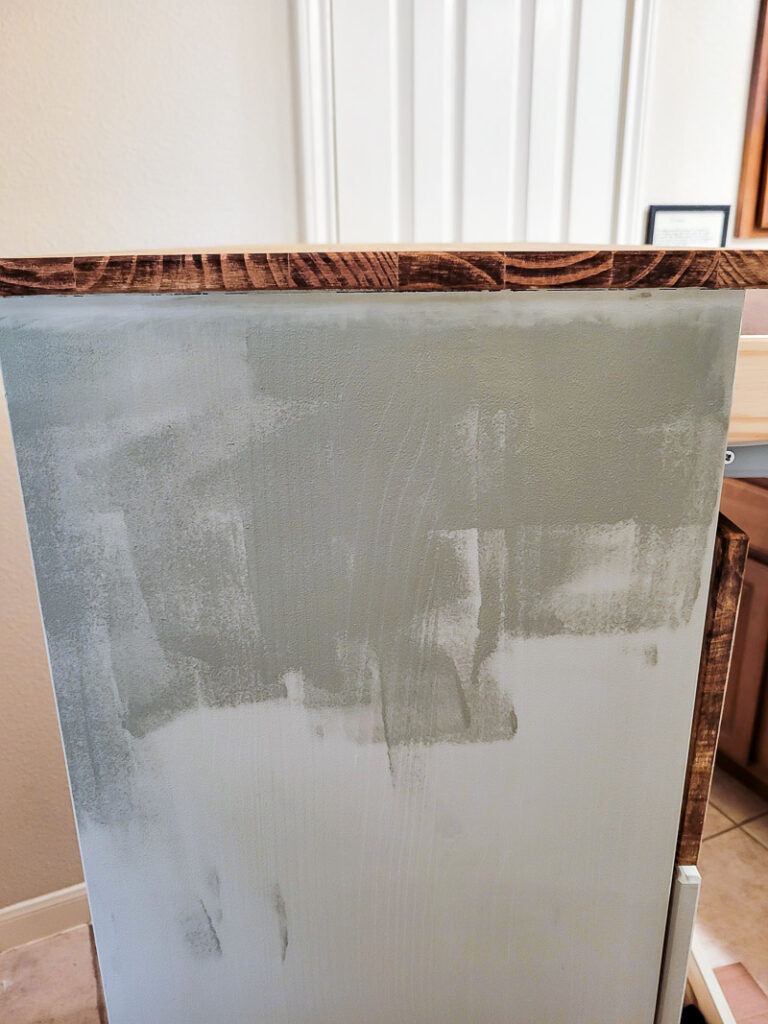
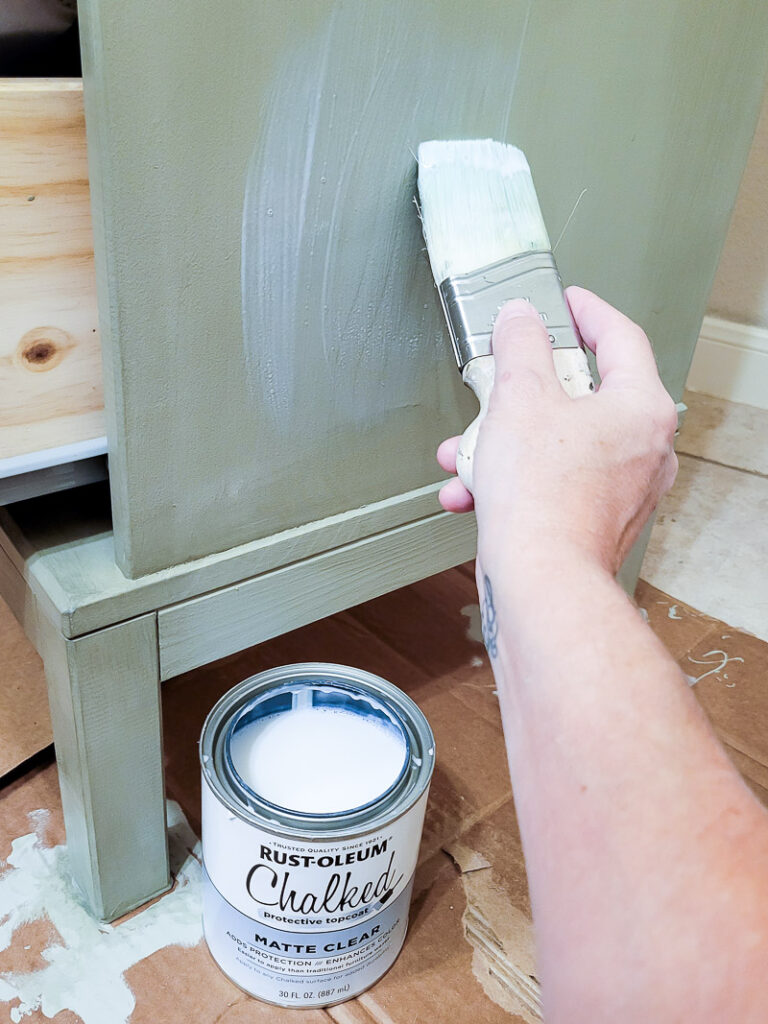
I made sure to run a coat of Rust-Oleum’s Chalked protective topcoat over it just to make sure it’s protected for years to come! It can also help enhance the color of the paint, too! While it’s not the most “fun” step, it’s certainly one you shouldn’t skip over if you want your makeover to last! Especially if you are using it in a high traffic area or bathroom. You can roll or paint this on.
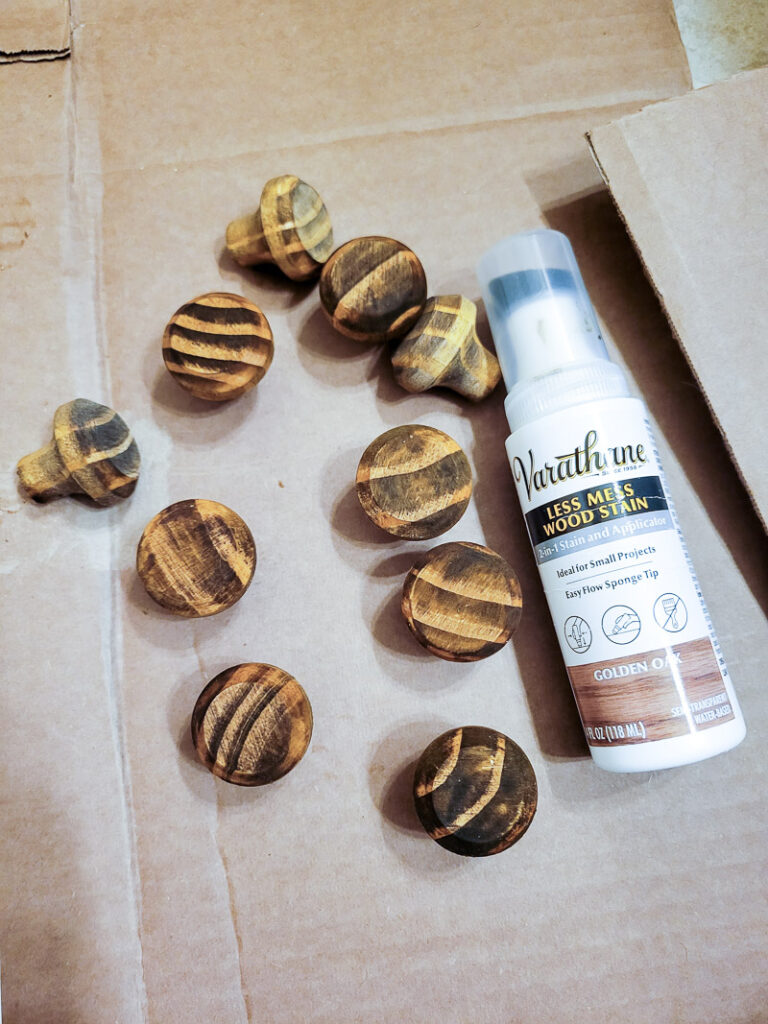
I was pretty excited about using those freshly stained knobs, not gonna lie, but I can pivot. I pride myself on the ability to pivot in unexpected situations. So, I just hopped on Amazon and found some new knobs to match my vintage-style. Once the knobs were on, I pretty much had myself a brand new dresser, in EXACTLY my style. I did design it after all!
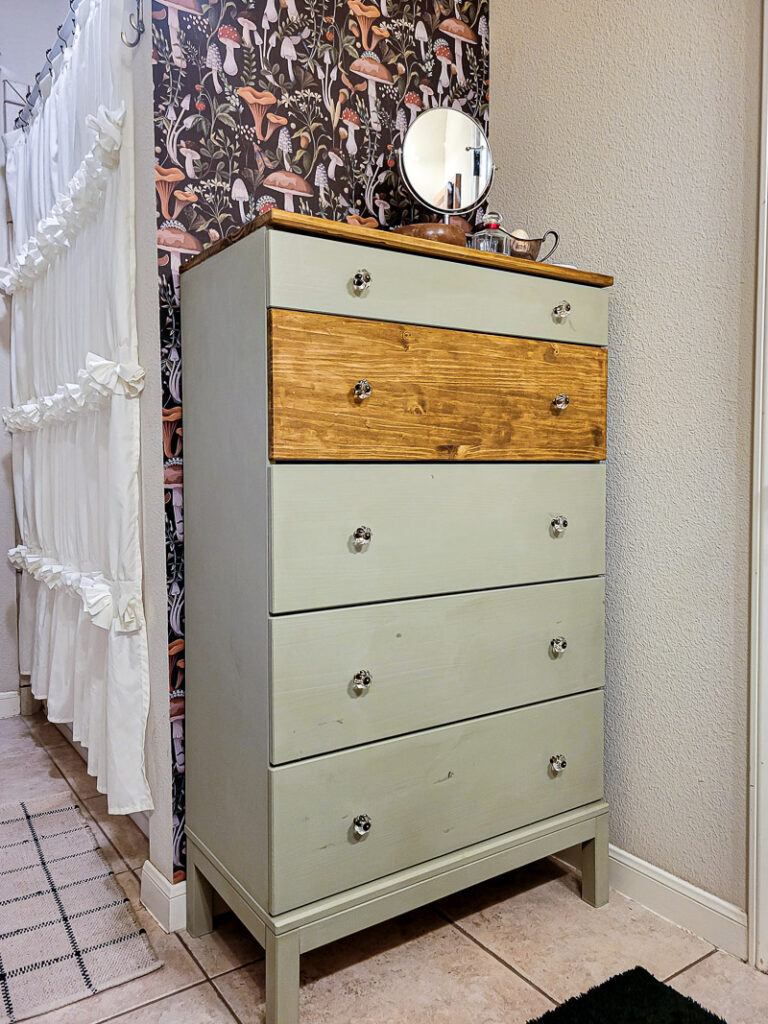
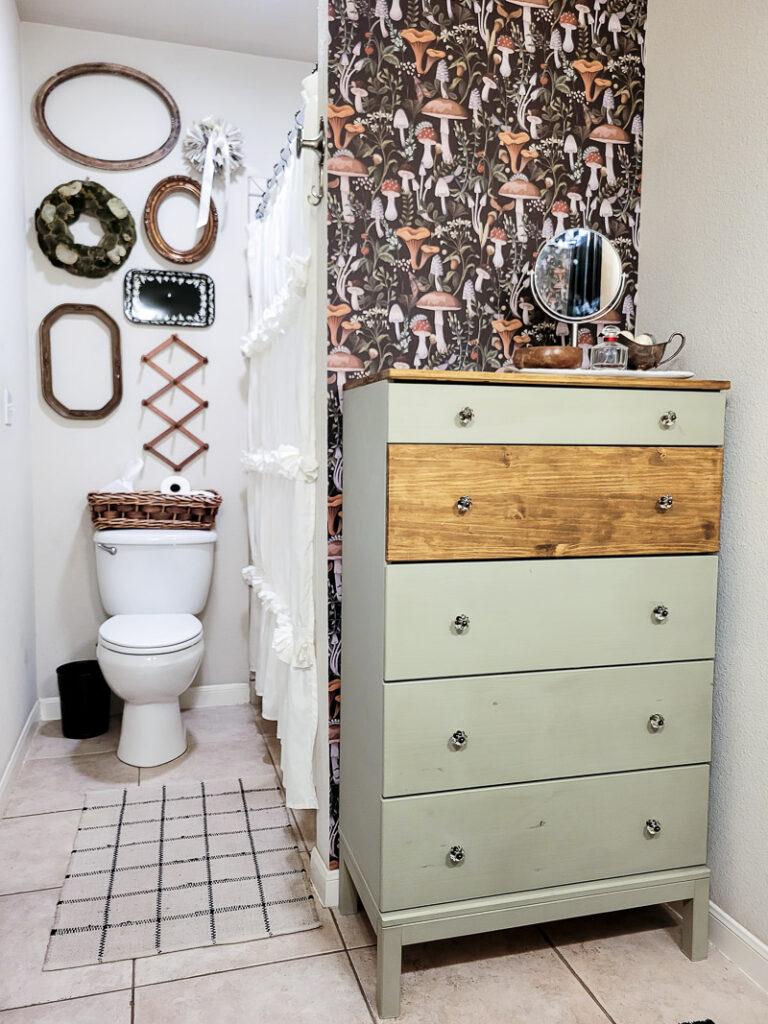
A successful makeover really is just like a successful cupcake- you’ve got to have all the right ingredients to make it happen. Lucky for you, I’ve got them all listed up above like a little cheat sheet, so you can’t go wrong! Here it is – finished in all it’s glory. You can see the rest of my budget bathroom makeover HERE! There are lots of easy updates waiting for you to try.
Happy Makeover!


Leave a Reply