As a family of 4, we go through soda cans like nobody’s business. And of course, you can always recycle old soda cans or throw them away (no judgement here, that’s your business), but even better if you can upcycle them for use in own life… and what better way than tags and labels!? Whether it be for decoration or organization, you can’t go wrong! I recently made some DIY cardboard labels if that’s more your jam, but today we’re talking about how to create your own tin tags… from old soda cans! It’s easy peasy, super budget-friendly, and oh so cute! I personally can’t pick a favorite between this one and the cardboard labels– but I think there’s a time and place for both, so no need to choose, right?

what you need to make tin tags
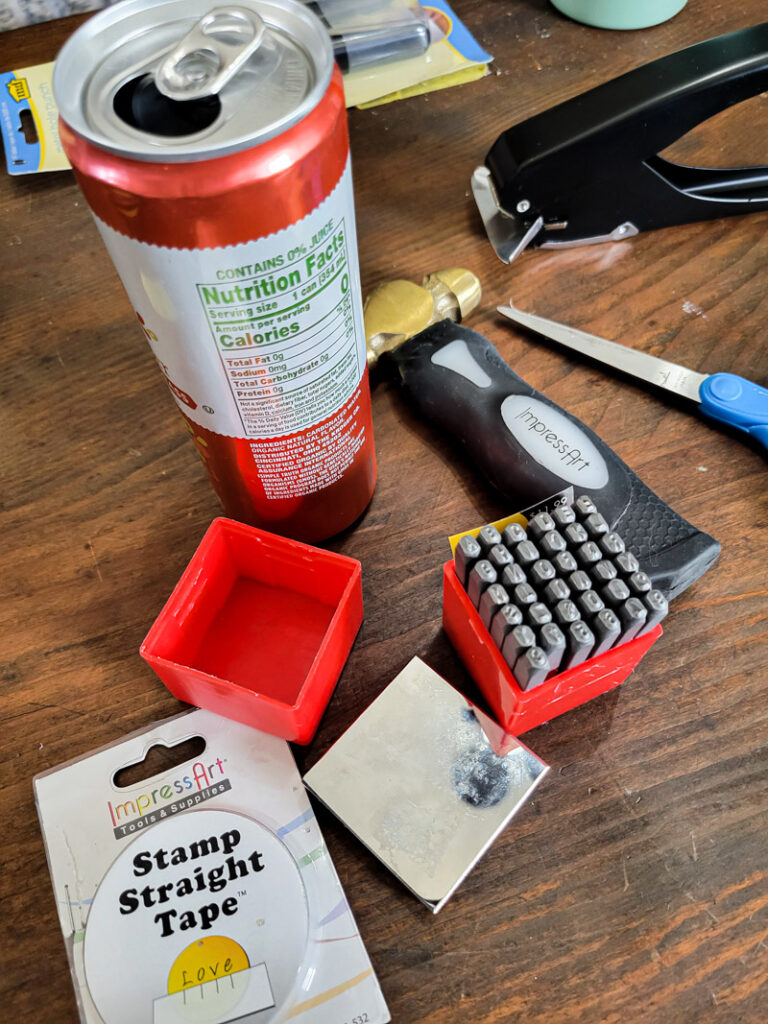
- Soda can (in case that wasn’t obvious)
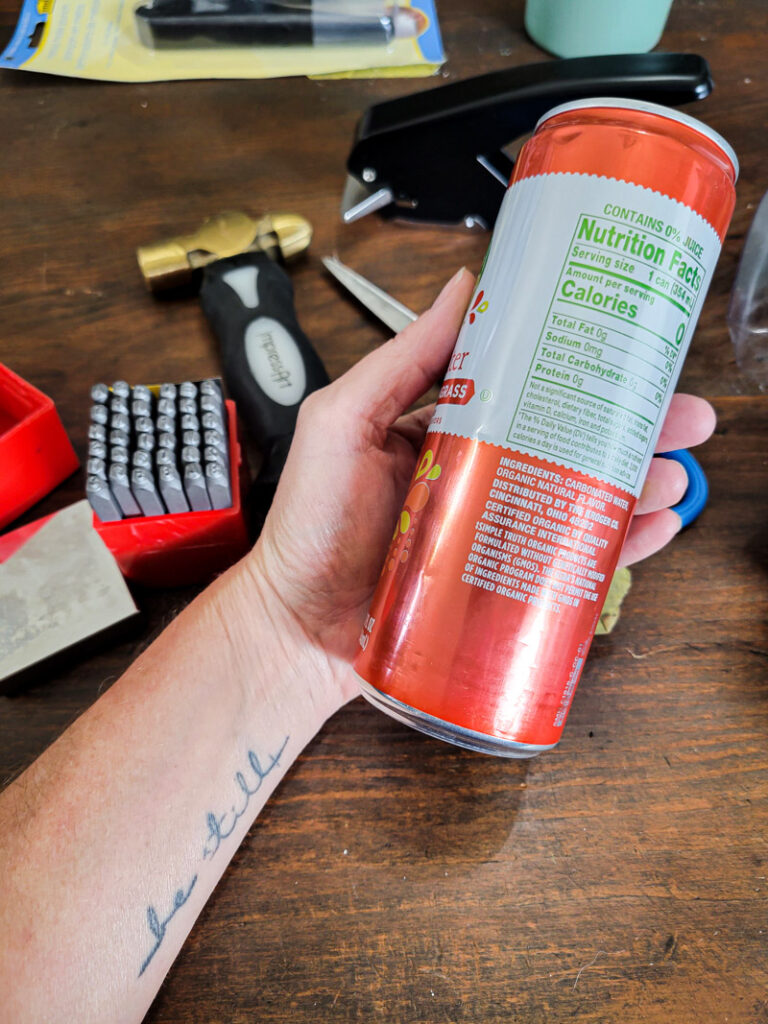
- Scissors or tin snips (I would go with tin snips if you plan to cut more tin or things like chicken wire in the future, it’ll be worth the investment)
- Metal Stamping Kit
- Tin Snip Gloves
- Acrylic craft paint (I used worn penny by dazzling metallics and burnt umber from folkart)
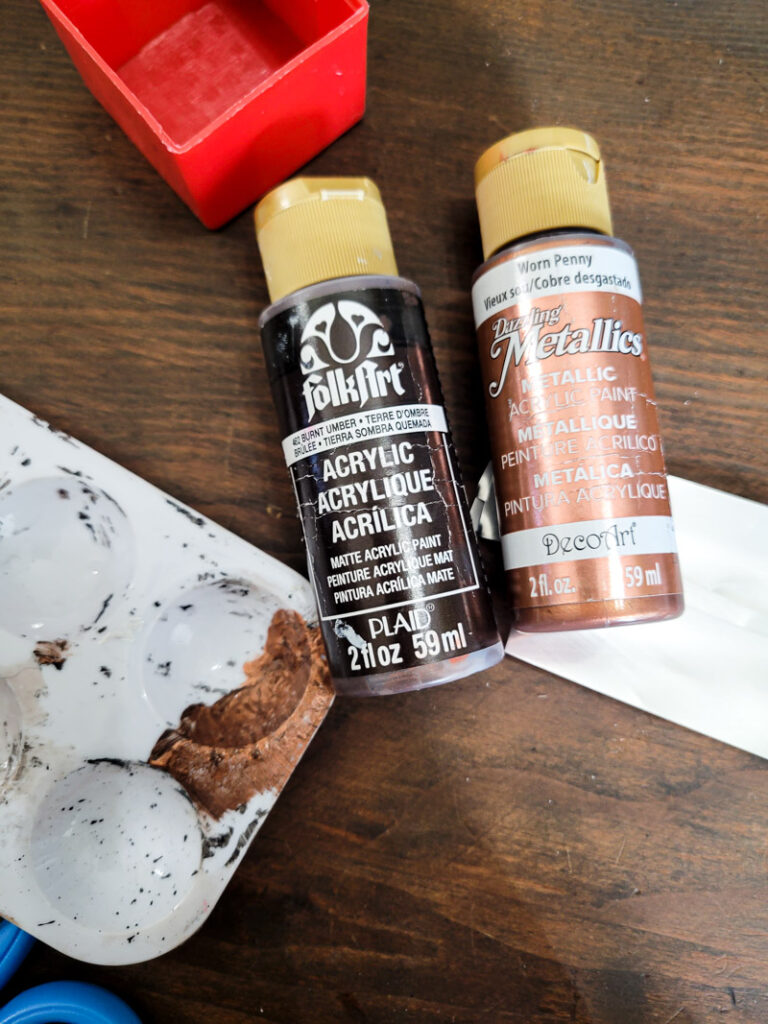
- Sponge brush
- Crop-a-dile (eyelet punch)
- Guillotine Paper Cutter (optional since you can use scissors instead, this just makes for a more precise cut)
repurposing the soda cans into tin tags
- Using your safety gloves, cut the soda can up. I used scissors to get the top and bottom of the can cut off. Once you have it in “sheet form,” you can trip up the sides and make it a little more neat!
- Now that you’re trimmed up into a neat sheet, you can use a guillotine paper cutter to create tags or labels in the size you’d like.
- Break out your metal stamping kit and impress whatever message you want! If the message ends up being too small for the label size you cut, you can always trim it down. Or even round the edges and change the shape if you want!
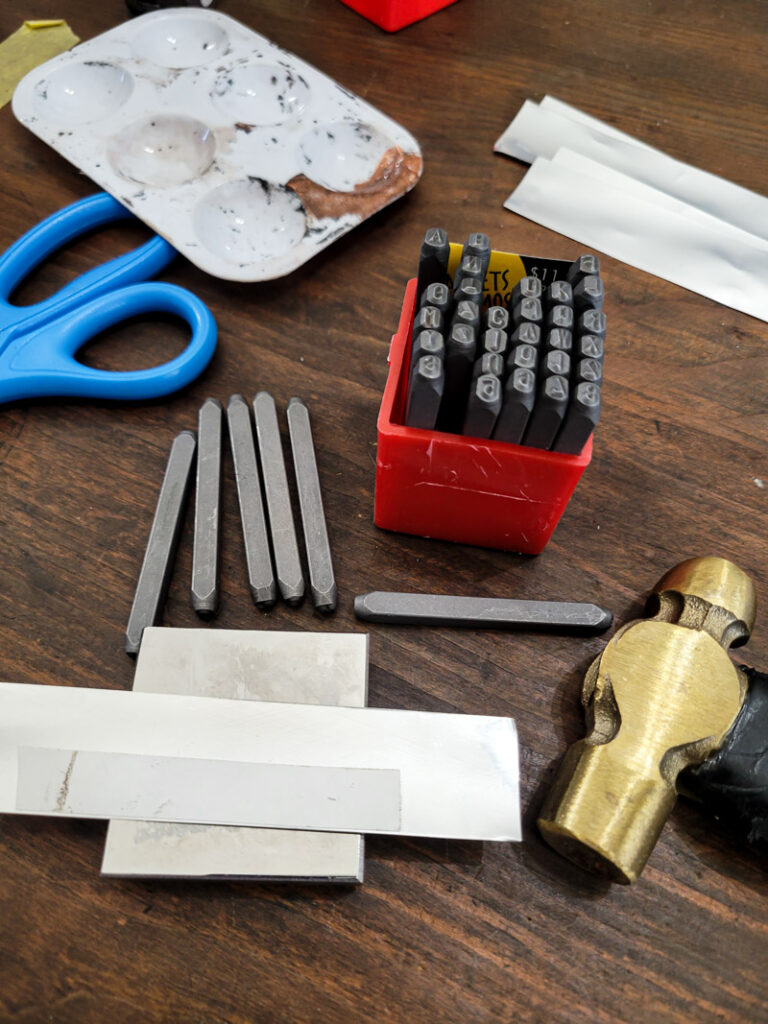
- Then, use the eyelet punch (crop-a-dile) to punch holes in your tin tag on either side.
- Before inserting grommets into the holes, use the sponge brush to apply some craft paint. The goal here is to make the stamp stand out more, and to age the tag. You can easily swipe the sponge brush over the letters and wipe away excess to make those letters pop.
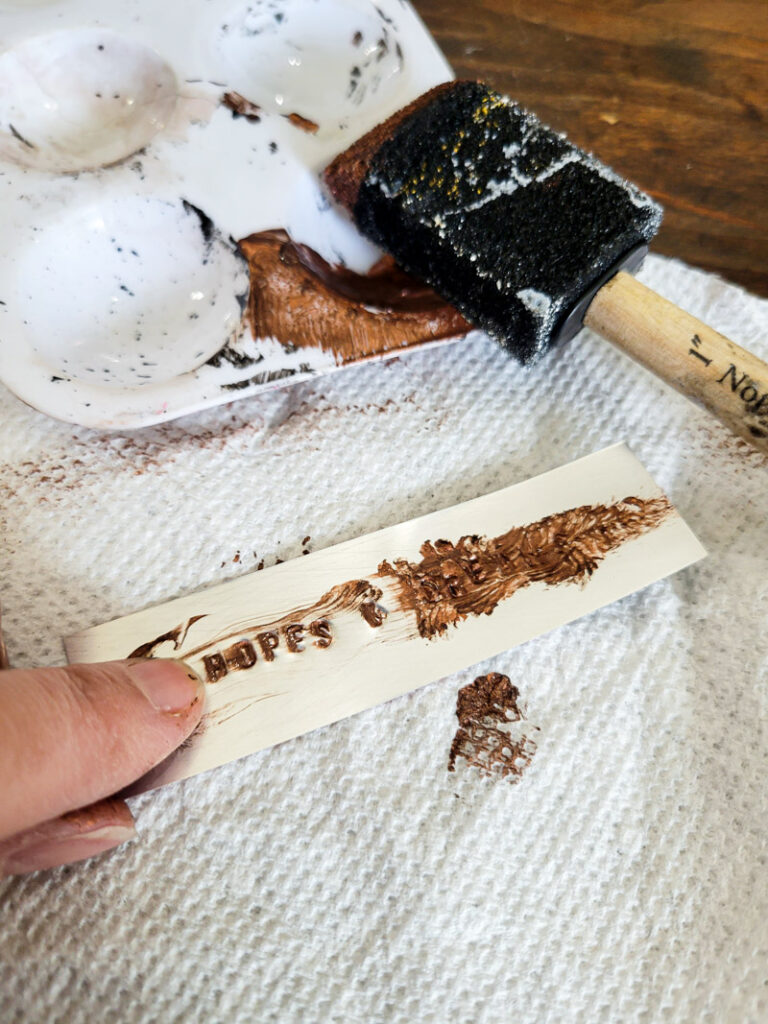
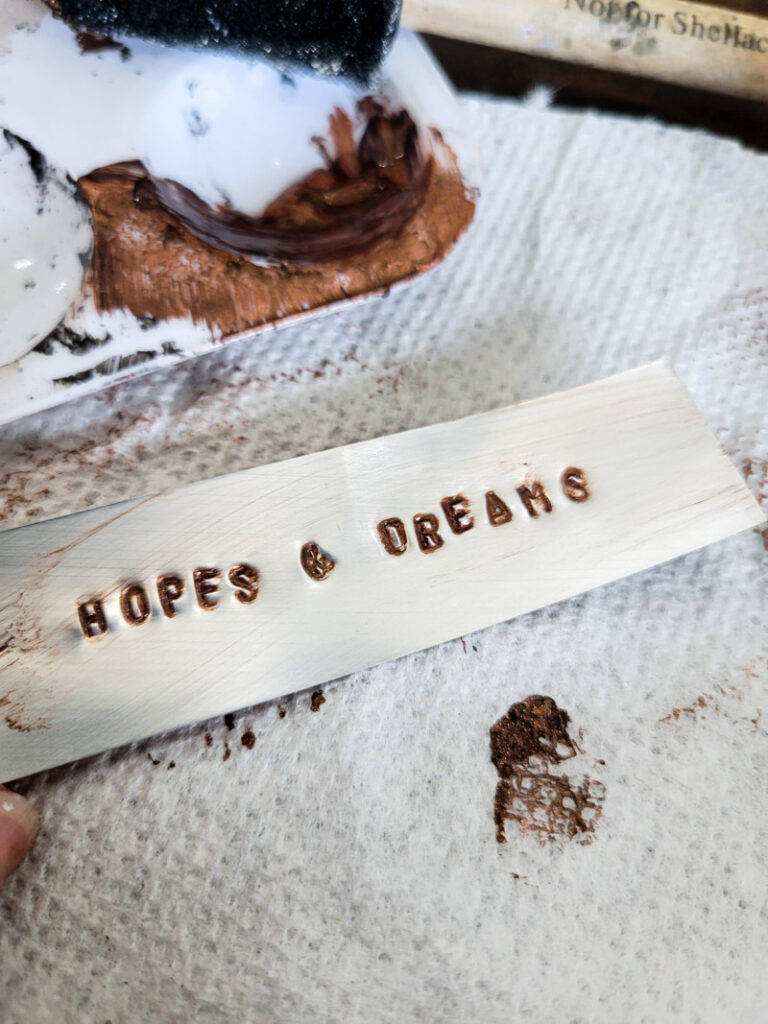
6. Then, run the sponge brush around the edges to give that aged look we’re going for (and while you’re at it, I would paint the back of the tag, unless you want the soda can design to remain)!
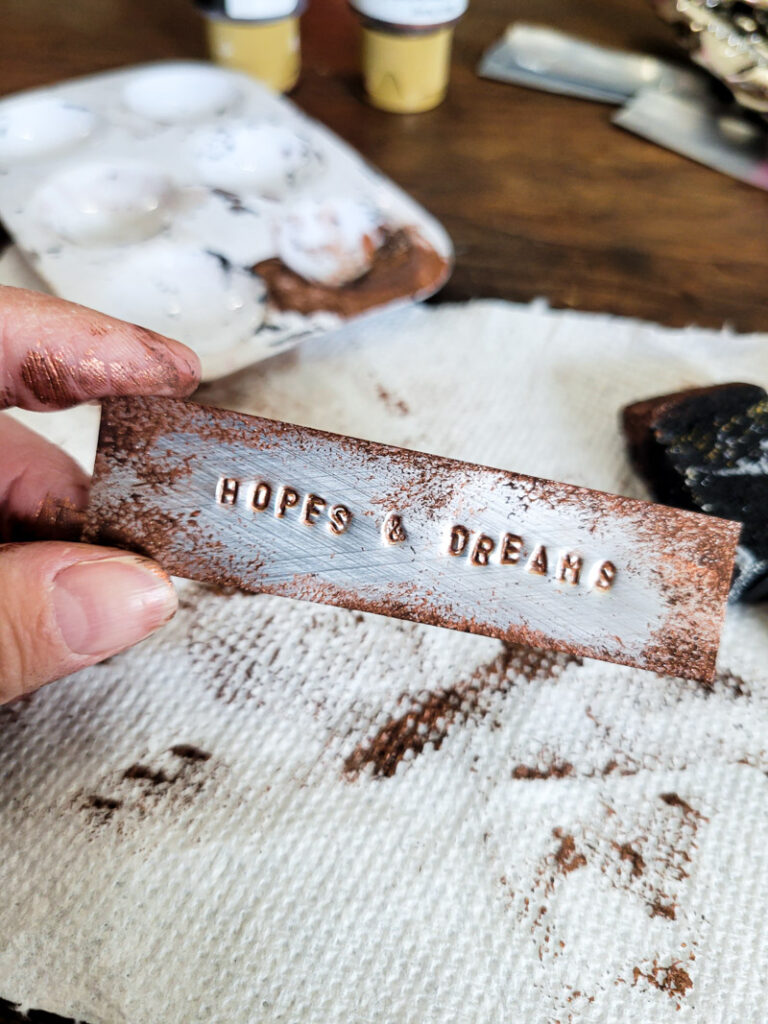
7. Grab the crop-a-dile again and insert grommets into previously punched holes.
8. Depending on how and where you plan to use this, you can string jute or twine through the holes to secure and hang it. You could also use double sided tape or adhesive putty to secure the tag to its new home.
the new life of an old soda can
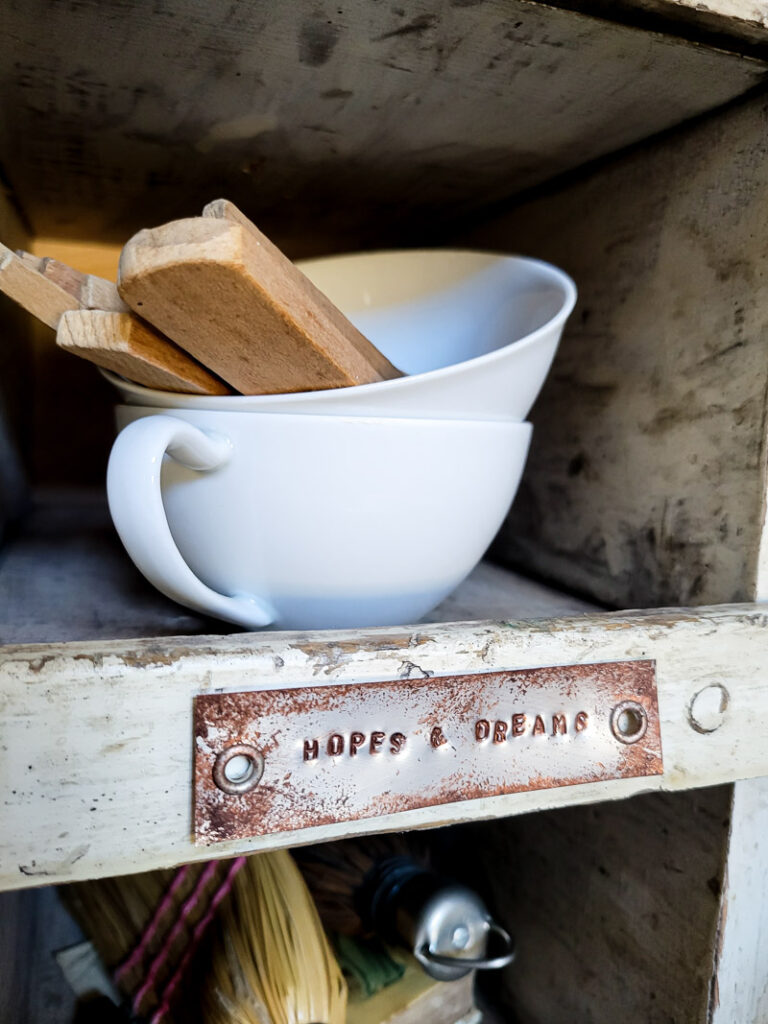
It really is THAT easy! Now you have beautiful tin tags that didn’t cost an arm and a leg and no more old soda cans just laying around begging for a bigger purpose.

And so many ways to make these your own! Whether it be for decorating, labeling, organizing, you can’t go wrong!
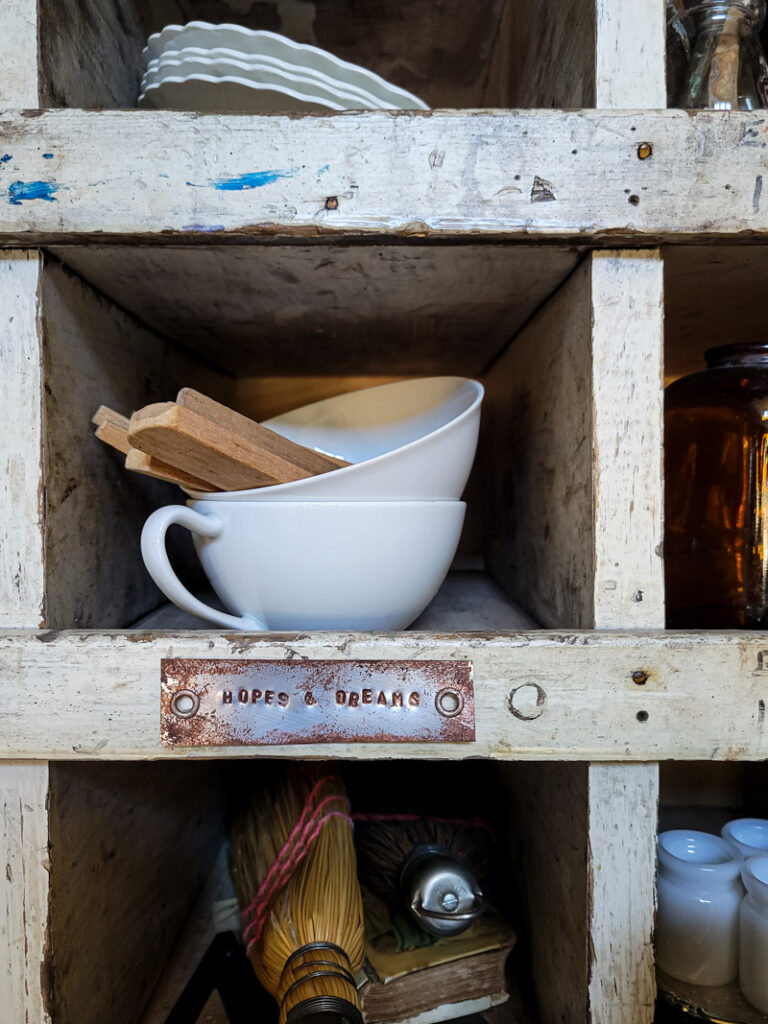
I hope you love these babies as much as I do, and don’t forget to check out my cardboard labels HERE … they’re pretty great, too!


Thank you for the soda can label tutorial. I love the idea, but I’m concerned about the sharp edges. Is there a way to keep the edges from cutting someone?
I love these!!
These are great! What a useful way to recycle all those soda cans! You’re so creative, Kim!