Have you ever considered how to rust wood, or wondered if it’s even possible to make wood rusty? It is and I’m gonna show you how! I want to thank Modern Masters for sponsoring this project, all ideas and opinions are mine alone.
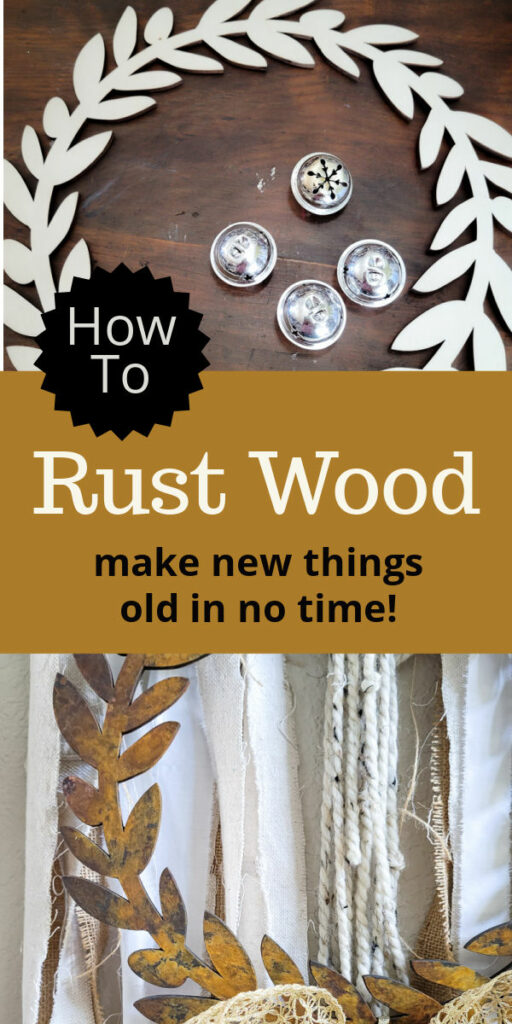
I’m a believer that a little rust makes a piece that much better, gives it a lived-in look, and makes me wonder what it’s been through and where it’s been! But sometimes, you may be looking for something specific and you just can’t find the right piece with the right character– or maybe you find a piece you love but you want it to look a little more loved and worn. Well, trust me friend, I’ve been there and I’ve got you! Modern Masters Metal Effects Rust Oxidizing Finish Kit and I have your back. It’s easier than you think to take a piece from new and fresh to cozy and curated, the best kind– and it’s budget-friendly too!
I found an inexpensive little wooden wreath at Walmart and I loved the idea of it but hated the current look of wood. I mean I love wood, but not for what I had in mind! I knew I could bring it home with me and make it fit my style, easy peasy! I was really wanting to mimic the look of a vintage metal wreath and I believe this Modern Masters Kit helped nail it.
how to rust wood
Click on the links in the directions to get the exact supplies I used in this project!
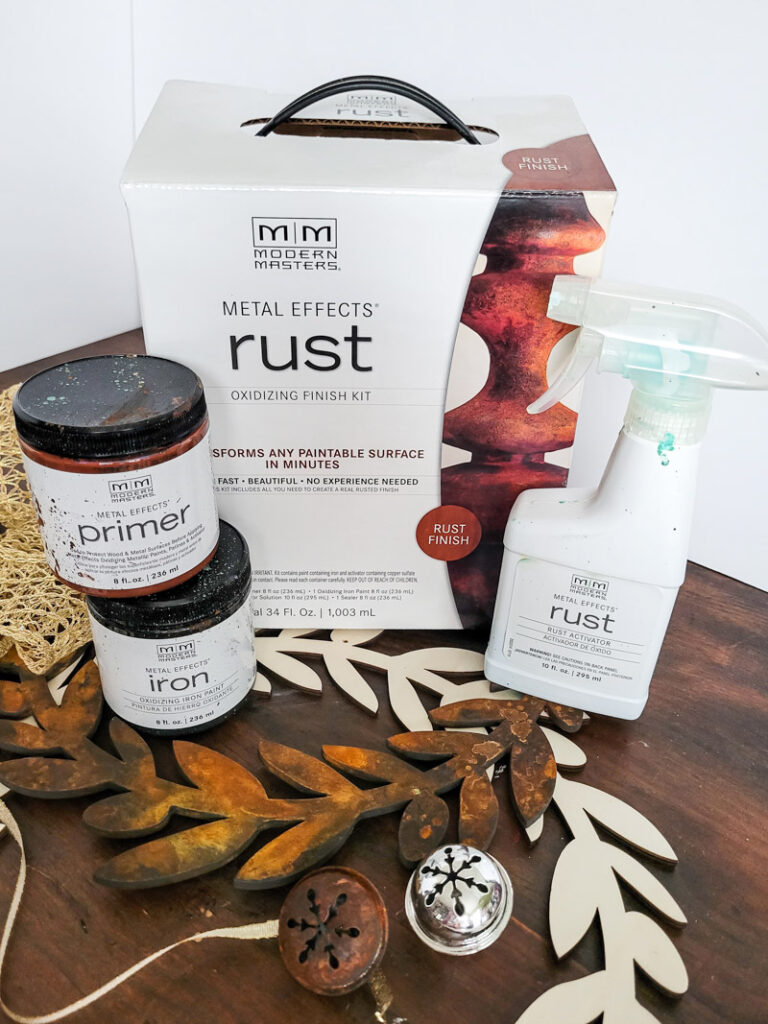
- Grab a Modern Masters Metal Effects Rust Oxidizing Finish Kit (use the store locator to find Modern Masters Paints near you) You can also shop the products here:
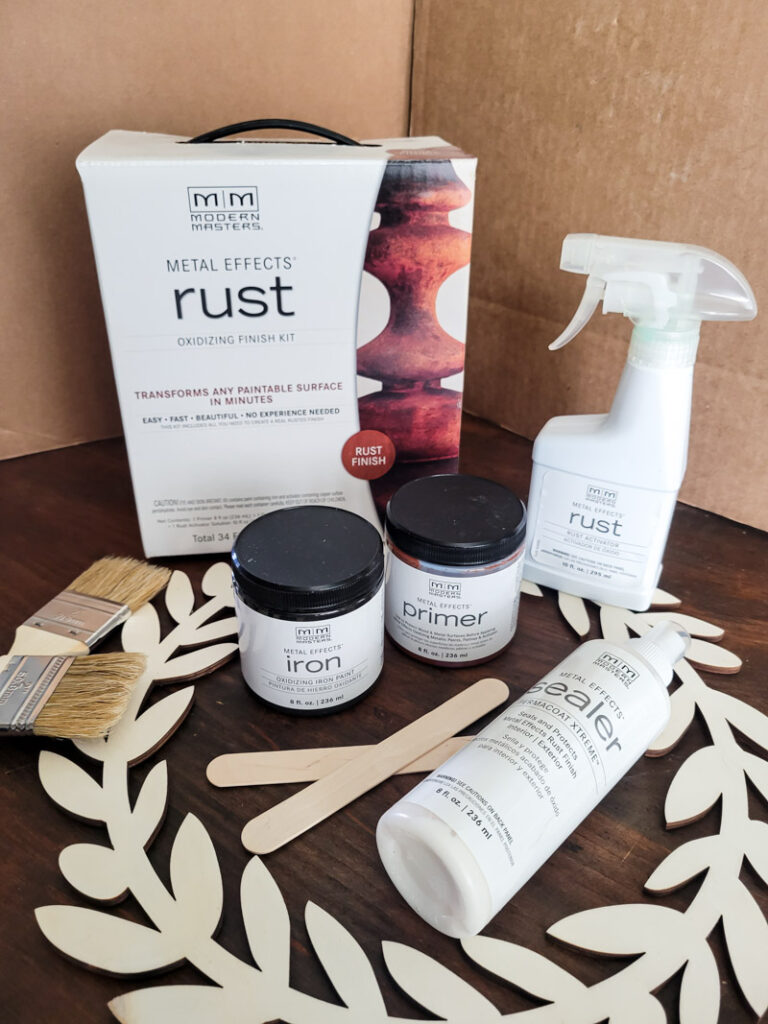
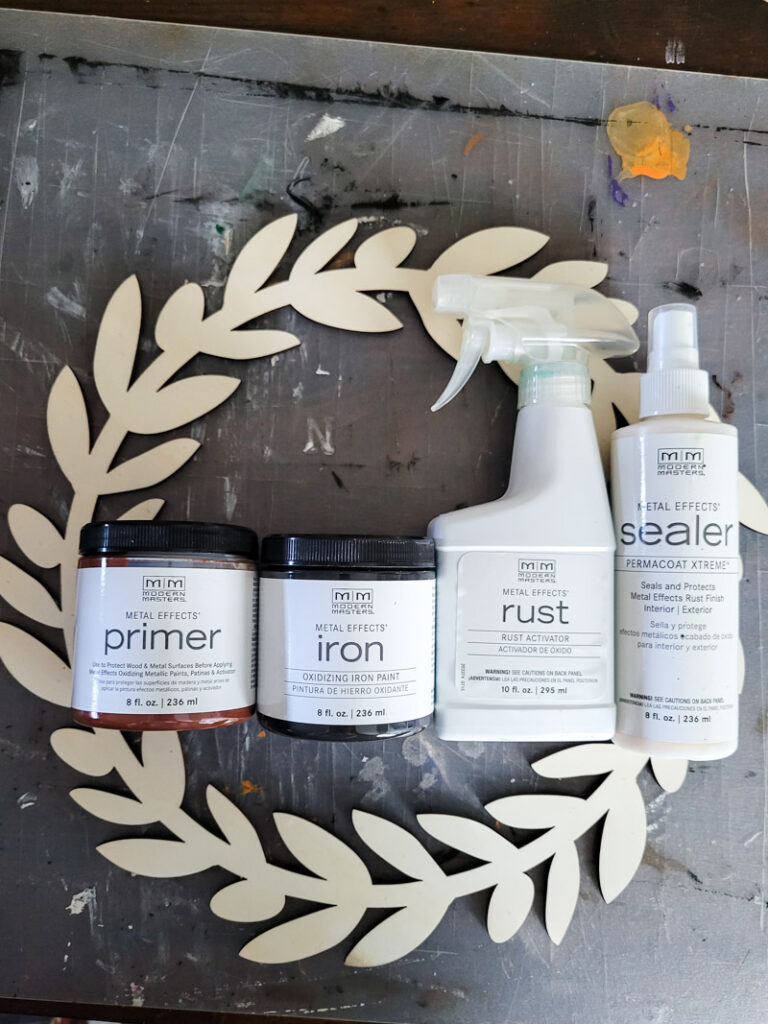
- This picture shows you the steps in order, but I’m gonna walk you through it too!
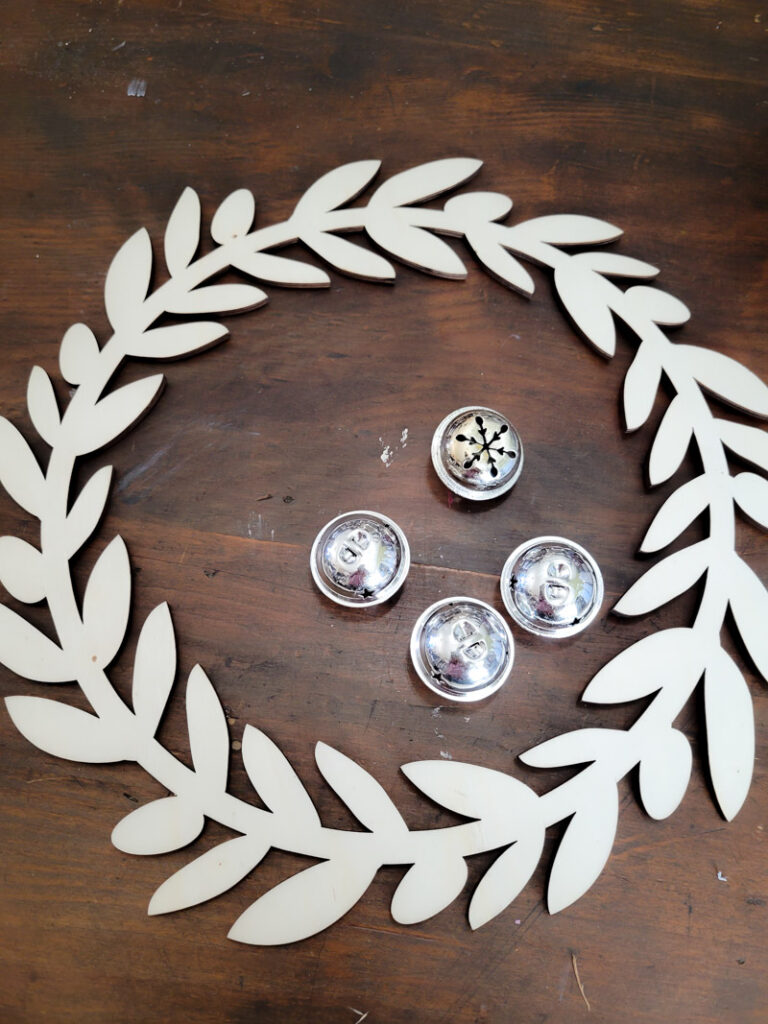
- I used a wooden wreath from Wal-Mart and silver bells from Dollar Tree. Modern Masters Metal Effects Rust Kit works on a ton of different surfaces, basically if you can paint it, you can rust it. Did you even know you could rust wood!?
- Start by coating your piece with the primer paint. Shake the bottle well and use the wood craft stick to thoroughly stir the paint. Apply primer with the chip brush provided in the kit. You will want to do 2 coats of primer, allow the paint to dry completely in between.
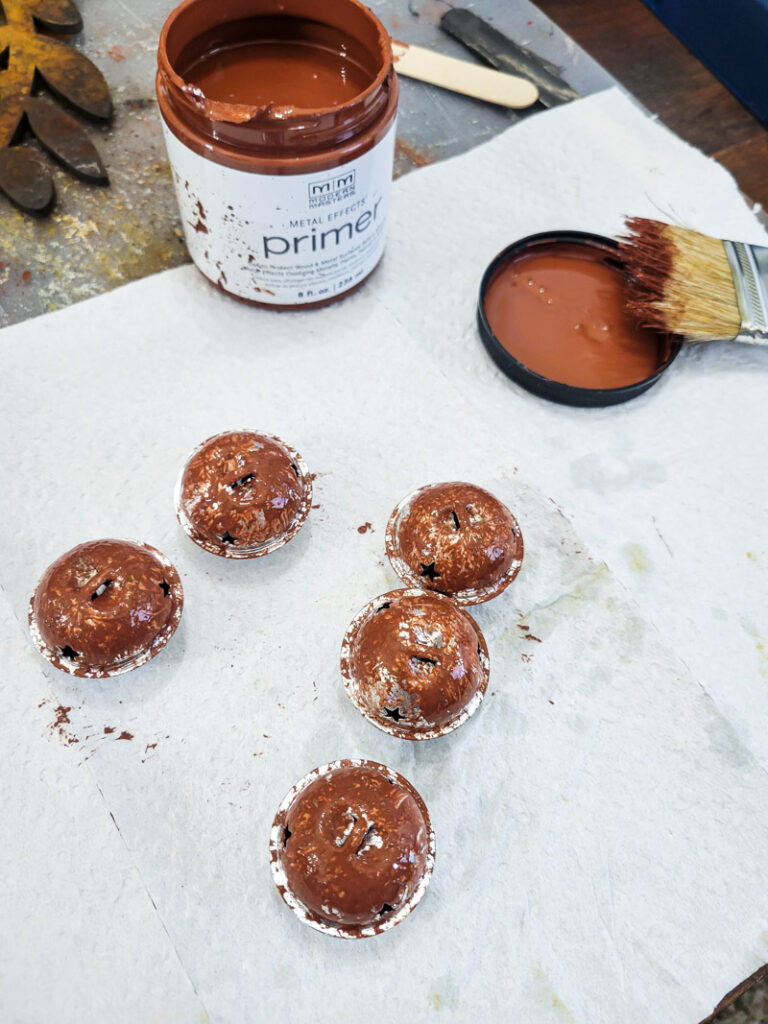
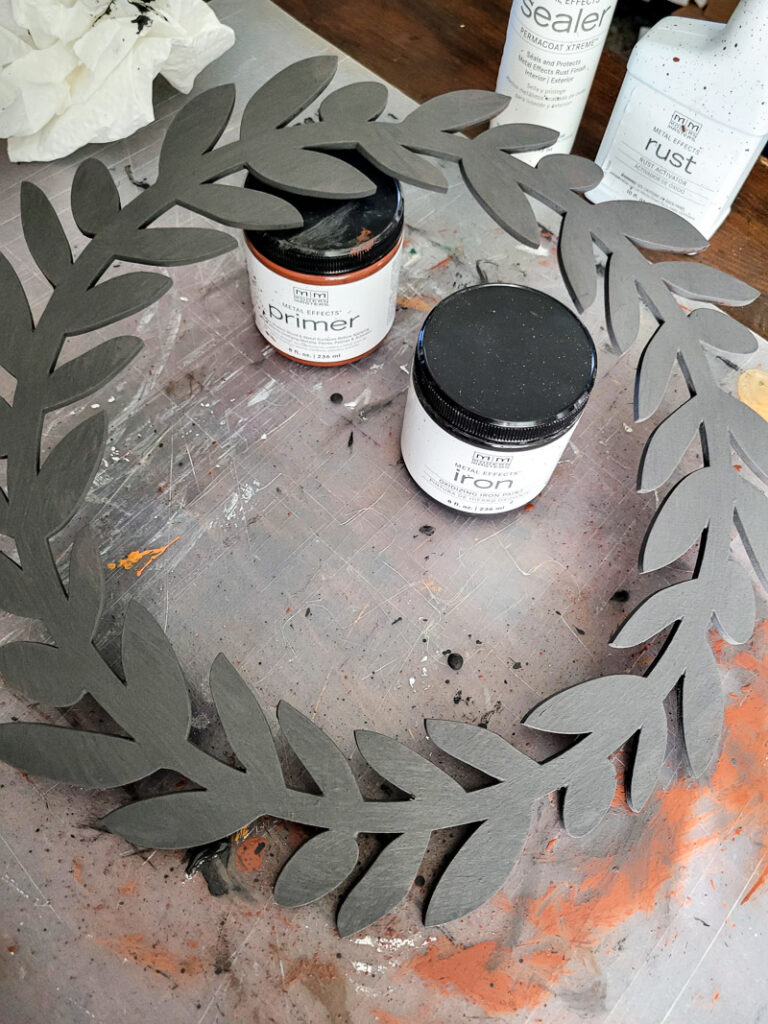
- Once the primer is dry, apply the Iron Paint. Make sure to shake and still well, just like the primer. Apply with the other chip brush provided. Use two coats of this step as well. Drying completely in between.
- Once the Iron paint is dry lightly spray the surface with the Rust Activator. Make sure to lightly spritz, do not drench! Practice squirting first. Once the spritz is dry you can spritz again and again to achieve the rust effect you want. Let it dry completely each time because the rust effect takes place as the activator dries. It’s a fun and easy process to do and watch. If you get too much activator it pools and gets kinda messy.
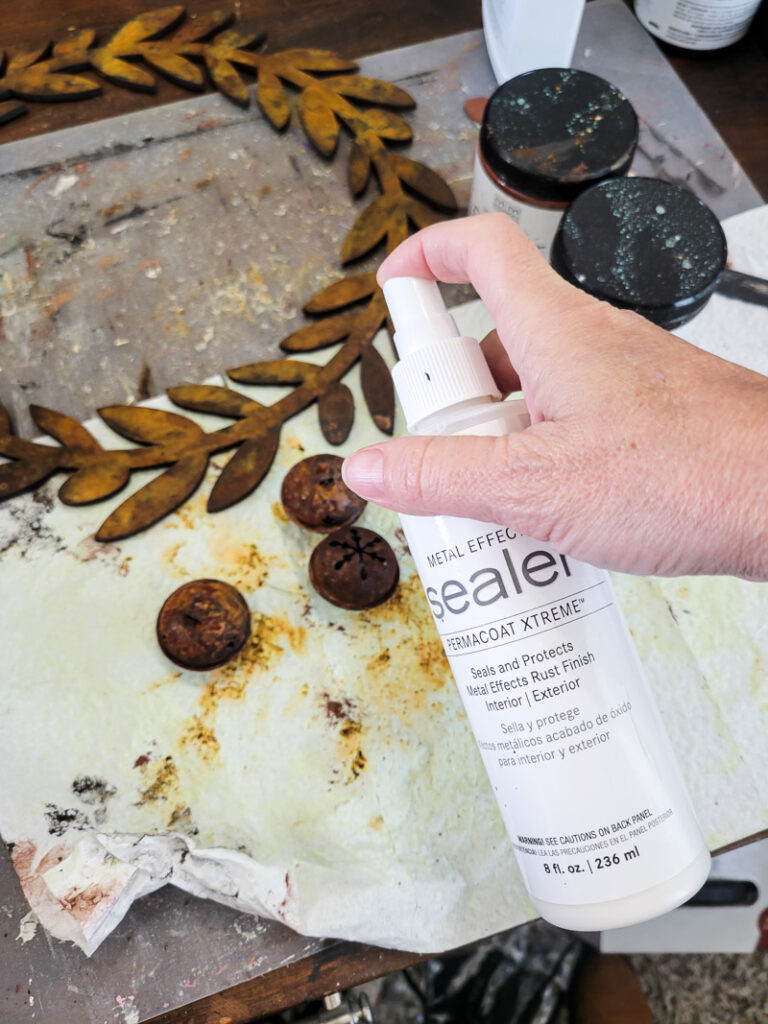
- Once you get the desired results, seal your rusty creation with the Sealer Permacoat Xtreme to seal and protect that yummy finish!
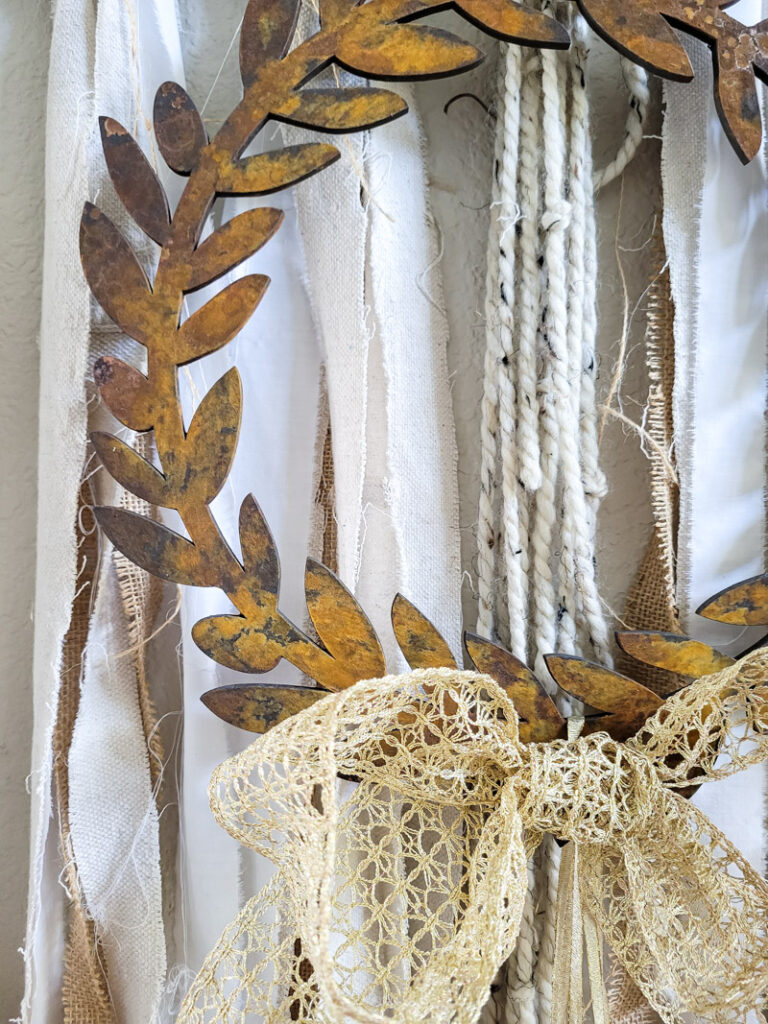
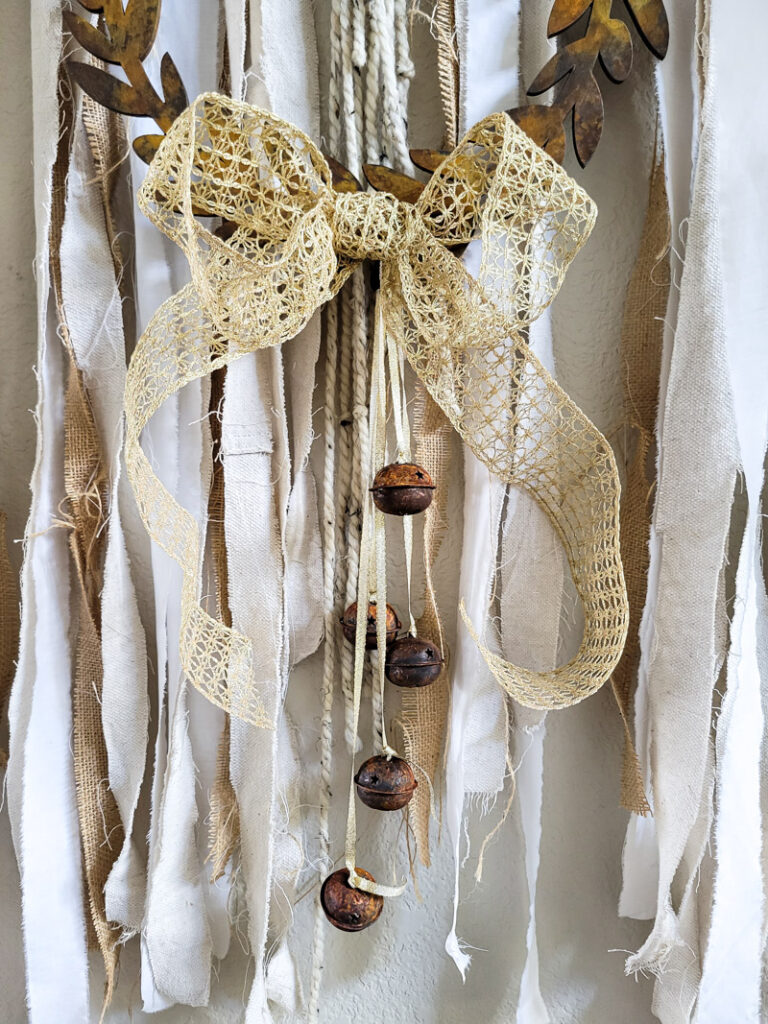
- Finish off your wreath with a beautiful bow and some dollar store bells made rusty!
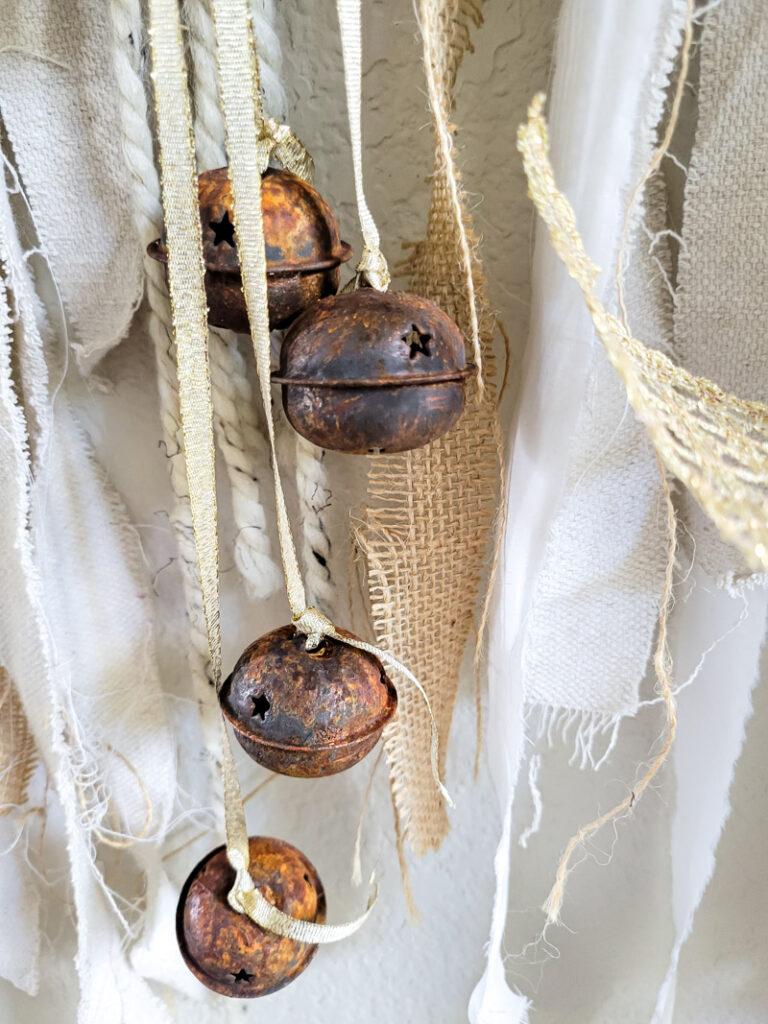
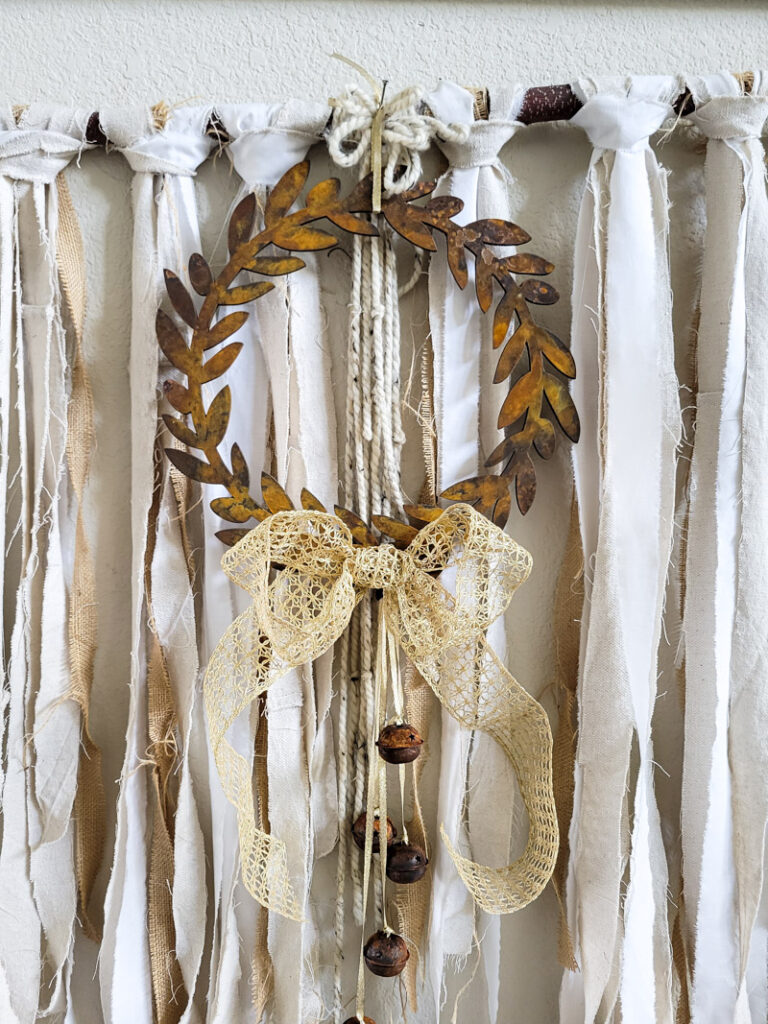
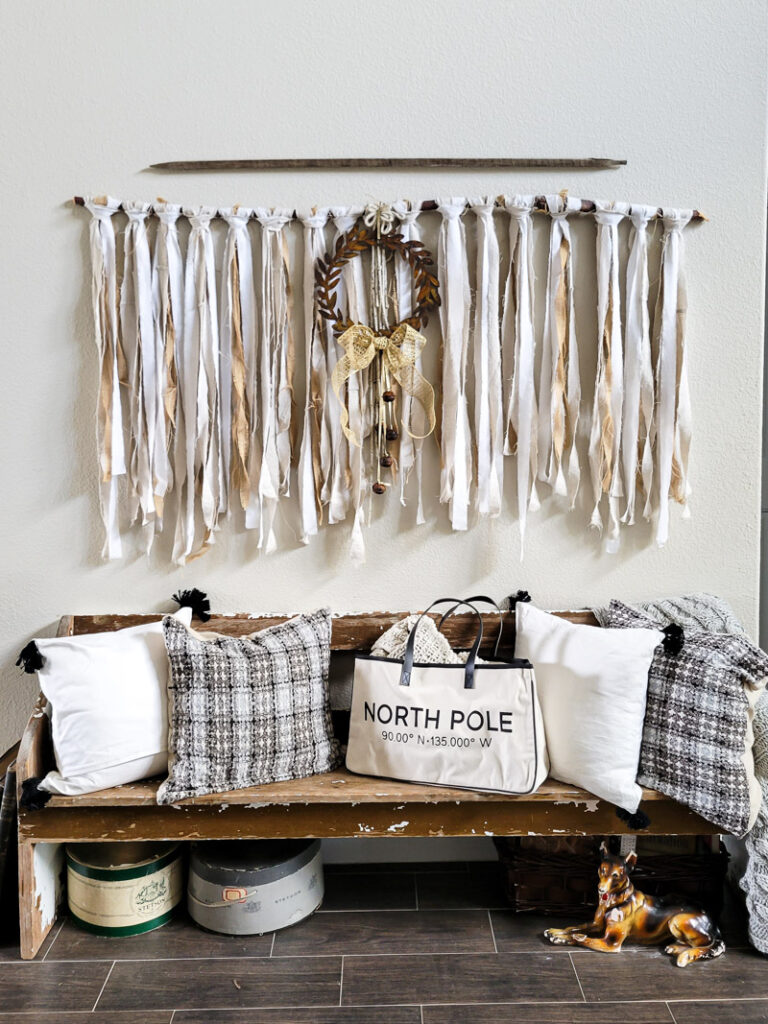
Once I finished, I hung my rusty wood wreath in one of my FAVORITE spots, over my handmade wall-hanging, and I simply love it! I recommend this product a million times over, so easy and manageable, no matter who you are! Honestly, just think of all the bright shiny things you can make rusty and aged in no time.


Wow! This is awesome! Love the look you achieved & like you said who knew you could rust wood!
I need to go shopping now & find me some of this! Thank you for the tutorial!