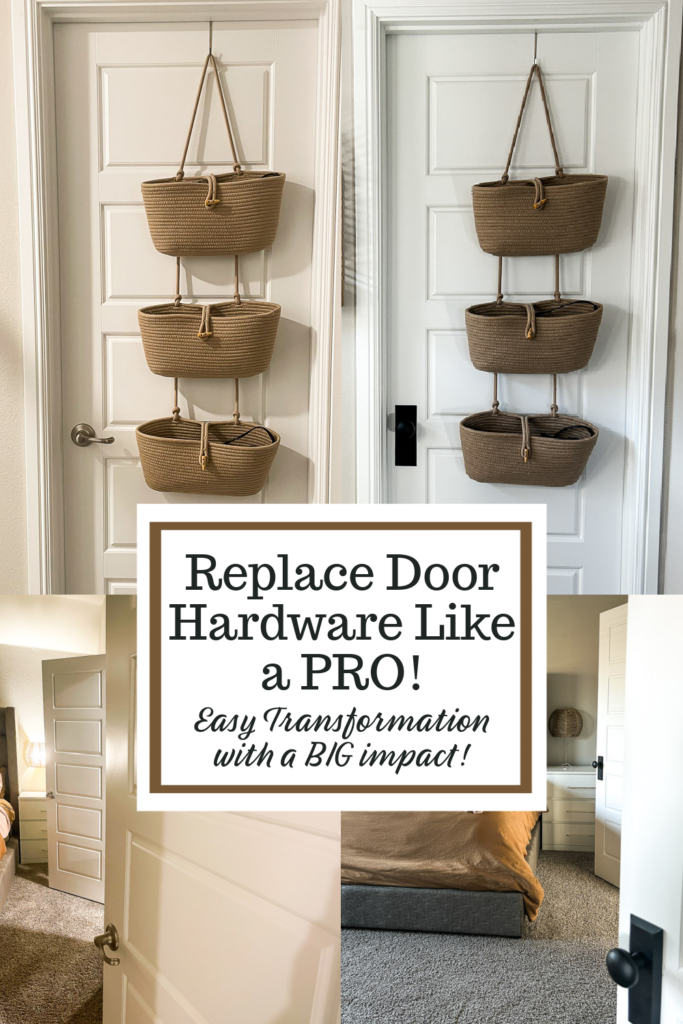
I find replacing door hardware is not something people often jump to as a first in home renovations. And ever since replacing mine, I’m kind of wondering why not! Replacing door hardware can change the entire space in a matter of minutes, and it’s an easy to-do!! Believe it or not, I had NEVER done it before THIS project… and yet here I am, about to tell you how to replace door hardware like a pro!
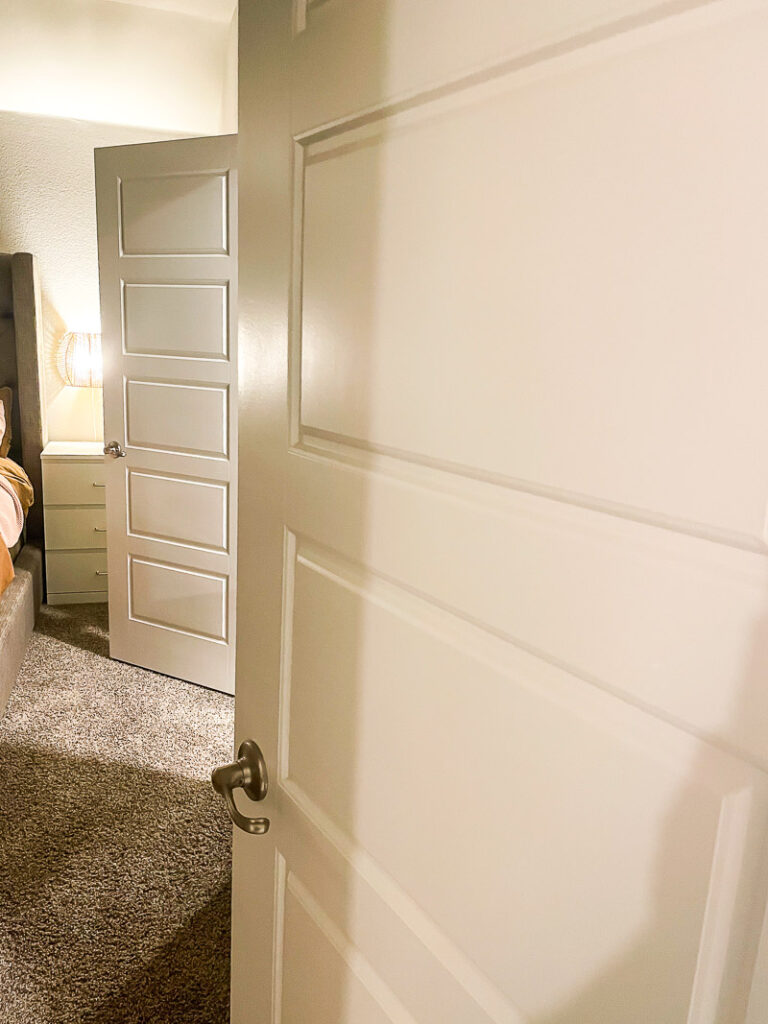
Here’s where we started
door hardware basics
Before we do ANYTHING, let’s get some basics out of the way.
There’s different kinds of knobs and levers for the type of room you’ll be using it on. A passage knob is one that does not need to lock, but you would open from either side. A great example of this could be a laundry room, pantry, or even a guest room that doesn’t have locks on it! A privacy knob is exactly what it sounds like– a knob you put somewhere you may need privacy. This would go on a bathroom or a master bedroom possibly! Lastly, a dummy knob is one that basically doesn’t work, it’s just for looks. This would be something you would use on french doors, or a small closet. Something to keep in mind is that they are only for looks and often don’t have a backside counterpart like other knobs. I personally didn’t use any dummy knobs in my house!
We don’t need to go into what and why door handing matters, we’re not making the knobs, just installing them. But, you do need to know what door handing you have, because you will likely have to choose that when ordering. You can determine this by standing outside of a room (meaning in a hallway if you’re looking at a bedroom) and seeing which side the hinges are on. For example, my closet door is a right hand door because the hinges are on the right when looking at it from the outside. Ageless Iron has a whole how-to on this that dives in even more– you can see that HERE!
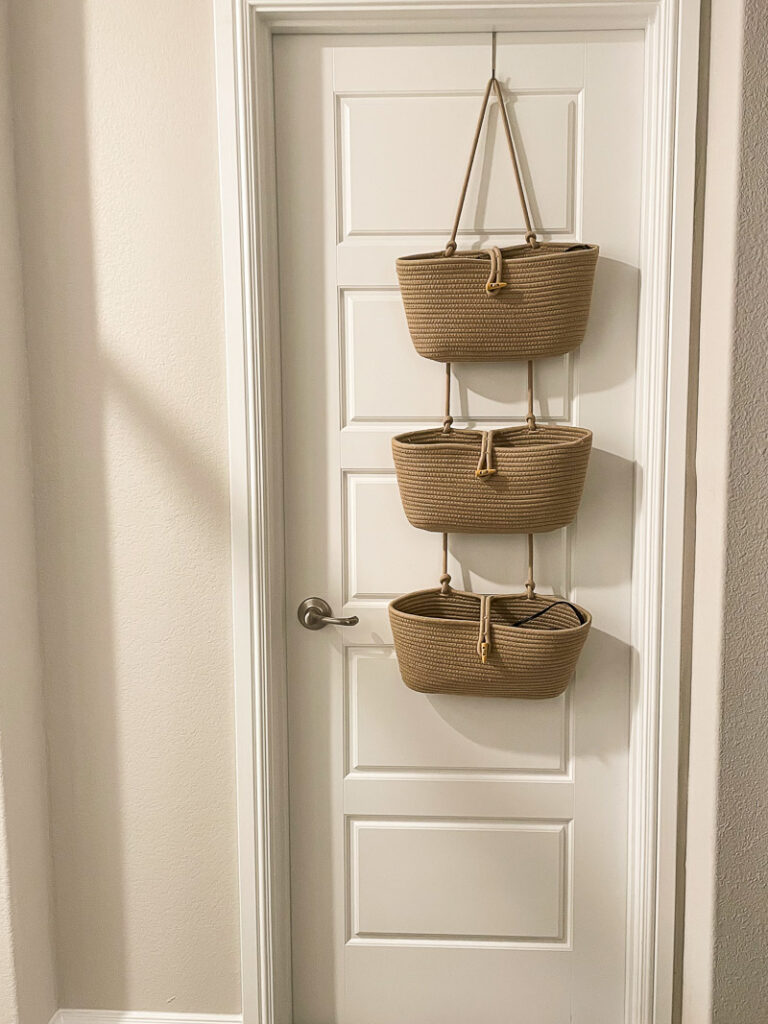
My closet door is a RIGHT HAND door since the hinges are on the RIGHT side
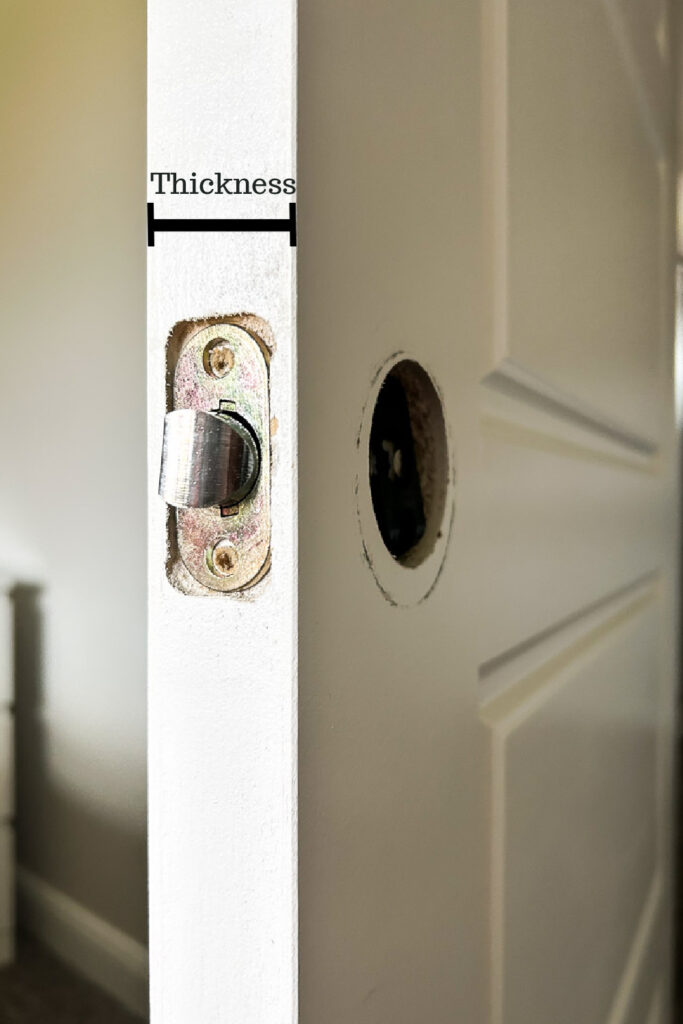
Next, thickness of your door. This one is pretty obvious, just get a tape measure and measure the thickness of the door. This probably won’t matter for ordering, but it will matter for installation, so go ahead and take note.
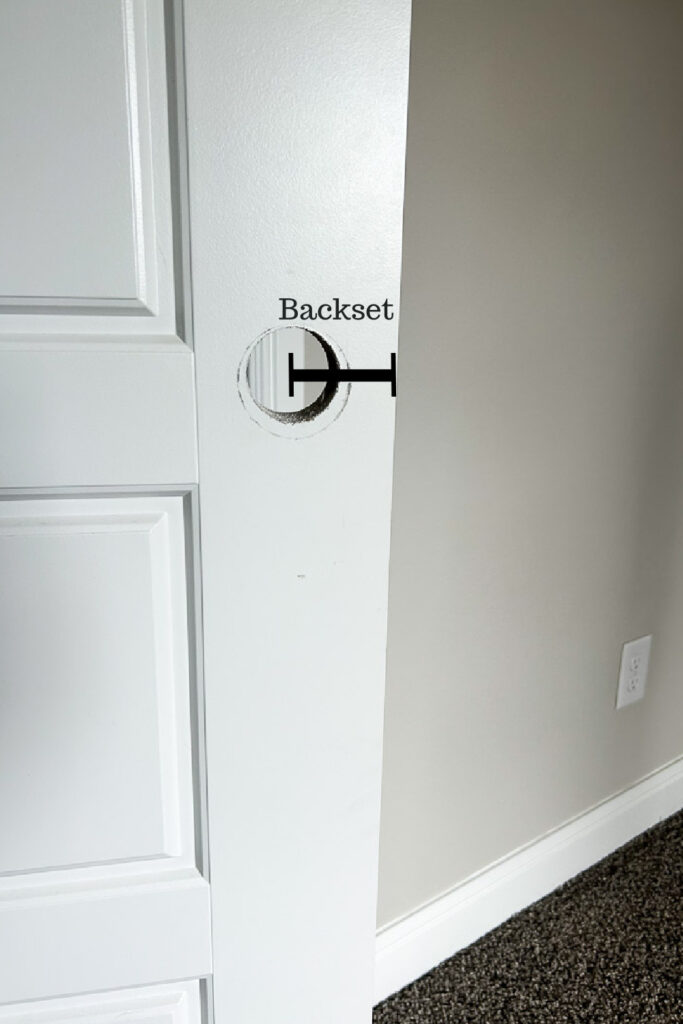
Lastly, backset. This one is also pretty simple! All you have to do is measure from the edge of your door to the center of the bore hole. Residential doors are usually going to be 2 3/8 or 2 3/4 backset, so your measurement should be one of those! My doors were all 2 3/8, except my garage door, which came in at 2 3/4… so it is possible to have different measurements for different doors!
Okay… I know that seems like a lot, but truly it’s not so bad. I have a checklist below so you can mentally check off everything you’ll need and when you go to order it’ll be a breeze!!
Door Hardware Checklist
- How many privacy, passage, and dummy doors you have in your home.
- Which handing each of those doors has.
- The thickness of your doors
- Backset of each door– and just for good measure don’t assume they are all the same. Check every door so you don’t run into problems once your hardware is in hand.
picking door hardware
This can be somewhat challenging since there are so many options out there and each one has the potential to change the whole feel of your home. I found it easiest to first decide what finish I wanted. If you know your desired finish, you can really drill down your options.
Personally, I was looking for black. I have black hardware throughout my home in other areas, and I felt it would tie everything together really nice.
Then, the question of knob or lever. This one can be especially tough, but I think at the end of the day it’s about comfort even more than looks. If you have arthritis or trouble with your hands or wrists, you may be best suited with a lever. If you’re like me and have a dog who knows how to open doors with levers, you might choose knobs. It’s whatever fits YOUR home at the time. And, of course, it can ALWAYS be changed later if your circumstances change!
the door hardware I actually picked
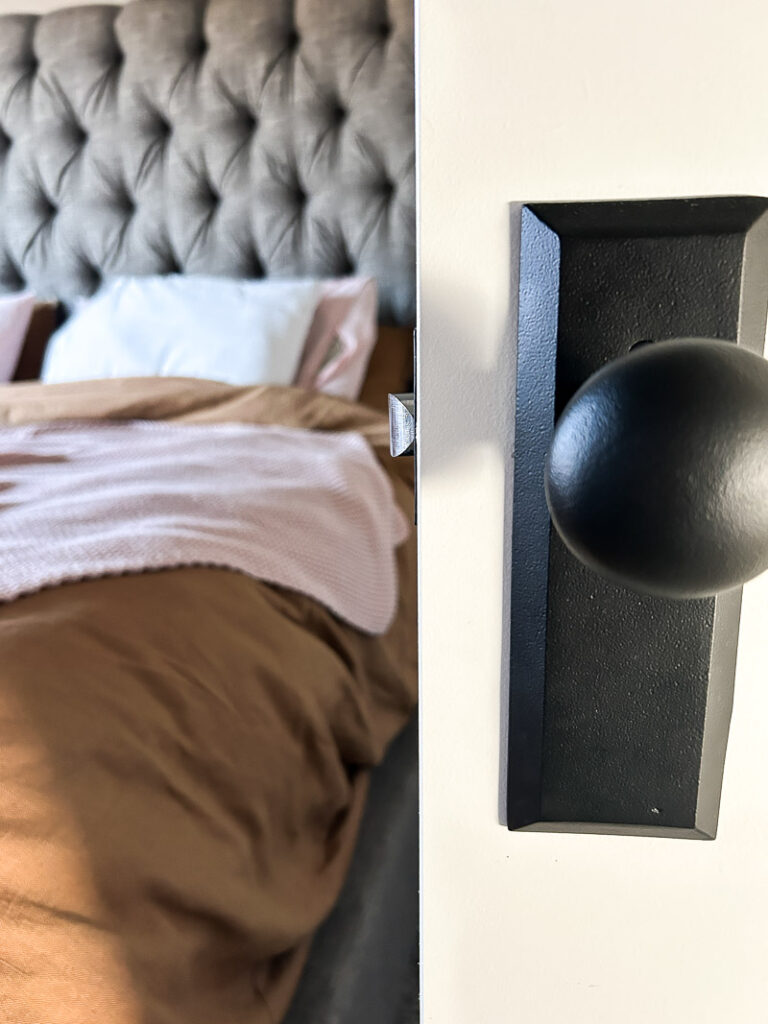
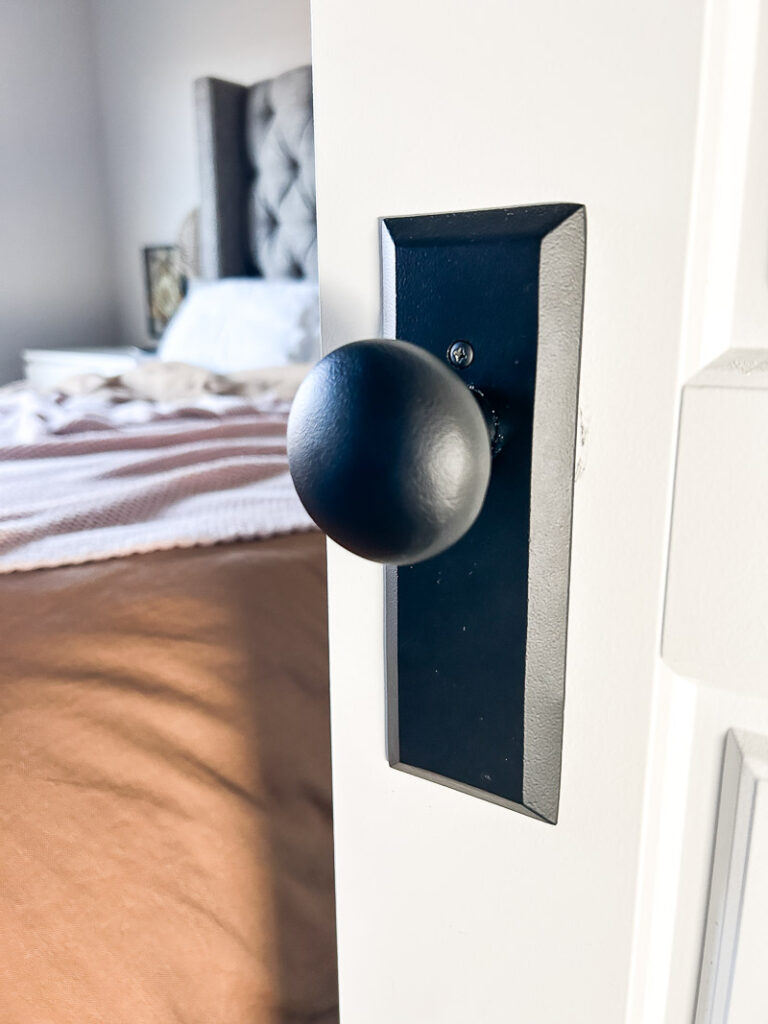
Again, it can be tough to officially pick your hardware. There are TONS of options online and if you inundate yourself with all of them, you’ll only make things harder– trust me. After searching and searching, I landed on Ageless Iron Hardware. Each piece weights from 3.5-5 pounds and is made from solid cast iron. That’s some high quality hardware!! And since door hardware is something you literally touch every single day, multiple times a day, quality is key if you ask me! I personally chose the Keep Long Plate with Keep Knob. It has sort of a classic feel, and adds instant character into any home!! Since my main goal is to add character to my builder grade home, it fit the bill perfectly!
what you need for removal and installation
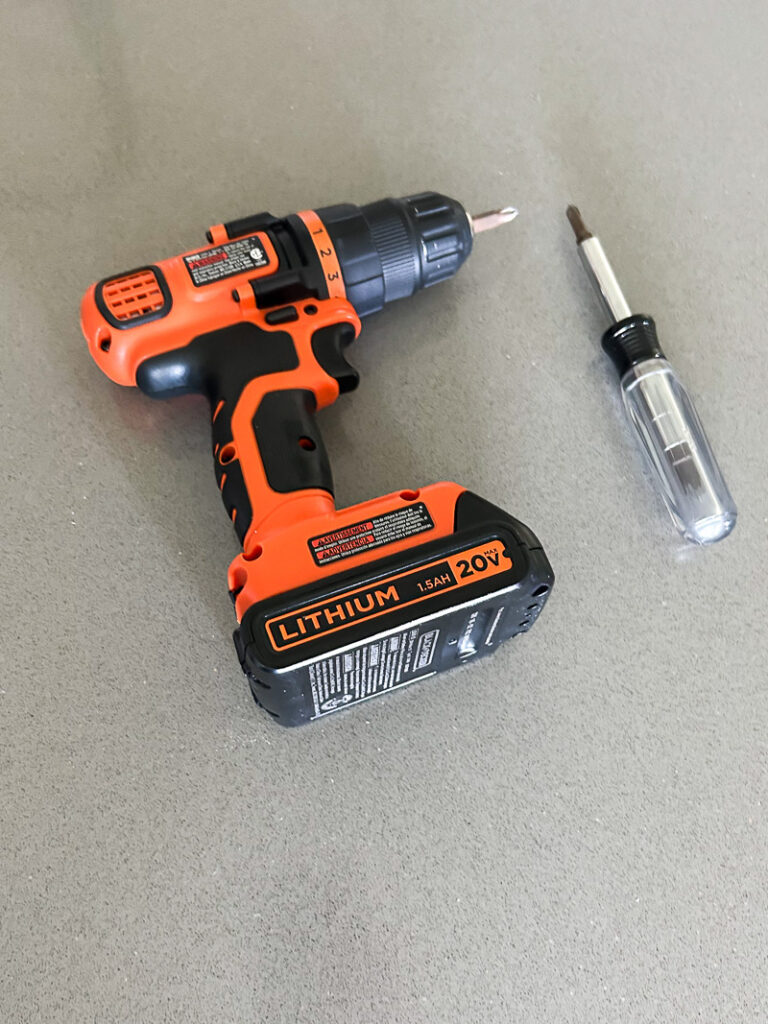
- new door hardware
- screwdriver and/or drill
Seriously, that’s it… it’s a GREAT beginners project!!!
I’m going to break this how-to into 2 main parts; removing door hardware and adding door hardware.
how to remove door hardware
- Use your screwdriver or drill to unscrew the 2 screws of the face place. I personally used a drill for this part, since it just makes it quicker and easier.
- Use the screwdriver to unscrew the door handle or knob itself from the door. Once both screws are removed, you can slide the hardware off of both sides.
- Pop the latch out of the door, and the door should then have no hardware left.
- Lastly, don’t forget the strike plate. Same as the face plate, it has 2 screws. Simply use a screwdriver or drill to remove those and then pop it right off. Easy peasy!
how to install ageless iron door hardware
These installation instructions are specific to Ageless Iron Door hardware since that’s what I used, but what I’ve come to find it they are all very similar in installation, so these steps should work regardless!
- All Ageless Iron Door Hardware comes with an anti-rotation block. Without it, the latch would spin forever and ever, meaning your door would not properly close (if you aren’t using Ageless Iron, you may not have this piece, and that’s ok)! The anti-rotation block has an arrow on it, and that arrow needs to face towards the edge of the door.
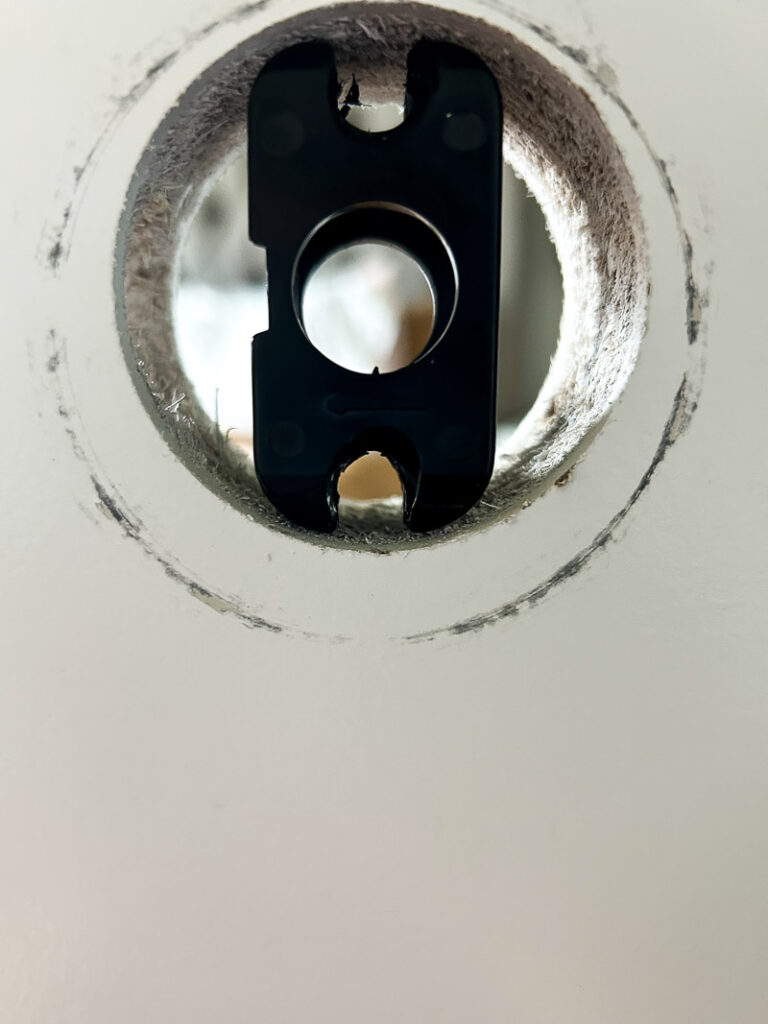
- Next, insert your latch into the door. If this is on a passage door, the direction of the latch doesn’t really matter, since you can always rotate the tongue. The tongue should face the door jamb, when the door is open. If this is a privacy door, ensure the threaded side faces the inside of the door, the side you’ll want to actually be able to lock the door.
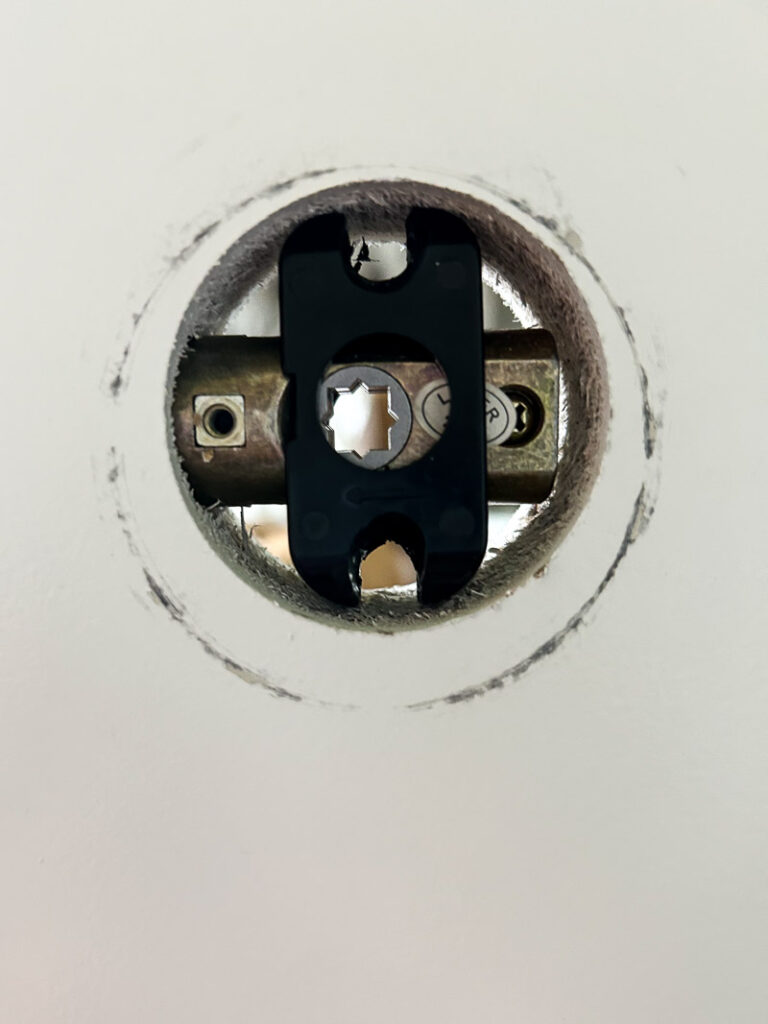
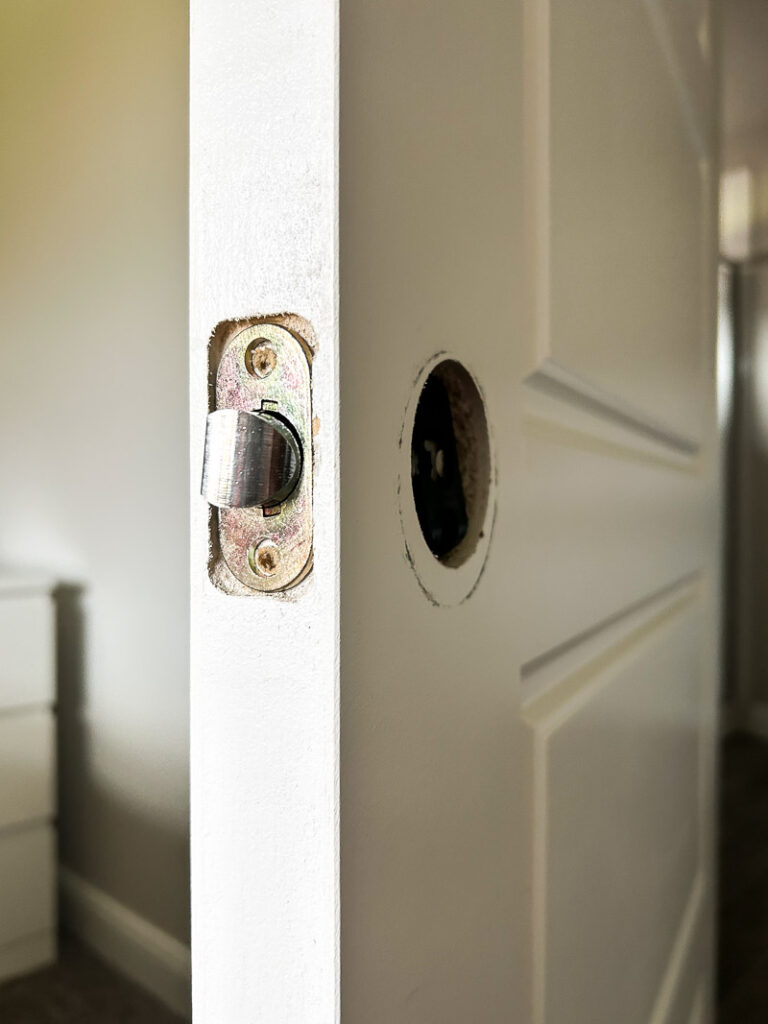
- Make sure the tongue on the latch is facing the correct way and attach the face plate using provided screws. I’m always down to use a drill when I can, so you can bet I did that here.
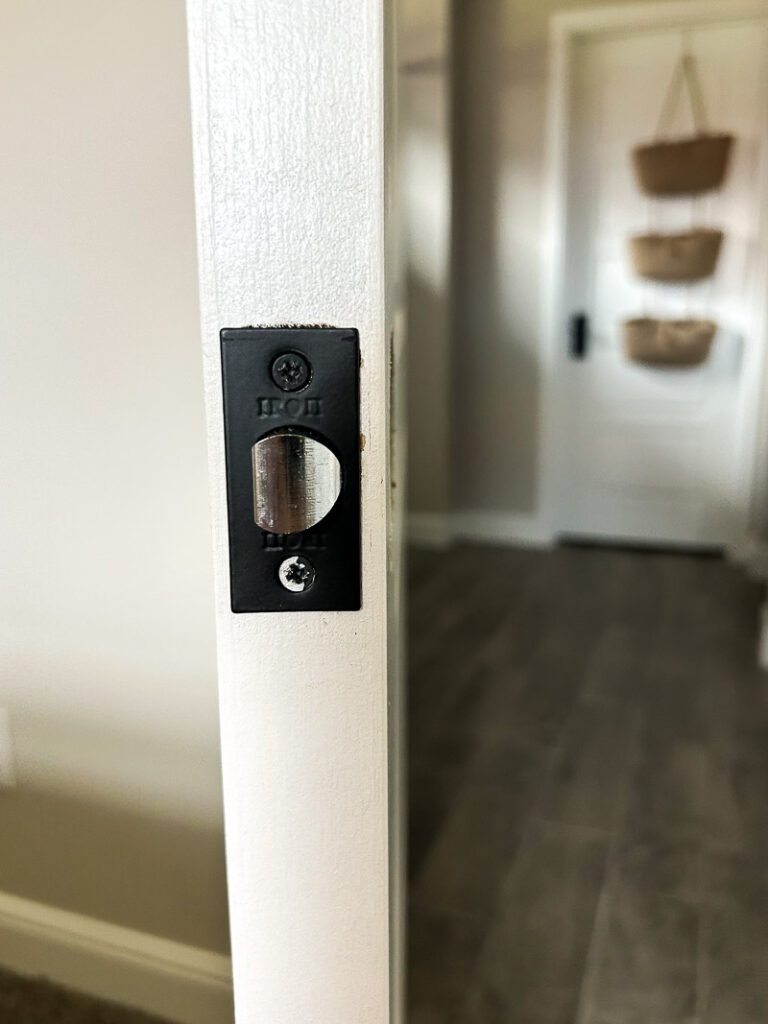
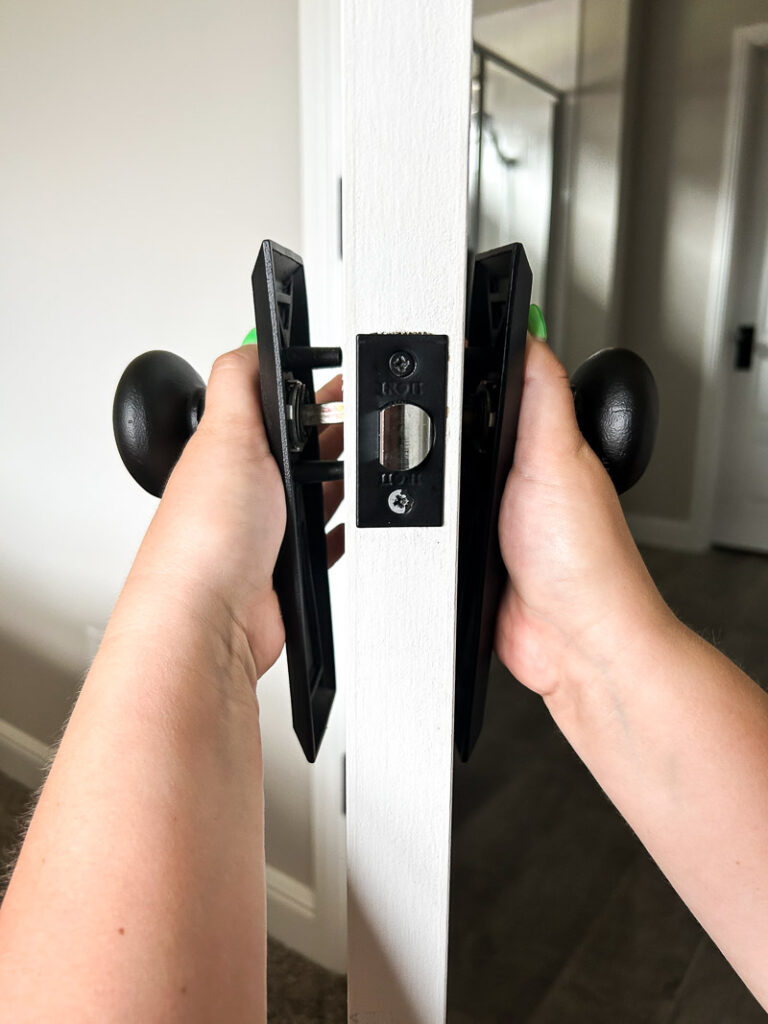
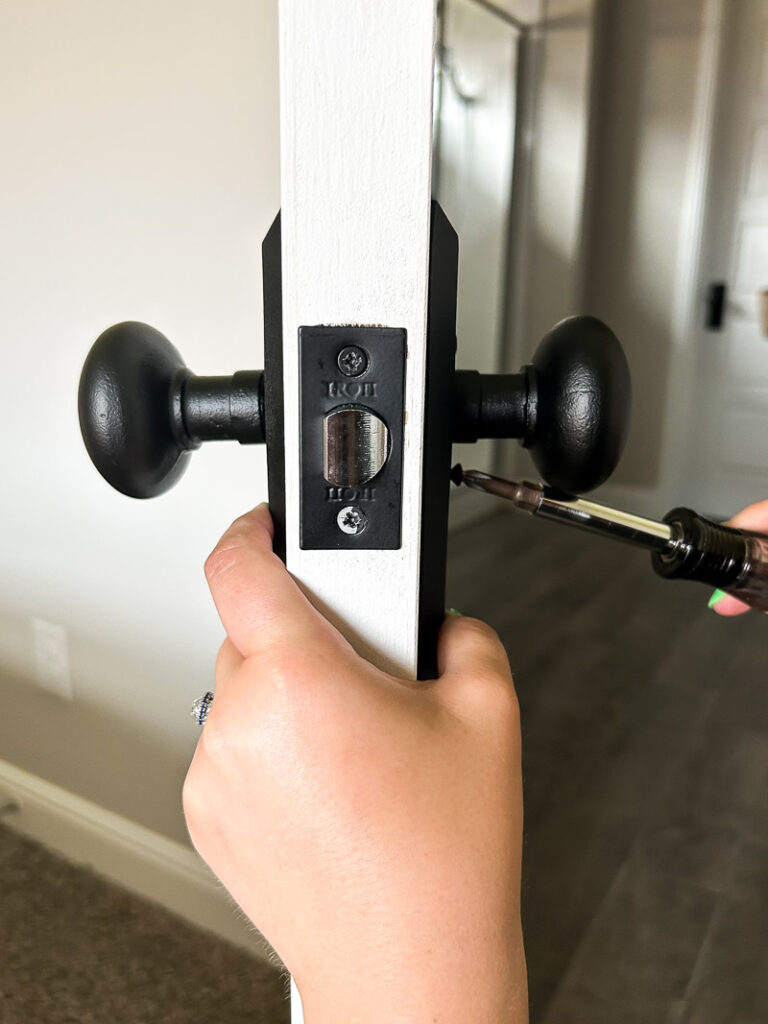
- Once the face plate is attached, it’s time for the FUN part– attaching the door knobs. First thing, make sure the side with the screws is on the inside of the room. This will be more obvious if it’s a privacy set, since the lock piece goes on that side, but if it’s a passage set, you’ll have to keep an extra eye out. When you’re looking from a hallway, you don’t want to see any screws! Put both sides of the knobs onto the door (they slide into the latch perfectly, you’ll know if it’s right) and then thread your screws in to hold the knobs in place while you finish the job. This is where door thickness matters. Each set comes with 4 machine screws, 2 1-1/2 inch screws and 2 1-3/4 inch screws. If your door is 1-3/8 inch thick, you will use the 1-1/2 inch screws and if your door is 1-3/8 thick, you will use the 1-3/4 inch screws. Since my door is 1-3/8 inch thick, I used the smaller 1-1/2 screws. The screwdriver is a little awkward because the knob is somewhat in the way, but it’s completely doable. I definitely couldn’t use my drill here, though.
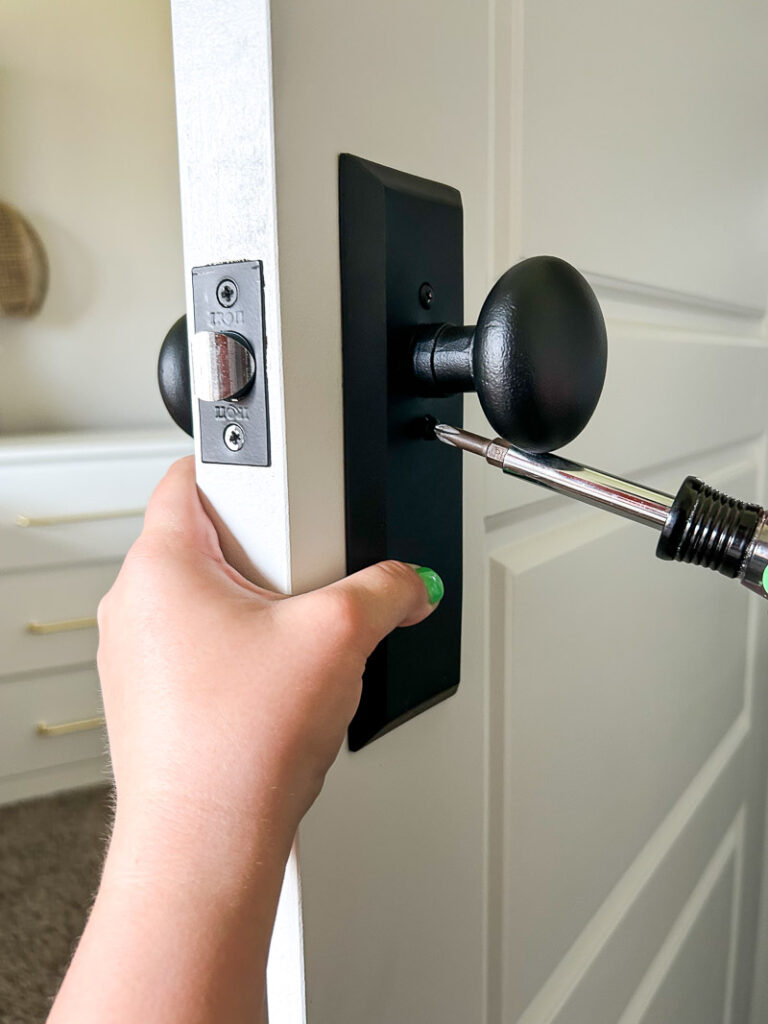
- OPTIONAL: If this is a privacy door, attach the privacy pin by screwing it in.
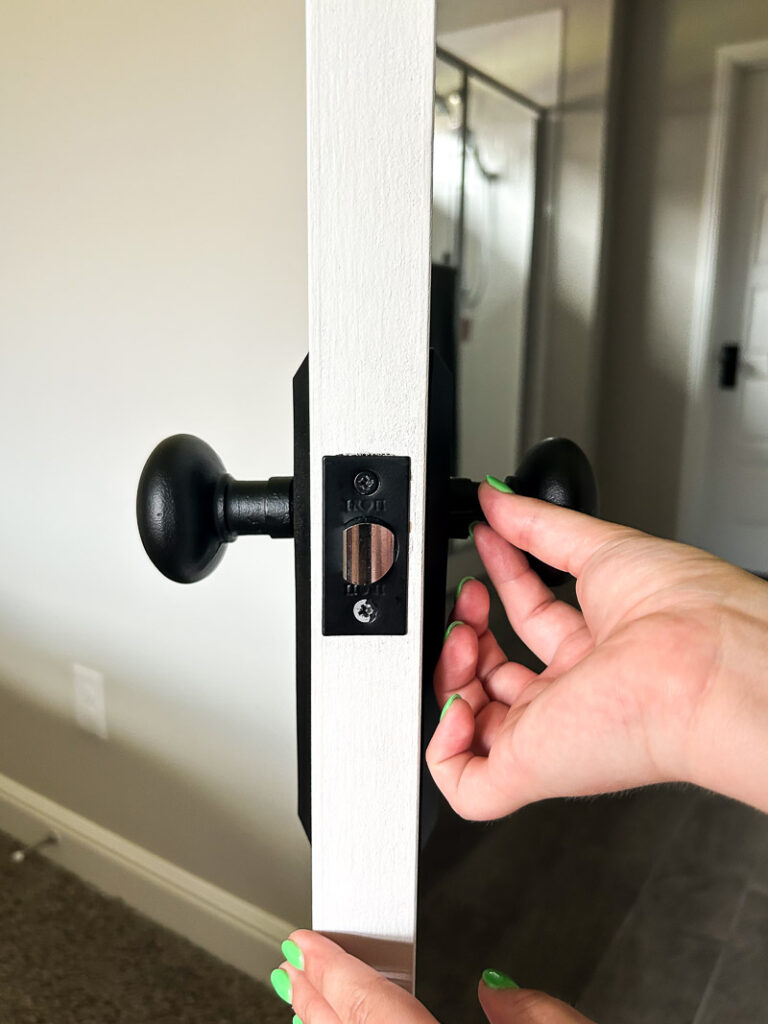
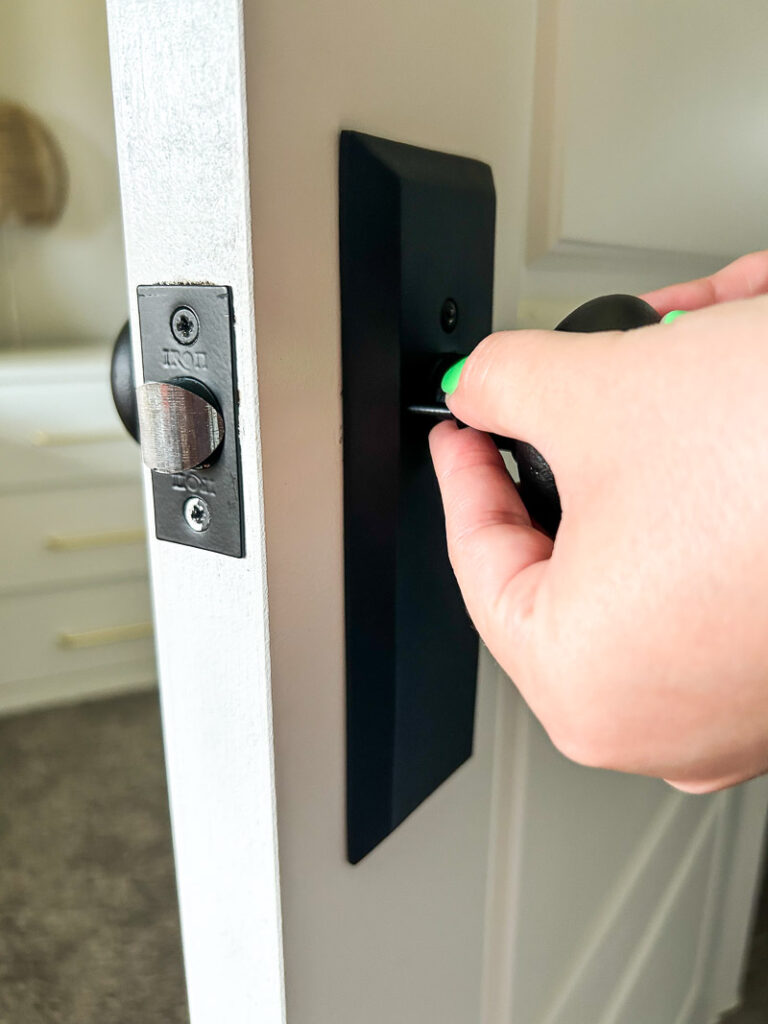
- Lastly, attach the strike plate! It’s just 2 screws and a simple little plate, and there will be an indention from your last one. Just use those same holes and attach it, easy peasy!
Even if you have never used a drill, never done another DIY, have no experience in home projects, THIS should be your first!!! It’s not only a great way to get your feet wet, and totally doable, but also makes a HUGE difference in your home. Maybe it’s time for an upgrade, or even just a change, go for it!! And even though I didn’t do it in my recent upgrade, you can 1000% mix and match door knobs and levers, as well as styles. Just make sure there is a pattern or an obvious intention with it. I think it’s a really fun way to add some unique flare to your space!!
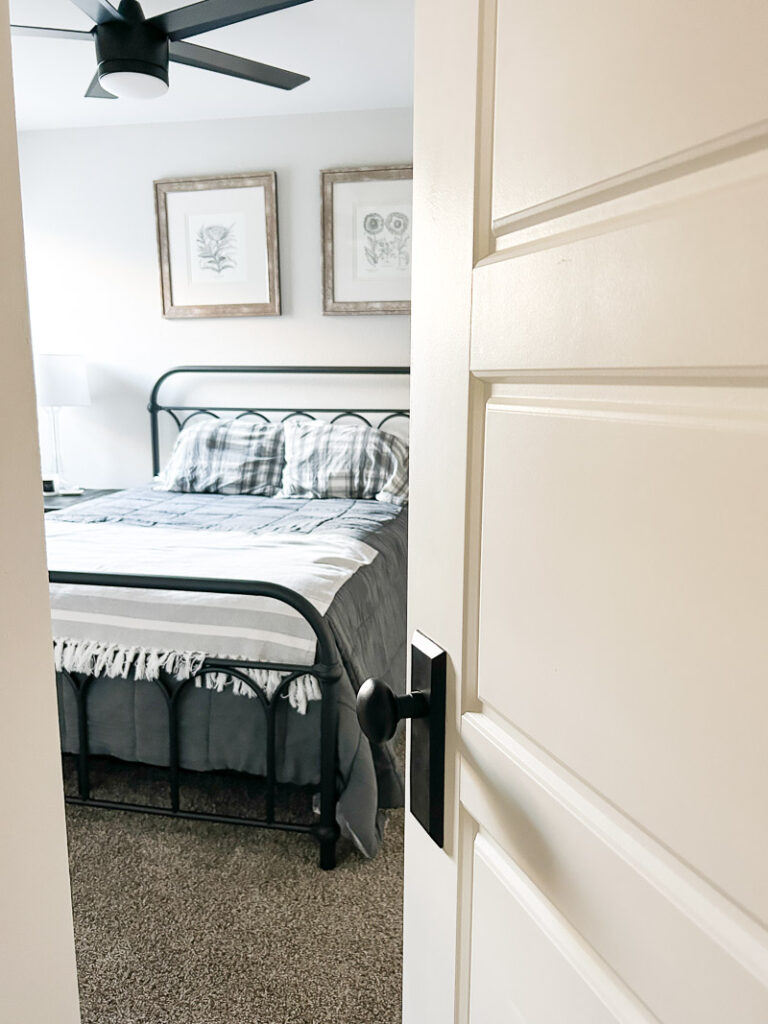
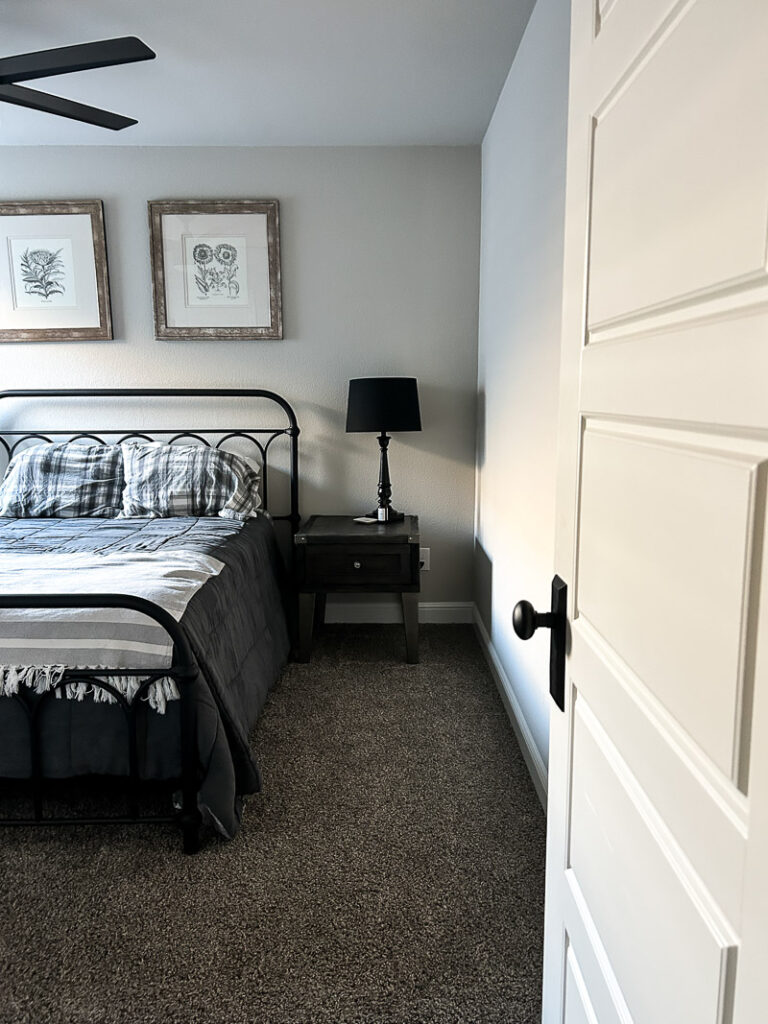
Now what’re you waiting for… run to Ageless Iron‘s website, grab some brand new hardware, and jump into this easy DIY!!!
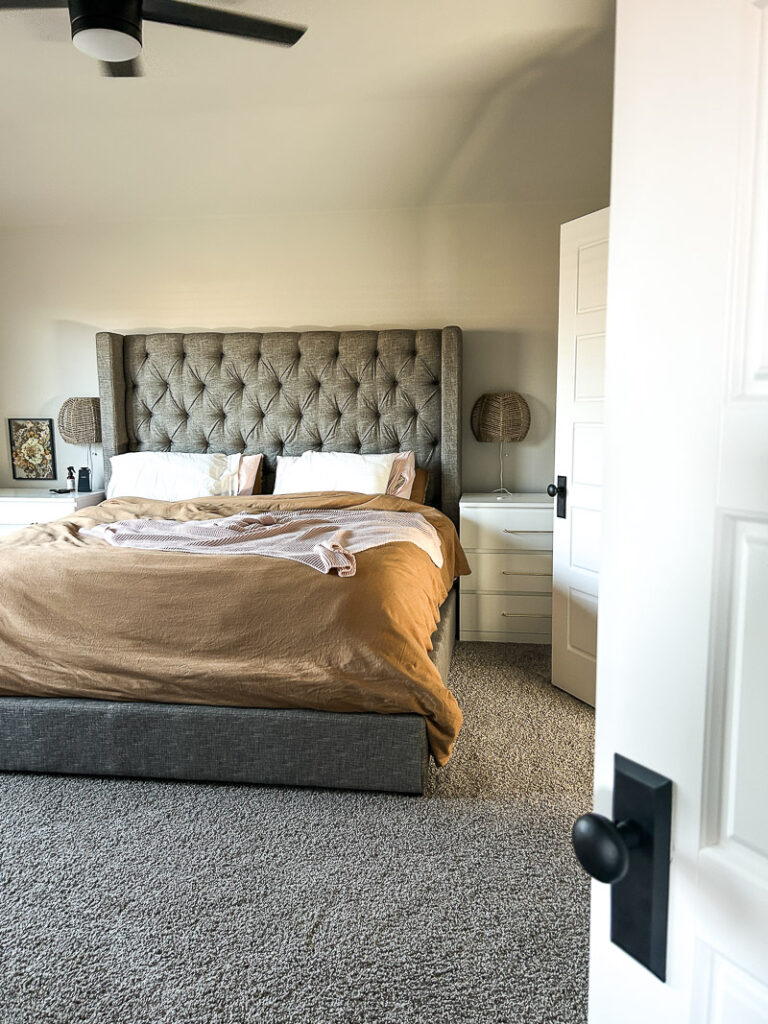
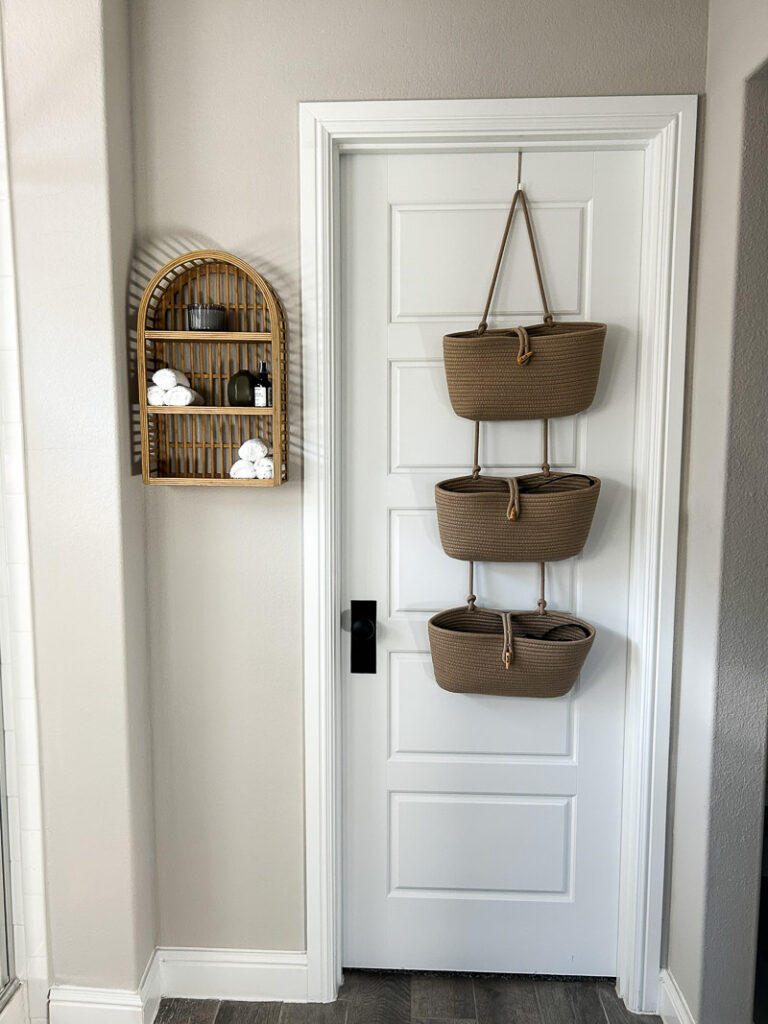
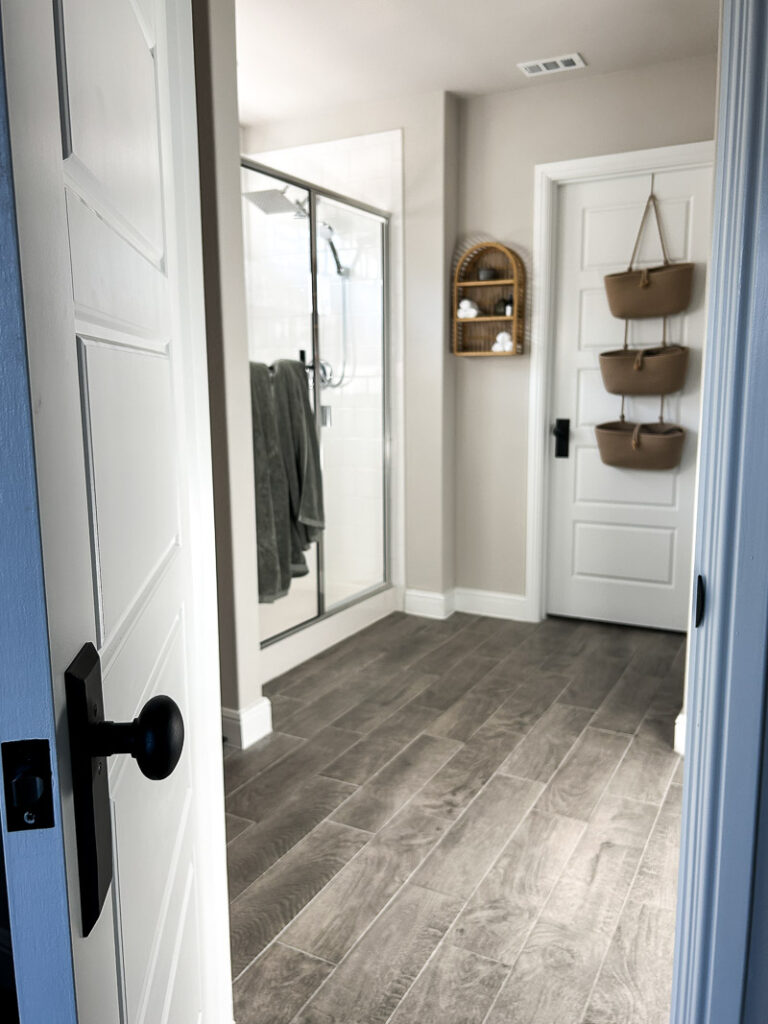
You can LITERALLY SEE the quality in these beautiful knobs!!
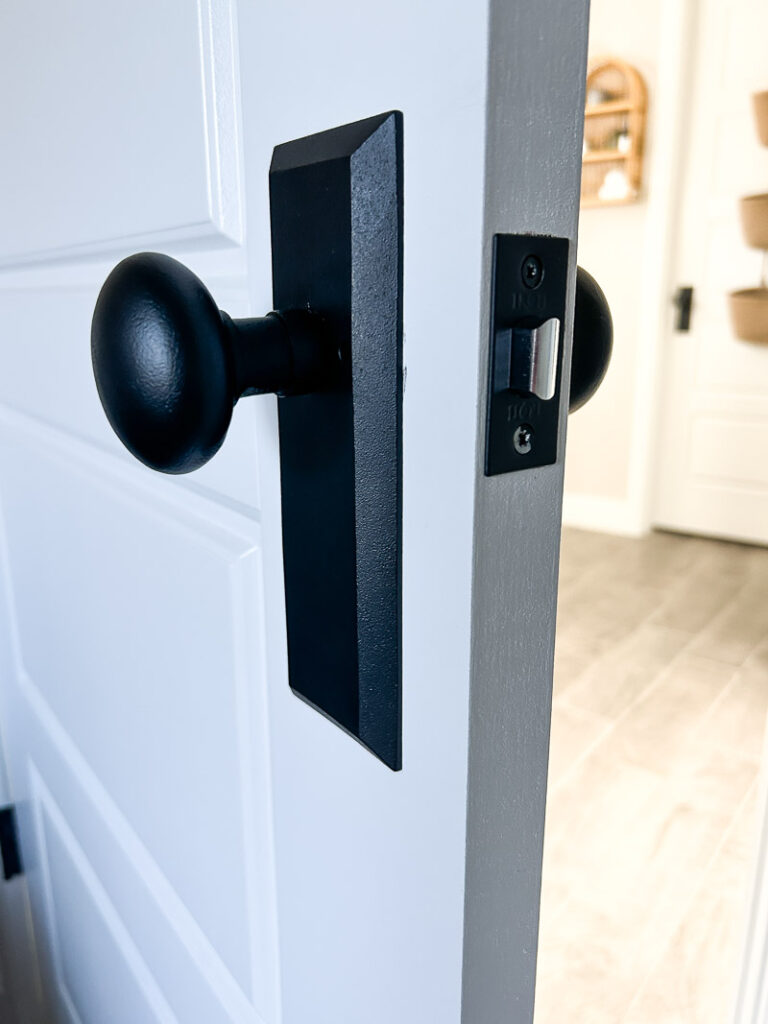
So stunning, unique, and hefty!! Something you don’t often see in door hardware these days, truly!
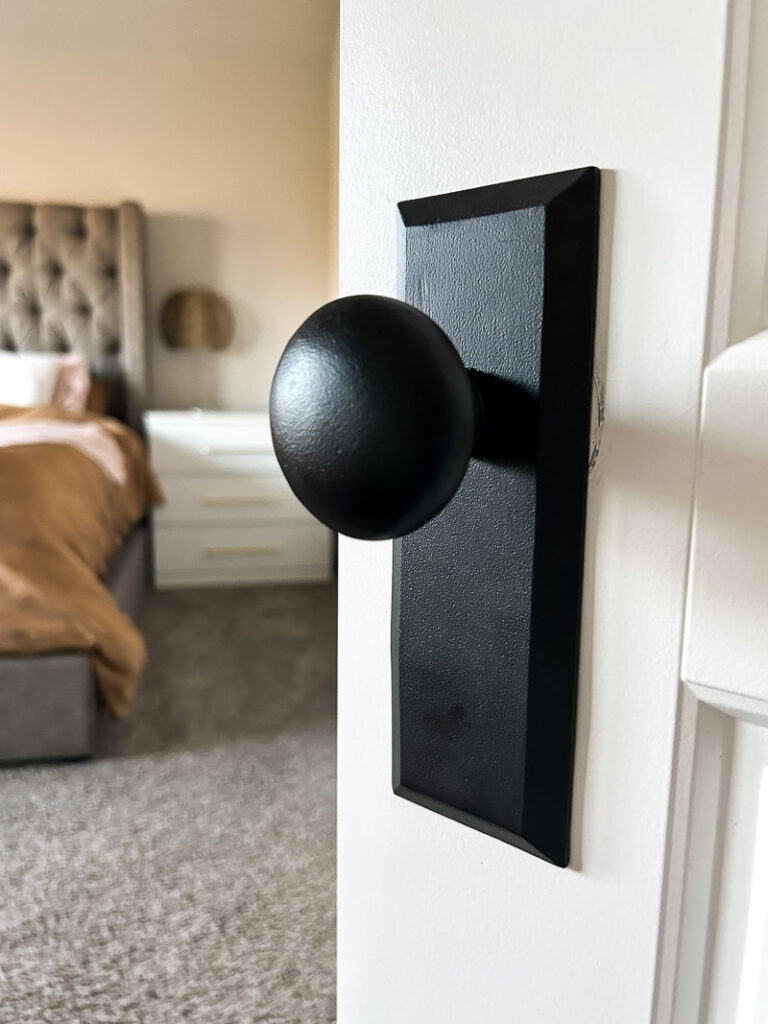
Ageless Iron has tons of other options too, so you’ll find something to fit your space, without a doubt! And it’s going to last for years to come, let me tell you!
If you’d like to check out some unique interior door updates and get more inspo, you can do that HERE!


Leave a Reply