Are you staring at some walls in your home that need to be painted? Are you dreading the task of painting those walls that need an update? I was the same way. I had two bedrooms hanging like a dark cloud over my head, needing a fresh new color of paint but man, I did NOT want to tackle that project. But I did. And I lived. And it really wasn’t hard. And I painted two bedrooms and a hallway in two days. By myself! Here is how in case you want to know! This post is sponsored by Wagner, all opinions, ideas and work are my own. Here is where I started…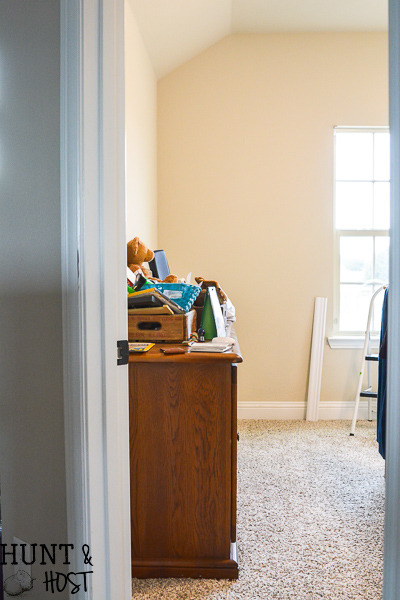
My friends painted a few things with their Wagner sprayers and have some great tips for you too, be sure to check out these projects on Painting Windsor Chairs and How to paint bead board walls like a pro.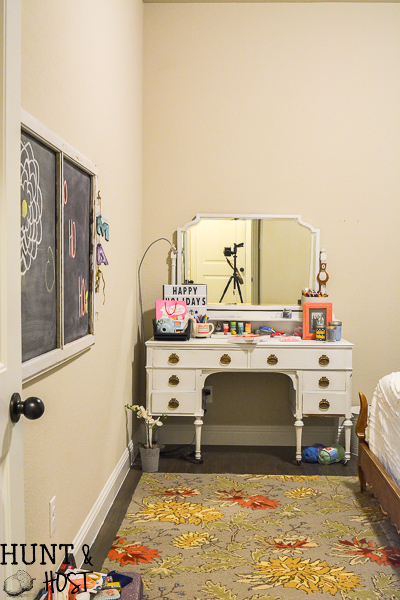
The Step By Step Order I go in To Paint Walls Fast and Easy
- Start by moving all furniture and decor out of your way. This may mean moving it to another room or just shifting it around the room. I shifted a bunch of big pieces and moved all wall art to another room.
- Remove all electrical plates, light switch plates, etc. and store them together in one spot. Also remove window coverings or blinds. You might be tempted to paint around these things but you will not get a professional looking result, go the extra mile and remove everything.
- Tape the trim. I use good painter’s tape and make sure to smooth my finger along the edge to really get the tape in place. Tape along baseboards, around door frames, crown moulding and electrical outlets. I typically hand cut in the ceiling, but you might want to tape it.
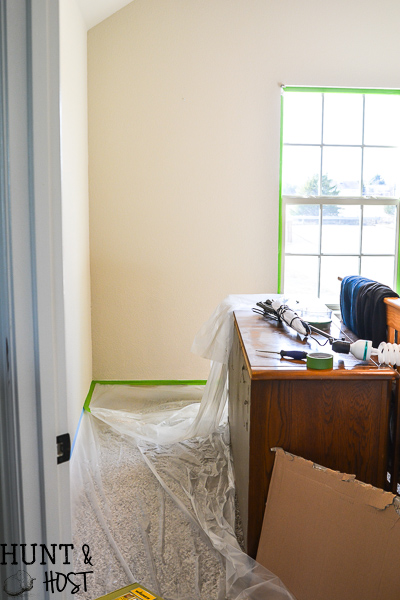
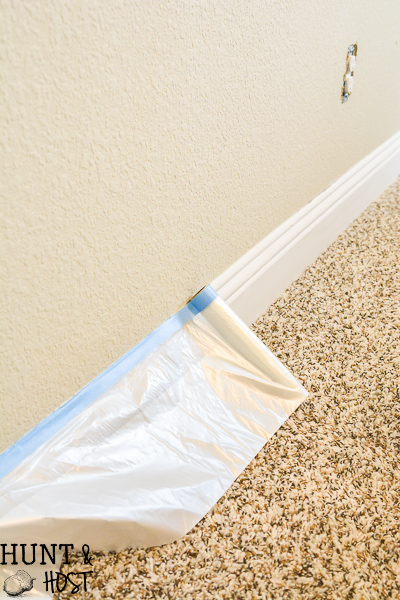
- Next I stick a plastic drop cloth under the floor trim tape so there is no gap between the wall and floor for paint to land. Buy the cheap disposable drop clothes for this method. You can also find this tape that has a plastic drop cloth attached to it, it costs a little more but I think it is worth it…
- Spray the walls with a Wagner Studio Pro Paint Sprayer. (more details on this in just a second)

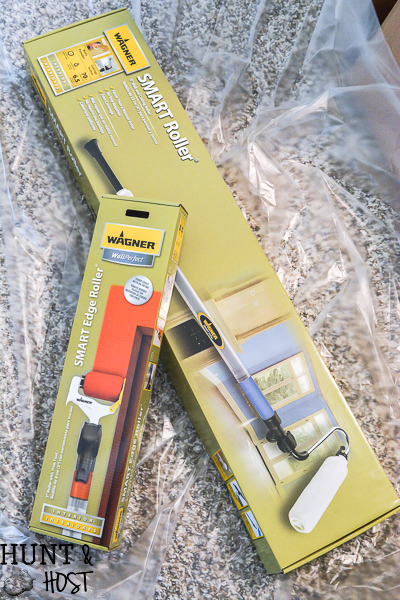
- Paint the portion of the wall closest to the trim and ceiling with a hand held brush or try the Smart Edge roller by Wagner.
- Check for any spots that need a touch up, either spot spray with the Studio Pro Sprayer or back roll with the Smart Roller by Wagner (it is amazing). Back roll simply means do a light second coat over break through areas and spots you missed. With the sprayer I find it only takes one coat with minor touch ups, especially compared to rolling the walls.
- Once dry replace all the electrical plates.
- Move furniture and re-hang pictures and window treatments.
- Enjoy your new space.

Maybe this task list doesn’t sound quick to you, but the secret ingredient in the list is the Wagner Studio Pro paint sprayer. You have probably heard me talk about my paint sprayer before, because I love using a sprayer! I will admit I used to think they took more paint and were kind of hard to use, but I have learned a little along the way and found they are really efficient and give the best results with a professional finish. I got to visit the Wagner headquarters this past October and play around with a bunch of their products. I am such a fan!
Here are the tips I have learned about using a paint sprayer to paint walls
- This particular model of sprayer has two power switches, make sure they are both on. 🙂
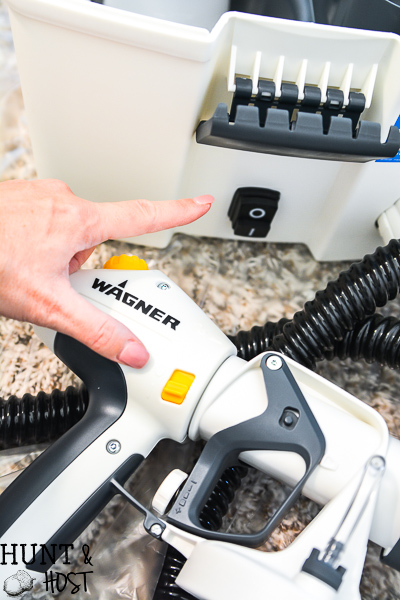
- If you are going through paint quickly you likely have your spray nozzle open too much. The studio Pro has both a material flow control knob that regulates the amount of paint that comes out and an adjustable power knob that controls the force the paint comes out. I have made the mistake of thinking more paint means better coverage and that is not true. You will need to play around with both the material flow and force to find the best coverage for the paint and job you are doing. Try practicing on a large piece of cardboard before starting to paint the wall. You can also adjust how hard you pull the trigger handle to reduce the amount of paint that comes out.
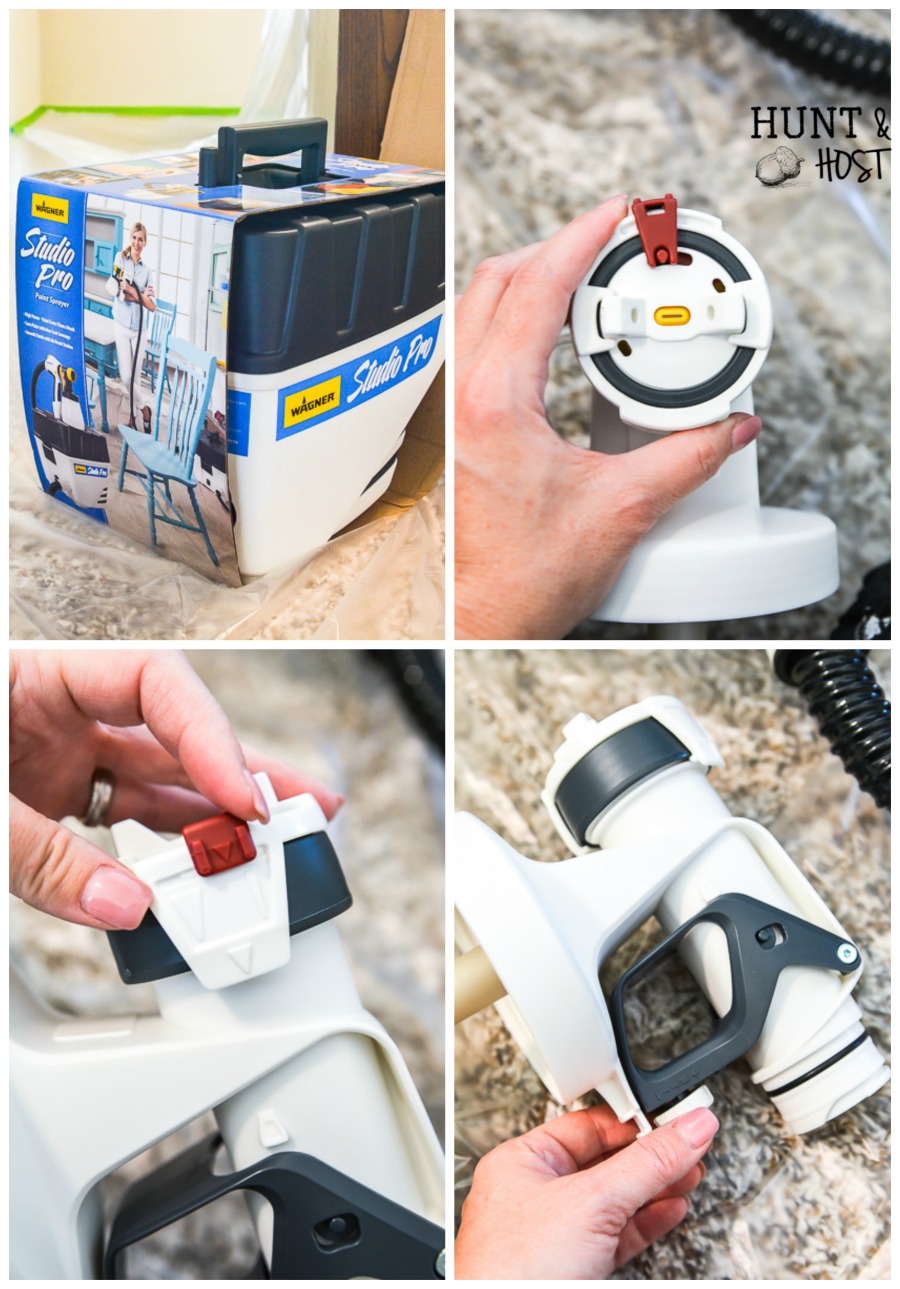
- If your paint is splattering and globing you might have the force adjusted to high, dial it back and try again.
- If your nozzle still throws globs you might want to take it off and clean it then reattach.
- Hold the sprayer attachment upright, if it tips over sometimes it will spray globs and you will need to rinse the nozzle. (I know from experience 🙂 )
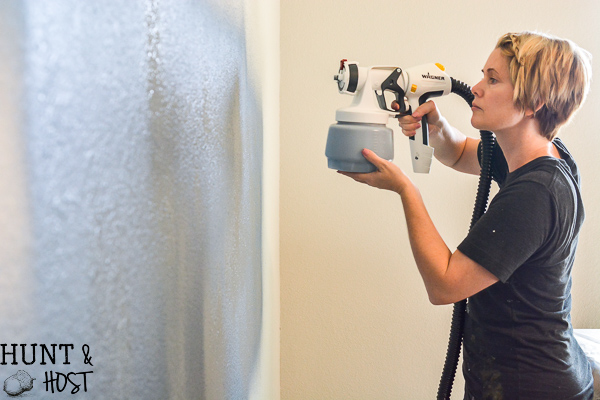
- Get closer to the wall than you think you should. You will want the nozzle to be 3 to 6 inches from the wall, this helps with over-spray and coverage. It simply keeps the paint going where it needs to be.
- This sprayer comes with two nozzles, one for larger jobs like painting walls, fences or decks and one for small items like furniture and crafts. Use the one that best fits your need. This is one reason this model is a great deal, you can do a wide variety of projects with it.
- Move in a constant, smooth side to side or up and down motion, careful not to swipe the sprayer in an arched pattern, stay parallel with the surface you are painting for a smooth, even finish.
- A large piece of cardboard held tight on edges (next to trim, walls you don’t want painted or the ceiling) will allow you to spray as close as possible to the edge, leaving less to hand brush or roll. Just be careful to hold the board tight and not spray under or over it. This really is a time saver!!! (BTW my daughter’s name is Mae, she knows how to spell amazing, but it is much more fun when she plugs her name in there…)
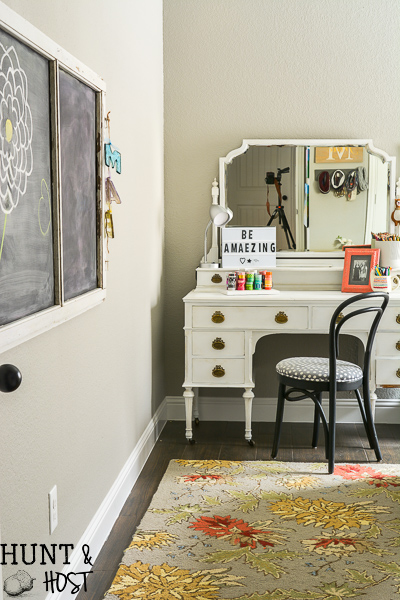
- If you cover electrical outlets and switches with tape you can spray paint right over them saving time when you go back and cut in!
- Wipe the nozzle of your sprayer with a damp rag periodically as you go to remove the dried paint and keep the nozzle clean and flowing freely.
- Music makes me work faster. Blast your favorite playlist or podcast.
- Open windows can help paint dry quickly and good circulation always helps me stay comfortable while painting.
- Cover your open paint bucket with a damp cloth to preserve paint while you work without having to open and close the can a bunch. This works for wet paint brushes too, wrap them in a damp paper towel in between paint sessions if needed!
- Don’t forget you have directional spraying options with the Wagner sprayer as well, turn the spray nozzle to adjust your spray pattern to up and down or side to side to best accommodate the area you are spraying.
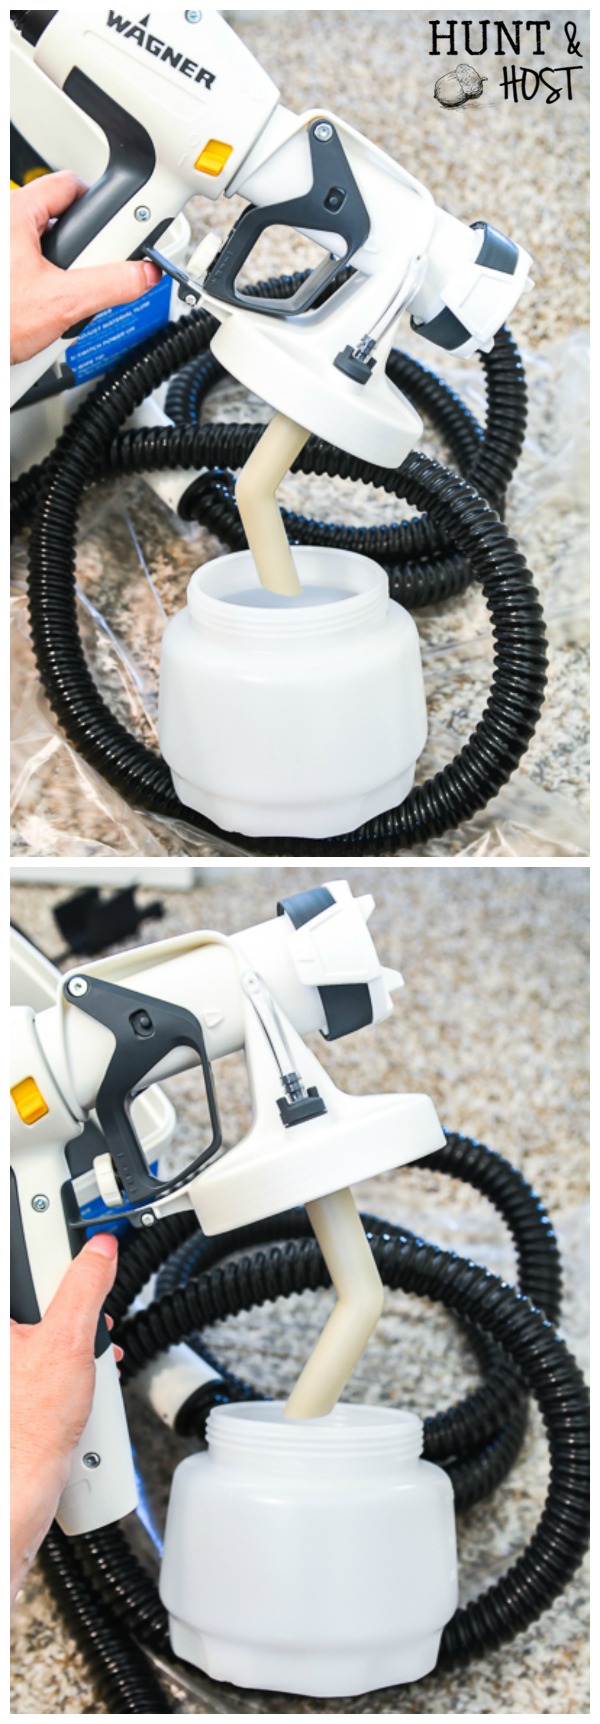
- To get the most paint out of your bucket be sure to point the little paint suction tube the direction you will be leaning most, if spraying downward point it to the front, spraying up, point it back.
- Clean up on the Wagner Studio Pro is so simple, all parts easily come apart and the plastic wipes clean with warm soapy water, if you let the paint dry a little too much use the wire bottle brush provided and I find a Scotch Brite pad to be super helpful in rubbing off dried paint!
- You can use almost any type of latex, chalk or milk paint plus stains and sealers in the sprayer most without diluting!!! This makes this sprayer so versatile and amazing. It really is perfect for large or small projects.
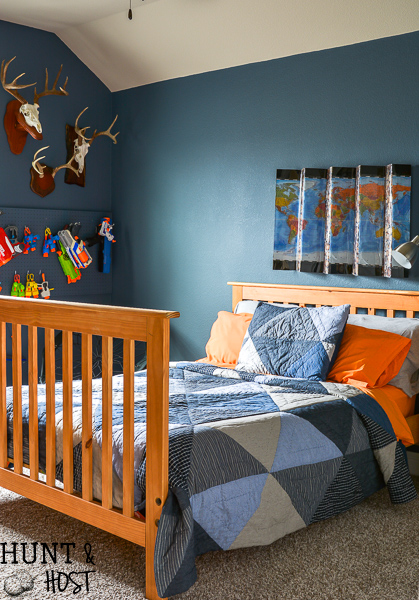
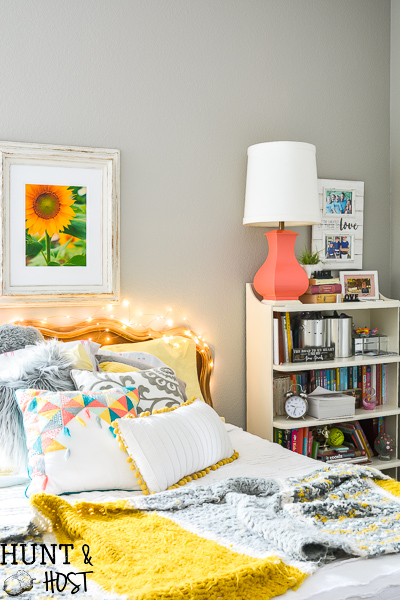
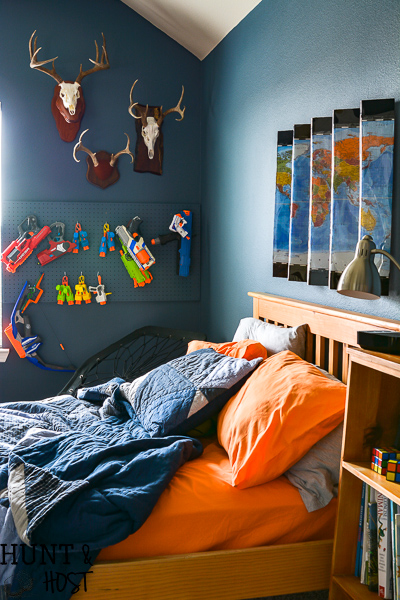
Whew – that was a lot of info, but if I left something out please feel free to ask questions in the comments and I will be happy to answer! Save this post for later in case you need help painting in the future, Pinterest is always a great place to store good info! Happy Painting friend. Additional info: In both rooms I used paint from Lowe’s, the HGTV by Sherwin WIlliams line. The blue color is Smoky Pitch and the grey paint is Mindful Gray. You can see how I made the acrylic wall art above my son’s bed here and the art in my daughter’s room here.


The color you used is awesome … so much warmer.
thank you – it is amazing what paint can do!
Love that blue!!
I NEVER use blue even though I like it, so this is a big change for me, I am loving it though!
These are fantastic tips Kim – and that blue color is epic! Love! Cheers – Kristy
thanks – I never use blue but I am liking it a bunch!
❤this! We are tackling some painting this weekend!
I bet you have a ton to do like we did!!!
Looks amazing! You always pick the best colors!
thanks – now come visit it 😉
Looks great! When I saw the blue walls with the deer head I immediately thought of a wallpaper I’d recently come across – have a look at Sanderson’s Evesham Deer Wallpaper … I think you’ll love it!
ummm, just looked that up and it is gorgeous and it looks just like this color! crazy, I love it!!! thanks for sharing
I love your dark colors. I’m painting a dark blue bedroom this weekend. I never tape anything off. Livin’ on the edge!
I often live on the edge too, but am learning when it is better to tape and when to not for me, but I have gone without tape for years!!! anyway you look at it , paint is the best!
Taping the Trim! That’s my favorite part. Well taping not so much, but removing the tape after is epic. #OCD
Davey
Just read this post and I’m getting ready to paint walls in a spare bedroom. I will be using the Wagner flexio 2000. My question is do you suggest painting up and down along the walls or side to side. I’m unsure which is best. I feel like if I go up and down I’ll be going up and down a ladder up and down up and down. But then I feel like if I go across once I get high enough that I can’t reach with my arm I’ll be on a ladder going across then down then across like. Does that make any sense?
I paint side to side, I think it is easiest and yes, sometimes you do have to climb a ladder which is no fun. Painting is a great update – one of my favorites, but it always has at least one tough part!!! Hope that helps!