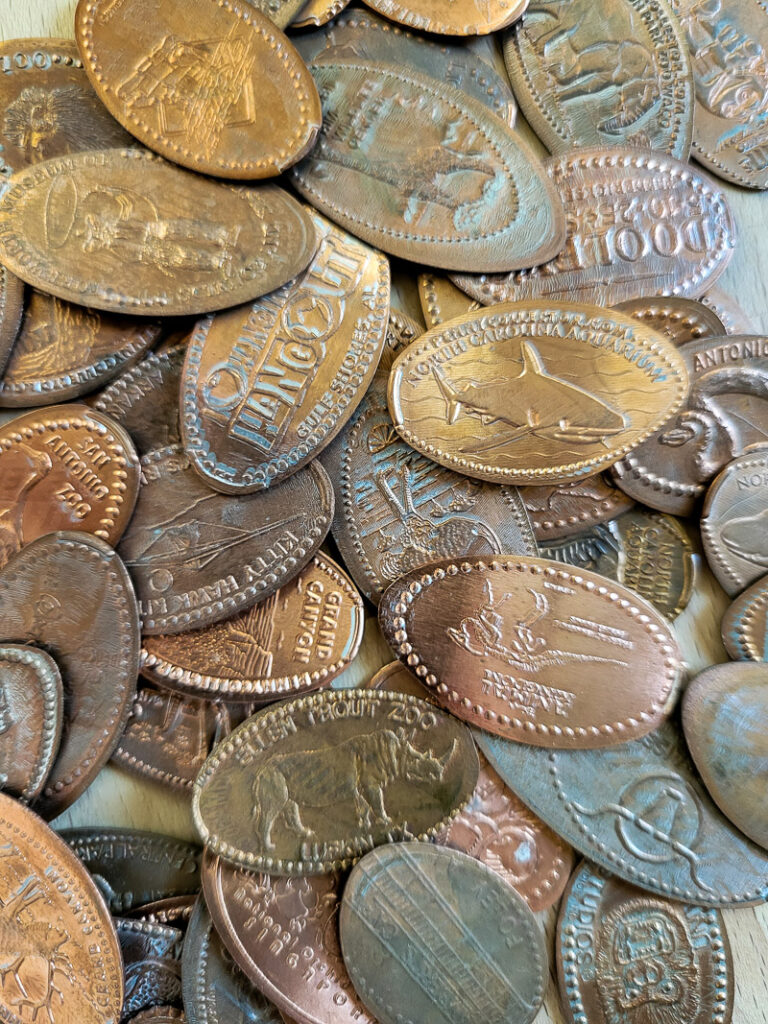
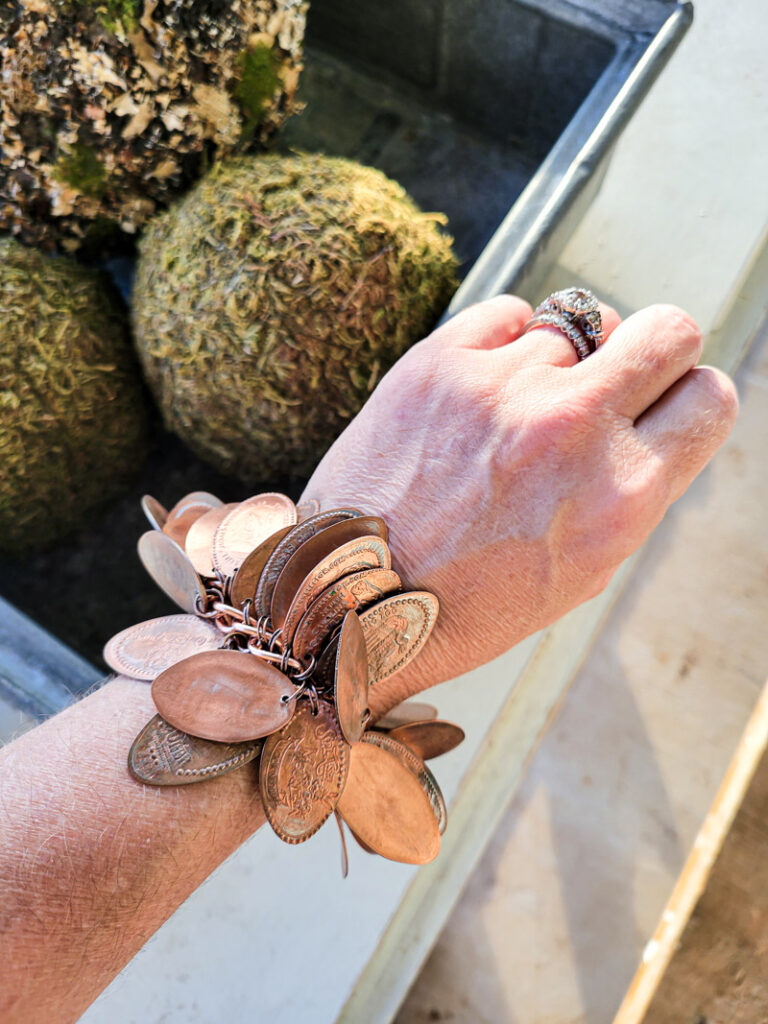
I’ve always enjoyed getting “unique” souvenirs when I travel. Sometimes it’s vintage decor I come across (if I’m lucky) but oftentimes it was these pressed pennies. The machines are usually easy to find and I think it’s such a fun little way to remember good times with your people (not to mention one of the most budget-friendly souvenirs you will ever find). The only issue I’ve personally been facing is years of collecting pressed pennies with absolutely no idea of how to showcase them. I didn’t want them stuck in a drawer forever, I wanted them somewhere that I could reminisce, that the souvenirs could be more than just “junk.” And that is where this pressed penny bracelet comes in.
It’s something I can wear, but also something I can decorate with in a way. If you have a jewelry tree or organizer, you can put it on that to show it off. Not for others even, just for yourself to see once in a blue moon and smile! I think it’s a fun idea to turn these little momentos into something that can be worn and seen, instead of sitting in a drawer getting dusty forever! I’ve already made mine, so now I’m going to tell you how you can create YOUR own pressed penny bracelet. It’s not as hard as you might think!
Pressed Penny Charm Bracelet Supplies
Souvenir pressed pennies
Drill (this is my FAVORITE drill)
Small Drill Bit
Needlenose Pliers
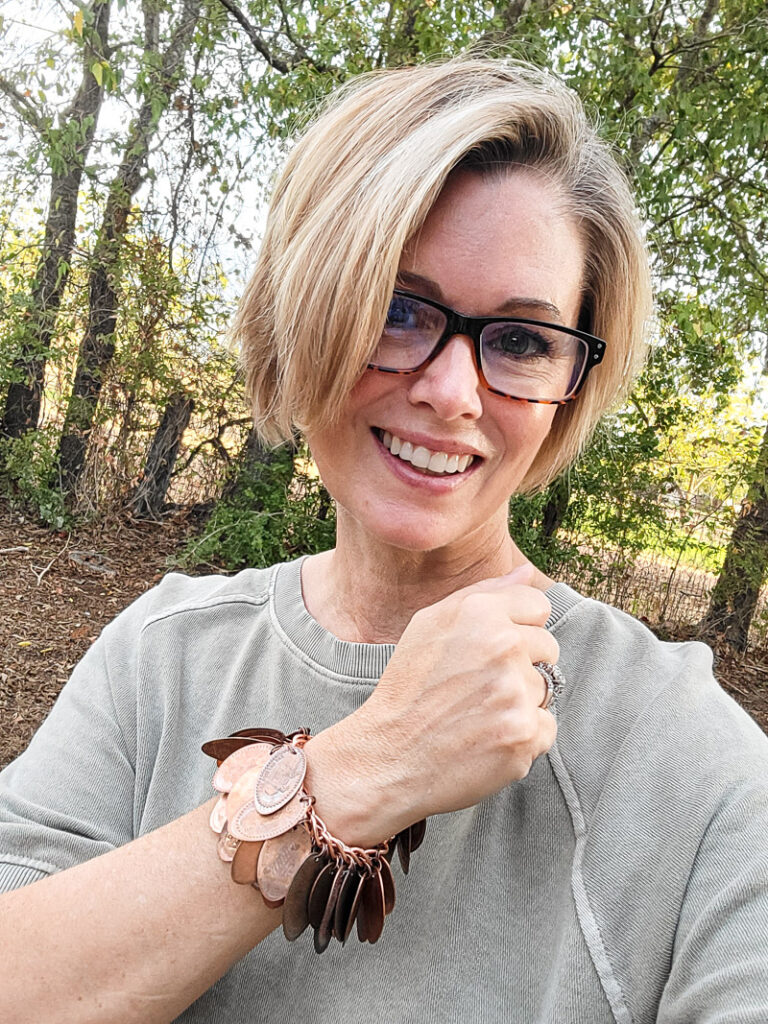
how to make a pressed penny bracelet
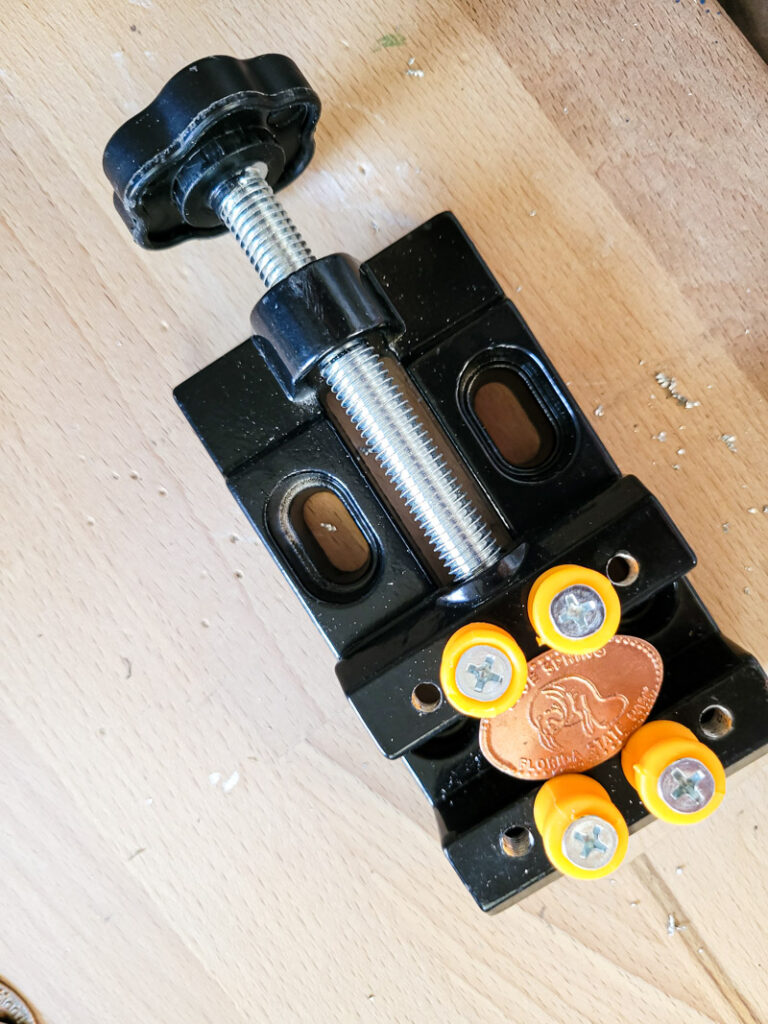
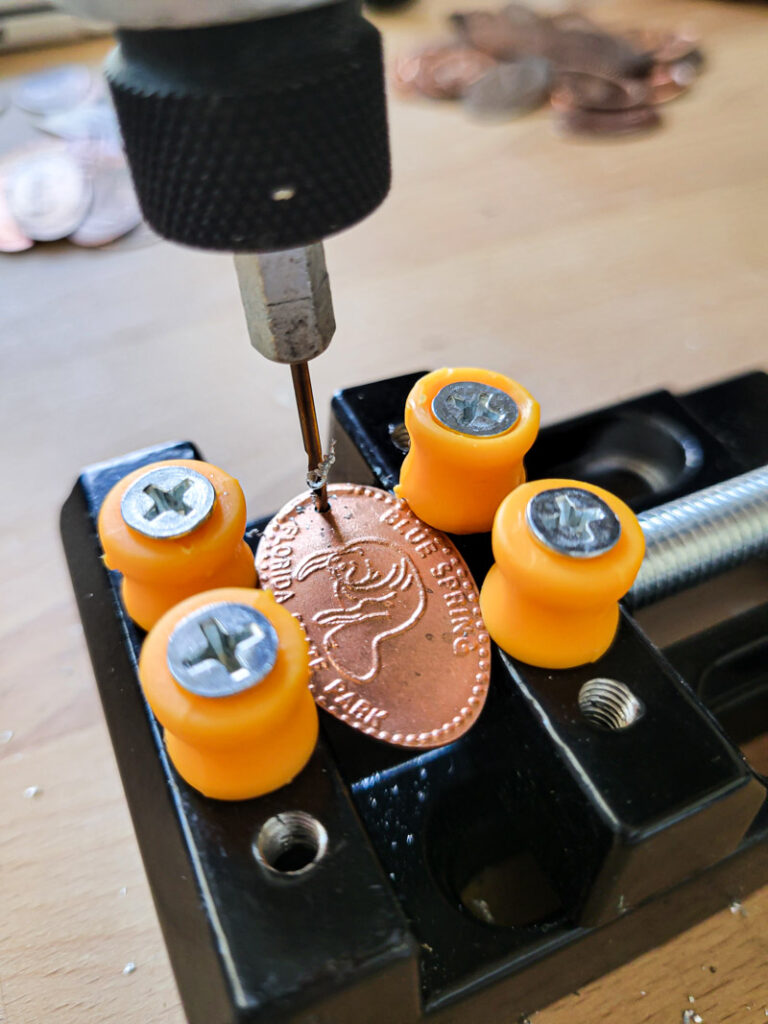
- You need some sort of vice or way to grip your pennies. I got this one online and it made the job super simple, I highly recommend something like this! Put your pressed penny in the vice.
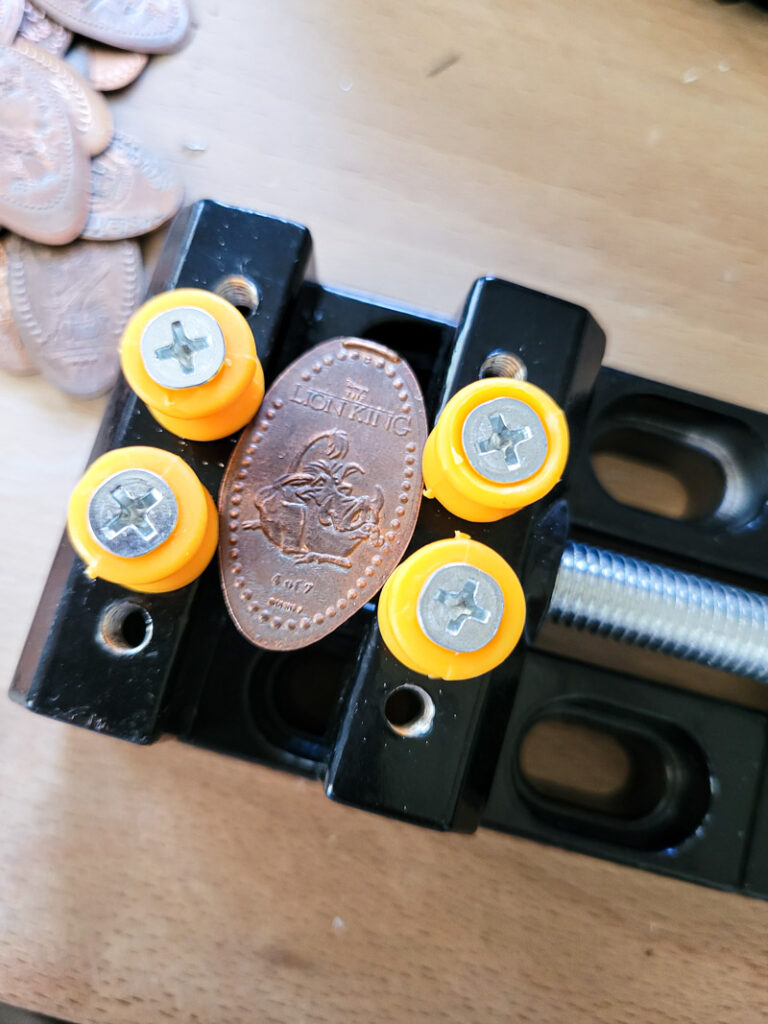
- Drill a small hole in your pressed penny. I used a small drill bit on a power drill, you could try the small hand drills that often come as a set with small vices. I had a bunch of pennies to drill, so it would have been way too much for me to hand drill. When drilling go slow, add slight pressure and let the drill bit to the work. With a tiny drill bit it can break easily, so let it cool if it gets too hot, and don’t feel the need to add a ton of pressure. Drills are made to do the work with moderate to little force behind them!
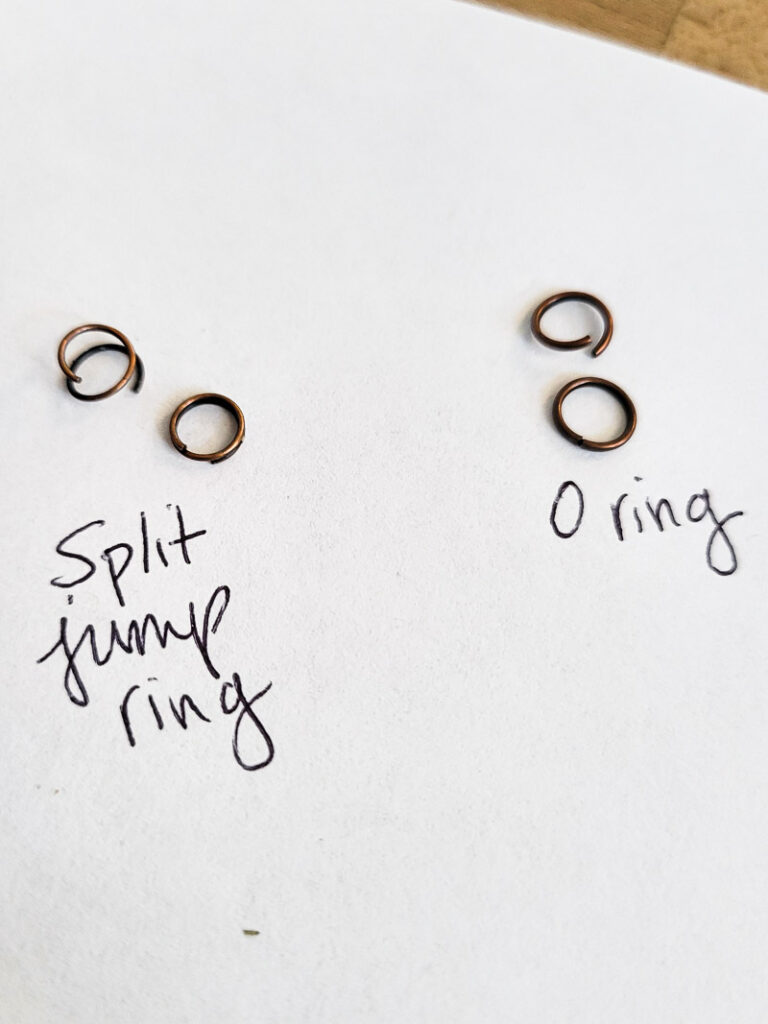
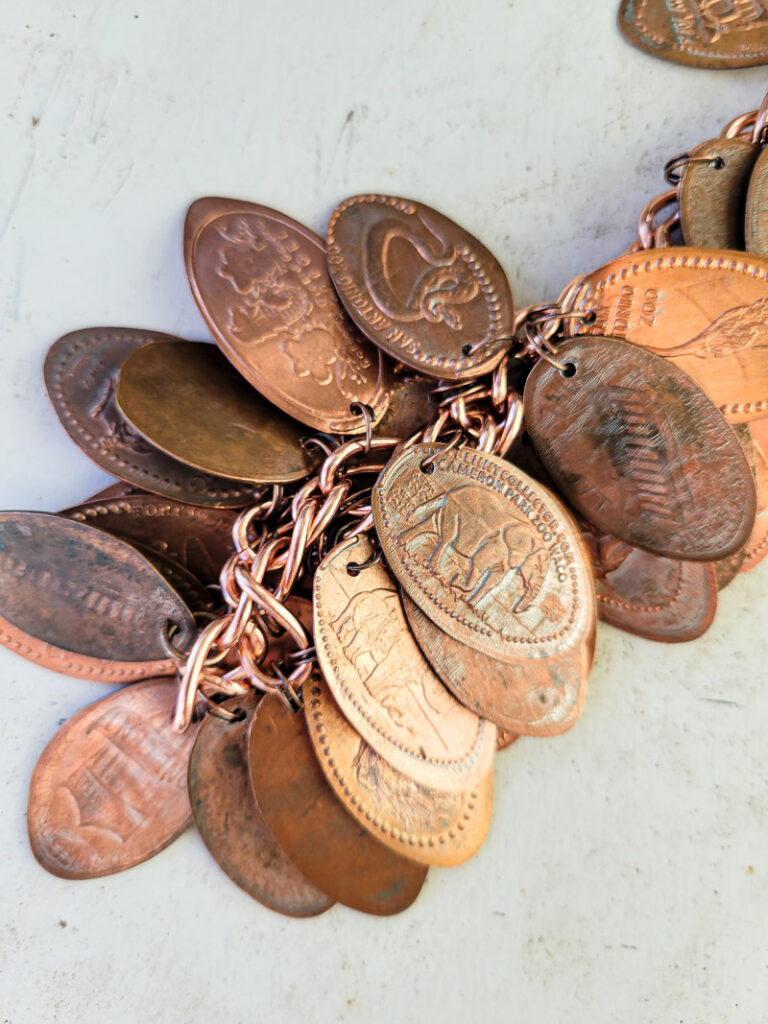
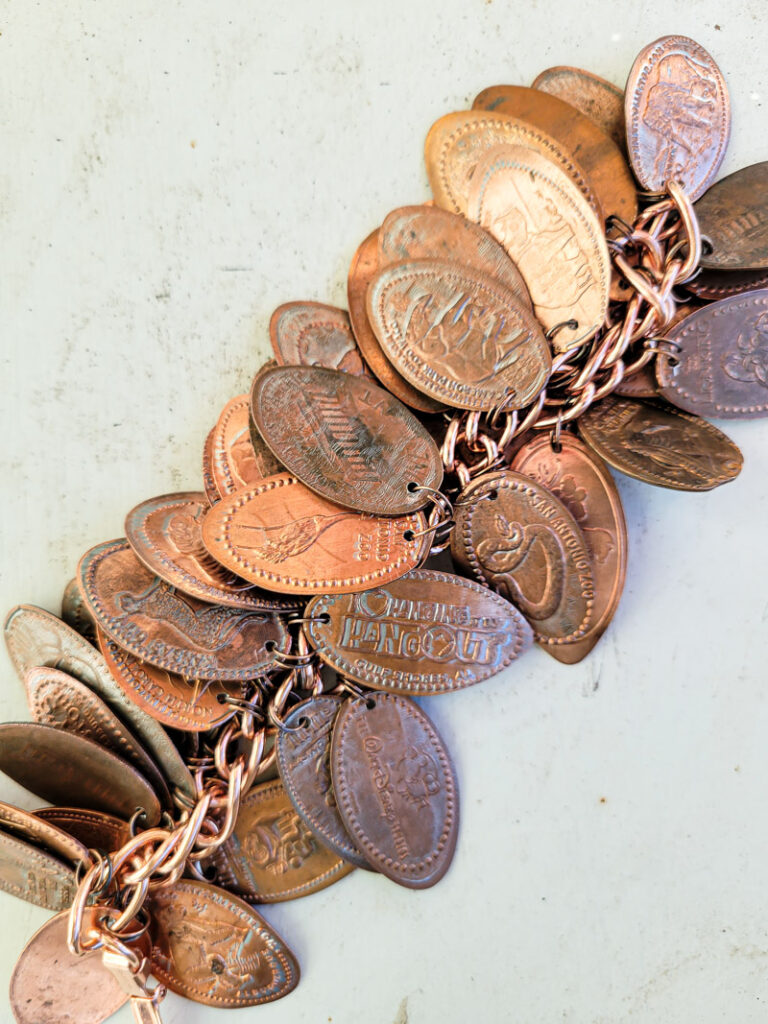
- I used split jump rings as opposed to O rings because I felt like they were more secure and had less chance of a penny falling free. You can use either. I have a picture below for you to see the difference, I opened each up so you can see better how they attach. I added each penny to a different link on the copper bracelet I bought and made sure to distribute them evenly along the bracelet. I think if you want to make a bracelet from the split jump rings you could do that and just string those together! Just another option for ya!
- That’s it! It’s a pretty simple process once you get the right tools, but even with purchasing a few things, the bracelet is cheaper than any charm bracelet you can buy and it is FULL of lifelong memories you can add to and build on for years to come.
I hope your souvenir charm bracelet filled with all the pressed pennies you can collect brings your heart as much joy as it does mine! Just this week my son was looking through my bracelet and reminiscing on all the vacations and outings represented by the pennies we collected over the years. That alone made it all worth. Make sure to save this pin for later so you know exactly how to make this souvenir treasure!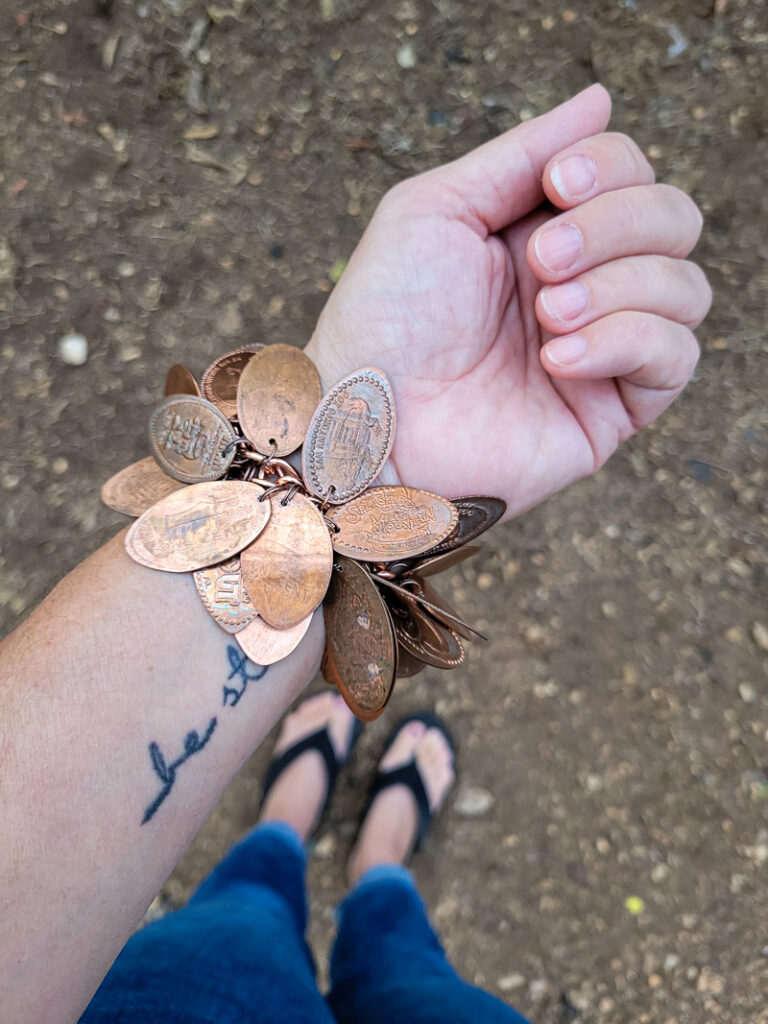


Leave a Reply