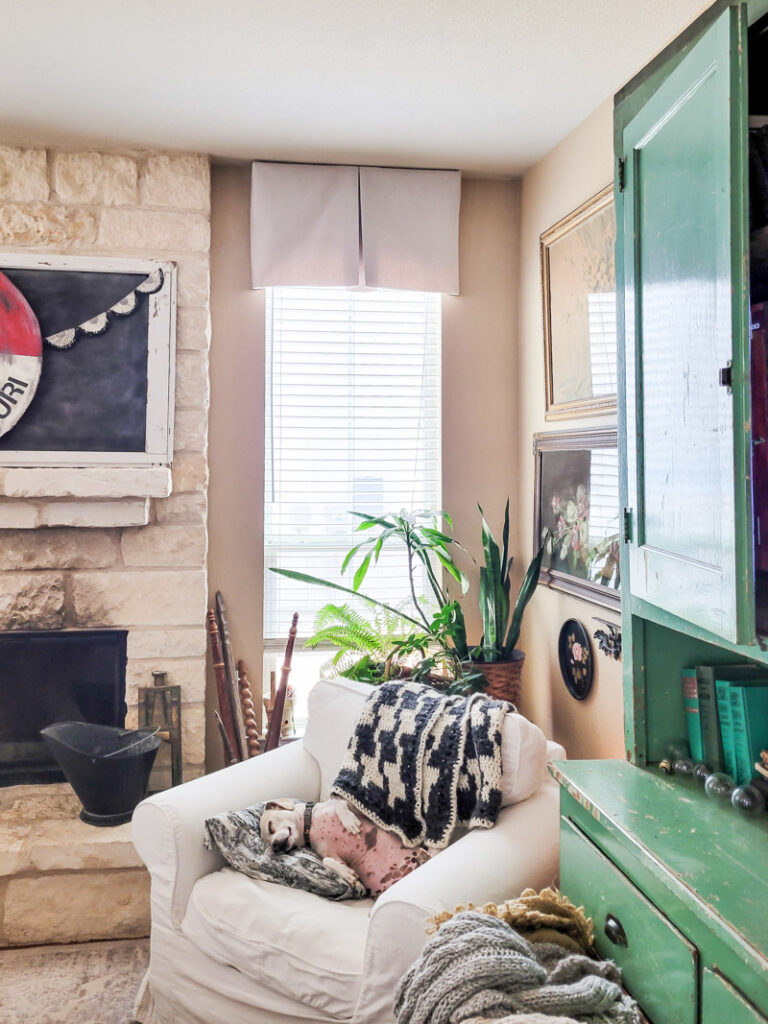
Curtains change a room, but they can be really intimidating if you don’t sew. Luckily, I have a no-sew curtain solution for you! I’m gonna show you how to make a no-sew curtain valance that will complete any room in your home! Of course, you can sew this curtain as well, but for you non-sewing ladies out there, I’ve got you. To make it even better – this one is SO budget friendly!
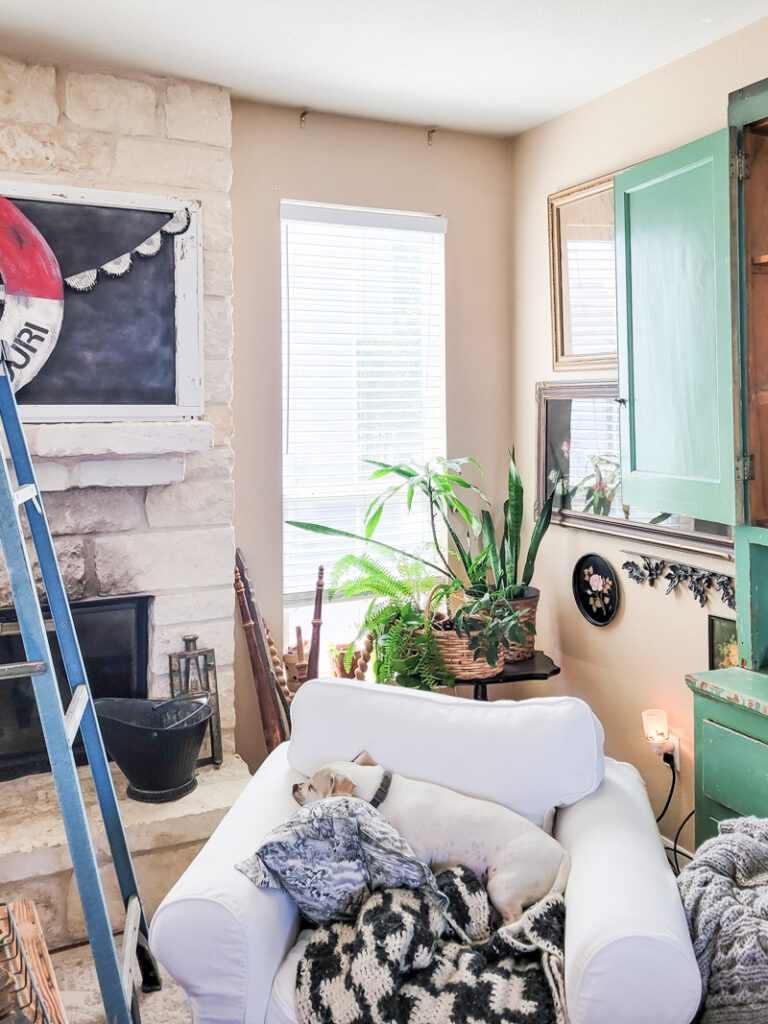
For the record, I HATE to sew. My mom is amazing at it, but not me. It is not in my wheelhouse. Maybe you feel the same!? I’ve stood by and watched my mom sew up dozens of curtains for me over the years, so I’ve picked up a thing or two. I still don’t like doing it though!!! LOL! When my mom came to visit recently we tackled the living room windows and took step-by-step pictures and videos to show you how to make no sew curtains of your own! I also have a supply list below for ya!
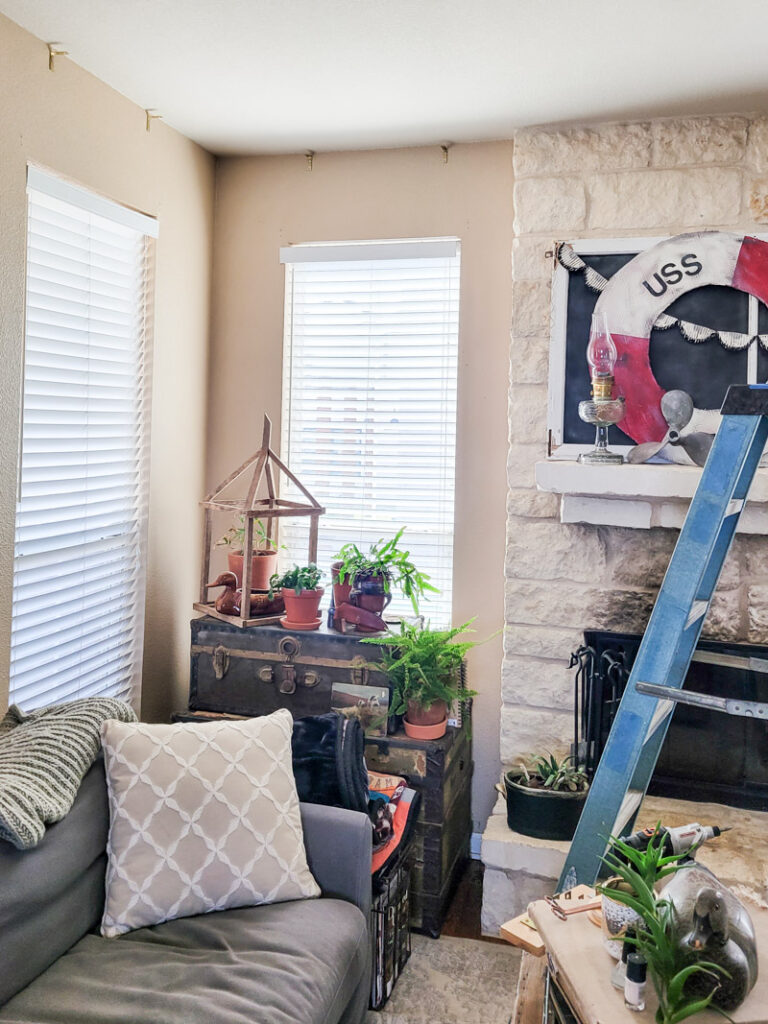
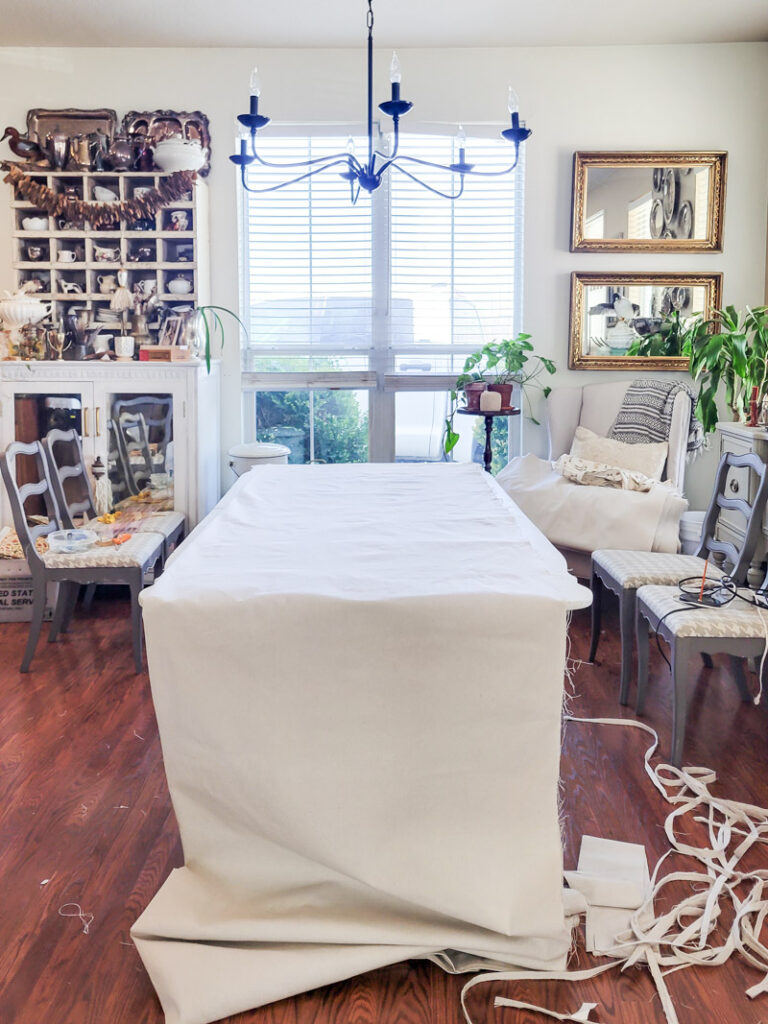
Drop cloth is my favorite curtain material because it is SO inexpensive and I love the worn, soft feel it adds to a room. The color is spot on for a neutral color palette, the neutral color tends to bend toward whatever you pair it with. Such a win! Also, if you don’t want to make curtains you can try this money saving curtain hack I LOVE! Let’s get to the details of making curtains yourself!
How to make No-Sew Curtains
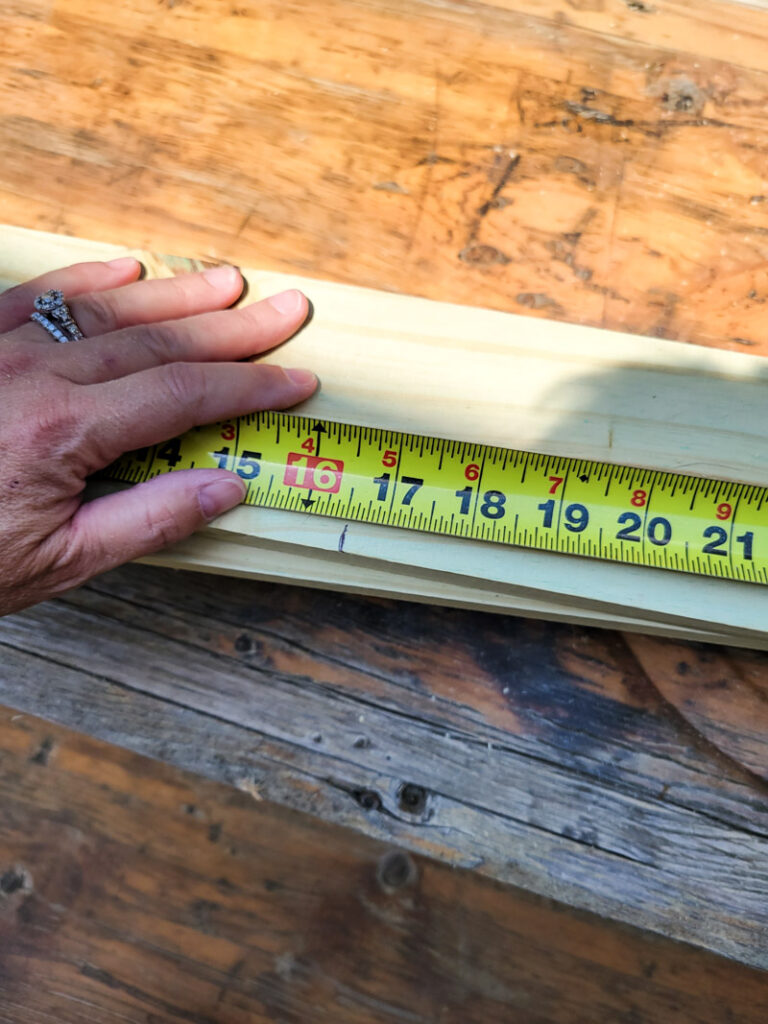
- Board 4” wide – Cut 2” wider than actual window measurements. You can add more if you want your topper further from the edges of your window.
- Before cutting your fabric, IRON it!! Thanks Mom!

- Fabric – Length – measure how long you want your topper to hang , then double that measurement and add 2”.
Width – add board measurement plus 22” (this is for pleat, sides, & seams)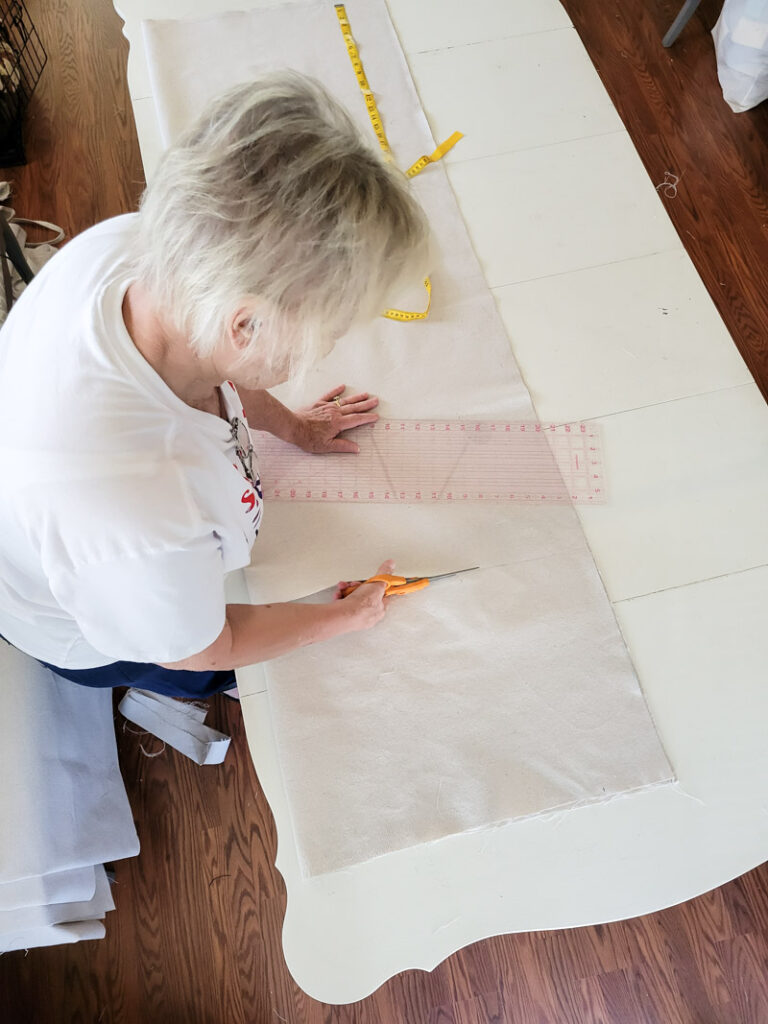
- Now, on the width edges, iron under 1” on each side. Then, fold in half lengthwise, right side together, and iron on the fold. You should have a long rectangular shape piece! Now, you can glue the side edges together.
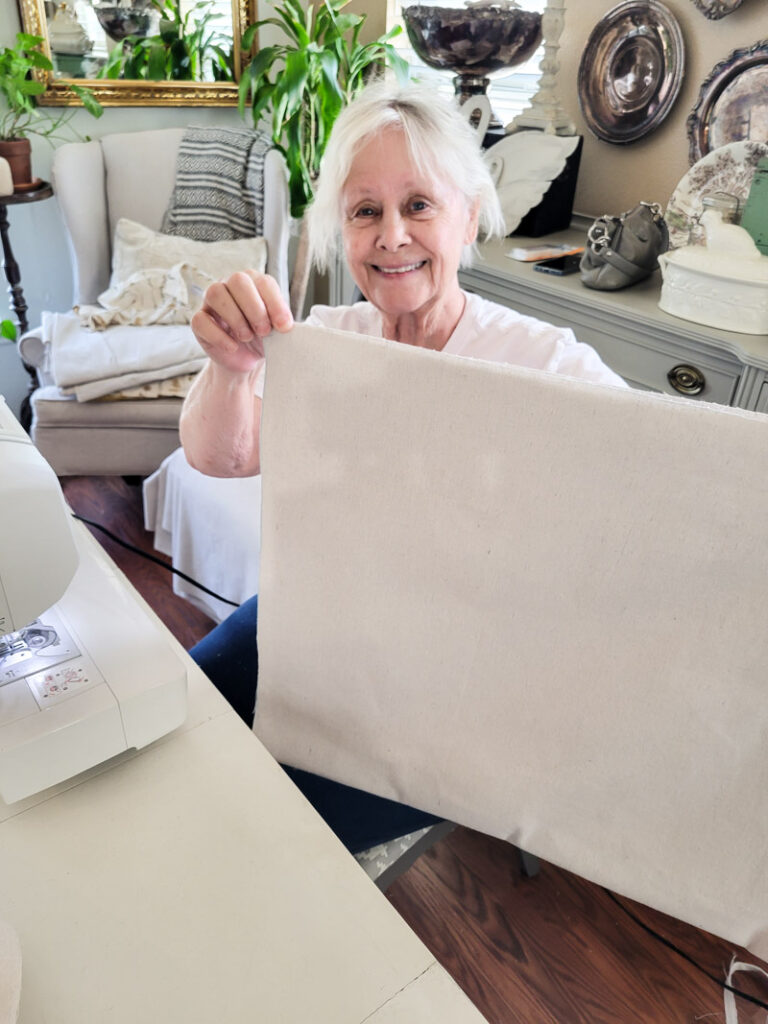
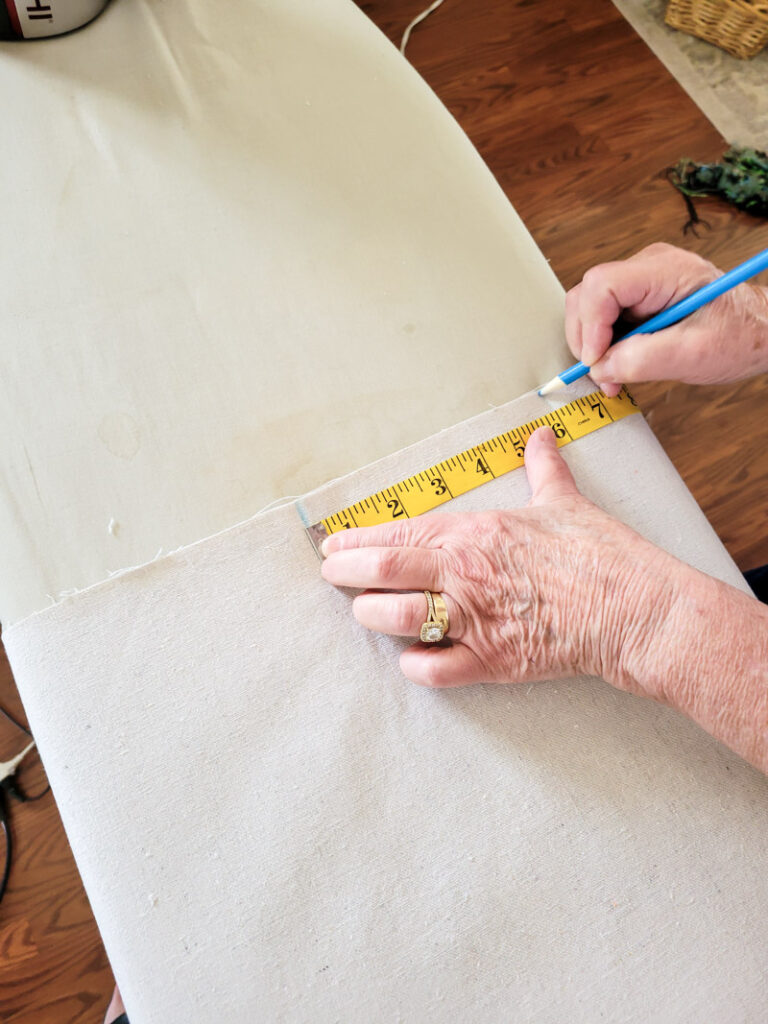
- Mark the center of your topper and then mark 7” from the center to the left and to the right. This will make the pleat.
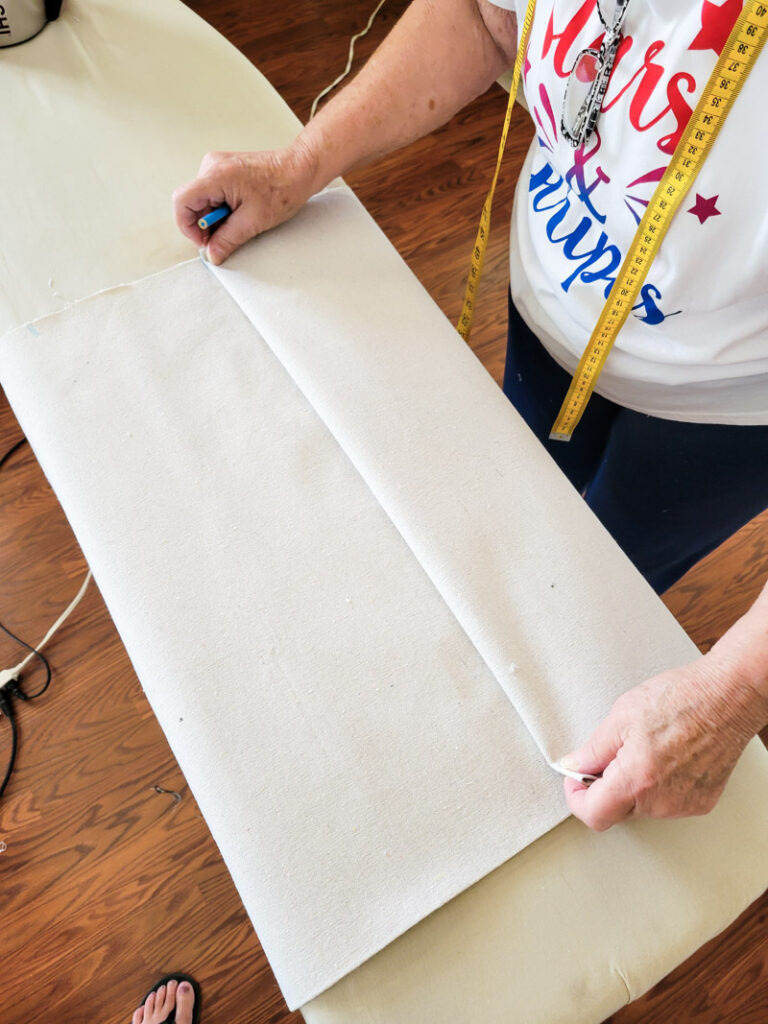
- Bring the 7” mark to the center mark and iron pleat all the way down to the bottom. You can glue the top of the pleat together for ease, but it will stay together when you staple it to your board.
- Ready to staple! Mark center of board and also, draw a 1” line from the edge of the board to help you keep a straight line while stapling.
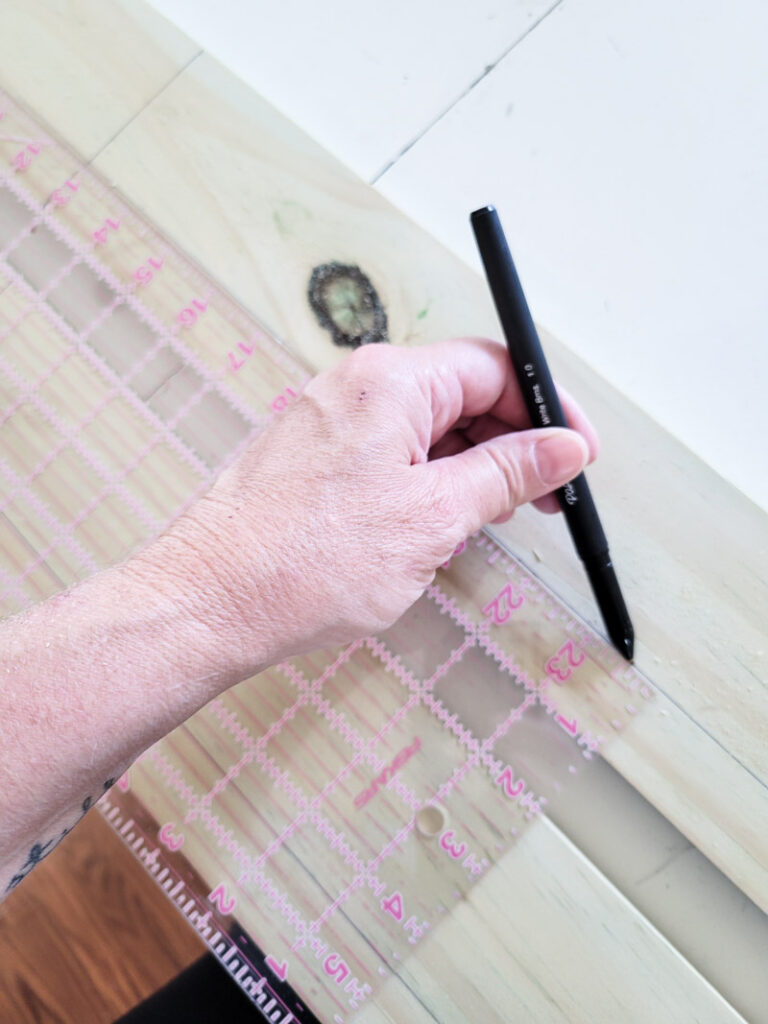
- Match center of fabric to center of board and start stapling out to the end of the board.
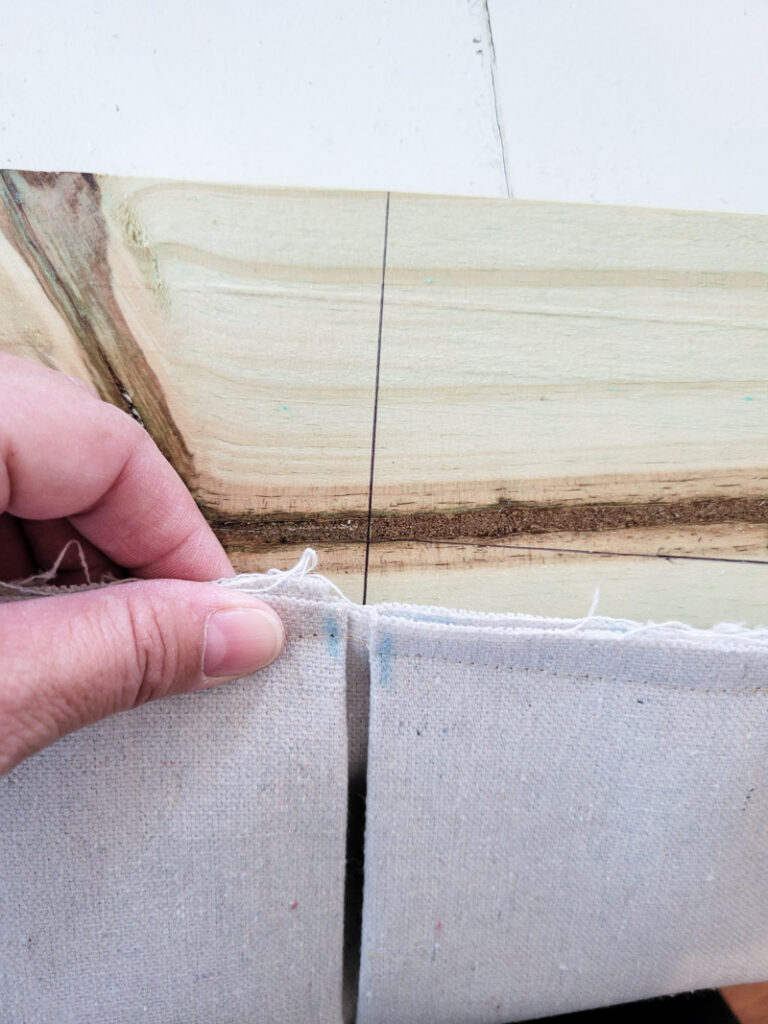
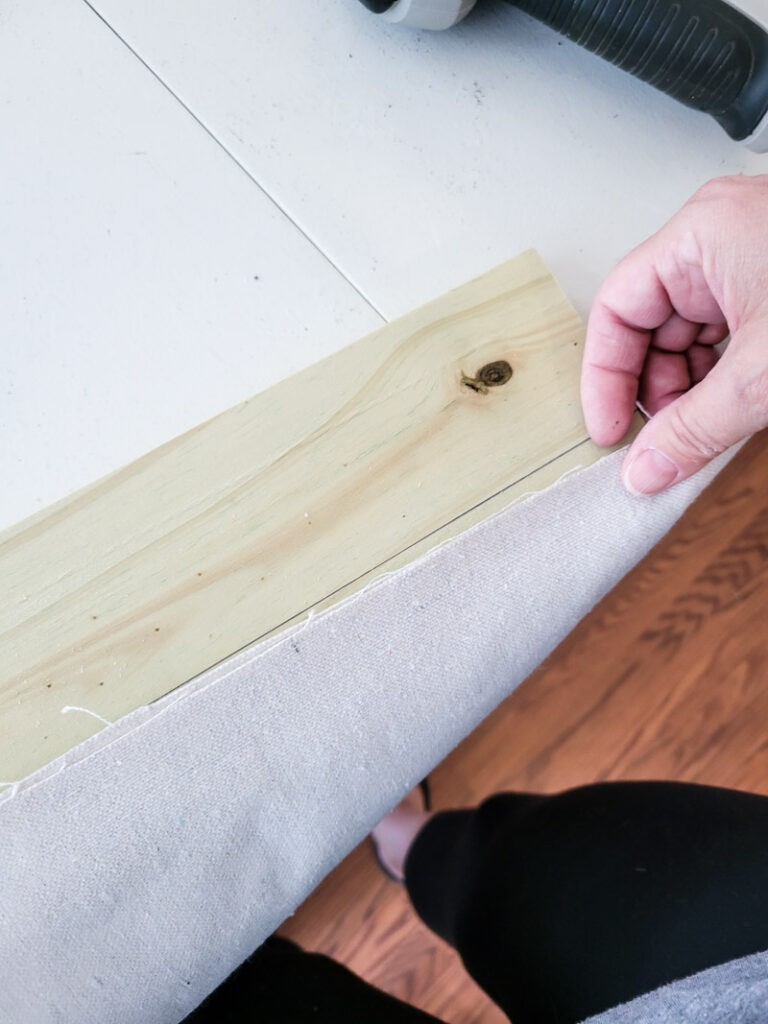
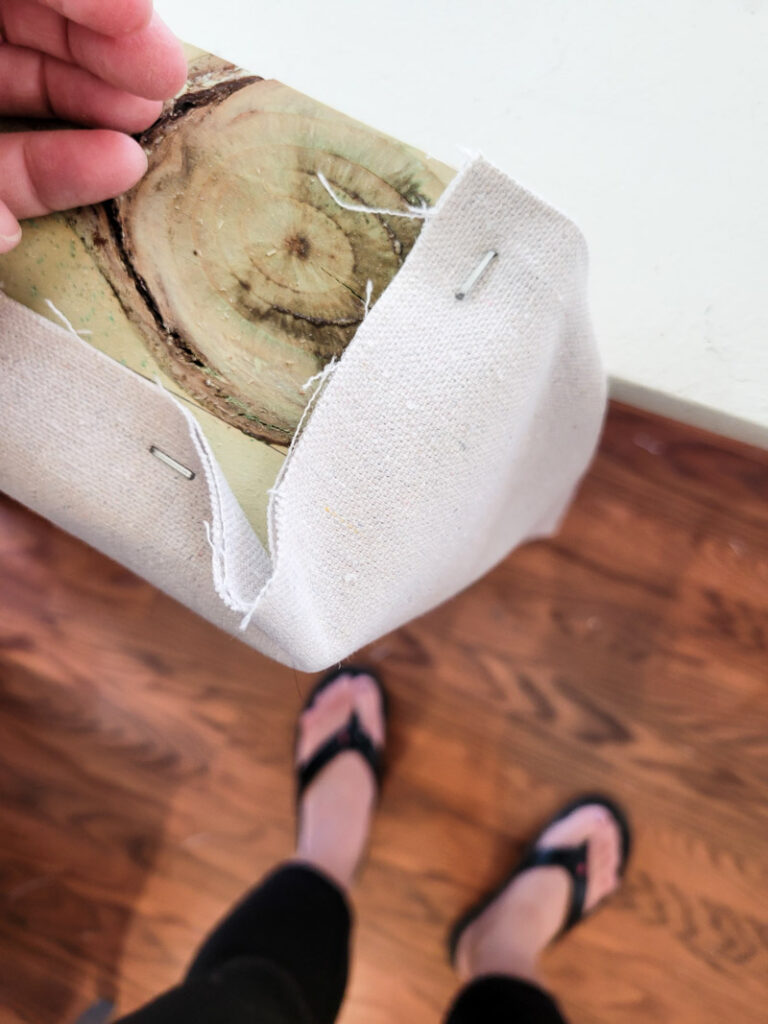
- Make small fold at the end to go around the corners and to the back edge of the board.
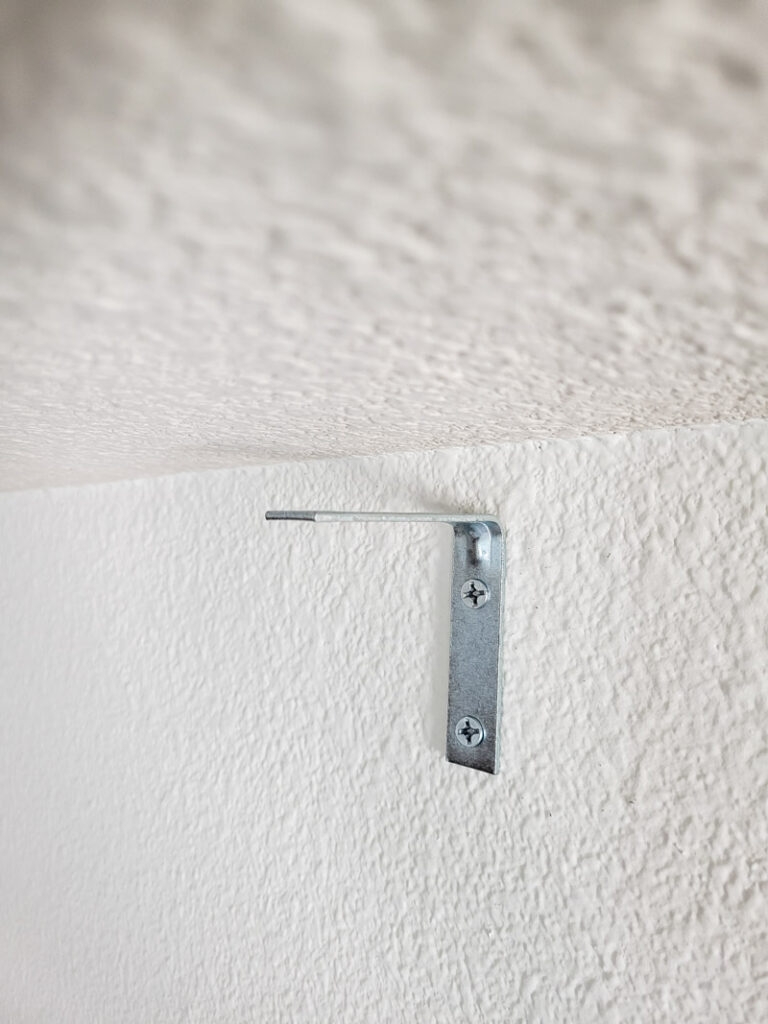
- Install 2 L brackets to your wall and then place board on top. You probably want to use some type of sheetrock anchor if you aren’t drilling into wood studs. Secure board to bracket with screws! My mom made this contraption years ago and it WORKS! If you screw the L bracket you are using to a piece of board the same size you are using, you can hold this up to the ceiling and drill your holes correctly 100 % of the time.
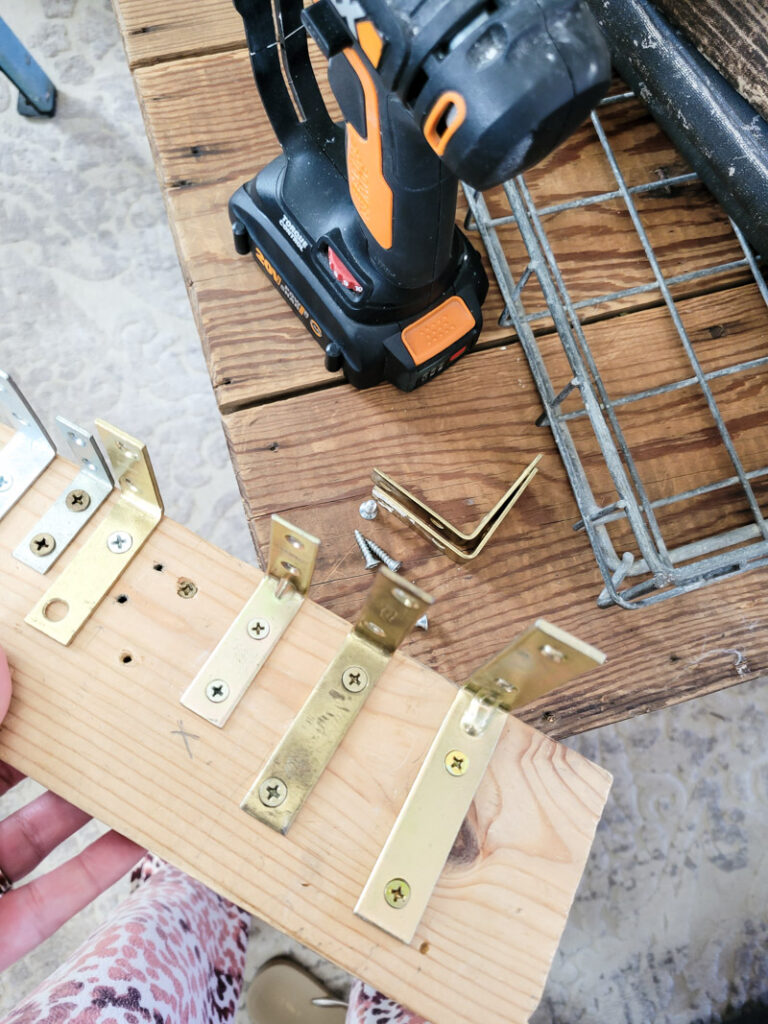
- Just be sure not to hold the board to the ceiling to tightly, leave enough room to slide your curtain board up there, remember it will have a little fabric stapled to the top making it slightly thicker.
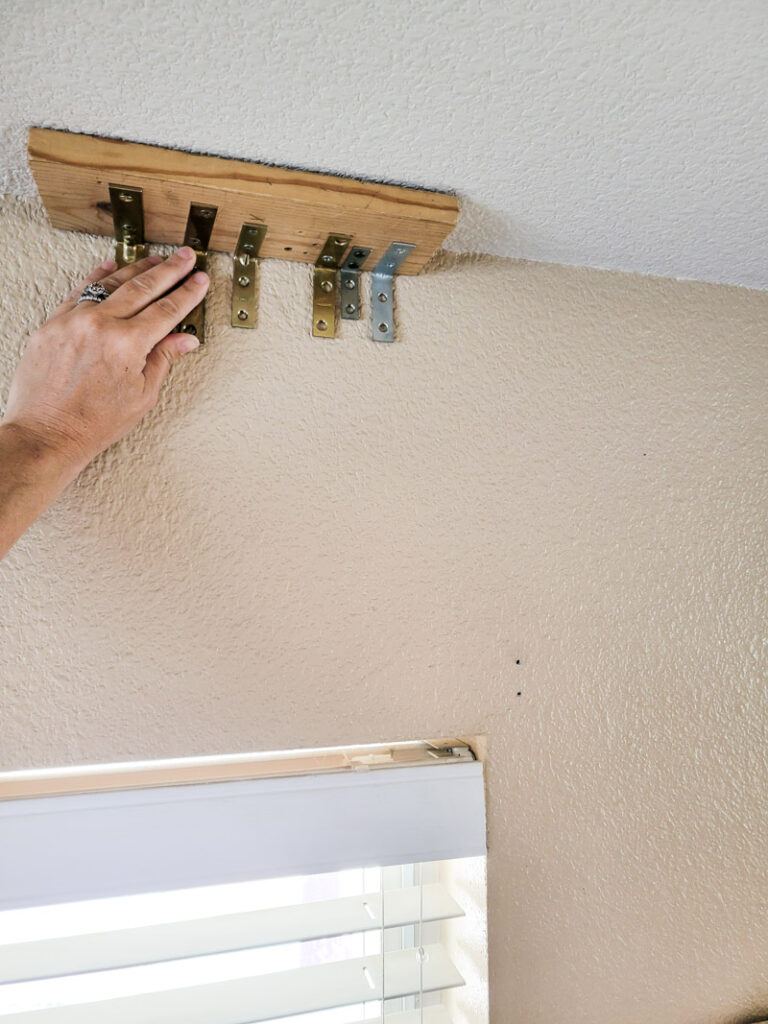
- I find that once I secure my L bracket to the wall, I can slide the finished curtain board up there and not even secure it, it just stays put. But if you aren’t as daring as me, feel free to screw the top portion of the L bracket to your curtain board once it is in place and centered on the window correctly!
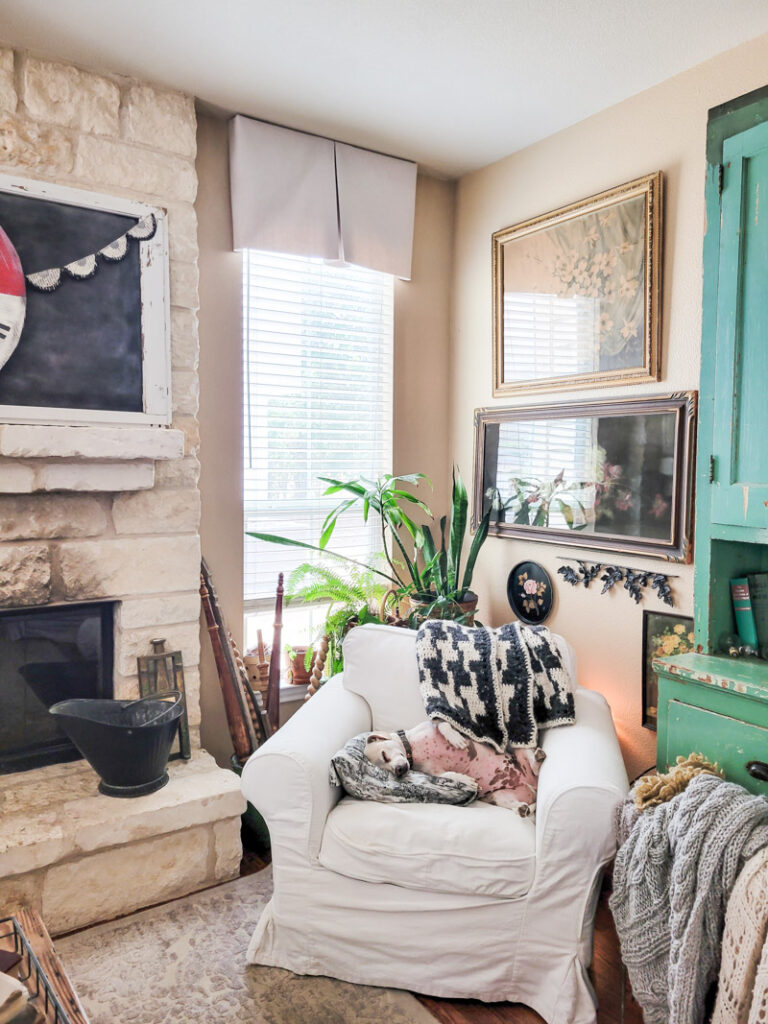
- You are done and they look fabulous!!! Now check out the supply list if you need any extra details…
No Sew Curtain Supply List
You may have some of these supplies and tools, but these are what I use and my favorites!


Leave a Reply