If you’ve ever wondered how to make easy fabric pumpkins this is the post for you! I am going to show you three ways to make fall pumpkins for your home decor, including a no sew fabric pumpkin tutorial! Woohoo, pumpkin overload coming at ya hot.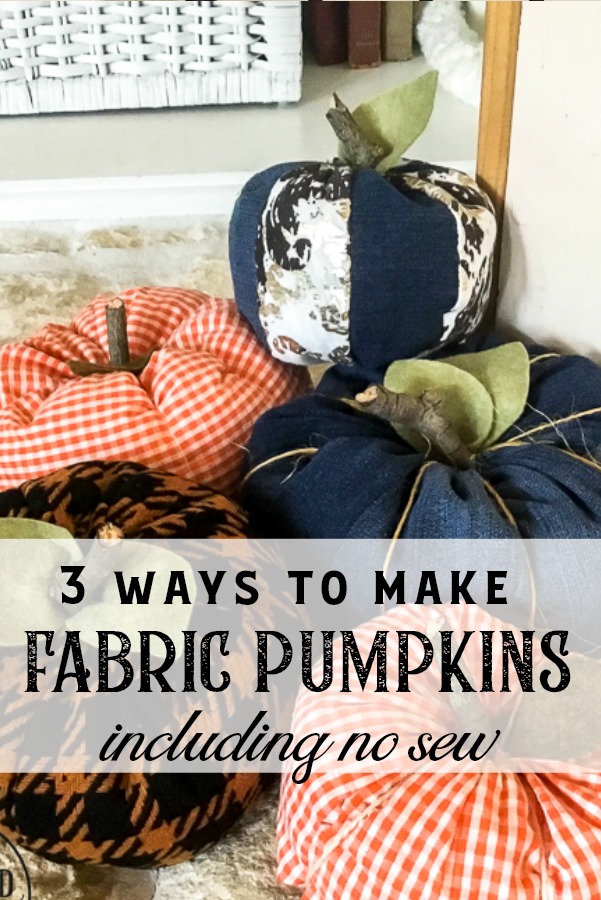 Pumpkins have branched out since the good old orange days and this year large florals in unexpected fall colors are hot! I’m totally in on this trend and making your own pumpkins is a great way to budget decorate for fall. Because seriously, I saw pretty floral pumpkins for $10 each and the truth is…I probably won’t still be on a floral kick next year. I don’t want to break the bank on something I will use for a season, you know what I mean?
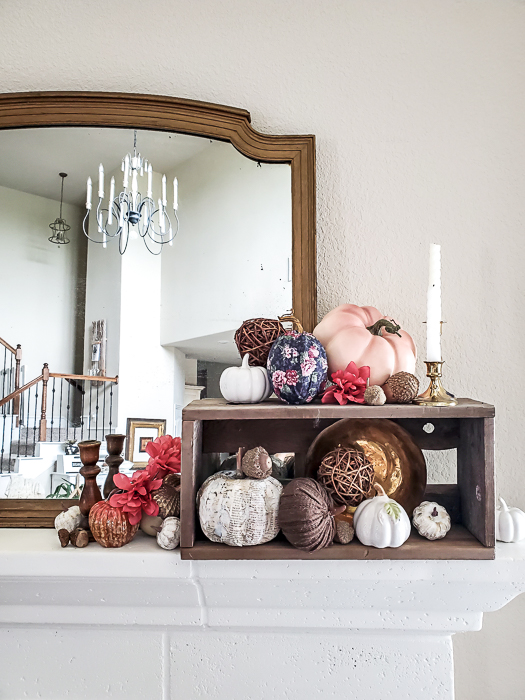
Pumpkin #1 – No Sew Pumpkin Tutorial
The first DIY fabric pumpkin I am showing you is really easy. You will need a few cheap pumpkins in different shapes (you can find these at the dollar stores or even Walmart), cute fabric and some Mod Podge.
Start by cutting your fabric into a rectangle tall enough to reach the middle top to the middle bottom of your pumpkin. Next, cut the fabric in to strips about 2 to 3 inches wide. Taper the ends so you have a wedge shape like the picture below.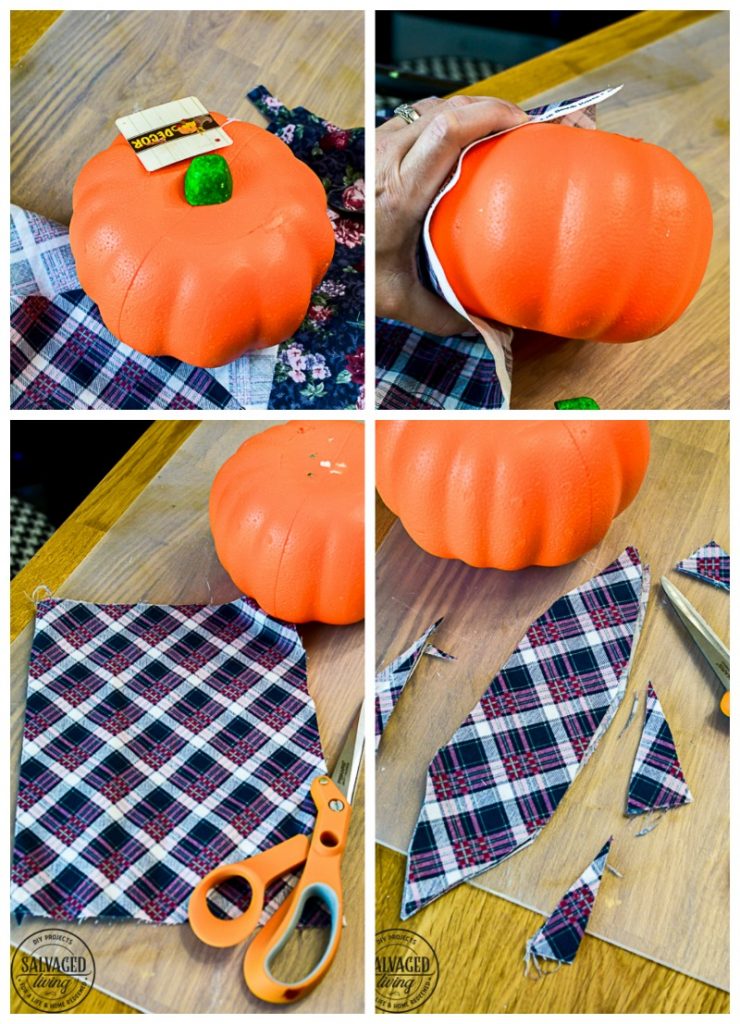
Work in small sections to paint Mod Podge (I use Matte finish because I love it) on your pumpkin. Paint the Mod Podge on with a sponge brush and then lay the fabric wedge over the glue, smoothing out and pressing into the creases with your fingers. You will get a little messy! Work your way around the pumpkin until covered. Paint a coat of Mod Podge on the outside of the pumpkin too. It will go on cloudy but dry clear. Add a fun branch like a stick from the yard, a real pumpkin stem or a wood dowel and faux leaves. 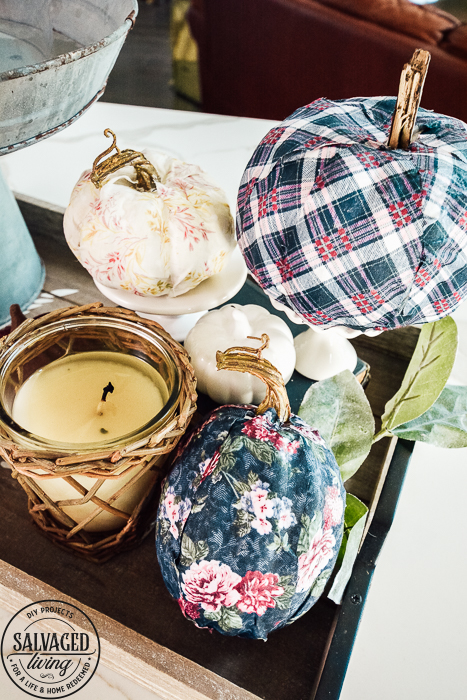
Pumpkin #2 – Stuffed Fabric Pumpkin Tutorial
First, cut your fabric into 7 strips.
Small – 2 ½” x 7”
Medium – 3” x 8”
Large – 3 ½” x 10”
Sew long edges together with right sides facing each other. You will have a circular piece when finished sewing.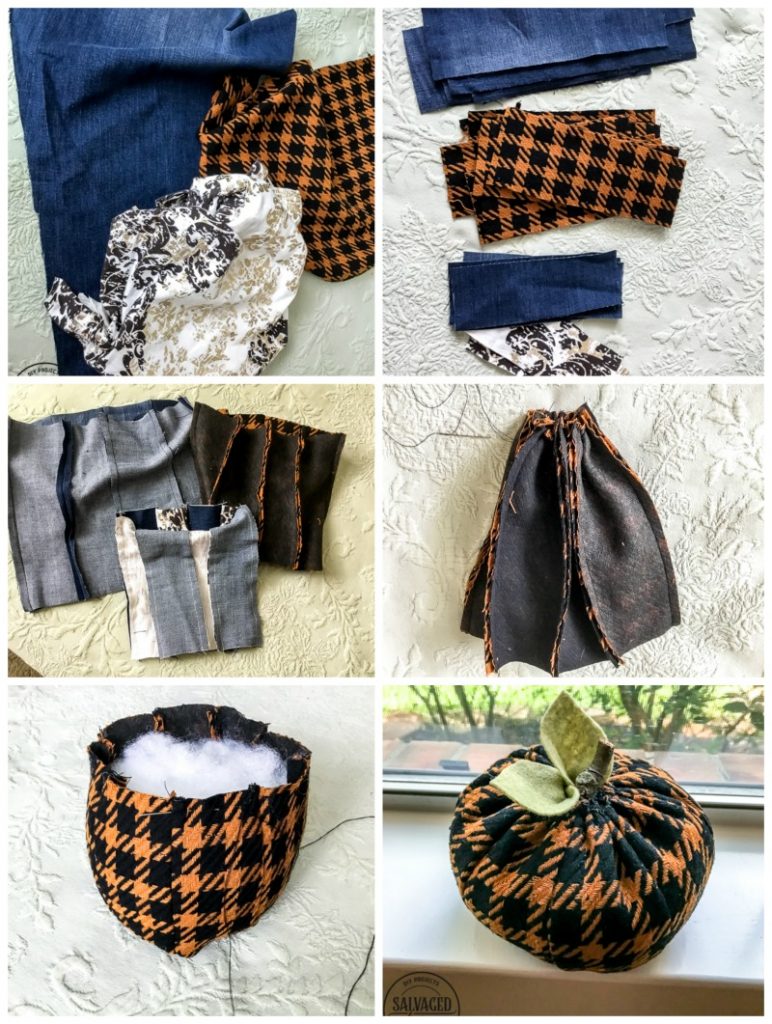
Next, with needle and thread, hand sew long stitches around the bottom to gather this closed.
Turn right side out and stuff.
Use needle and thread again to sew around the top edge. Pull thread tight to gather. You are done! Just add twig and leaves! I used felt for the leaves.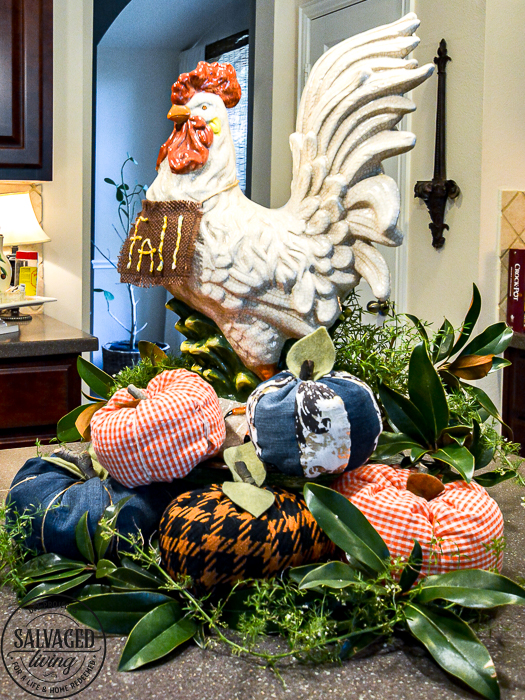
Pumpkin #3 – Another Way to Make Fabric Pumpkins (no sewing machine needed!)
Sew, if you don’t want to sew????, get some glue, Fabri-Tac, and make your pumpkins like this…
First, cut rectangle piece of fabric:
Medium – 17” x 8”
Large – 21” x 10”
Next, glue the short edges together, right sides facing each other. With needle and thread, sew basting stitch around the bottom and pull tight to gather.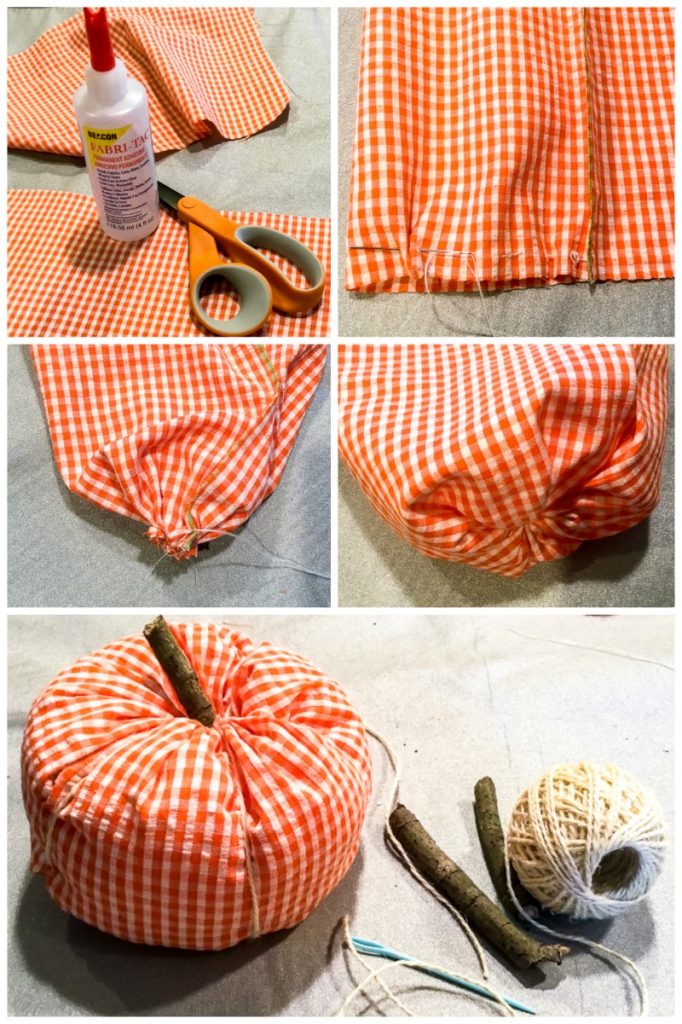
Turn right side out and stuff.
Use needle and thread to sew around top edge. Pull tight to gather.
Add twig and leaves and you are done!
For an extra kick, add twine or thread to your pumpkins by sewing it through the top and bottom holes in your pumpkin and pulling it tight enough to make that cute sectional crease!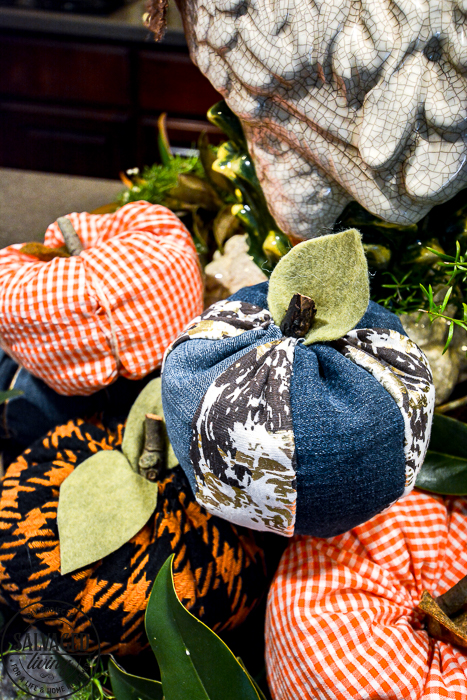
So which pumpkin are you going to try first? What fabric will you use? What are your fall colors? I have so many questions…please tell and share!!!


These are all so cute. Today will be 100 degrees in East Texas. These will make me look forward to the crisp air even more! Thanks for all your projects!
It’s the same here in Galveston! Too hot for anything but crafting and swimming
Devon
Very nice love all the pumpkins and decor. I have looked everywhere for the orange and white gingham fabric where did you find yours? I did make a orange and white gingham pumpkin butt used ribbon. Fabric would have been much faster and economical.
I love these! Thank you for showing us.