I had to get creative on how to make some dried flower wall art when my daughter asked me to decorate her dorm room in a sweet, feminine, cozy style. Mae showed me various inspirational pictures for her room and said, “I trust you, just decorate for me please.” I was THRILLED, to say the least. I hate to cook but this mama loves to love with decor!!!
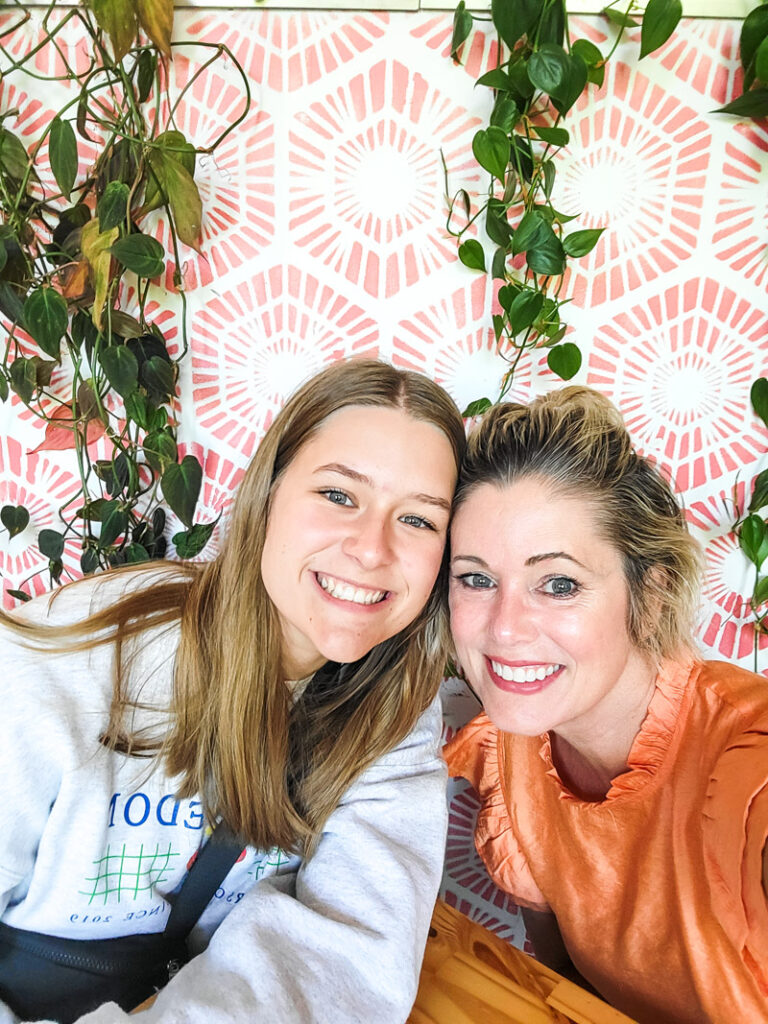
Decorating is my love language and I’d do about anything to bring a smile to my girl’s face, but honestly – she brought the smile to mine with her request to decorate her dorm room. And to top of the sweet ask, she wanted floral decor. Be still my heart.
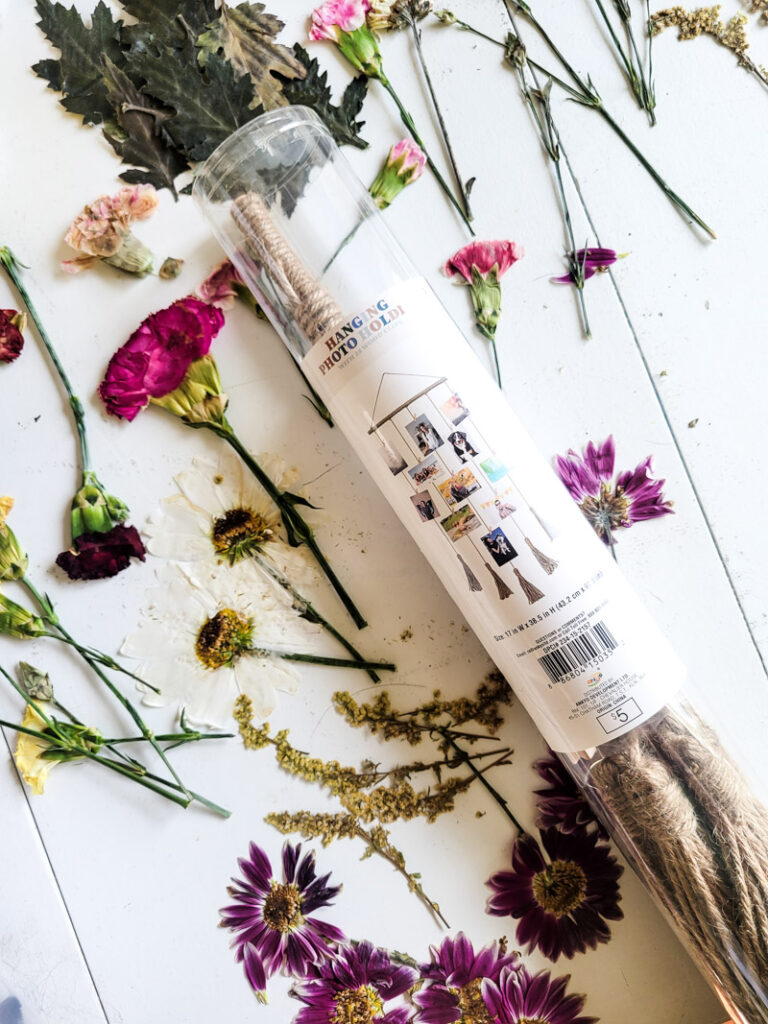
I started the task at hand with a few dollar-store items and my handy dandy DIY flower press (see how to make your own here). Of course, you can use a stack of books, but the flower press works REALLY well! Here is what I started with, you can see the colors and mood she was going for with these elements:
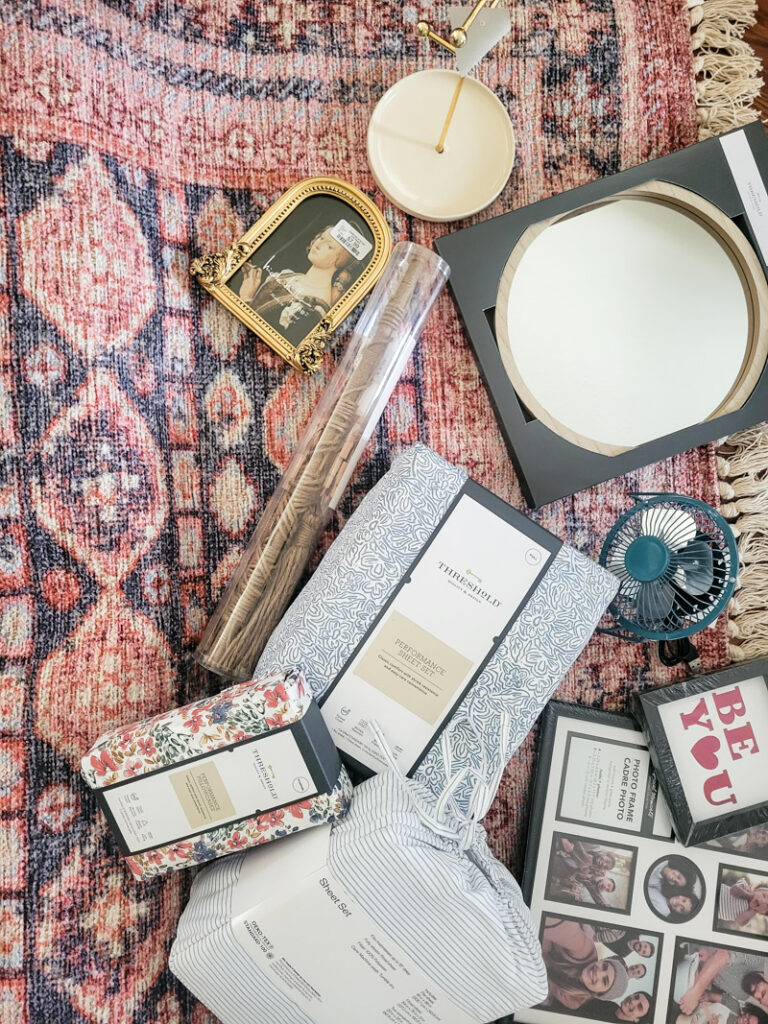
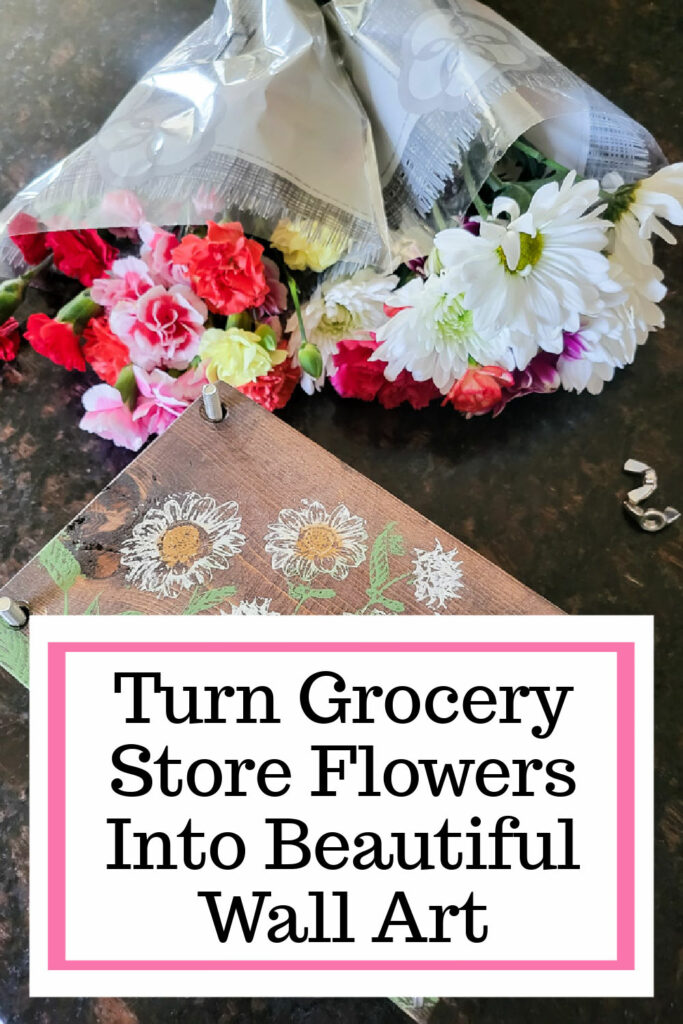
I would have loved to pick wildflowers for the job but was short on time, so a couple of grocery store bouquets did the trick for this dried flower art. I got a seasonal frame and blank photo frame at Dollar Tree and scored this cute jute wall hanging from the dollar spot at Target (I think you could easily make your own).
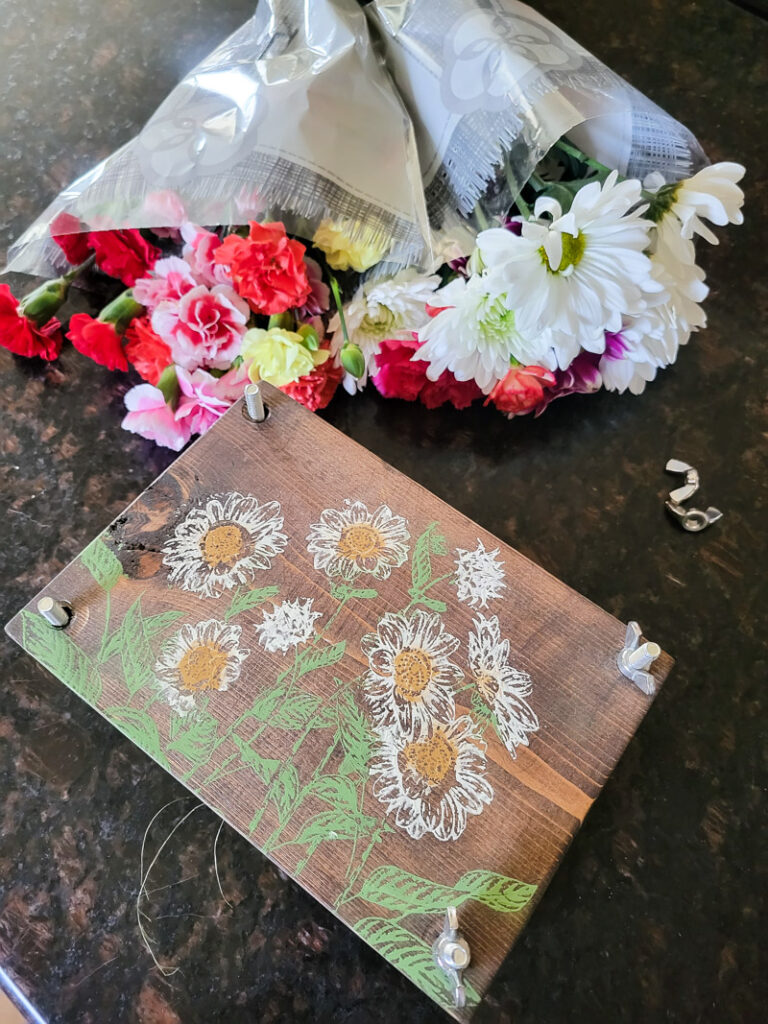
I let the flowers dry in the flower press, this normally takes a few weeks to get them good and dry, but again, I was short on time so mine were only in about a week. I would have liked them to be more dried out, so take your time on this part! I tucked a few flowers away in an old book too – I had more flowers than I needed, so I will save those for another project some day…
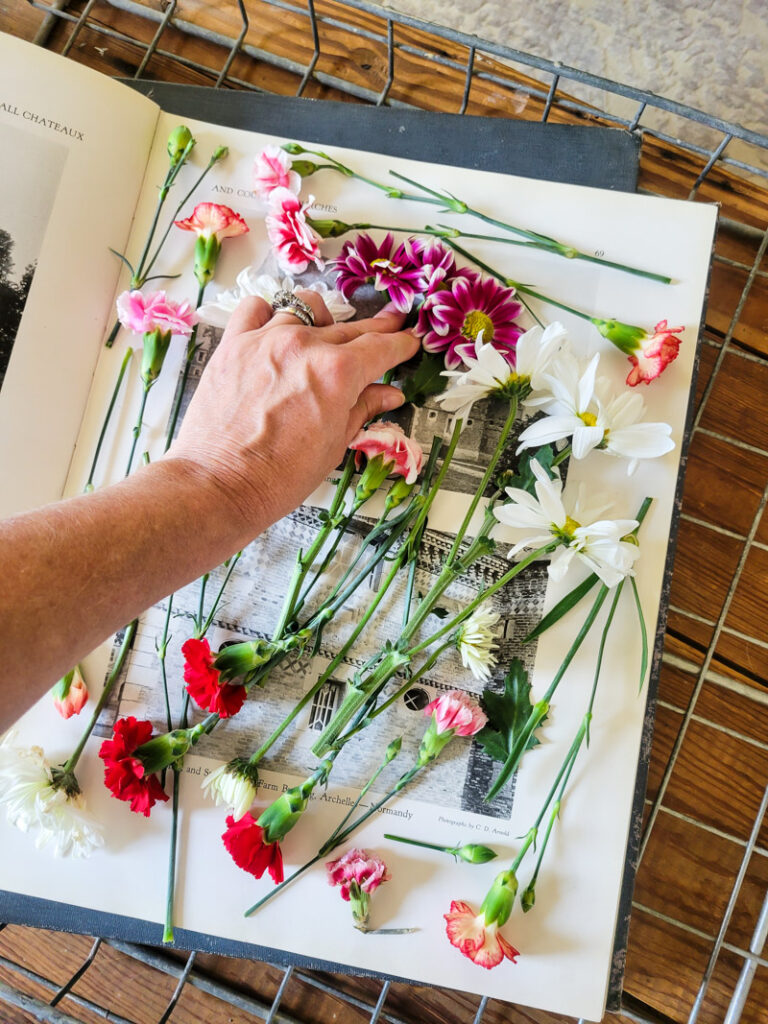
When you are placing flowers in your press, lay them in a variety of positions. You want some blooms pressed open, some buds, and some side views. Don’t forget to press some greenery and leaves. They are such a sweet touch to floral art.
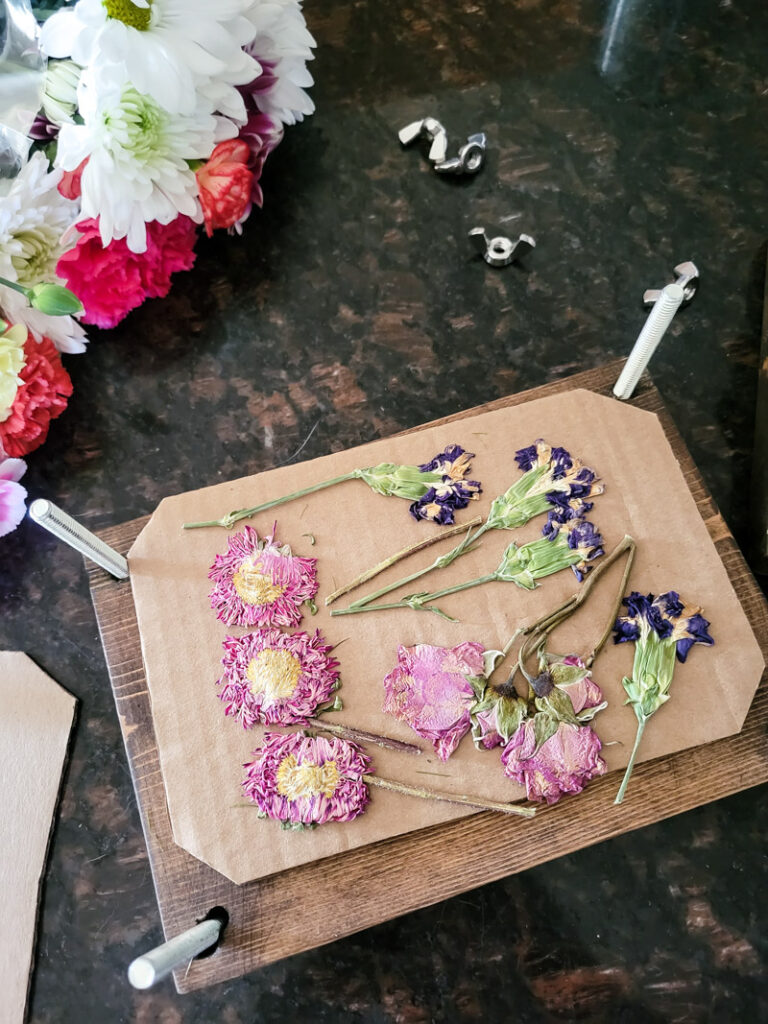
Once the flowers were dried, the fun began! The makeovers started with this Dollar Store find:
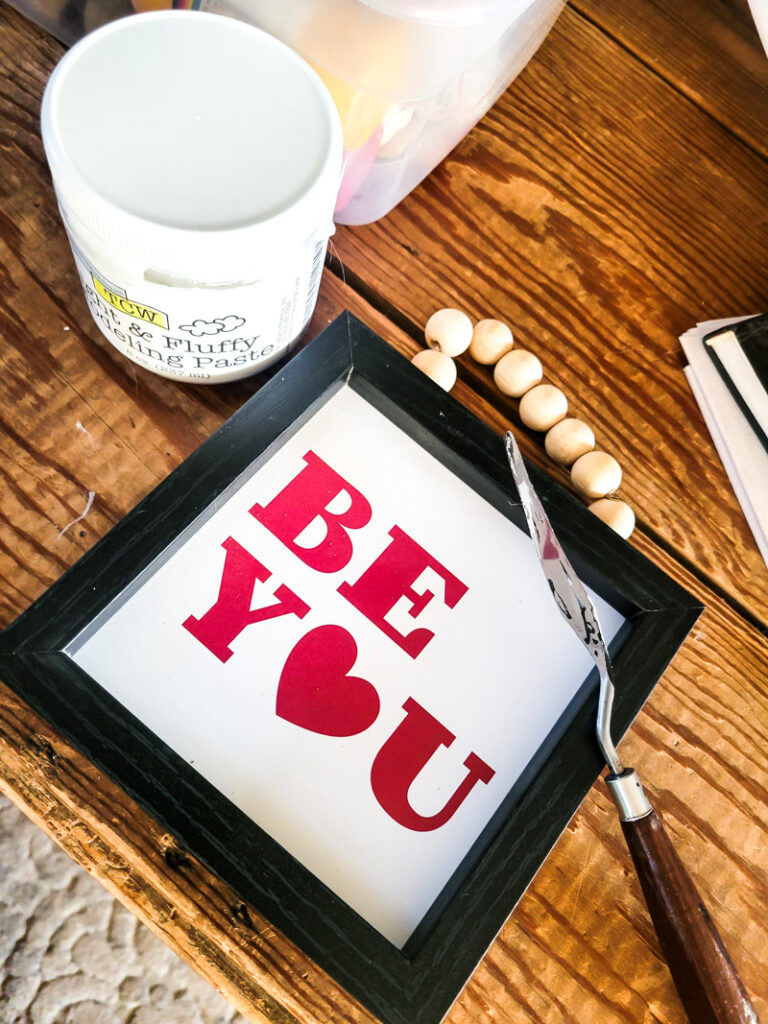
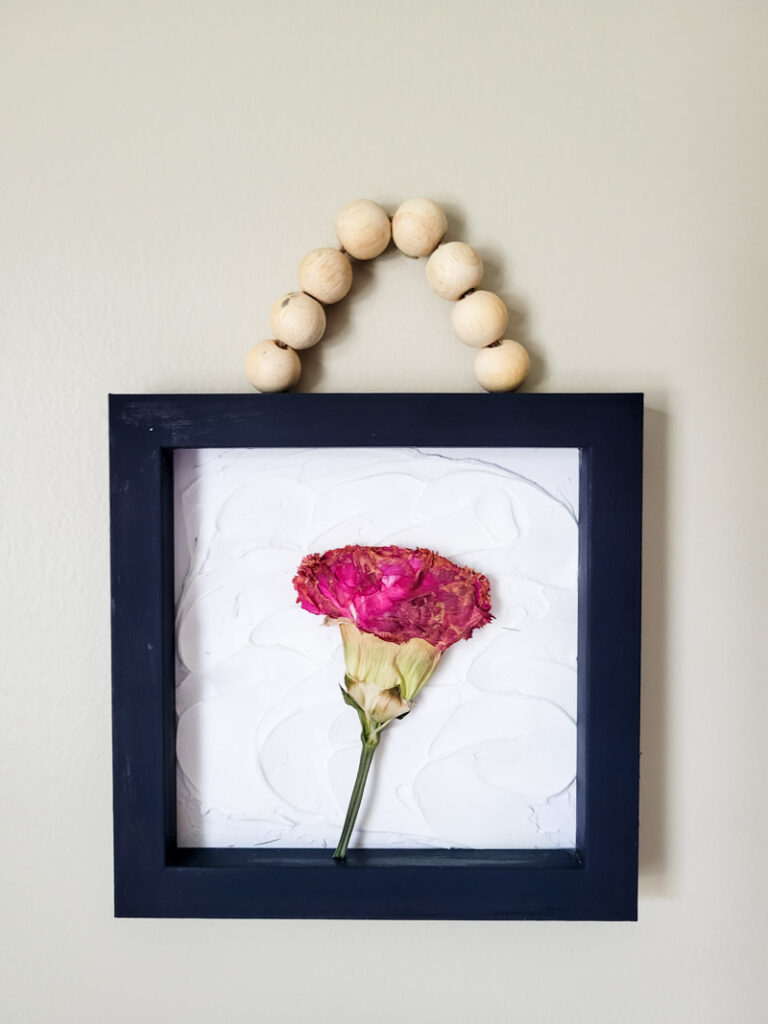
I used Modeling Paste to cover the Be You seasonal art, it added a textured backdrop to a cute little frame. Such an easy fix to transform old art into something new. Hot glue a dried flower and there ya go – one easy piece of art complete.
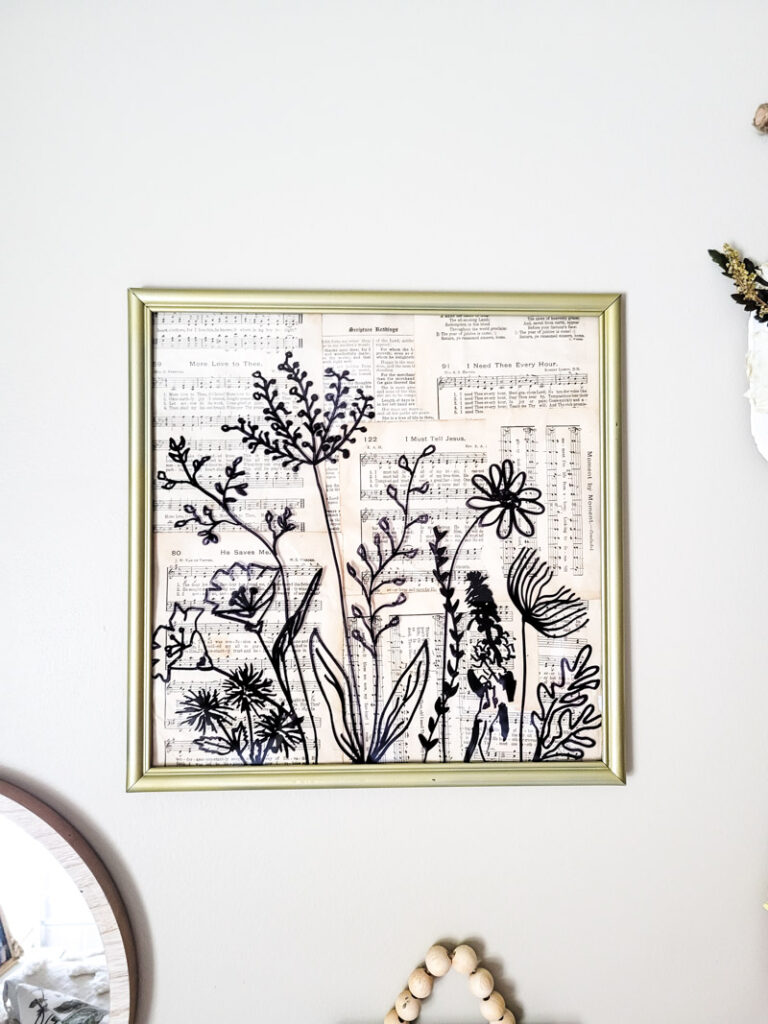
Next, I took the dollar store picture frame and covered the inside insert with hymnal pages for a vintage-feeling backdrop. I looked up some floral drawings online and hand sketched some flowers onto the glass with a Sharpie.
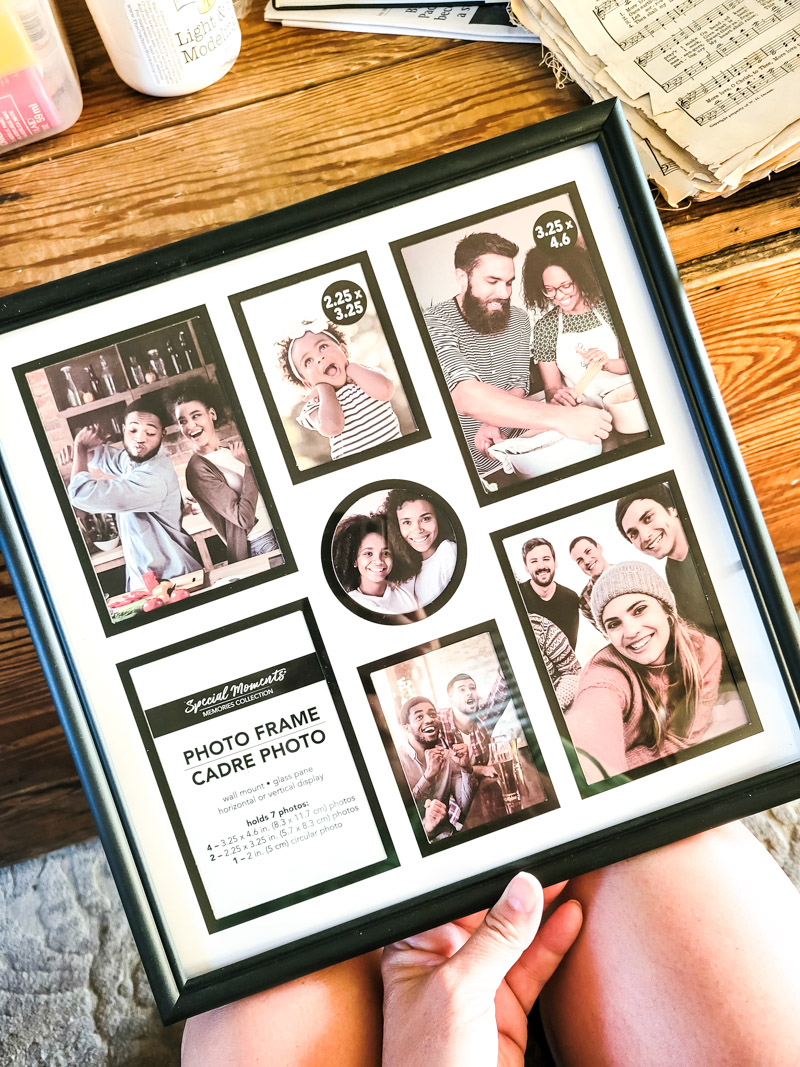
You could always print a picture and trace it if you aren’t comfortable free-handing it.
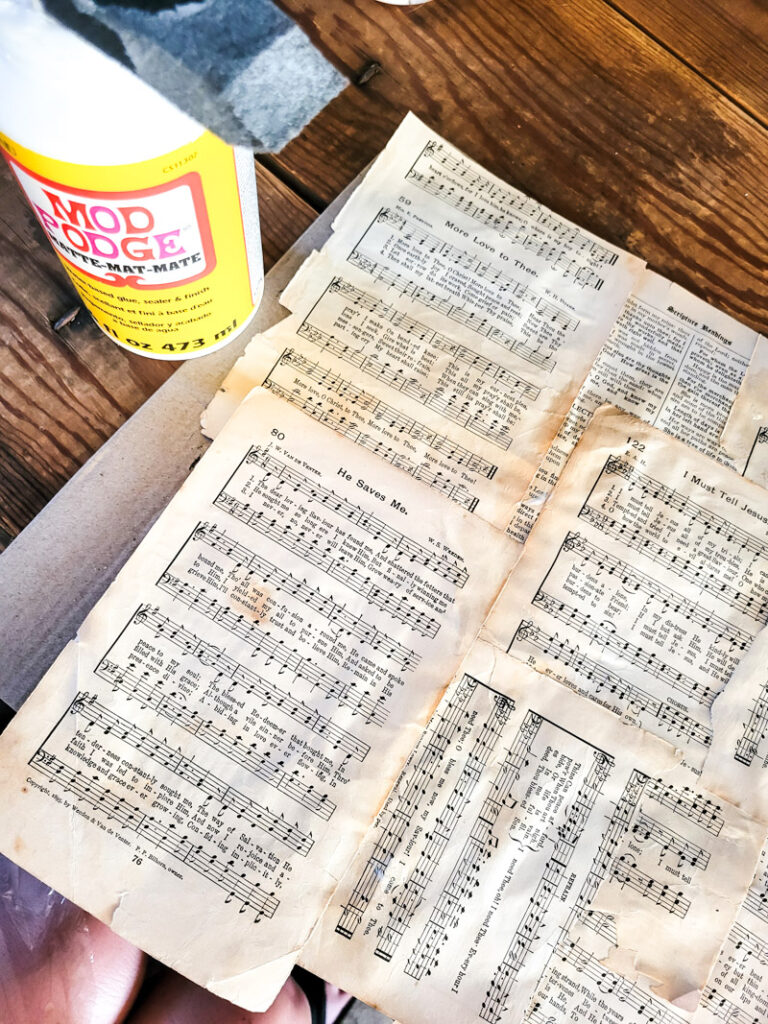
When you put the frame back together, place the sharpie side of the glass on the inside and you have a fun, dimensional flower drawing!
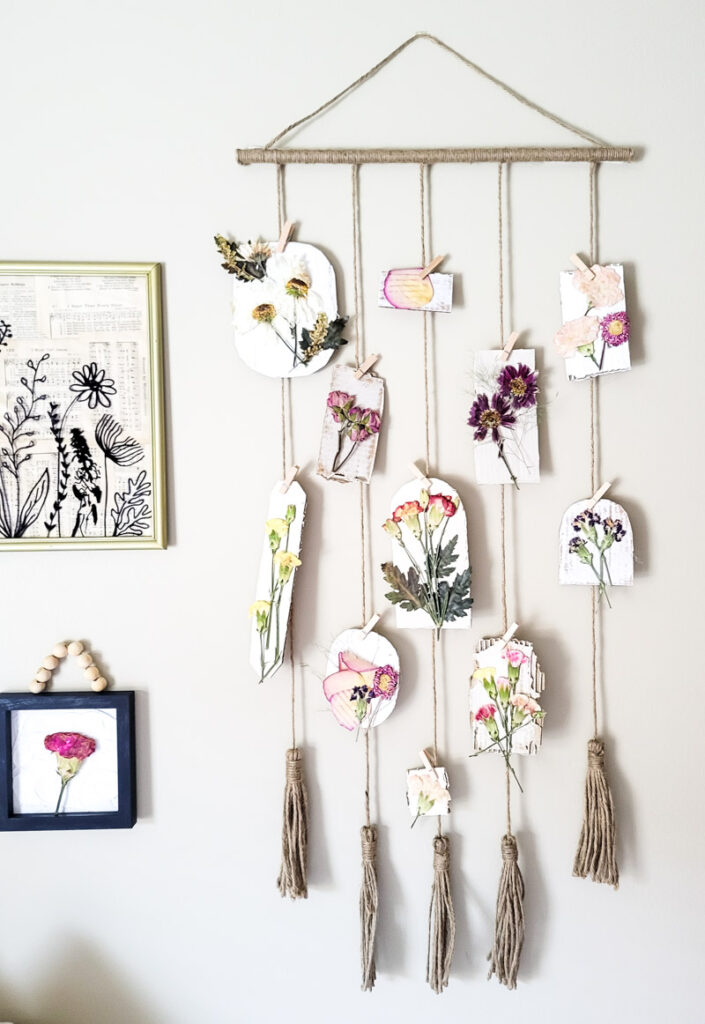
Last and certainly not least is the dried flower wall hanging. This was the main element Mae wanted in her floral gallery wall and we accomplished it for next to nothing!
I started by laying out the wall hanging and cutting cardboard “frames”. I arranged the frames on the hanging, just make more until you like the look and layout.
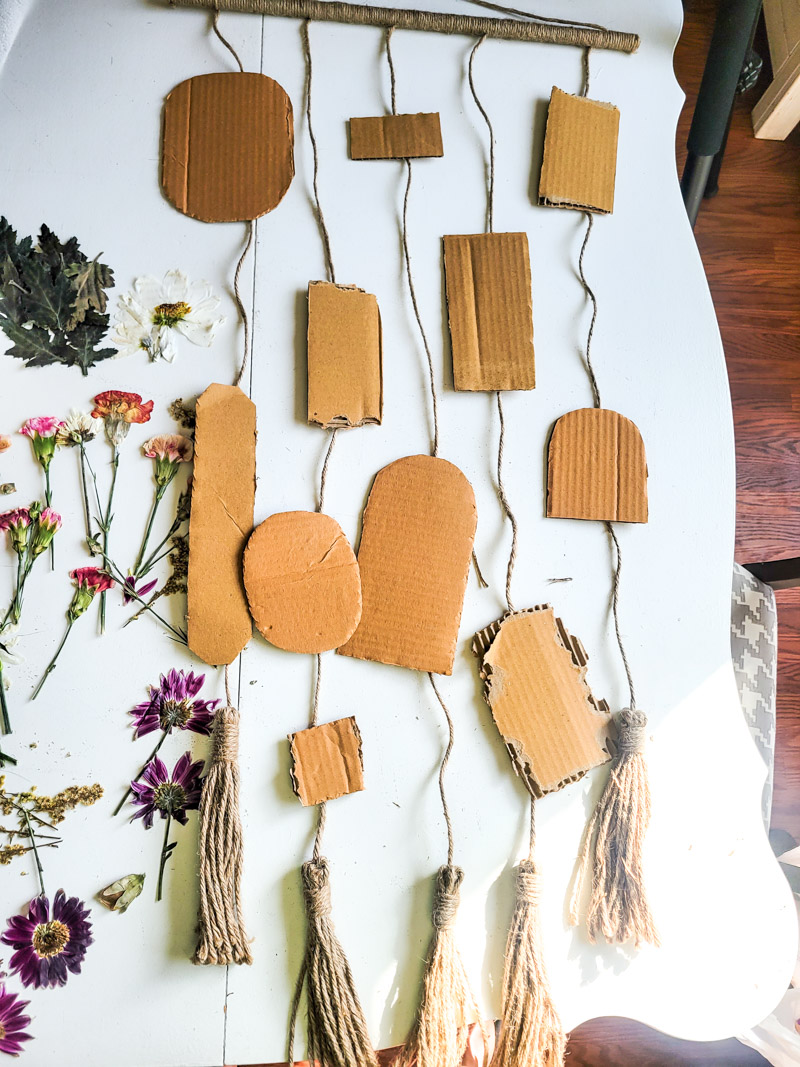
Next, I painted the cardboard frames with acrylic craft paint.
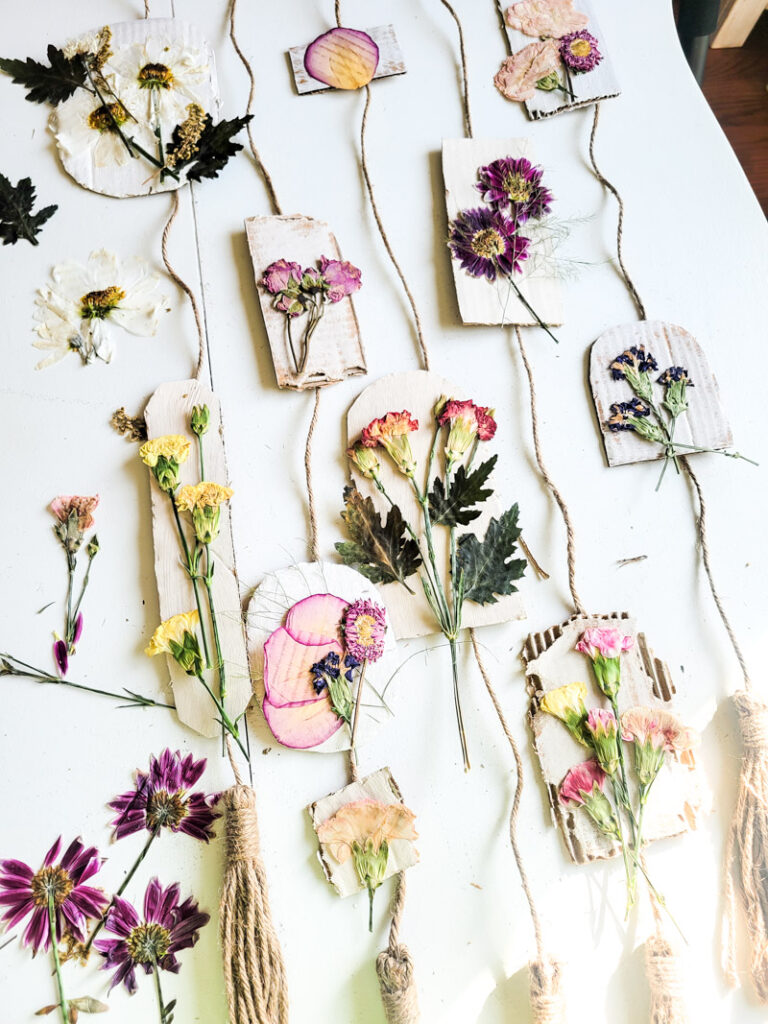
Finally, I glued dried flowers onto the frames. Make little arrangements, add in leaves and greenery. Mix your flowers so no two of the same are next to each other.
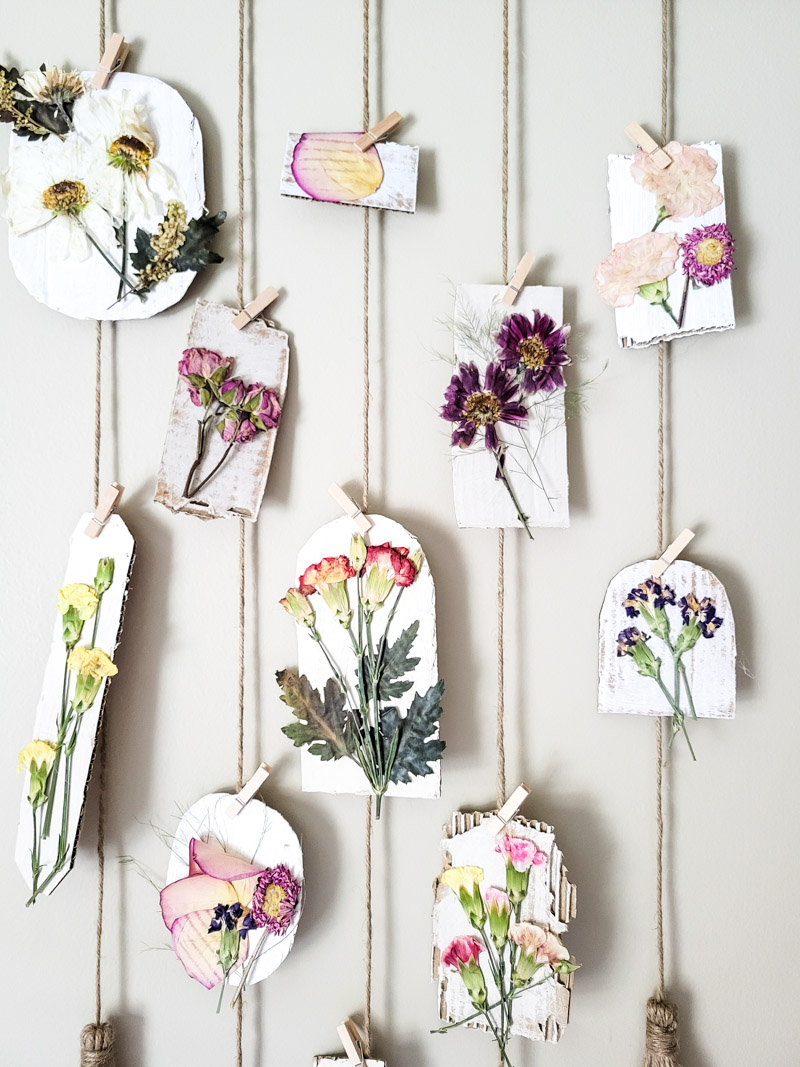
Hang each frame with a small clothespin or glue the frames onto the just strings. TIP – If you need to move the frame before you hang it (like I did, we drove 10 hours with this thing!) take a picture of the layout so you can easily recreate the look when you are ready to hang. This is much easier than trying to figure out how you had it all together later.
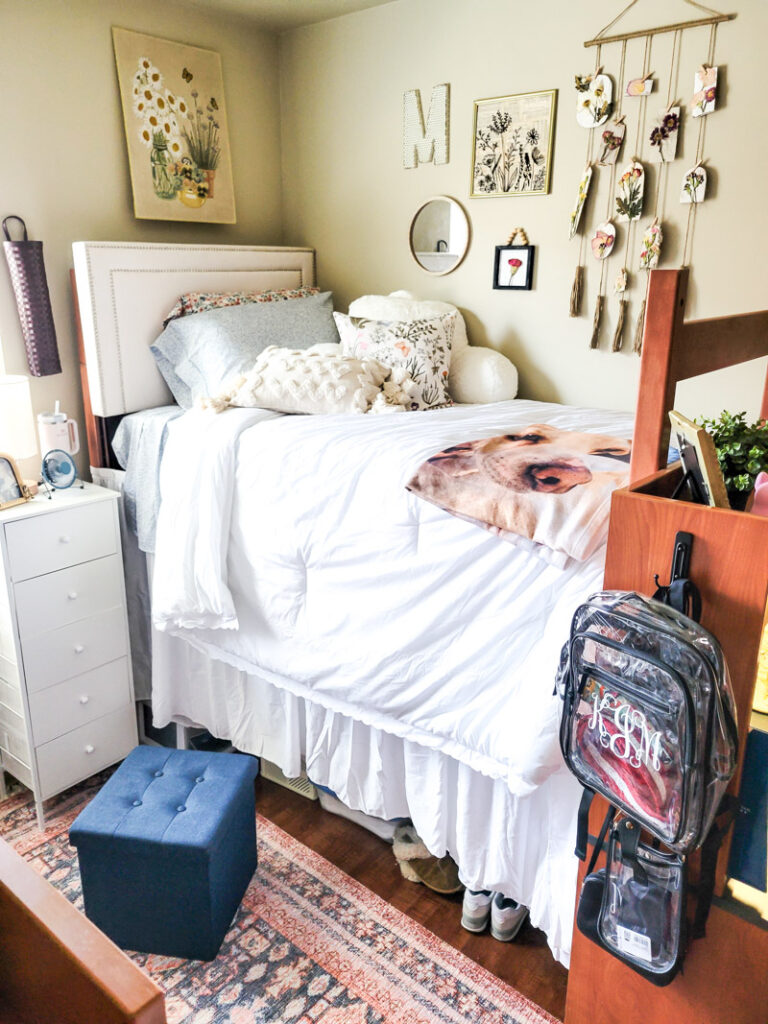
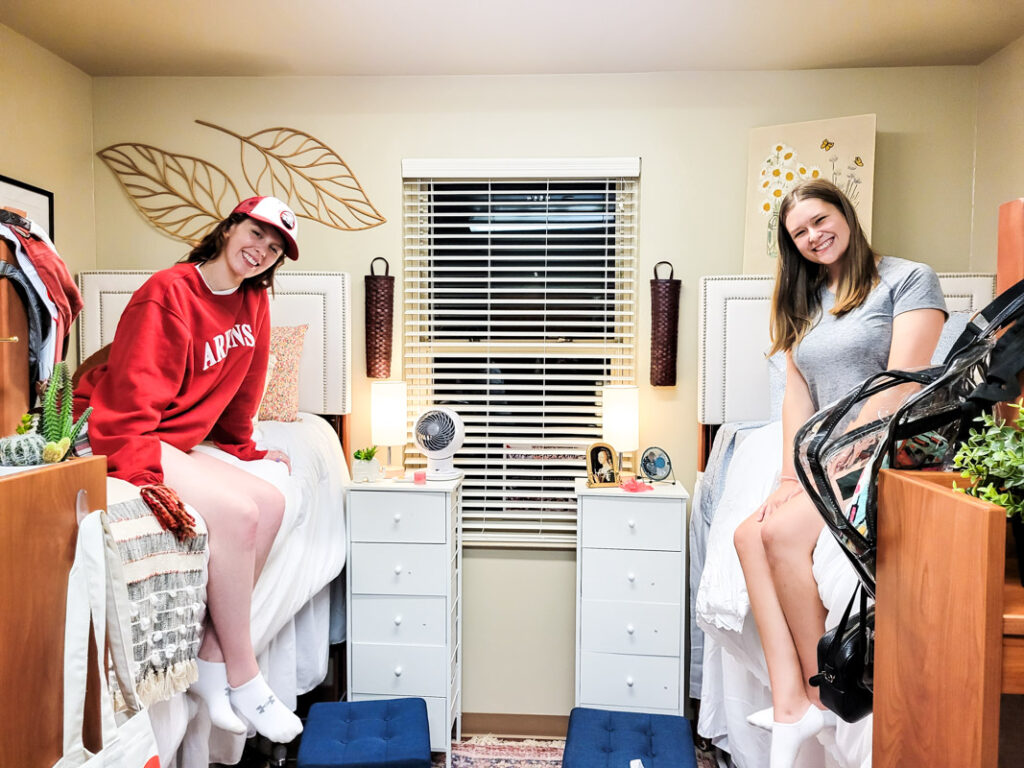
Mae is happy with her sweet, cozy little dorm room and so I am I. It was so fun to create a home away from home for my sweet girl. The room really came together and was pretty budget friendly.
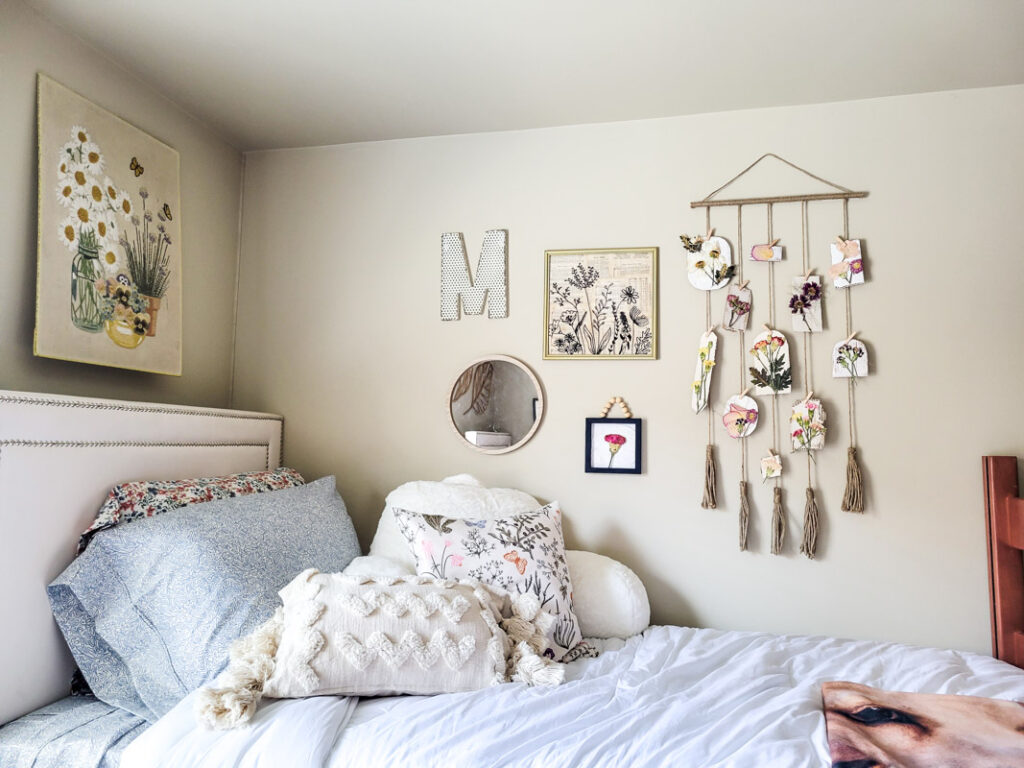
Mae even used an old art piece my mom made, I love that she mixed old and new for a gathered feel.
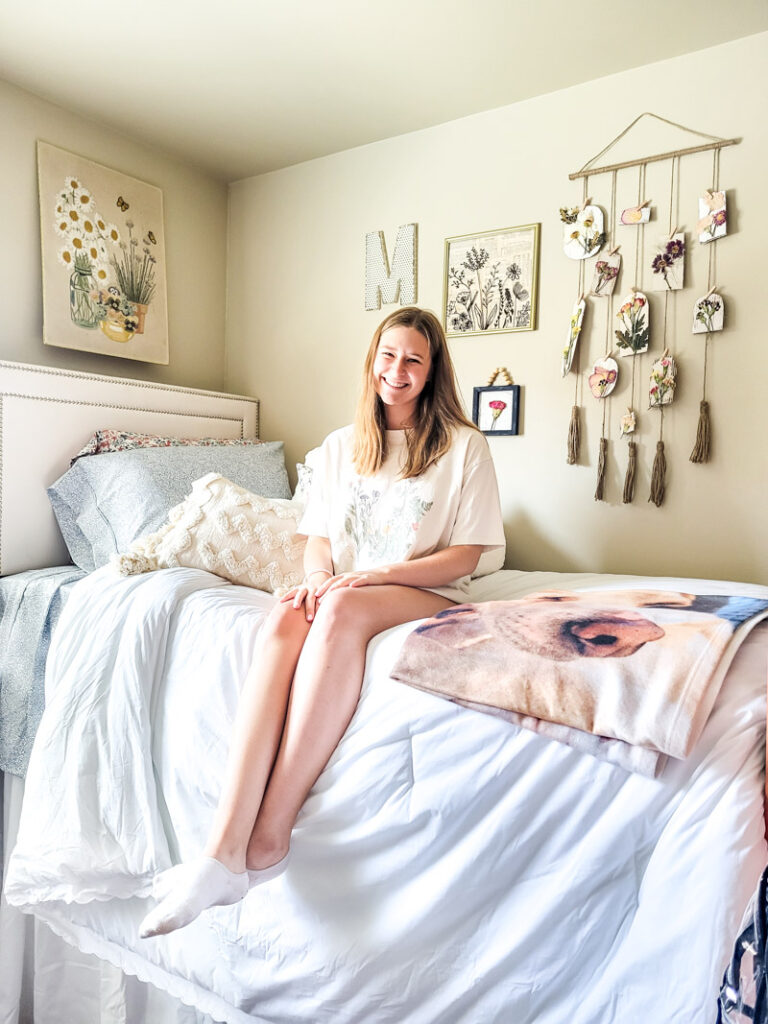
Feel free to say a little prayer for my daughter please, we miss her like crazy!
Save this idea for later:


Best wishes Mae! Your room is so cute; looks like you will enjoy it. Have a great first semester!