How to Make Large Sign Yourself, Easy DIY Tutorial
Big signs are so fun and they are actually pretty easy to make if you just take a few minutes! This large sign DIY tutorial will give you tips on how to make your own sign and avoid paying a fortune at the stores…plus you can make it personal! That’s my favorite part. 🙂 I finally got a sign done that I have been wanting to make for a while now! We named the little backyard farm we have going on!
Make your Large Sign:
Start off by making your “sign”. You can easily use scrap wood, old fence pickets or buy new wood depending on the style of sign you are wanting. Maybe you want to paint an old door or paint over a large canvas you have on hand. Whatever it is, start by making this important base piece. Again – you have the opportunity to customize it to the size and shape you want. I always start by laying the front boards out how I want, making sure to cut the wood to the correct lengths, don’t forget you can piece shorter pieces together to make a large board if you don’t have big pieces of wood to work with.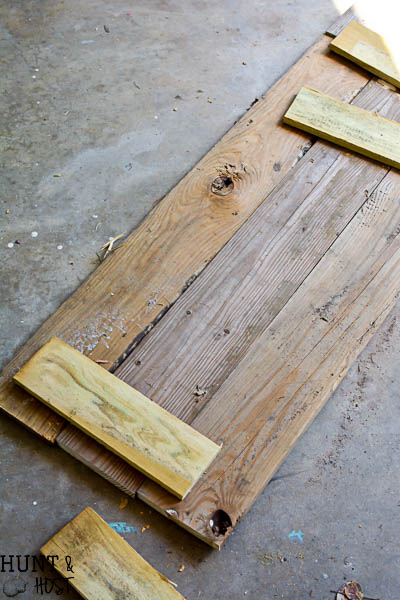
Next cut cross braces that will fit vertically across your sign board. Space them evenly and use them to connect smaller cuts of wood if you are piecing together for a large sign. Spread some wood glue between the brace and sign boards for extra security. Next drill screws in from the back to attach the brace boards to the sign boards. I often stand on the boards or add extra weight so they cinch together tightly when I am screwing the pieces together.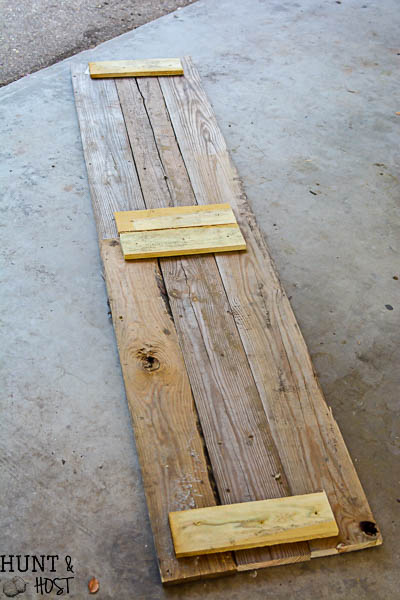
Now your sign is built and we just have to paint it! There are multiple ways to paint your sign so I will cover a few ideas and options here!
Paint Options:
I typically use a chalk type paint for projects like this (mainly homemade) but you can use straight acrylic craft paint, latex paint that you would paint your house with, or just about anything you have lying around. Depending on the surface you are painting and where the sign will be should help you determine the paint and finish. If you are painting rough wood just about any paint will work, if you are painting a slick surface like glass or plastic I would personally recommend a chalk type paint for extra adhesion. Will your sign be inside or out? You may want to add a polyurethane or clear coat spray paint for added protection if your sign will hang out in the weather. If not a finish isn’t necessary but a wax finish looks more professional and a high gloss clear makes a fun finish on a sign, it’s open to personal preference. Here it is…the name of our farm revealed!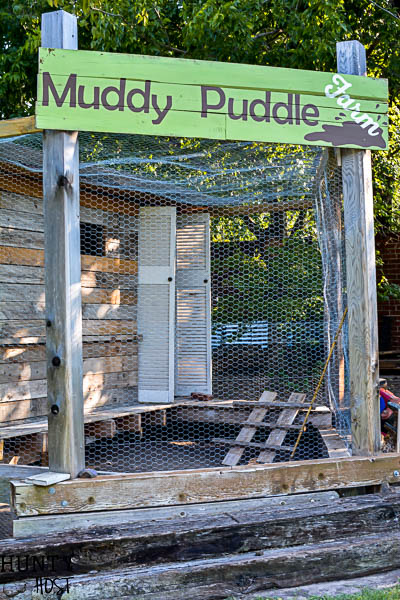 This name suits us well for so many reasons. First off the chickens are my daughter’s and she is the queen of muddy puddles, if there is a mess to be made and played in, she’s the first one there! A good mud bath is her favorite. Secondly our back yard holds water in big rains and is literally a muddy puddle for brief amounts of time. Lastly, our family is always a touch of a muddy mess here, never perfect but always pushing through! So thankful we serve a savior that meets us in our muck and pulls us right on out! Now back to the tutorial…
DIY Options for Your Large Sign:
This post contains affiliate inks, this just means if you make a purchase I may receive a small commission, your price stays the same. I appreciate your support so much!
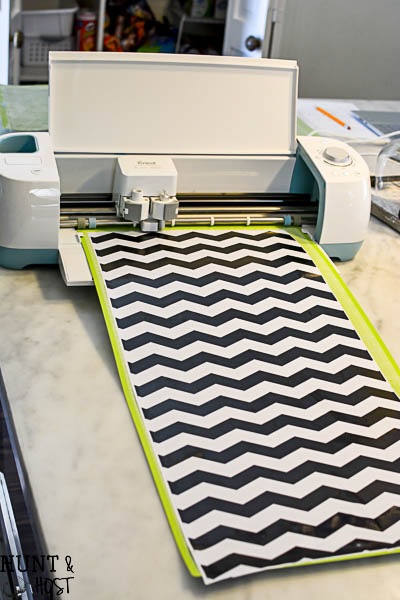
1. For this large sign I painted the base sign white, not worrying to much about getting the whole thing painted, just the middle portion where the letters would be. 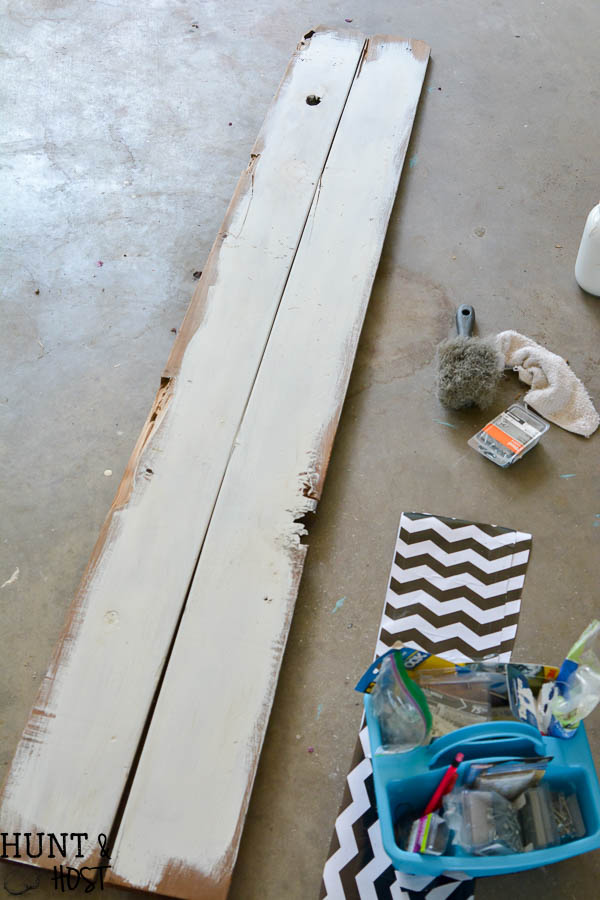 Next I cut large letters out with my Cricut machine on contact paper (full tutorial coming soon). Contact paper is perfect for a one time use stencil because it is repositionable yet secure. (If you don’t have a Cricut or other cutting machine I will give you other ideas, so don’t worry!)
I measured a straight line and marked off with painter’s tape where I wanted the bottom of the letters to rest. 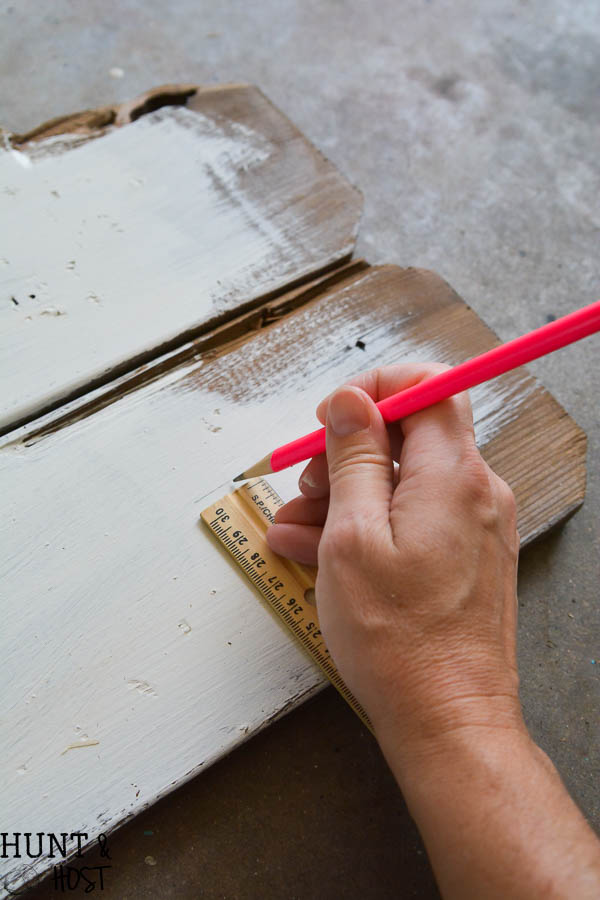
Next I adhered the stencil letters to the sign being sure to press the edges down firmly for a good seal. Next I painted over all the letters and entire board with black paint. It took two coats, but remove the letter stickers as quickly as you can after you get enough coverage so they don’t dry on with the paint. 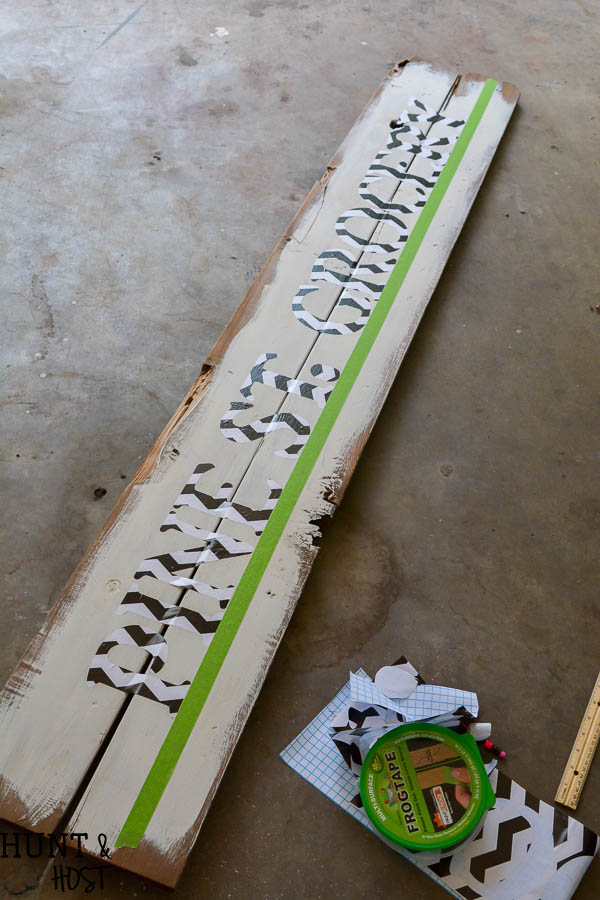
Don’t worry if you make a little scratch here and there in the process. We will fix that next. This method would work if you want to keep your letters wood colored (or whatever color your base board is), kind of like reverse painting. Here is a small sign where I didn’t paint the sign board. You can see the full room makeover where this Pine Street Grocery sign resides here!
 You will need a small stiff bristle brush to correct any paint bleeds or mistakes that may have happened. You will likely need to go over the sign once with white and once with black looking for any mistakes you’d like to repair. I like to sand my signs to make them look old. If you do that, then once the paint is dry go after it with a 100/110 sandpaper for deep distressing or for a lighter stress try a 220ish sandpaper.
2. You can use the opposite part of the stencil that I explained above. This time remove the letter cutouts and place the entire large letter surround on the board. Only your letters will be painted unless you paint the sign board first. So the opposite of above!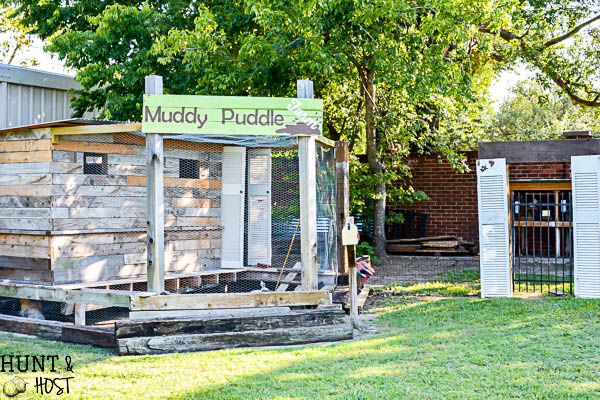
Options for a DIY Large Sign without a Cutting Machine:
If you don’t have a Cricut or other cutting machine you can still make large signs! Here are some options:
A. With your computer pick a font and determine what size you need your letters to be. Print the letters. You may have to print one per page, but that is ok! You have a few options from here. You can print them on cardstock and cut the letters out. Spray the back of the letters with a repositionable spray adhesive and lay the letters on your sign board. Gently paint over the letters and you will get the same effect as I described in option #1 above. Or trace them and hand paint like this:
B. To replicate stencils like in option #2, print on cardstock and using an Exacto knife cut the letters out, you will need to leave connecting pieces to hold letters intact (for example the middle of the letters A, B, D, O). Place these letters and use them like giant stencils.
C. If you don’t want to cut, print your letters on regular printer paper. Using carbon or graphite paper, trace the letters onto your sign board. You will have to hand paint the letters, which takes some time, but large letters are much easier to hand paint than small! I find a smaller brush with a stiff yet flexible bristle allows the best paint control.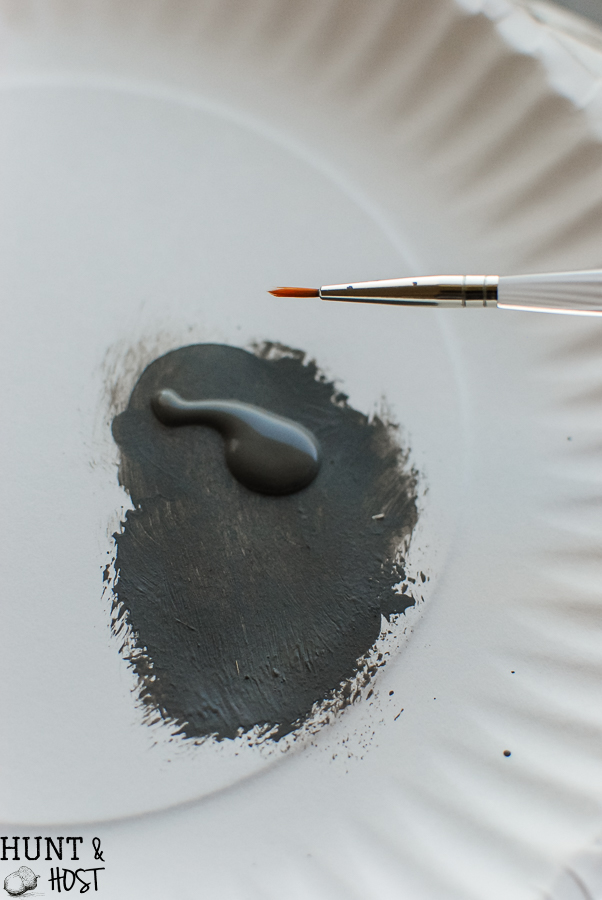
D. If you are going to be painting using white paint and are having a hard time with the carbon paper lines showing through or are painting on a dark base and can’t see the carbon lines then try this…coat the back of your paper with chalk by rubbing a piece of chalk heavily all over the page. Trace the letter as normal and you will have white lines to follow. They are not as crisp and wipe off somewhat easily but this is a good option for these situations.
These are a few great and easy ways to make a large sign of your very own. I’d love to hear if you have any other tips I may have left out, I’m always up for trying new techniques.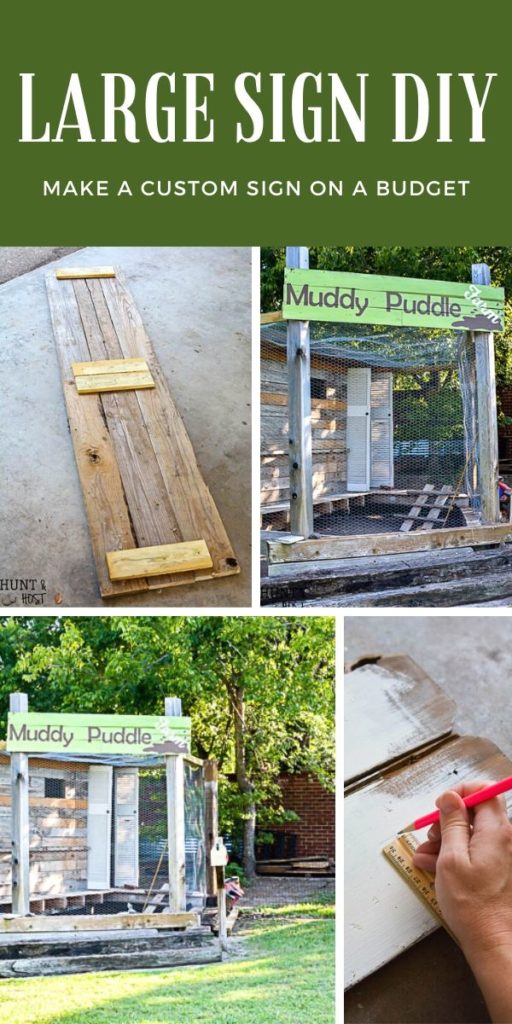
If you want to join a group of friends that loves to talk about thrifty makeovers and DIY techniques you should come join us on Facebook. It’s always a fun conversation and place to share your projects and questions!


Love it!!! Your signs have inspired me to get working on one I have in mind. I want to make one for over our chicken coup. Thanks for sharing! Have a blessed day!!!
yes – every chicken coop needs a sign! Get to it ASAP!