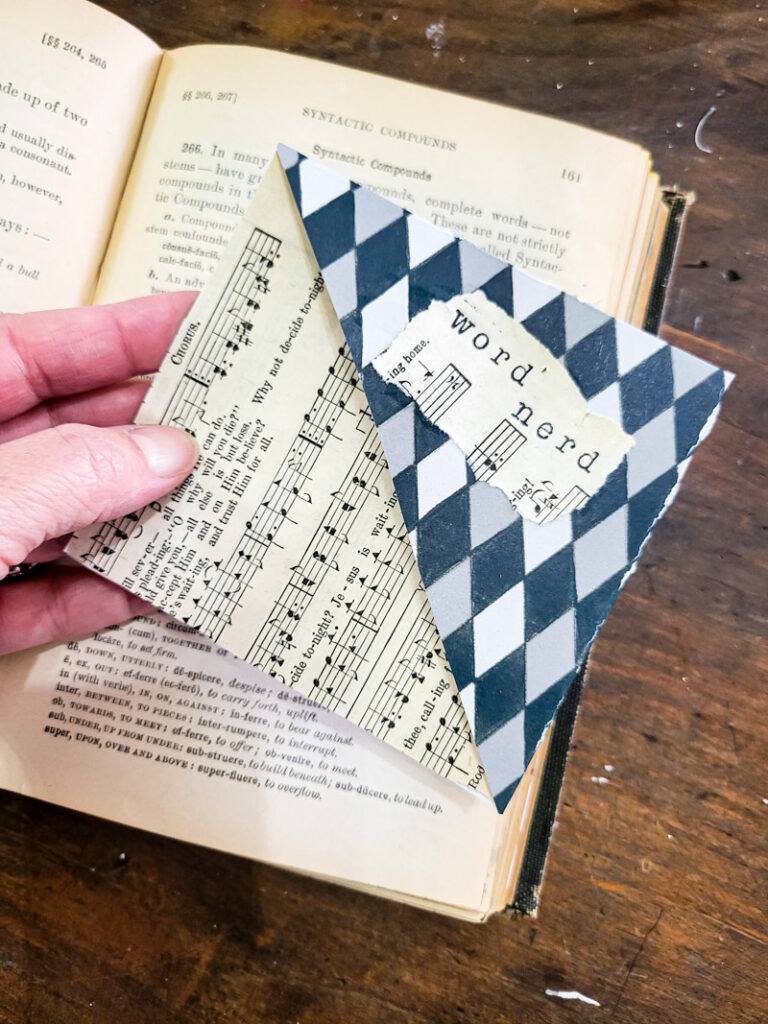
I can’t wait for you to learn how to make a corner bookmark. You’ll never read or give a book as a gift the same again! These are so simple and fun to make, you can personalize them a million ways too! Here are your step-by-step instructions, plus a free template on how to make your very own corner bookmark – happy crafting and reading!
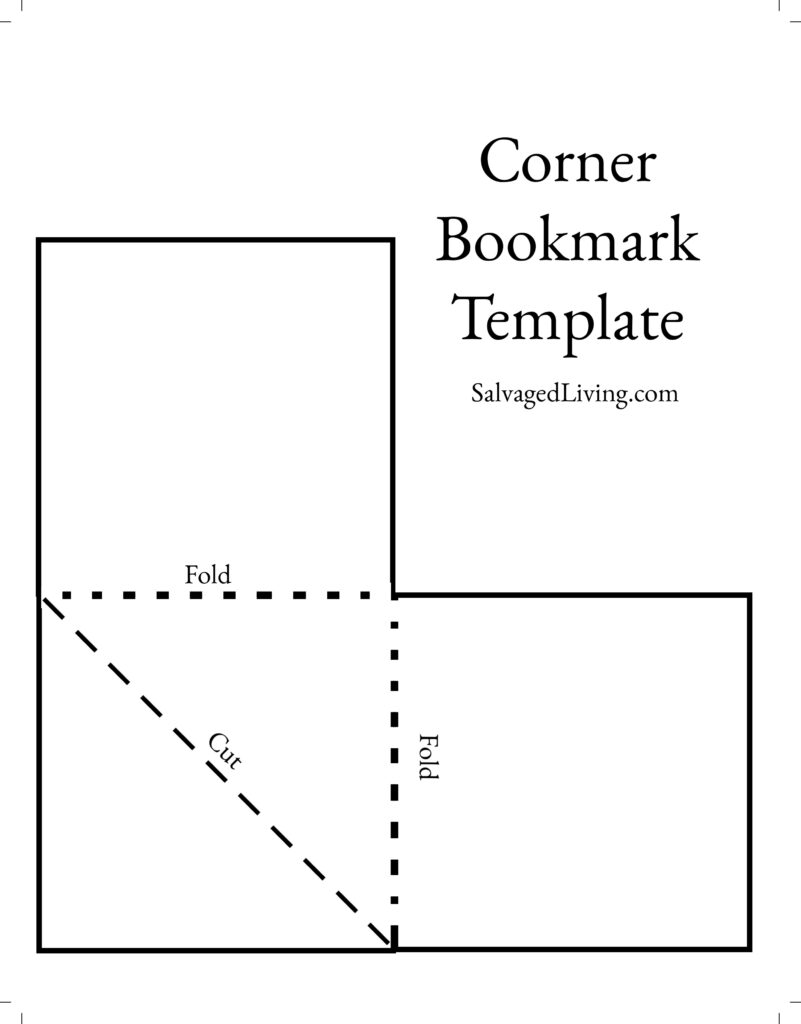
- Download the free template to make your corner bookmark. (Link below)
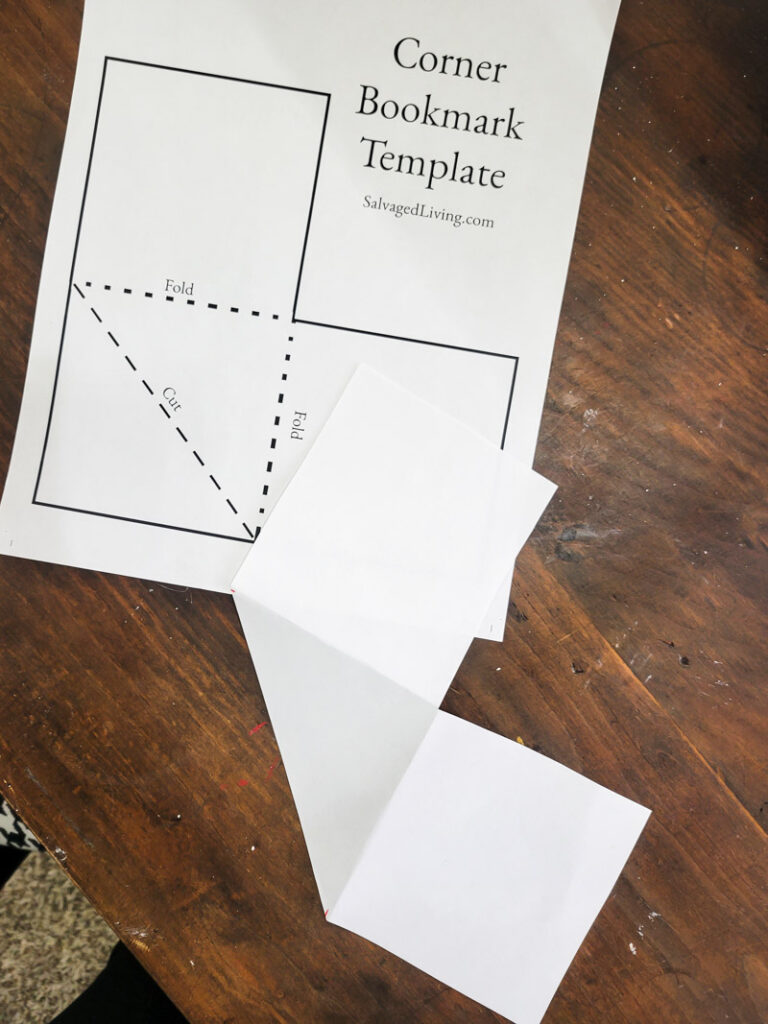
- Trace your template onto desired cardboard, cardstock, scrapbook paper, felt, fabric, or whatever medium you choose to use for this bookmark. I will be using a thin cardboard cereal box, vintage hymnal pages and scrapbook paper.
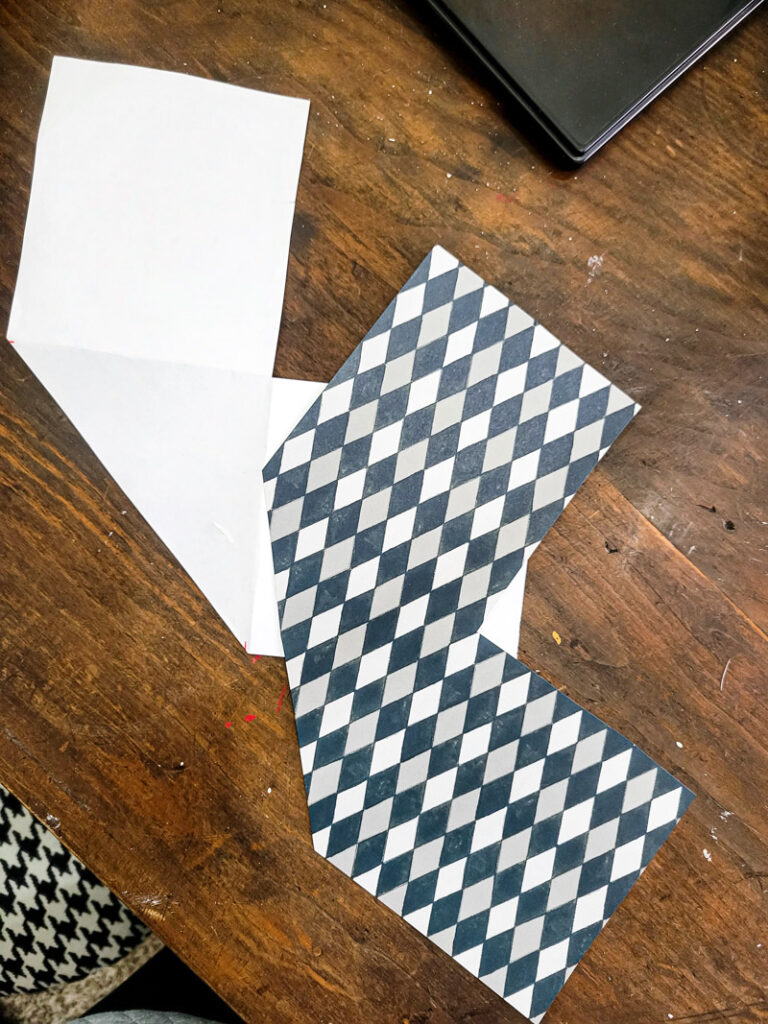
- Cut out your corner bookmark.
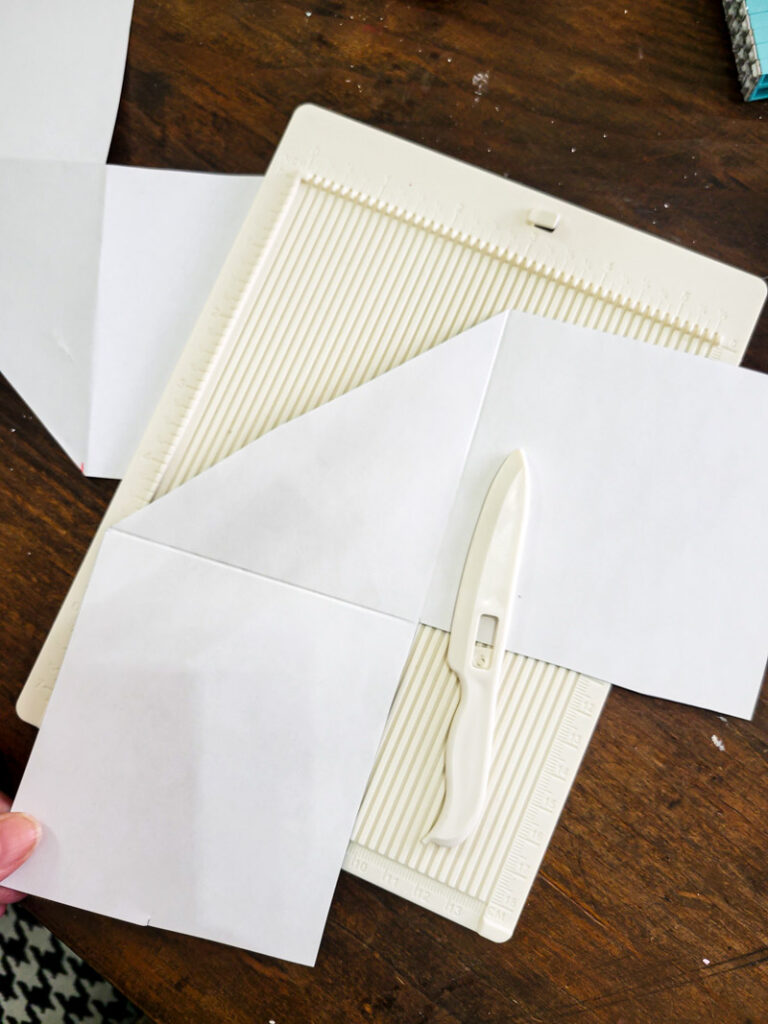
- Use a paper scoring tool or just fold your cardboard where the template shows you, so you end up with a square.
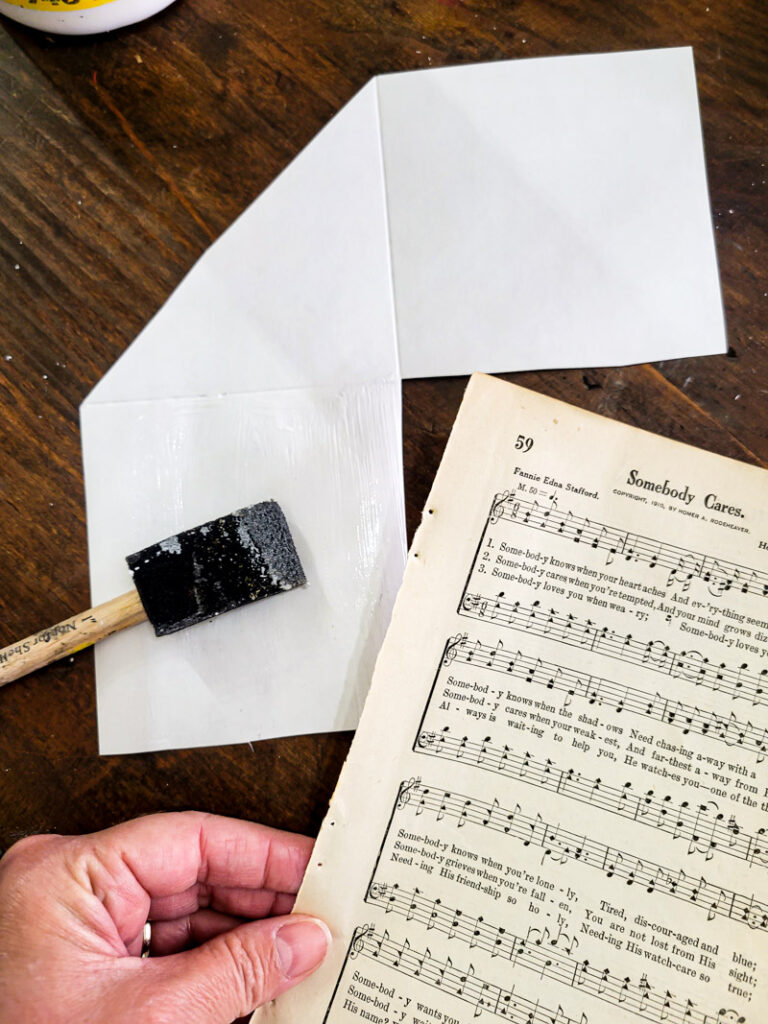
- Paint or Mod-Podge some paper onto the back side of the middle of your pattern so that you have a two-sided square.
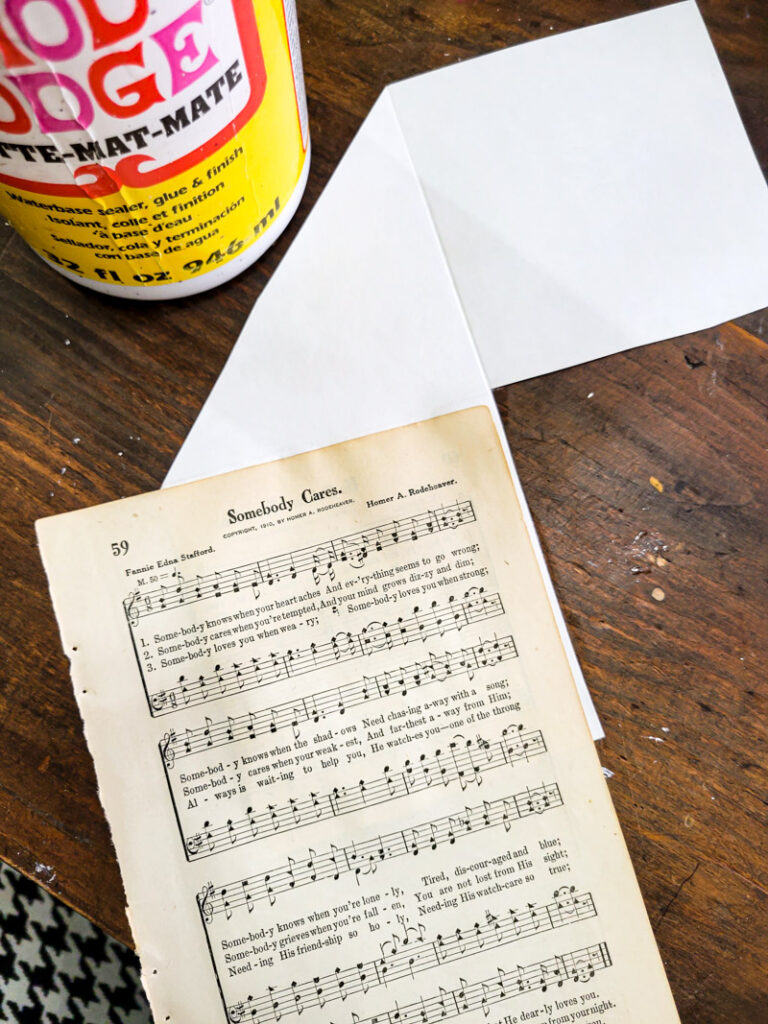
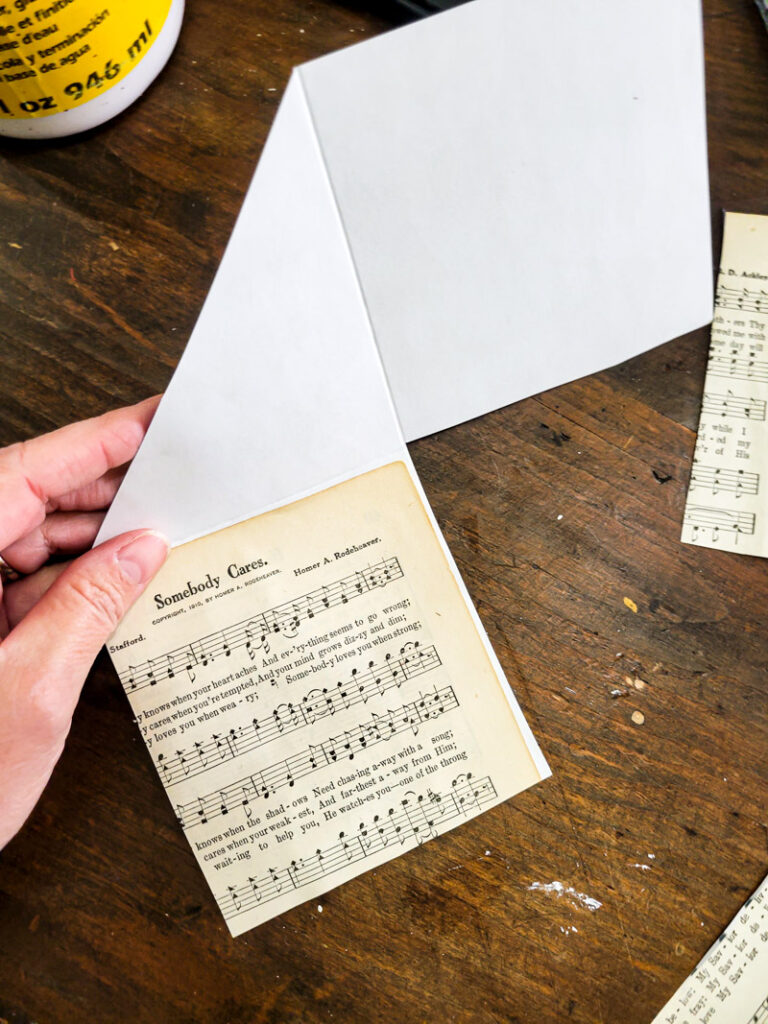
- Fold up your bookmark.
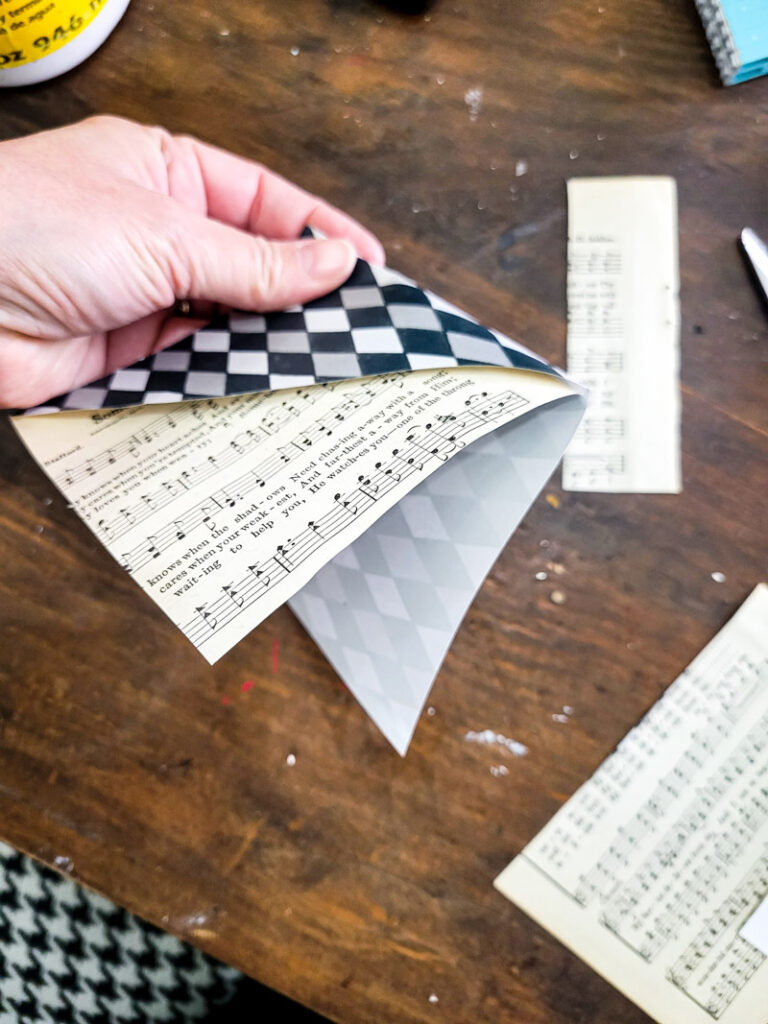
- Hot glue the two back pieces together.
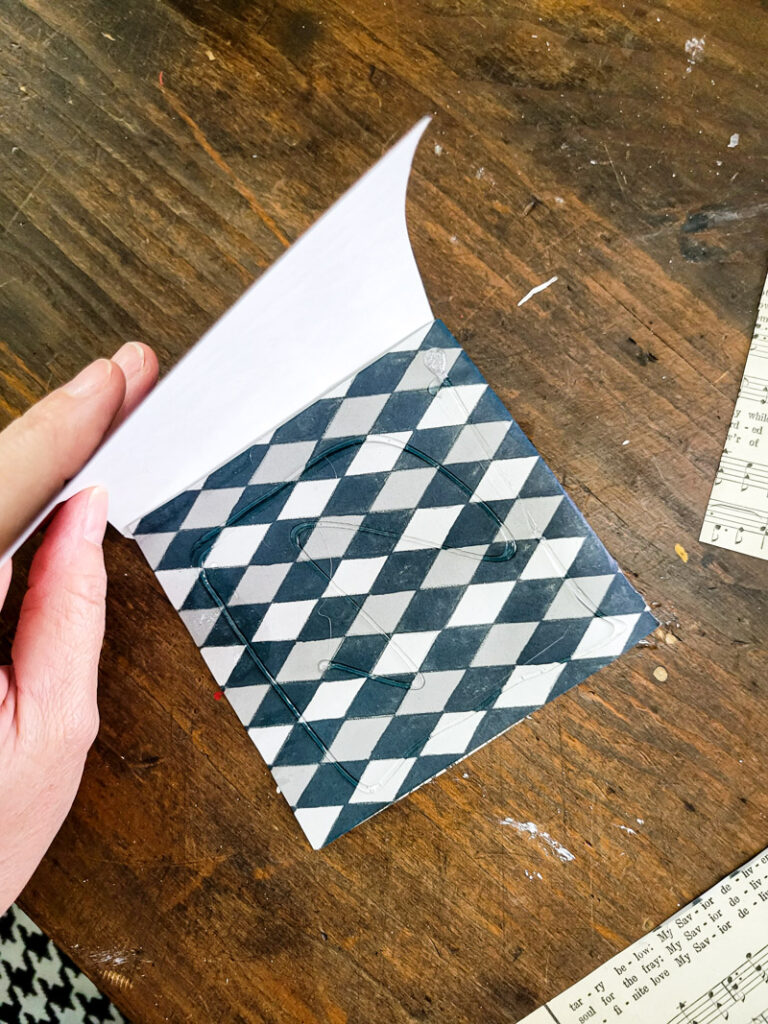
- Trim any excess overlap to have a nice square.
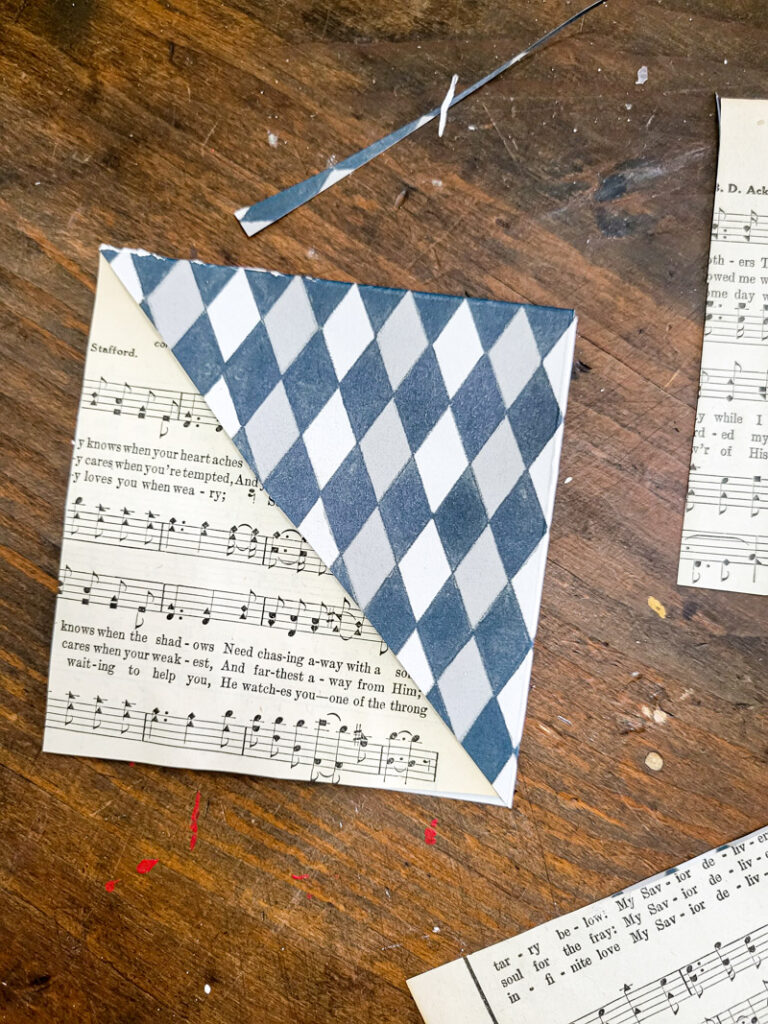
- Decorate the front corner however you see fit. I used ripped hymnal pages and my FAVORITE letter stamps (linked HERE). You could paint, stencil, embroider, stamp, and decorate these in a million different ways! Please show me how you make yours!
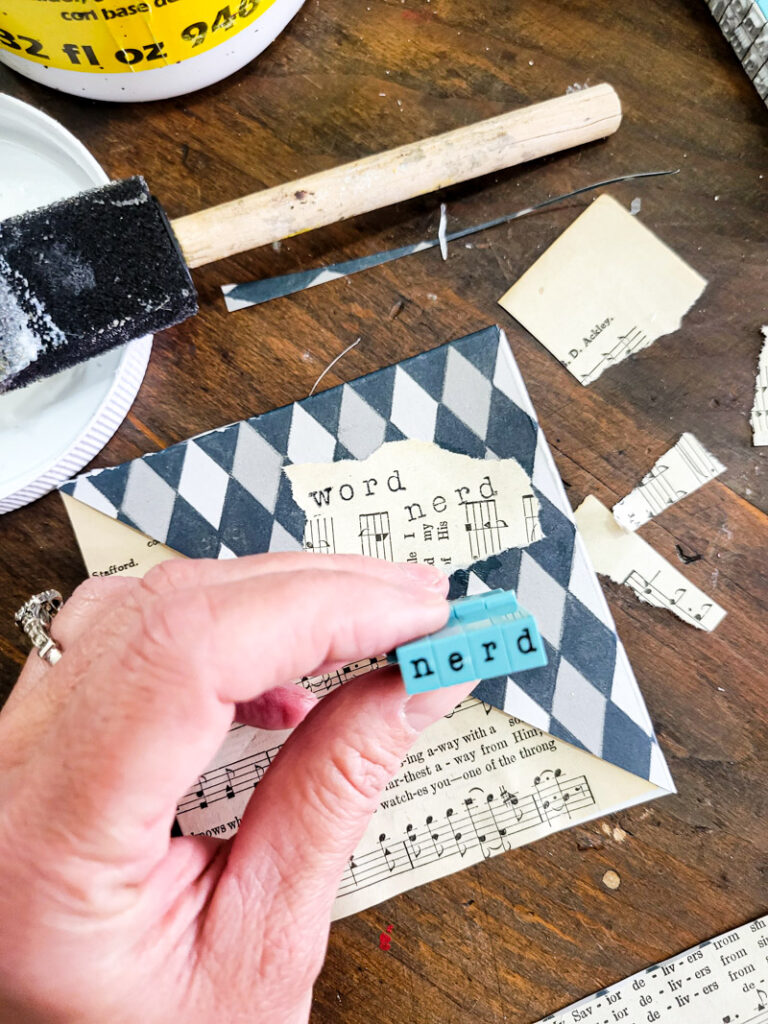
Corner Bookmark Supply List
By the way, here is a list of some of my favorite books!
Here is a list of books that helped me through my divorce.
AND here is a list of fabulous Bible Study book you may want to check out!



Thank you for this tutorial.
What is the paper size?