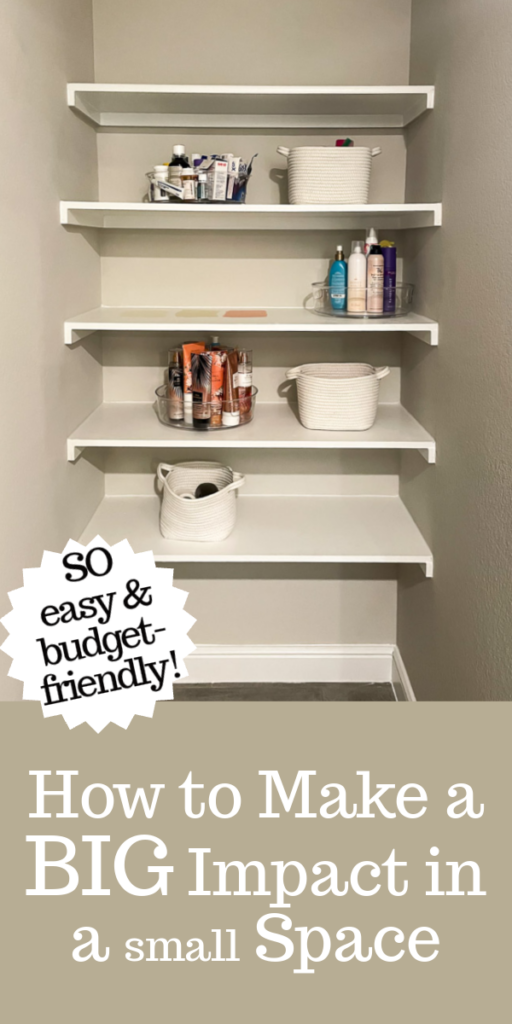
We all have them… certain spaces that are a little awkward to decorate. Or where we may even be unsure HOW to decorate, or what to do with the space. Even small spaces can eat away at you in a big way, especially if it’s something you look at every day. For me, that was the shelving in my bathrooms. Both the guest AND the primary bathroom had open shelving. Sure, I could stuff it with baskets or other decorations, but it just never felt like it would be enough. Plus, DUST– need I say more? It would always be an open, extremely white and plain space, at its core. Until I had THE idea to completely change it. And make it not only storage, but also a focal point. Something fun! I’m about to tell you allll about it. Let’s talk about how to make a BIG impact in a small space!
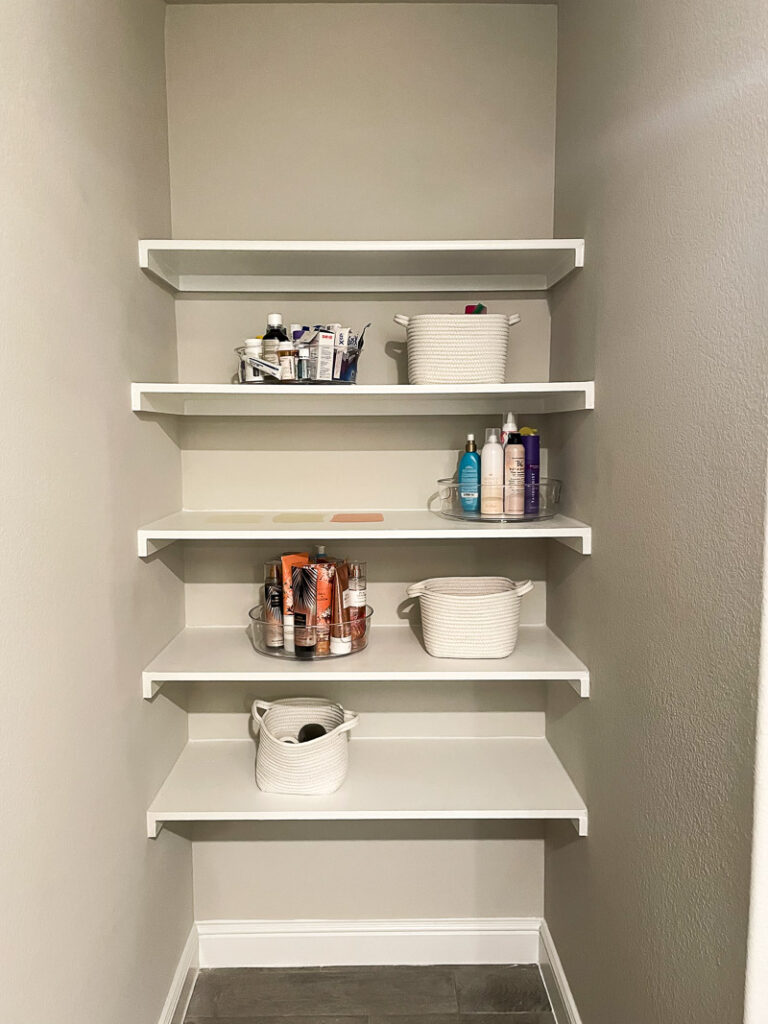
Like I said, these shelves were a bit of an eyesore for me. It bugged me that they didn’t put a door here, or take advantage of the space in some other way. I mean don’t get me wrong, the storage is nice but geez… it’s a lot of open space, and a lot of white. And in an otherwise small space, being a bathroom. It stood out. But, with that said… wallpaper was on the brain since the first time I laid eyes on them. Wallpapering the wall behind the shelves would completely draw attention away from the sadness of it and make it something exciting! Something unique!
The first step in any wallpaper journey is to decide on the wallpaper you’re going to use. Let’s chat about that a bit.
the wallpaper I used
One word– Loomwell.
There’s about a million and one wallpapers out there, I won’t lie to you. And a quick search on Amazon will prove that true for you. BUT… something you may not have realized (that I too hadn’t realized before a couple years ago), the quality DOES matter when it comes to wallpaper. I had previously ordered a peel and stick wallpaper from Amazon for a past project and while it did the job, it was SO hard to apply, and when I removed it, a sticky mess was left behind. Even goo-gone didn’t get it all off! So finding something that applied well AND could be removed when the time came felt important. I wanted it to stick good enough to STAY for the time I wanted it up (even if that was forever), but REMOVE well enough that I could change it when I inevitably changed style preference. And yes, I did want peel and stick from the very beginning. It just felt easier, easier to apply and easier to remove. I didn’t want it to be a BIG project!
Something else to note, I have textured walls. And many of the peel and stick wallpapers notate not to use them on textured walls. I imagine you could potentially get away with doing it anyway, but they probably put that to avoid liability if it doesn’t work. A risk I personally didn’t want to take. Wallpaper is EXPENSIVE and if you order something that doesn’t work out, it’s going to be REALLY disappointing.
All of this research for the right wallpaper led me straight to Loomwell. There’s so many good things about this company, at quick glance it almost seems too good to be true. For starters, they are a family-owned company, they custom-make the wallpaper IN the USA (which is a tough find these days), and they support small artists. That’s just some info on the company itself. The wallpaper makes their story even better. It’s bathroom safe (which is important in my case), textured wall approved, a fabric material (and let me tell you, it feels SO high-quality), AND offers damage-free removal. I’m telling you, it sounds too good to be true.
I took the leap so you don’t have to, and I’ll tell you now– they absolutely pulled through on every aspect. We’re about to jump into it all– the sampling process, how to apply it, and all the things I learned along the way!
don’t skip the sample
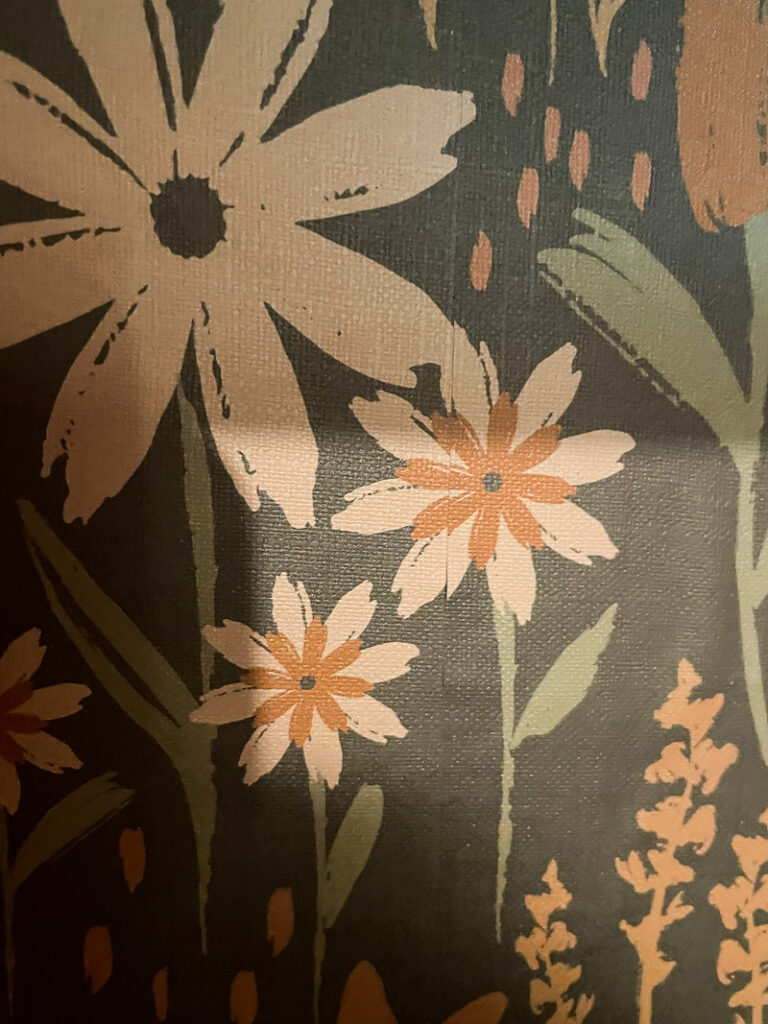
If you’re like me, you always just want to jump into a project. I get it! But in this case, take the time to grab a sample, or a couple, of your favorite wallpapers. It’s only $8 for a sample, but it can save you a lot of trouble down the line (their actual wallpaper orders are final sale, so you need to be absolutely sure you love it)! Every wallpaper will look different in every space. The lighting, the texture on the walls, the vibe– you need to see ALL of that with the sample to ensure it’s exactly what you want. Plus, this is the perfect opportunity to make sure it adheres to your walls exactly the way it’s supposed to. It’s recommended you leave it up for a couple days just to make sure it holds on! After that, you can dive in and place your full order.
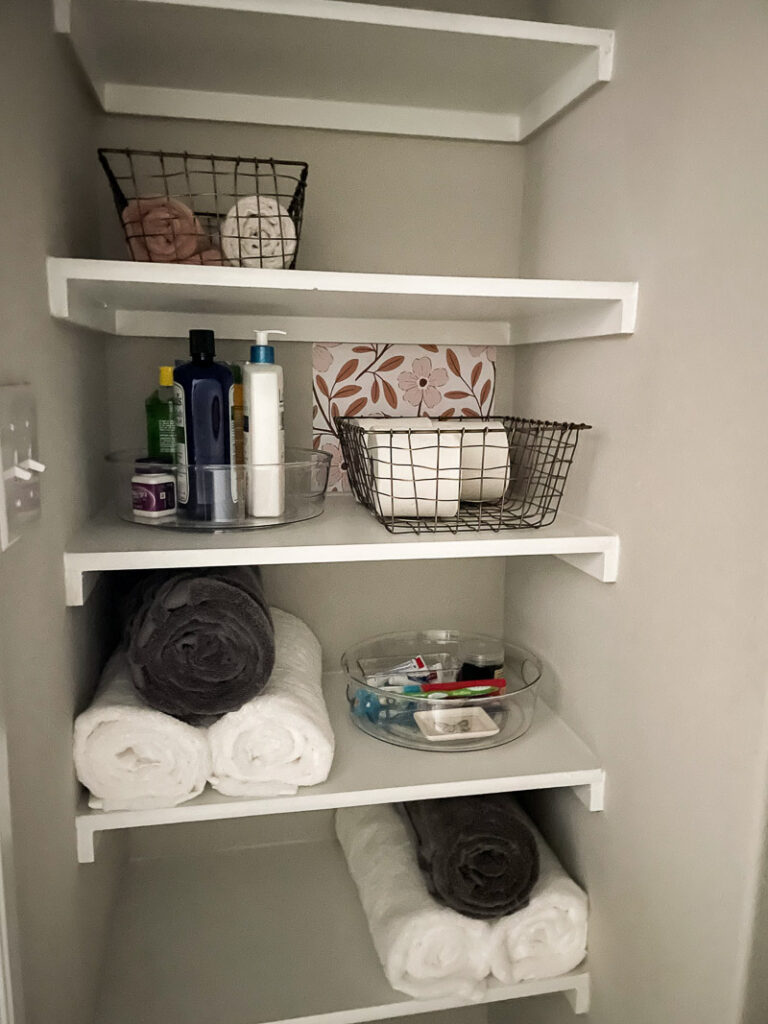
The sample in my guest bathroom
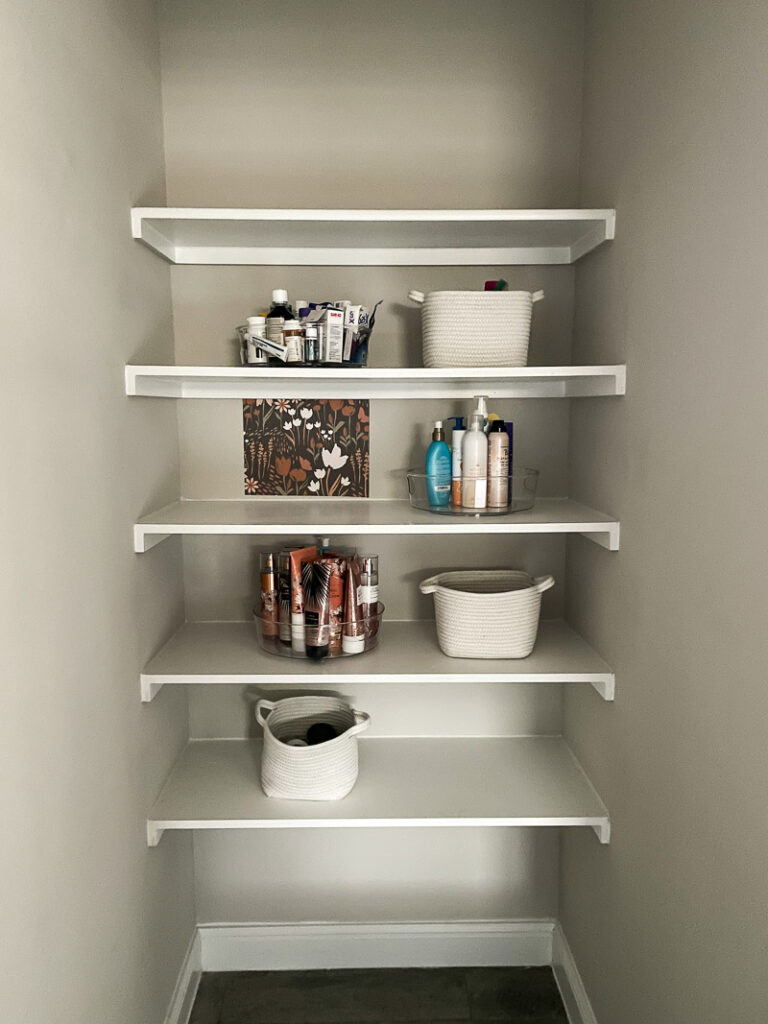
The sample in the primary bathroom
placing an order
When placing your order, Loomwell makes it SUPER easy. They have a tool so that all you need to know is your wall height and wall width in inches, and it will calculate exactly how much wallpaper you need. It looks like this:
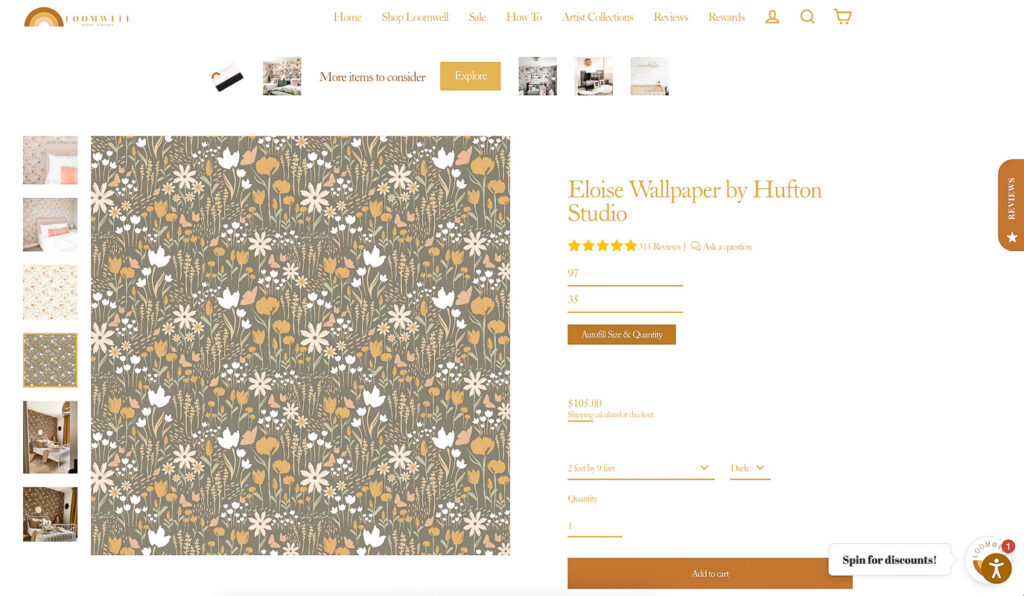
And as you can see, I entered 97 inches in the first one for wall height and then 35 in the second line for wall width. Once I pressed “Autofill Size & Quantity,” it put exactly what I needed– you can see it down below.
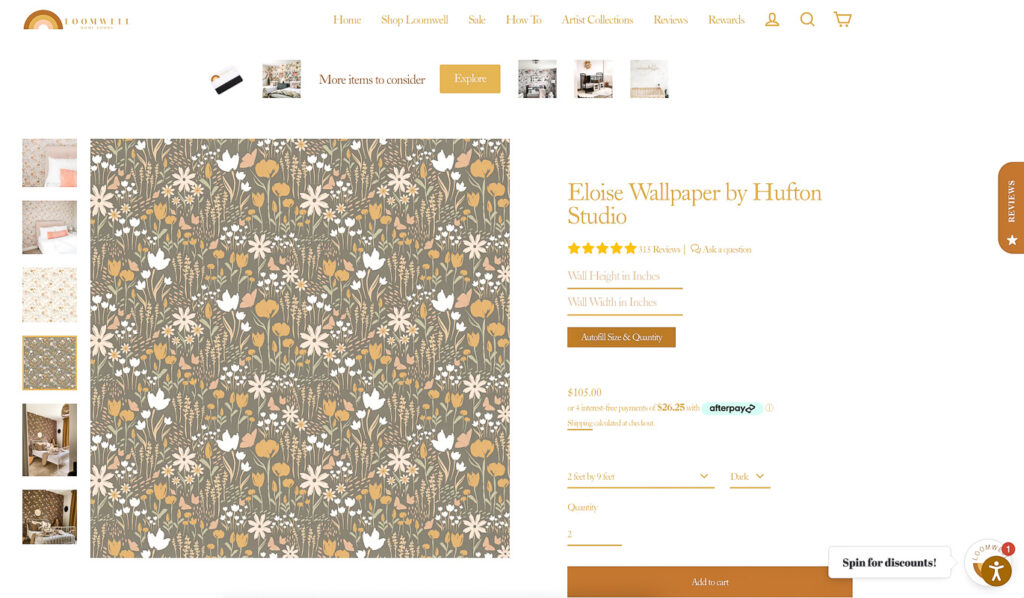
As you may notice, now the bottom shows 2 feet by 9 feet but a quantity of 2. Now all you have to do is select “Add to cart.” I absolutely LOVED that Loomwell had this, because it just takes some of the guessing out of it, and you know you’re getting what you need! Just make sure you also select the exact variant of wallpaper you want, as some have different colors and options.
I went with the Eloise Wallpaper by Hufton Studio (in dark) in my primary bathroom and the Penny Wallpaper by Gooseberry Moon (in pink) in my guest bathroom! We’re having a floral moment it appears!
i did end up painting the shelves, too
While my wallpaper was on order, I decided I should paint the shelves to give it a COMPLETE transformation. I took my sample off and ran to Home Depot to pick a paint that complemented the colors! I painted before I wallpapered, just so any mess ups on the back wall could easily be covered when I wallpapered. Plus, I didn’t want to get paint ON the wallpaper, so this felt like the right move. I think even if I hadn’t painted, it would still be absolutely stunning!
some things to keep in mind
I will tell you step-by-step how to apply in just a minute, but before I do I want to touch on just a few things to keep in mind along the way!
- bubbles may happen, just smooth the wallpaper out from the center out and they generally fix themselves
- it’s better to remove the wallpaper strip altogether than to slightly adjust and readjust
- start above the ceiling line since most ceilings aren’t straight across
- there is a letter or number on the back of your wallpaper strip, indicating which one to start with
- take it from me: I had to remove and reattach strips many times– it doesn’t lose its stickiness! AND, if it sticks to itself (which did happen to me some), it’s pretty easy to get it unstuck and it doesn’t look messed up once it’s on the wall.
My overarching point here is that application is a fairly simple process! Don’t freak out if there’s any bumps in the road, because most are extremely manageable and won’t mess up your final look.
applying the wallpaper
- Like I mentioned before, keep in mind that the wallpaper is labeled on the back of the strip. Depending on the pattern, it will have a letter or number indicating which one you need to start with, This is CRUCIAL in ensuring your pattern looks right.
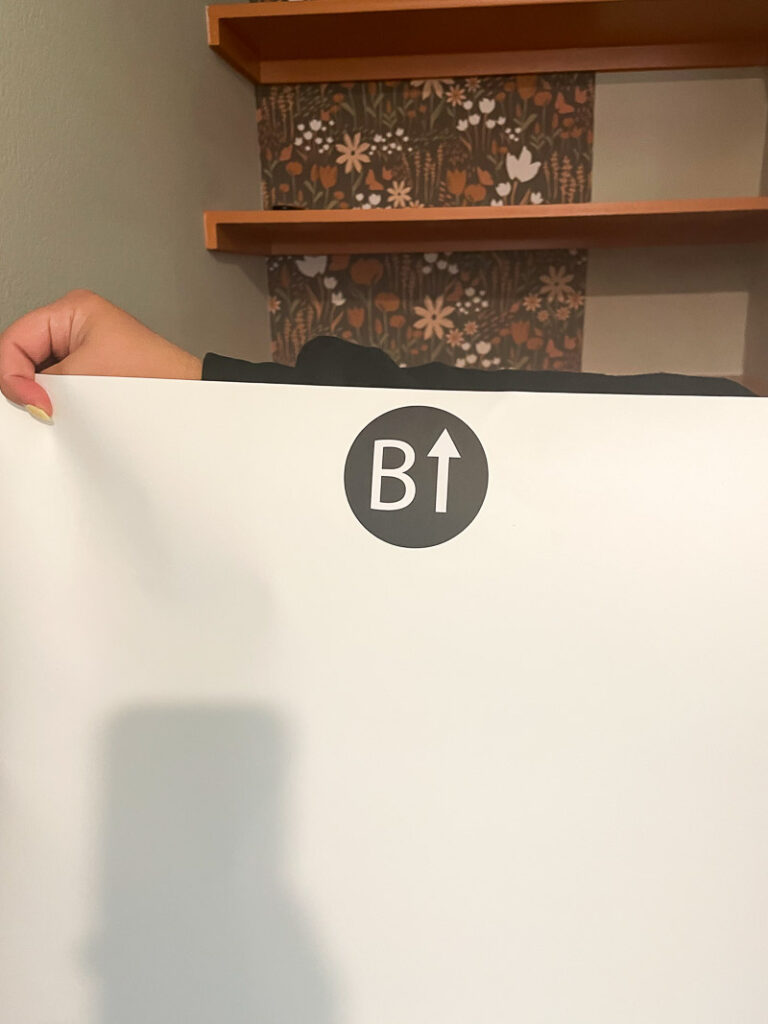
This strip has a B on it, because as you can see in the background, I already applied strip A.
- Peel the back of the wallpaper down about 6-12 inches to start, and keep doing that same amount as you go.
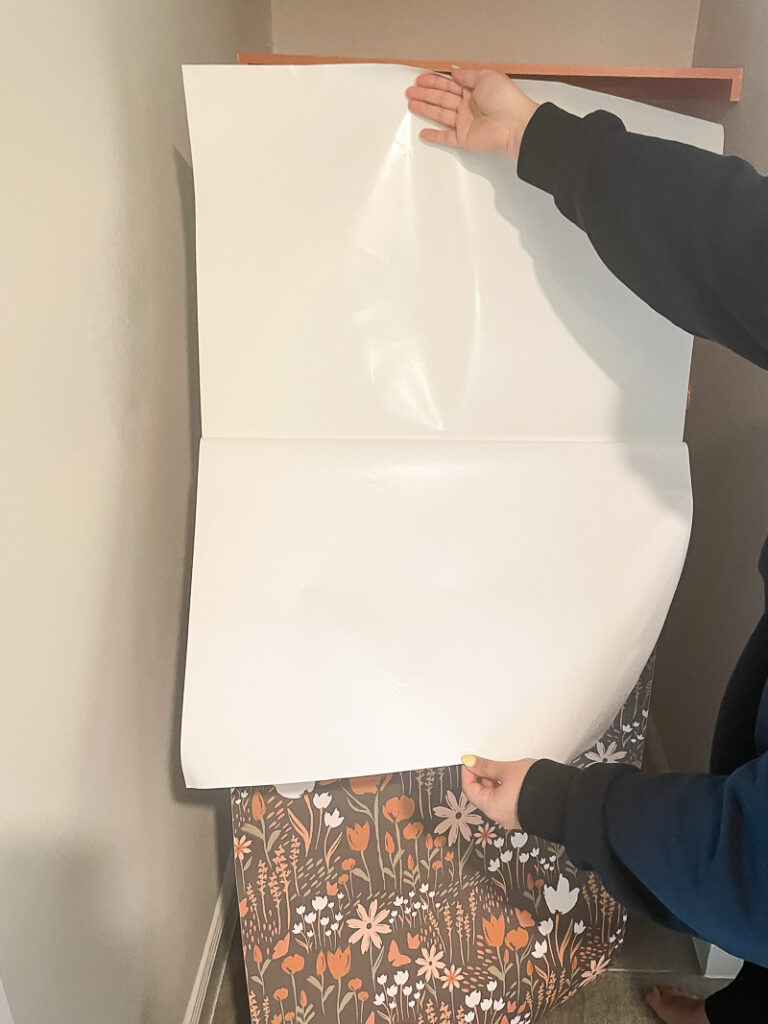
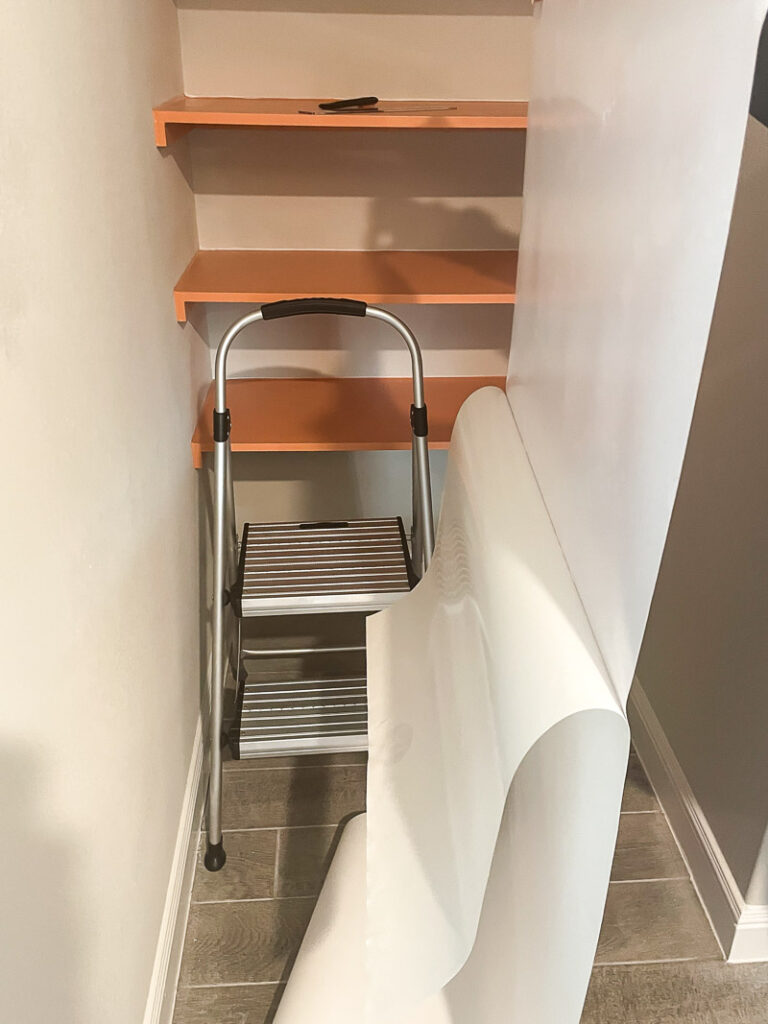
Just another angle to see how it was pulled down
- Start above the ceiling line (I did about an inch overhang or so) and press down. Once I had it all lined up along the side of the wall, and in place, I stuck it down.
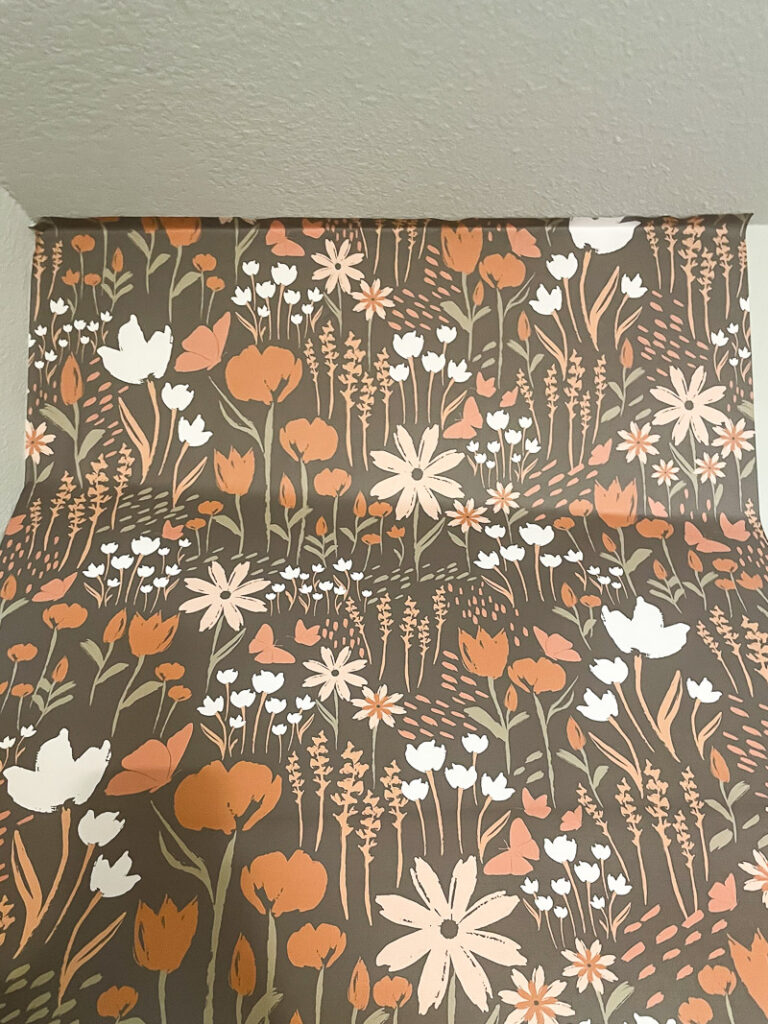
The very top of the ceiling
- Stick in the center first and work your hands out towards the edges. This will ensure a good stick, and get all of the bubbles out!
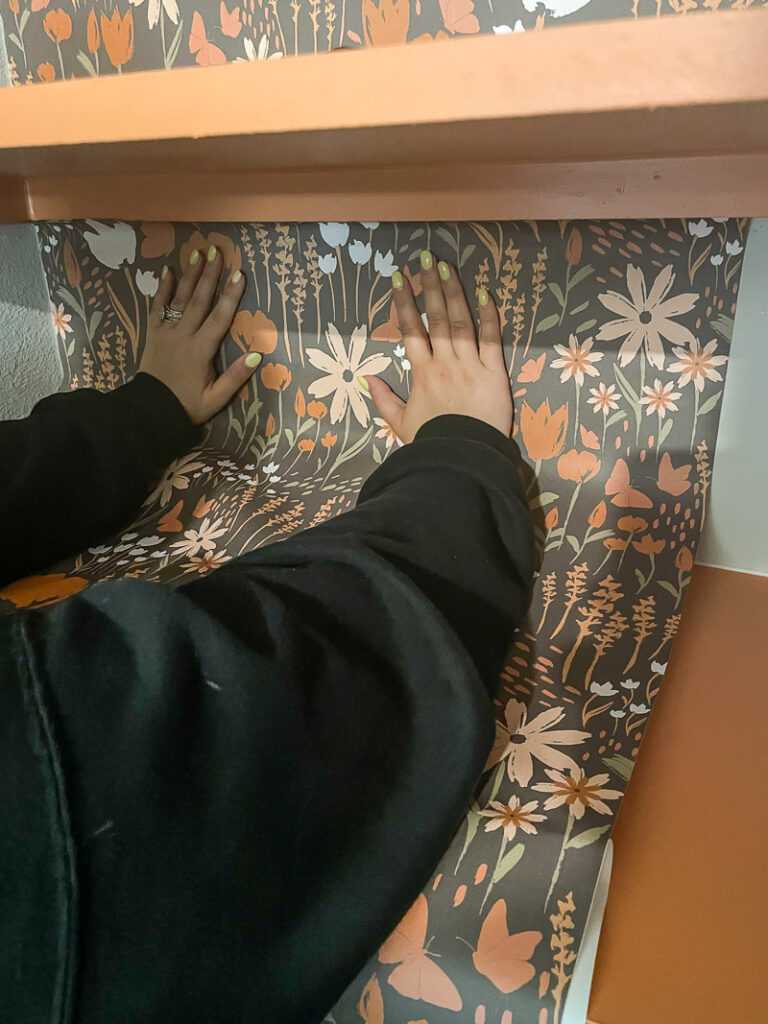
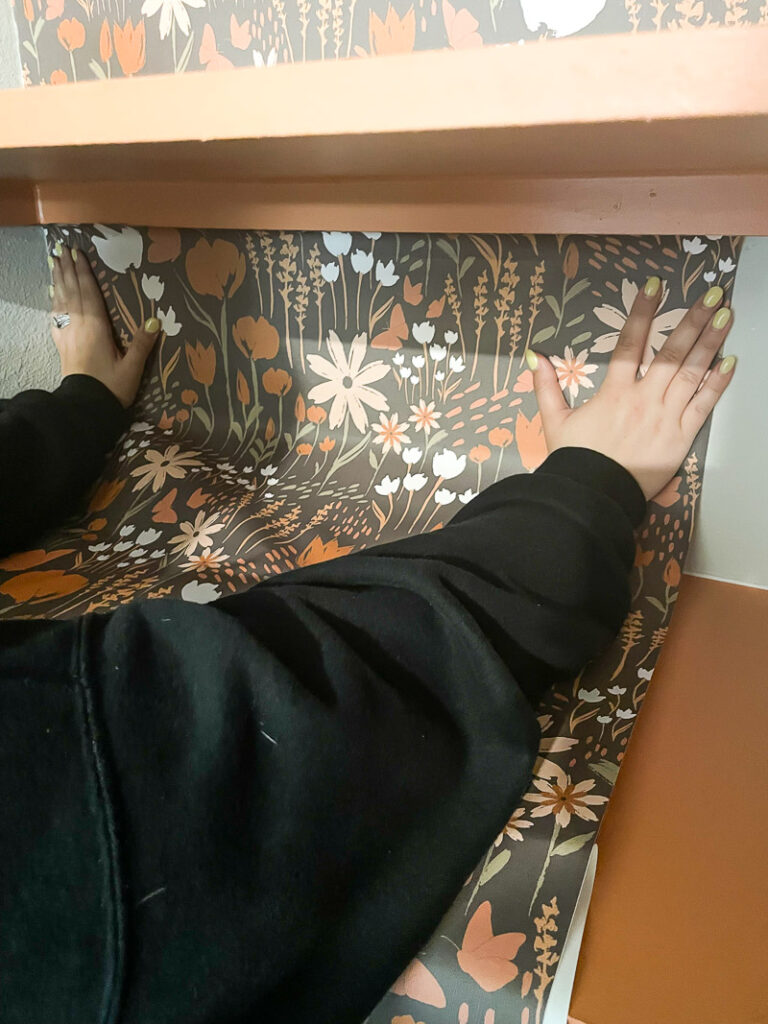
Smoothing from the inside towards the outside
- You essentially repeat this process over and over again. Since I did shelves, it was a bit of a unique application. I didn’t want to pre-cut the wallpaper at the risk of cutting it wrong. So I started the same you would on any wall. Once I was sure my wallpaper was applied exactly how I wanted it, I would use a blade to trim up the bottom of the wallpaper. At first, I just freehanded the cut along the top of the shelf, but quickly realized it wasn’t going as smoothly as I hoped. After asking for my husband’s opinion, he had a pretty good idea: Use a ruler to keep the blade straight across the edge! DUH! You could also use any straight edge you have, it doesn’t have to be a ruler.
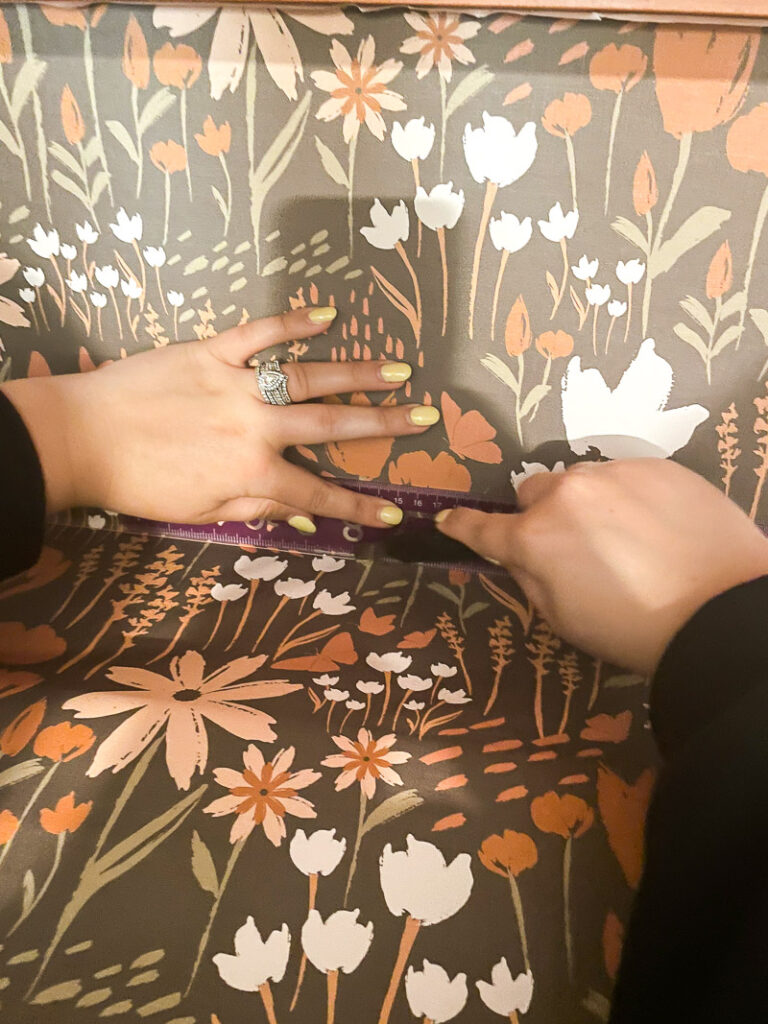
- Once the edge was cut, I would move down to the next open shelf. I always gave myself a bit of room at the top there as well, and would trim with a blade later on. I think this made the pattern look a bit more seamless, almost like it was put on before the shelves were there.
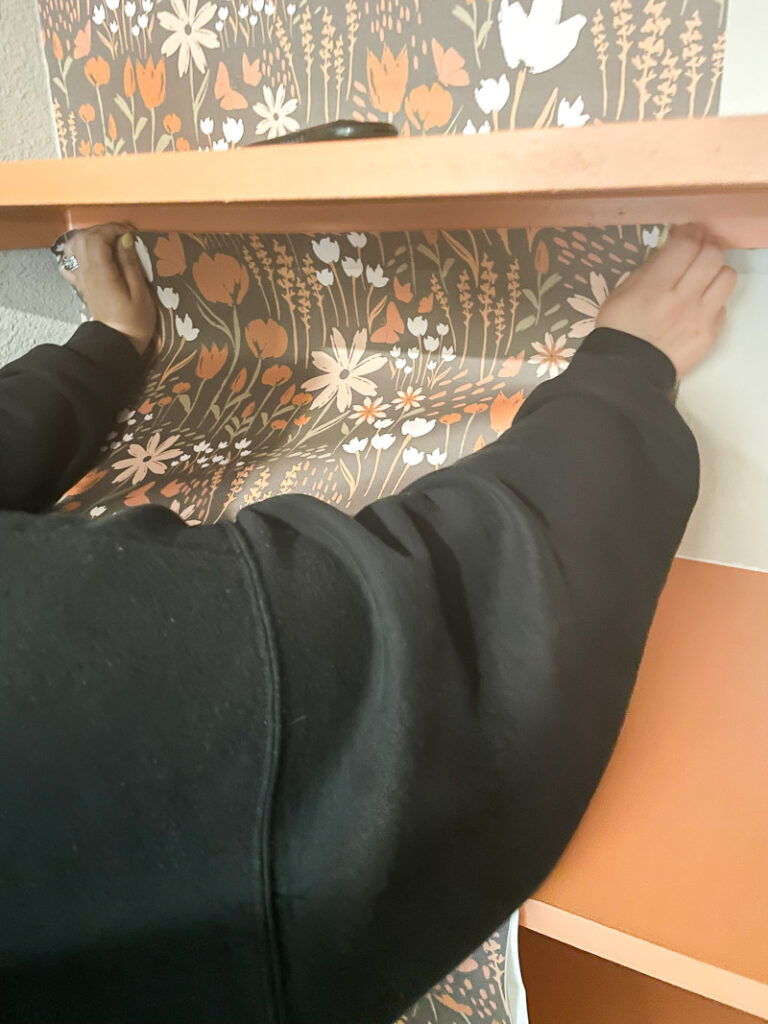
Putting it on the next shelf, going slightly above where I needed to be. Almost like the ceiling.
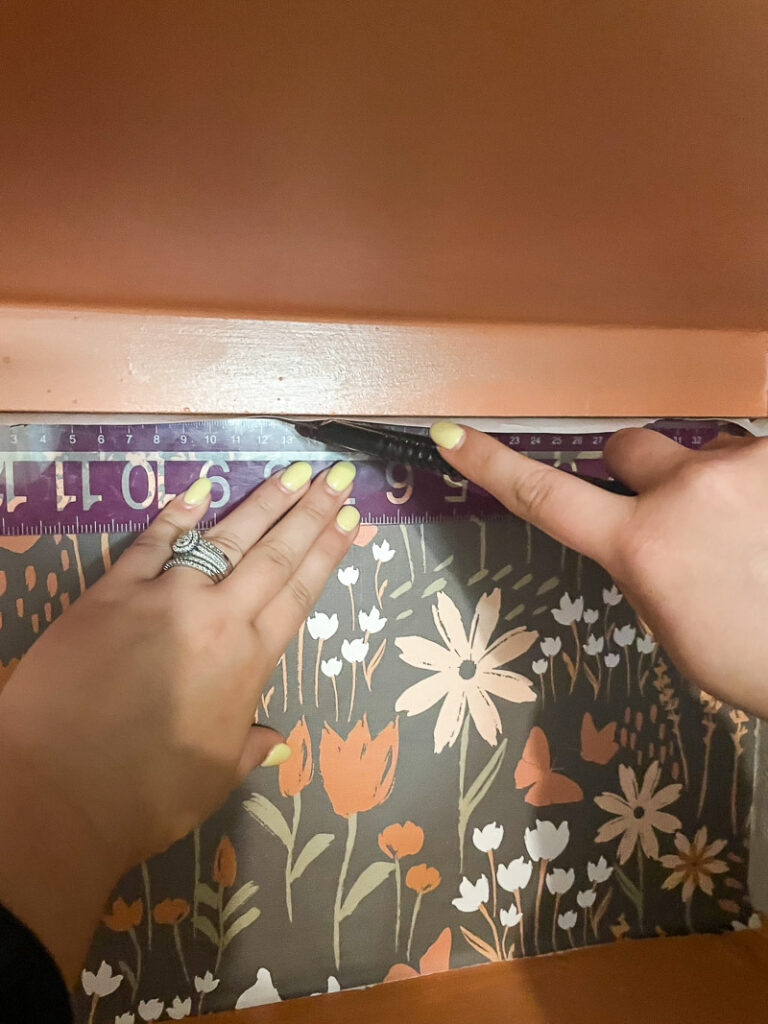
The same way you trim the bottom, I would trim the top
- Once you finish up your first piece of wallpaper, it’s time for the second strip. As mentioned above, the strips are labeled, so make sure you grab the right one. I only had A and B, so I grabbed B for this part. If you’re doing a regular wall, this is going to be a DREAM. Because I was doing shelving (and didn’t want to take the shelving out), it was a bit more complicated. I had to use a second strip to cover the full area, but not the full width of the second strip. I started out just simply lining it up on the ceiling with the other one (I did the same overhang), and then pushing it to the edge of the wall on the right hand side. While that works, it also caused the wallpaper to get stuck to itself some because the space was SO small and the wallpaper strip was bigger than I needed. After doing the top shelf, I did decide to trim the piece down some to make my life easier. I still left PLENTY extra, but it just made it easier to work with. The right hand side was messy, but I just trimmed it up with a blade later.
- Loomwell does this amazing thing to help you out when aligning your wallpaper. They give about an inch overlay in the second piece. Basically, you lay your new piece an inch over the old piece. This helped me line it up SO much. I honestly can’t tell where the line it AT ALL– and I often can when I see other wallpaper jobs.
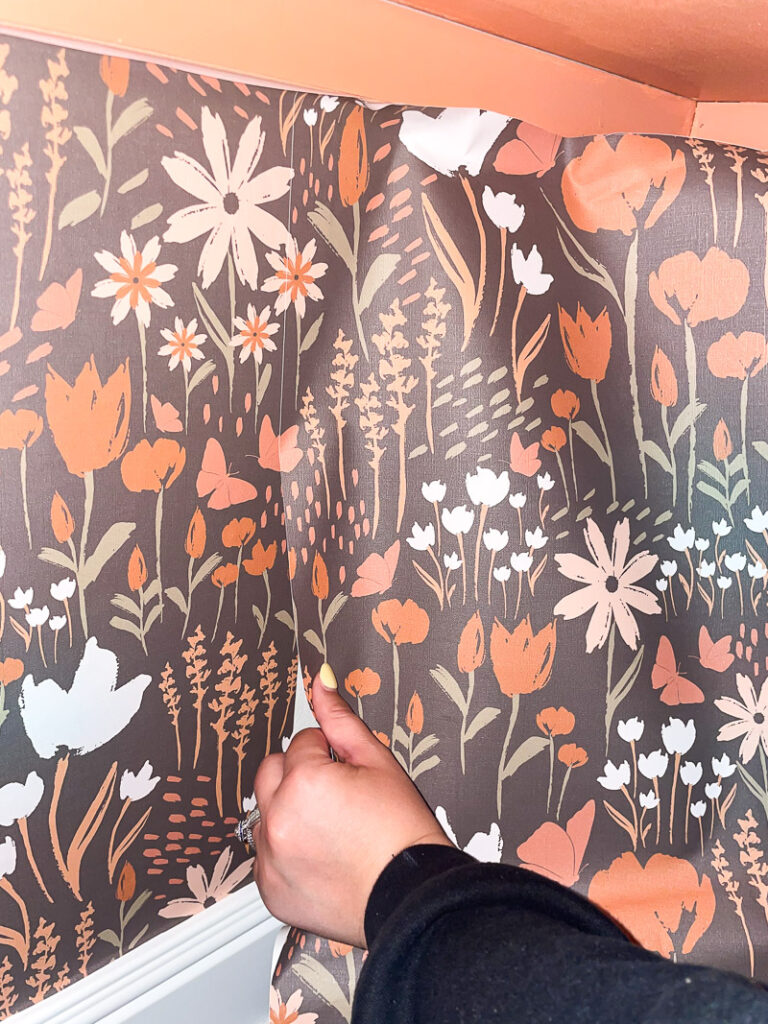 Being able to lay the next piece over the first means you can get it almost EXACT!
Where the wallpaper overlaps
I did press this one down a bit more after this picture, but I wanted you to be able to see the line so you know what I’m talking about. It blends SO SMOOTHLY!
- The last step was really just to trim it all up along the sides and anywhere else I missed along the way. We did have ONE spot that we cut a little too much when trimming, but we simply took a piece of the scrap wallpaper that looked similar to that spot, and stuck it in. You would seriously NEVER know! This is what I mean when I say don’t panic about the little errors. They really are so fixable.
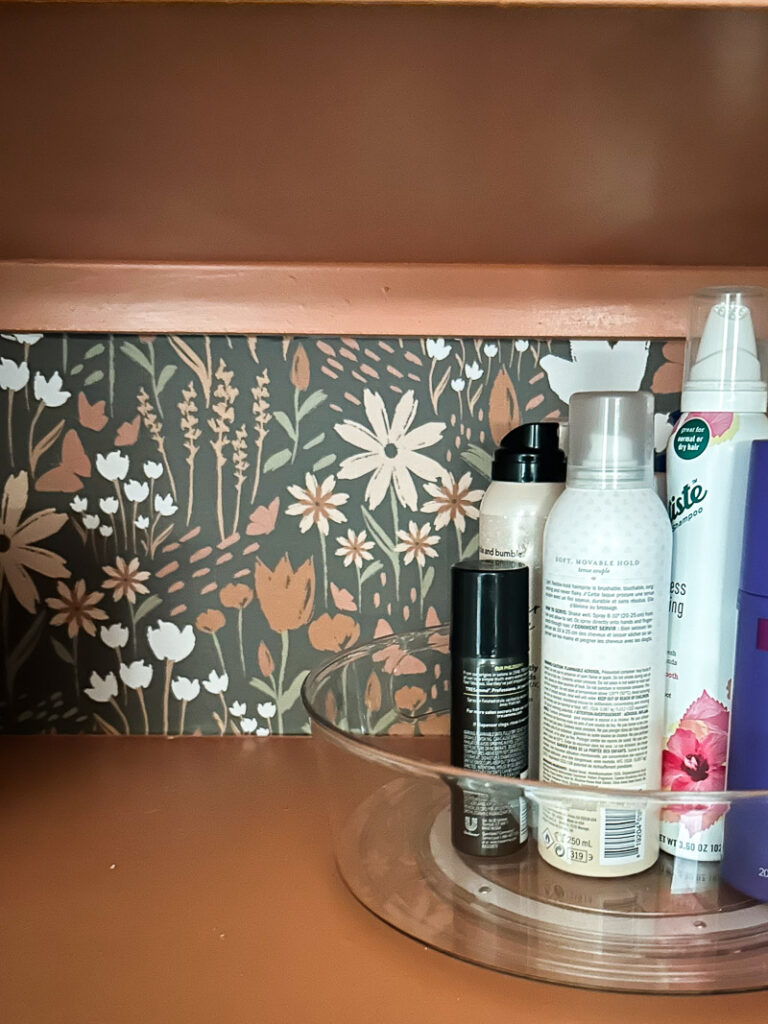
This is where the wallpaper meets… can you even see it??
After doing these 2 spaces using Loomwell wallpaper, I don’t see myself ever using a different brand again. I’m not kidding you. Having come from the previous peel and stick wallpaper I used from Amazon, to THIS– it’s night and day. You don’t know bad until you’ve seen the good, and I’ve seen it now!! I’m never going back!!
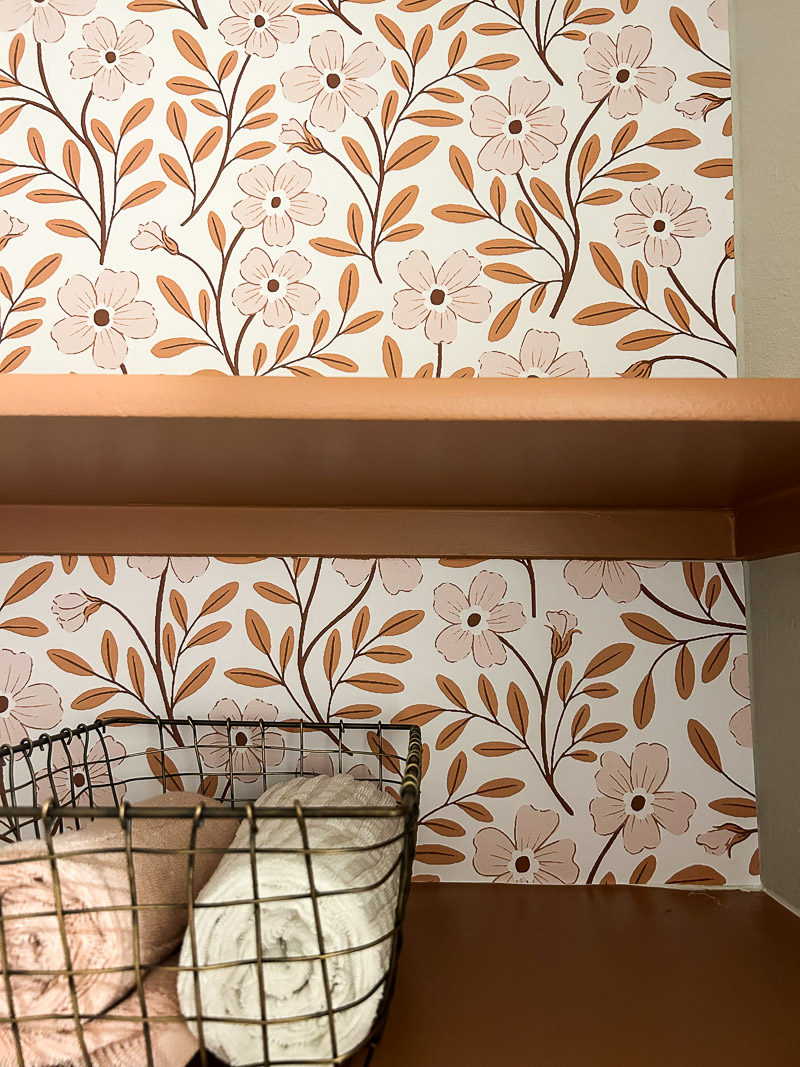
You can’t even see the textured walls through the wallpaper, that’s how thick and good the fabric is.
It was such an easy project, my husband and I knocked out both bathrooms in one day. Each one took probably about 1-2 hours to wallpaper completely. That’s IT… and now we have this amazing new space. If that’s NOT a big impact in a small space, then I truly don’t know what is.
You can see the after before I added our stuff back here:
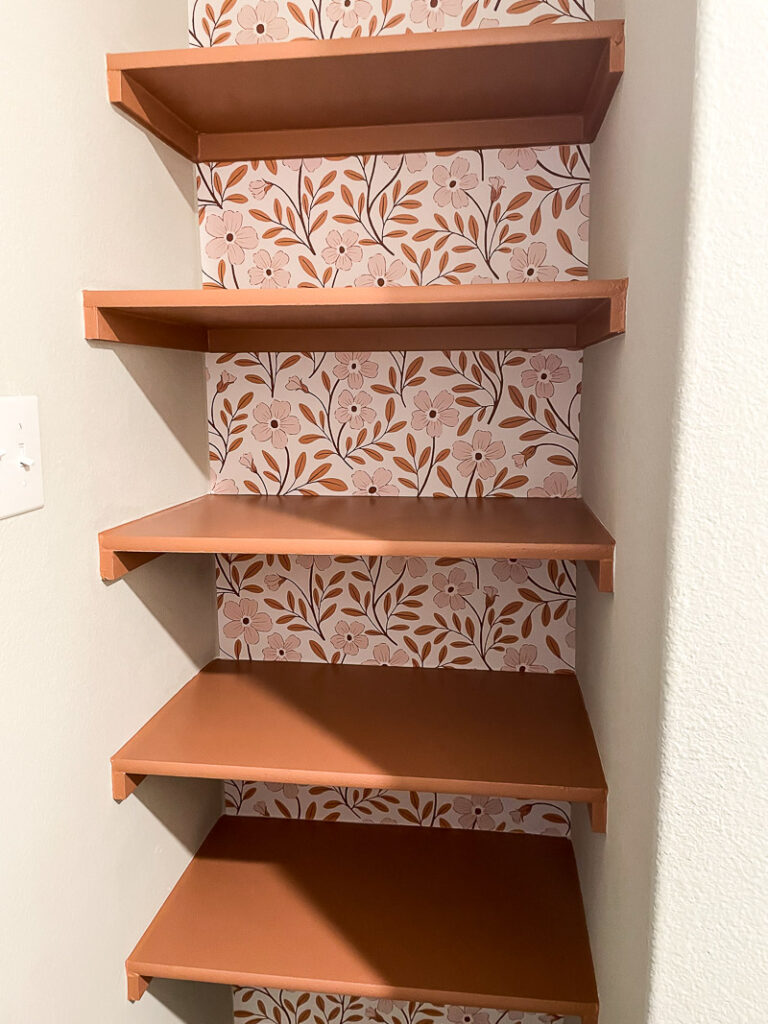
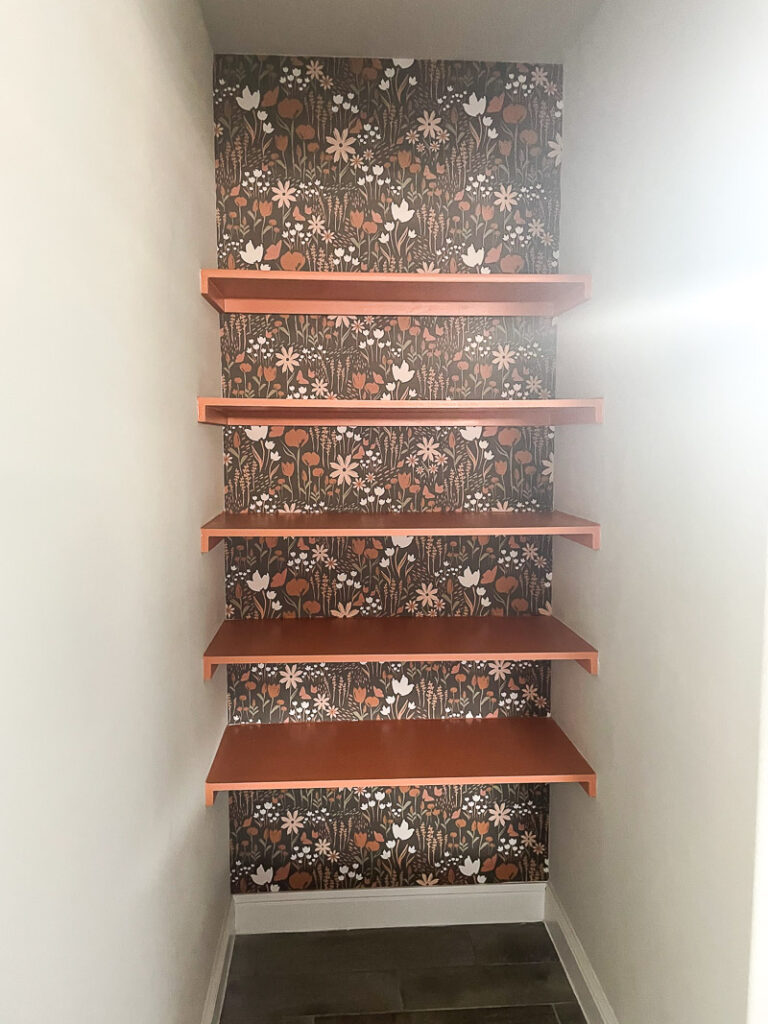
I was already in love but once I added back our things, I seriously couldn’t stop going to the bathroom to look at it!
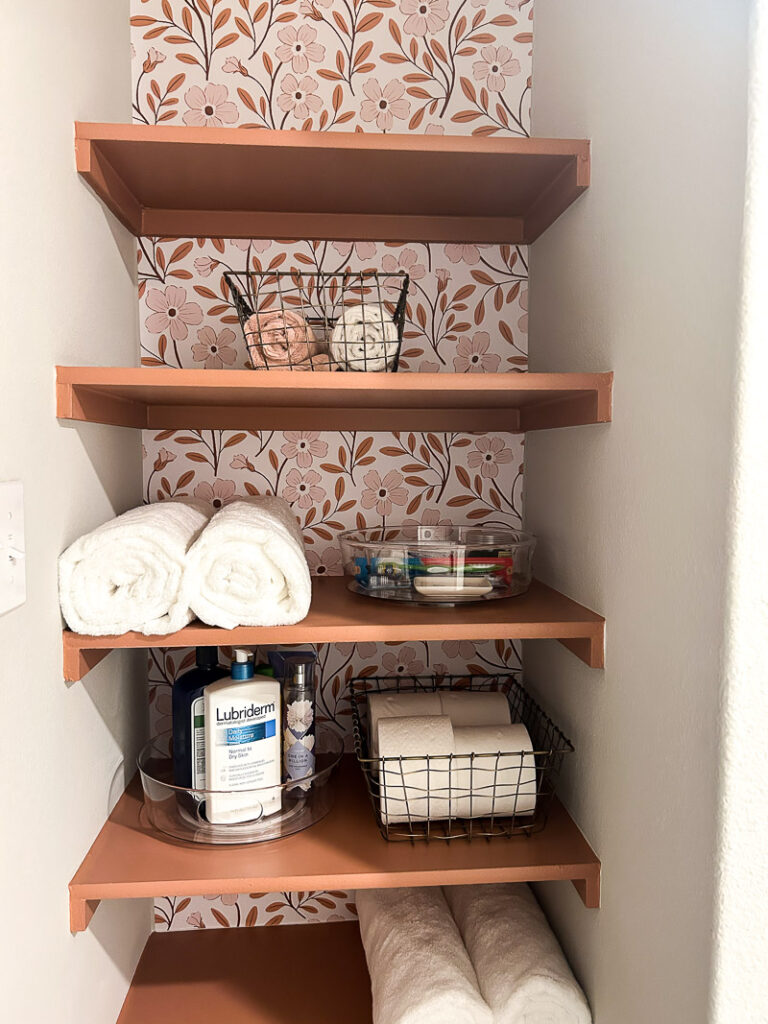
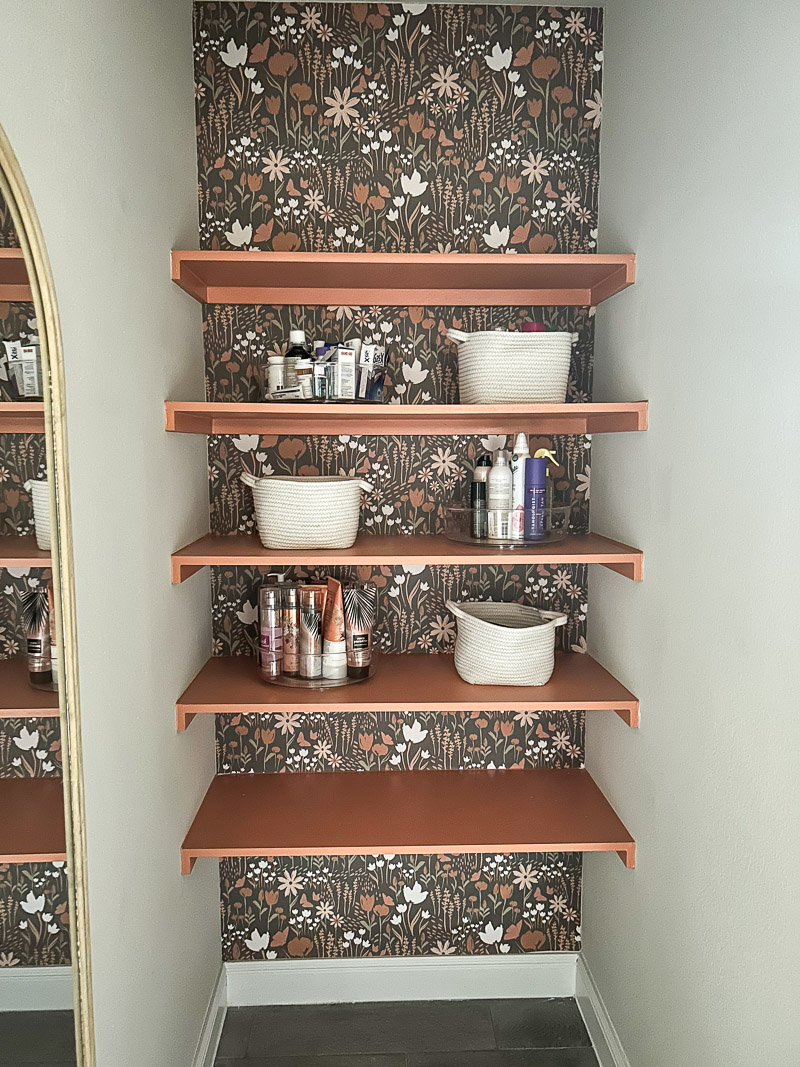
I do eventually plan to change up some of the items on the shelves to match the new vibes a bit better, but for now, the wallpaper does SO much to the space, I barely even notice the things on the shelves. And you can’t do it all at once, right!
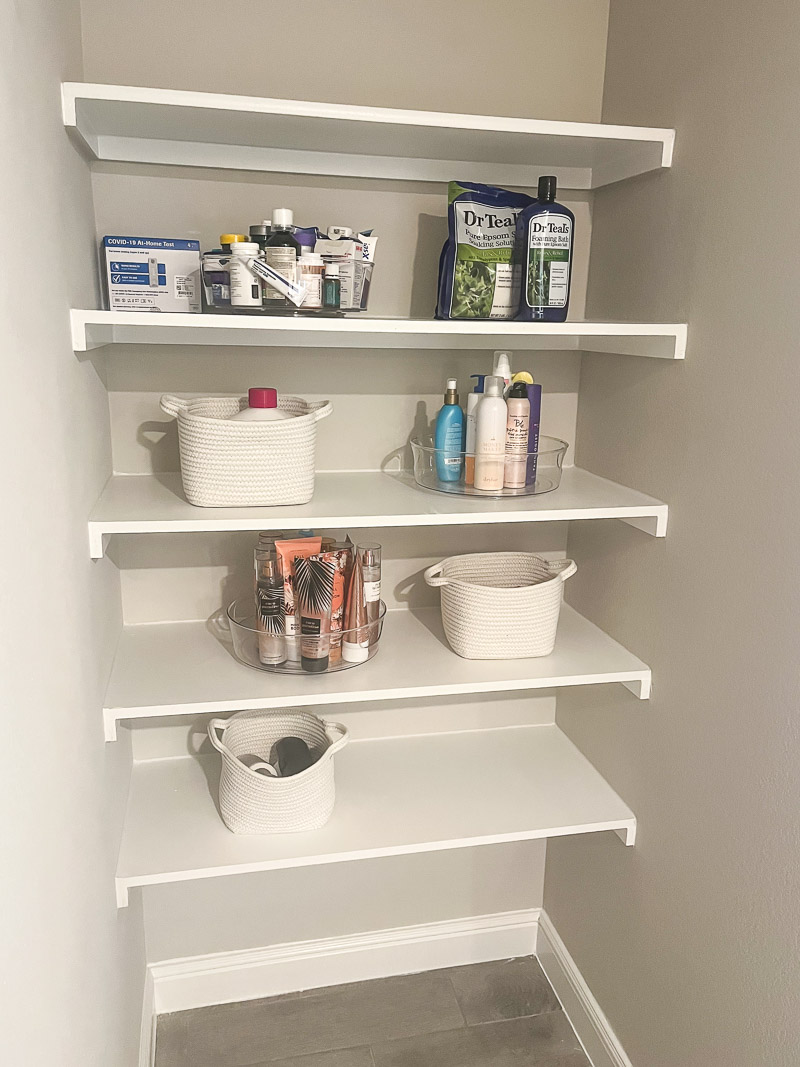
I mean seriously, can you even believe these are the same space??
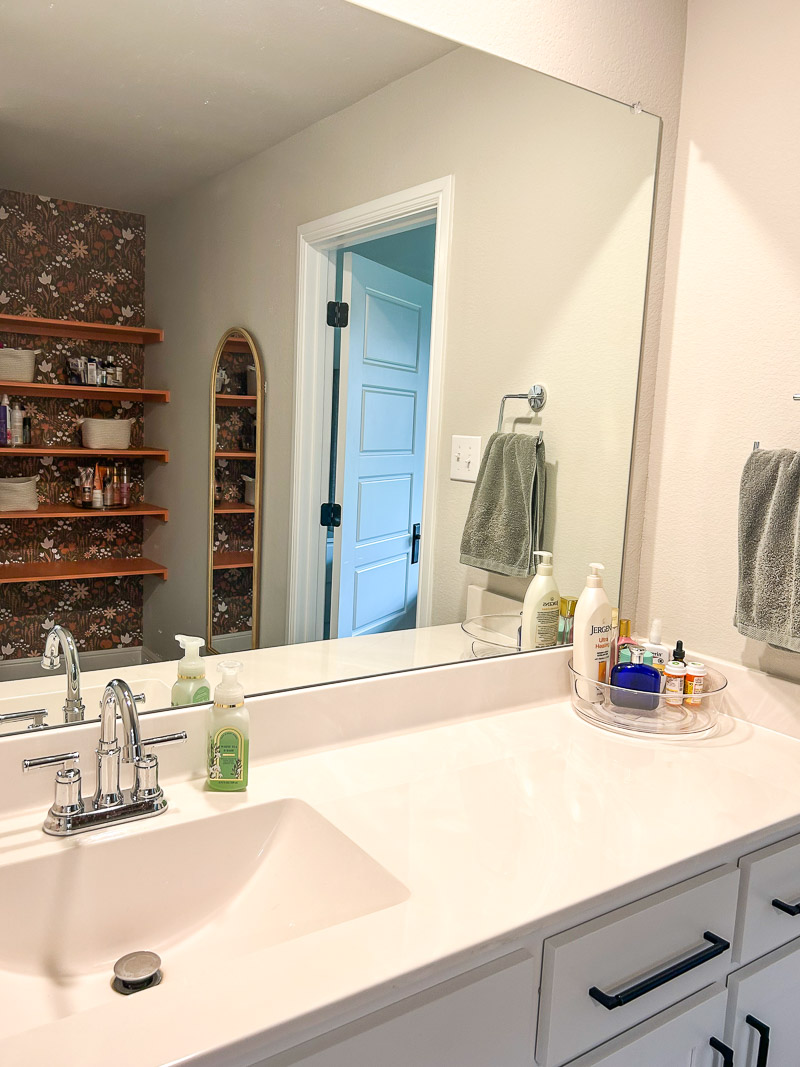
Whether you have a small space you need to liven up, or a whole room, Loomwell is the place to go for any peel and stick wallpaper needs. They have great support, an easy to use website, and TONS of options. They actually also sell some other items like curtains and sheets, so I’ll have to check those out sometime soon!
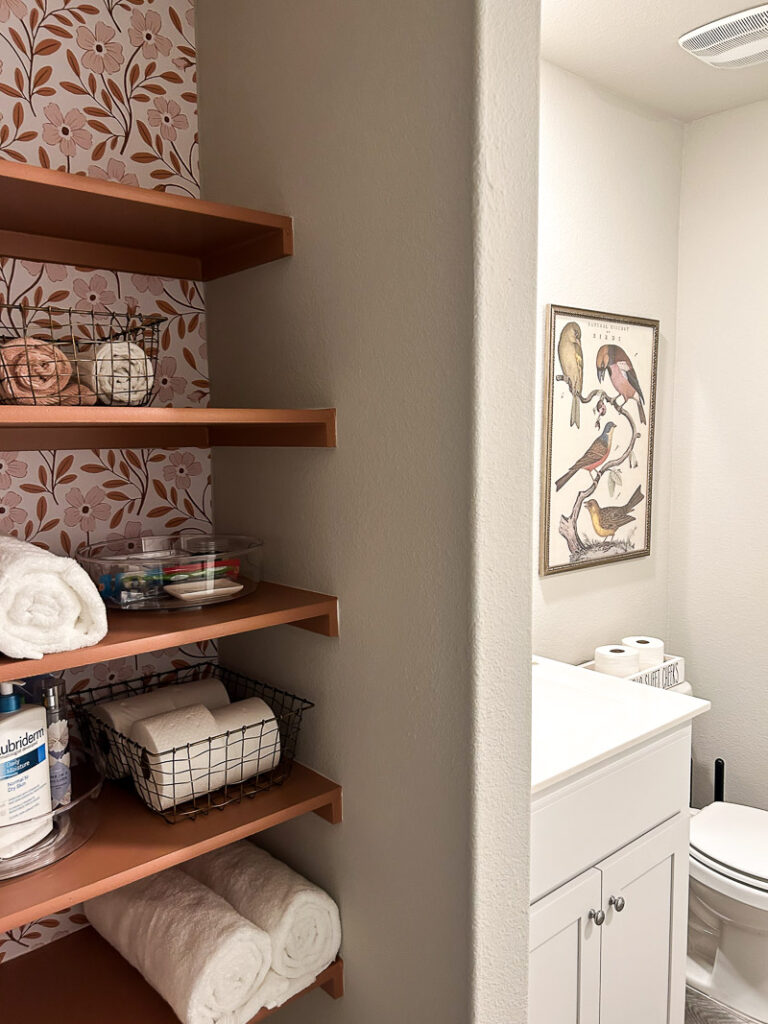
But in the meantime, catch me in my bathrooms staring at my new favorite part of the house.
You can shop ALL of Loomwell’s wallpaper right HERE and use code KIMPEPPER to save 15%!! What are you waiting for???


Great job! So creative and pretty. I can’t pic a favorite; love them both!
thanks so much friend!!! They are both adorable, this is Kelsey’s house – so proud of her and her DIY skills!
What a beautiful transformation.I especially like the darker paper ,so attractive.
Isn’t it gorgeous!!!???
Looks like a very professional job Kelsey! Very pretty! Thanks for sharing!
she did so amazing!!!