If you are looking to add beadboard wallpaper to your home I highly encourage you! Honestly, I’m going to show you how to install beadboard wallpaper and you will be amazed how much easier it is than installing traditional beadboard. Also – these tips will work for installing most textured paintable wallpaper selections you might want to try. I have a whole list of textured wallpaper choices at the bottom of this post. There are so many incredible options. Let’s take a look!
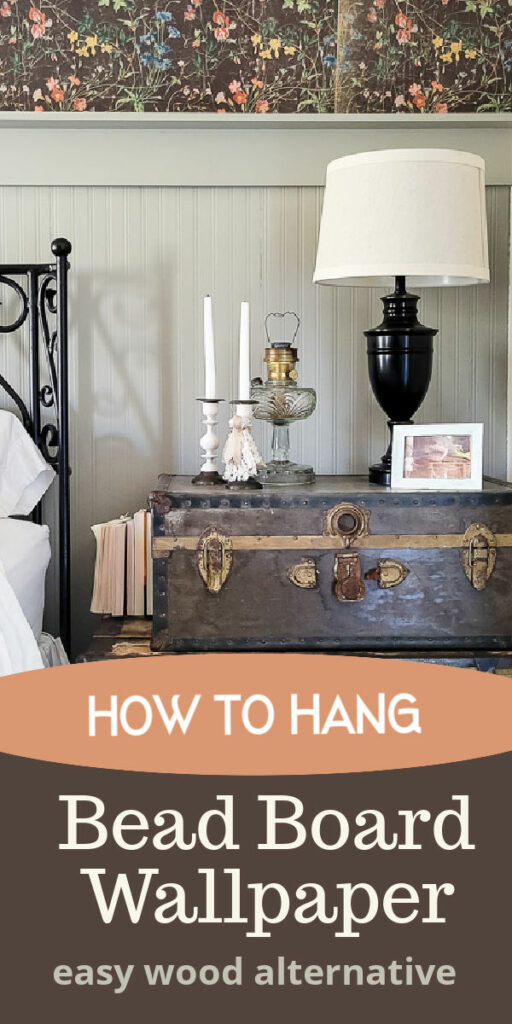
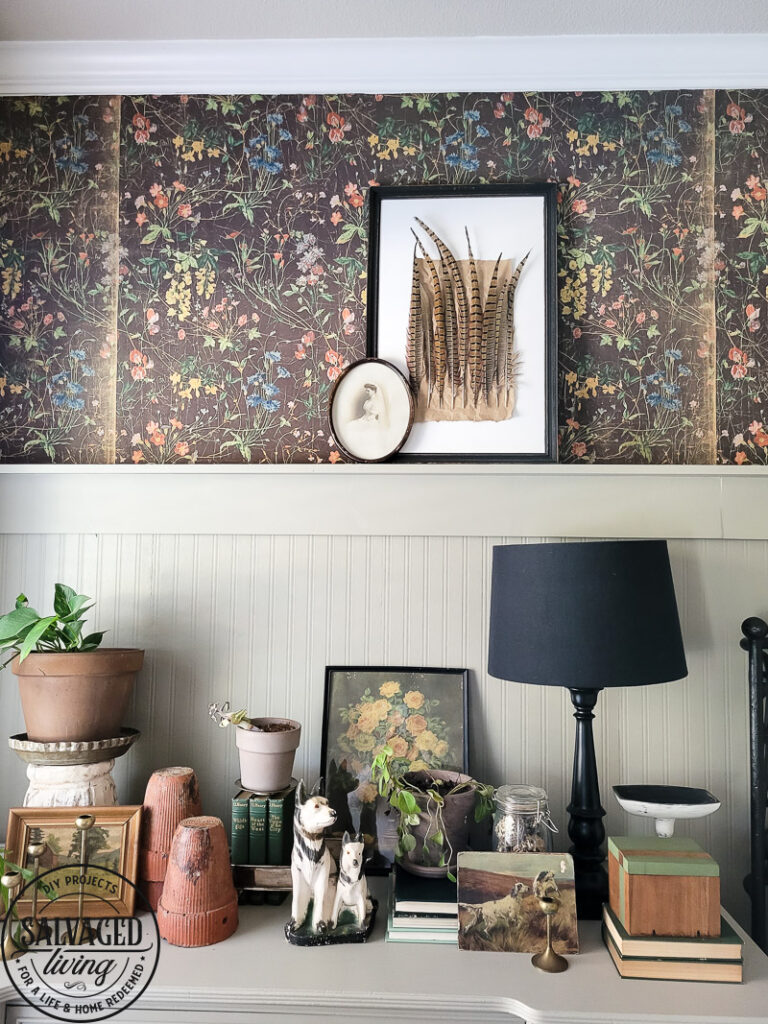
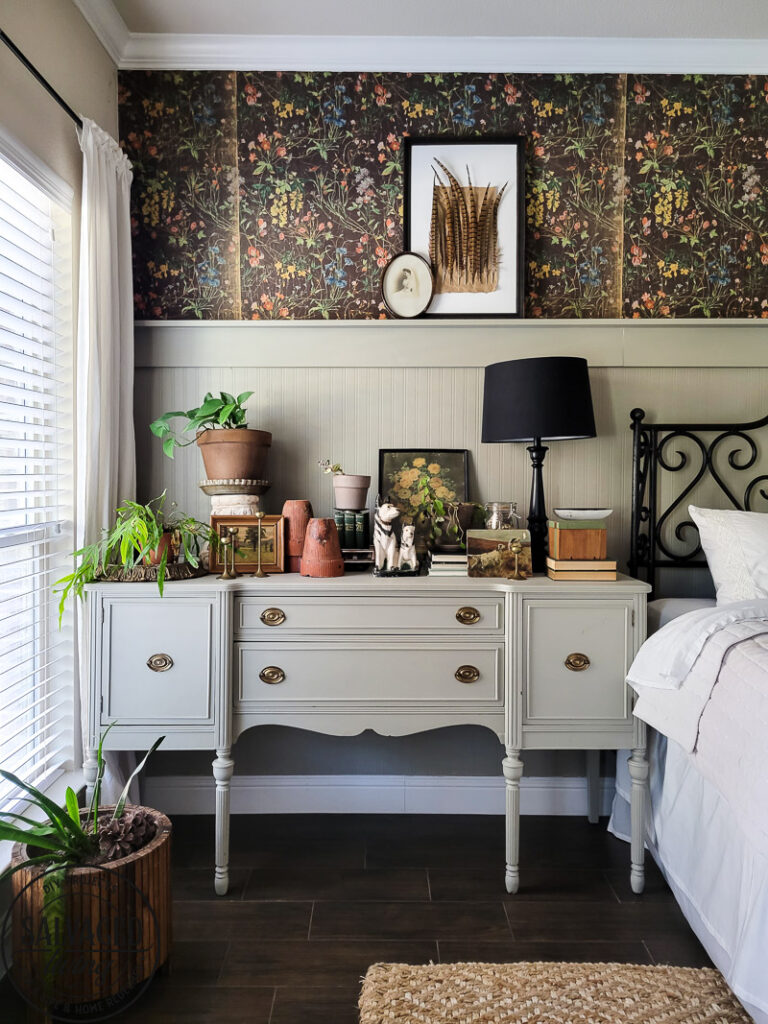
When I was redecorating my bedroom into an English garden feel I bought some traditional wallpaper on a whim. Of course, I didn’t buy enough, so I had to make it work. I actually love the way it turned out and think this wall has even more charm than if it were all floral wallpaper. I decided if I did a beadboard accent on the bottom portion of the wall and used the floral wallpaper on top I could make the amount of wallpaper I had work. And I’m happy to say IT DID!
The first hurdle to tackle was my walls. My walls have an orange peel texture on them and I have dragged my feet on hanging wallpaper because of this factor. I didn’t want to have to float or skim coat the wall. You might be asking the same question…
Can you install wallpaper on textured walls?
My answer to this question is YES. There are some factors to consider though, because I don’t think all wallpaper would work well on a textured wall. If you have a thick wallpaper, you definitely have a shot at adding the wallpaper directly to a textured wall. The beadboard wallpaper I used went on really well and to me, looks fabulous despite the textured wall underneath! You honestly can’t tell I applied it to a textured wall and once the wallpaper was painted and decorated it looks JUST LIKE REAL beadboard. Truly. The beadboard wallpaper I selected was a paintable wallpaper, so it had a thick and durable body to it that was a little different than a traditional type wallpaper.
As an additional note, I’d like to say I had no idea how many amazing patterns were available for textured paintable wallpaper. These particular wallpapers tend to be a bit more thick and sturdy, great for wallpapering a textured wall. Plus they have the ability to add a subtle, yet interesting something extra to any wall. You can easily paint a textured wallpaper in your color palette to go in any room of your home. They are a really amazing decor choice to consider when looking to add interest to your walls. I’ve linked a few textured paintable wallpapers down below that I think would be great (plus the one I used) to work into your decor. Now back to the bedroom…
I also added the floral wallpaper to the top portion of the wall, directly over my textured walls and had great results. This particular wallpaper was very thick and also had a worn, wrinkled look to it to begin with, so I think it was an exception that works in these conditions. Not all wallpaper will work, but I think you’d be surprised at what will. I say give a test area a try before you go and retexture your walls to a smooth finish. Almost all wallpaper is available in sample sizes if you are concerned about the texture of your walls and the outcome. Order a sample and try it! Also, many wallpapers will tell you directly in the description if they are unable to be applied to textured walls, so read all the details.
Here are the directions to hang your beadboard wallpaper. Honestly, the beadboard was a dream to hang compared to the floral. You won’t find a tutorial here for that floral wallpaper, it wasn’t impossible, but I wasn’t great at hanging it!
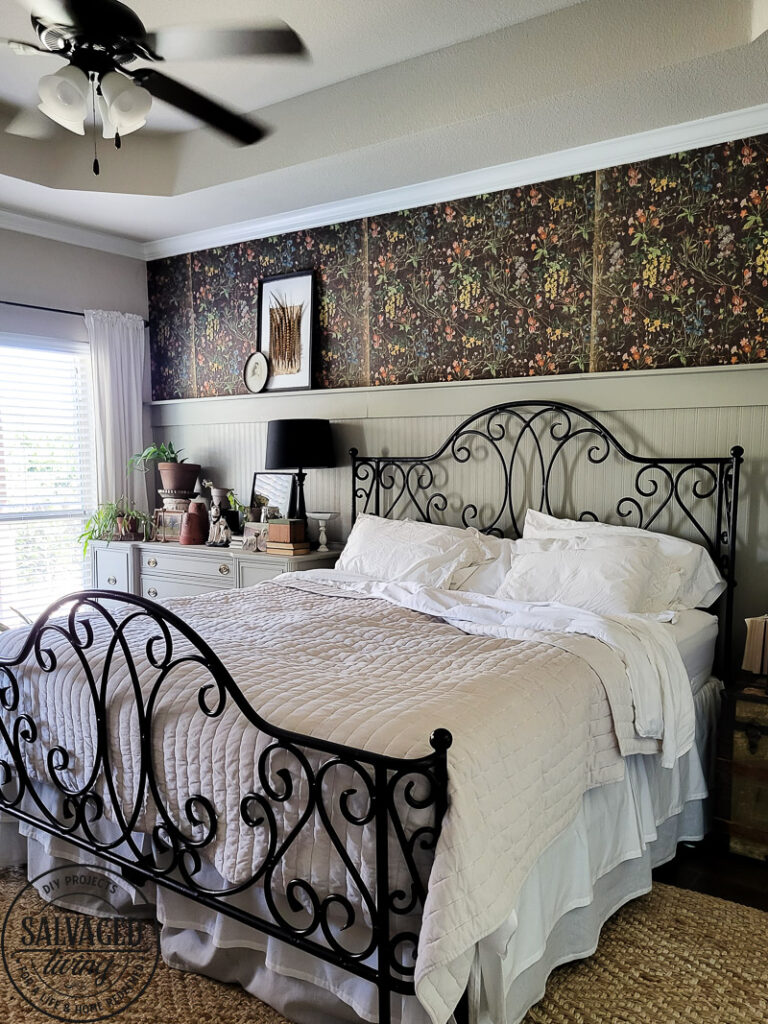
How to Hang Beadboard Wallpaper
- Make sure you have enough wallpaper to cover the desired area plus the proper supplies collected. There is nothing worse than having to stop mid project to order or go get more supplies! (you can see my full supply list below) I used a pre-pasted wallpaper and therefore these directions reflect that. I highly recommend pre-pasted.
- I worked with an apron on and it was a lifesaver on this project. That is probably one of my best tips for you! Wallpapering is a touch messy.
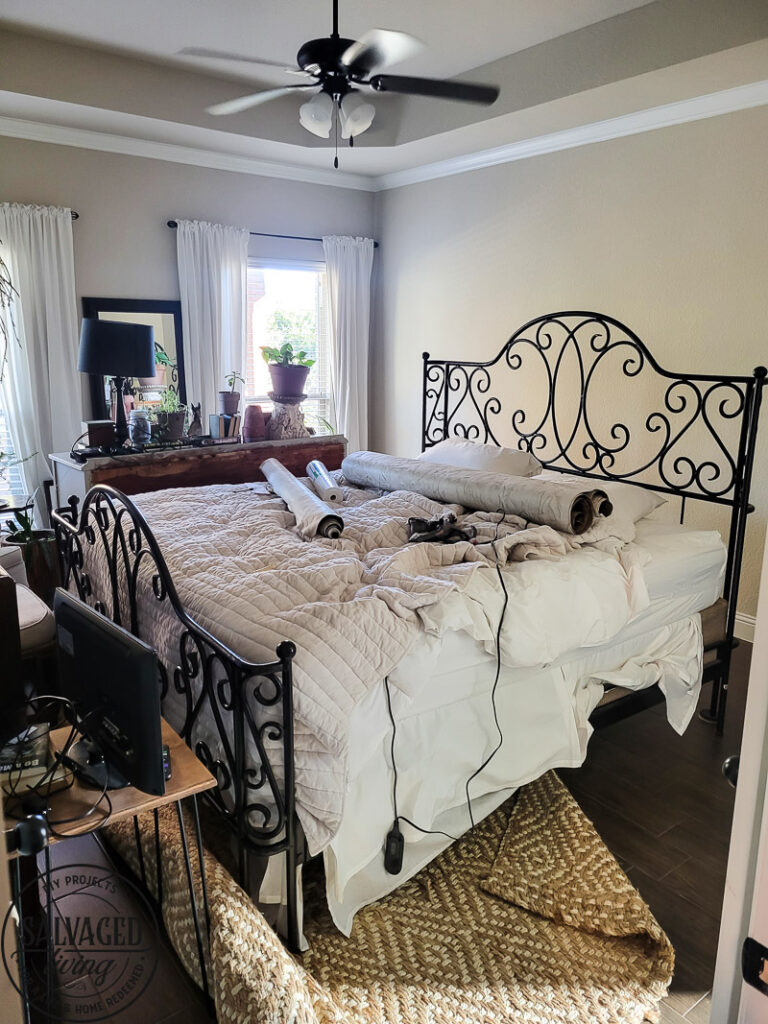
- Start by cutting your wallpaper into strips slightly longer than the length of the area you wish to cover. Have the strips handy. Please note, if you use a different textured wallpaper than the beadboard you will need to make sure your seams line up, so consider that when cutting your strips. The beadboard seams will line up naturally.
- Fill a shallow bucket or wallpaper trough that will accept the width of your wallpaper rolls with water.
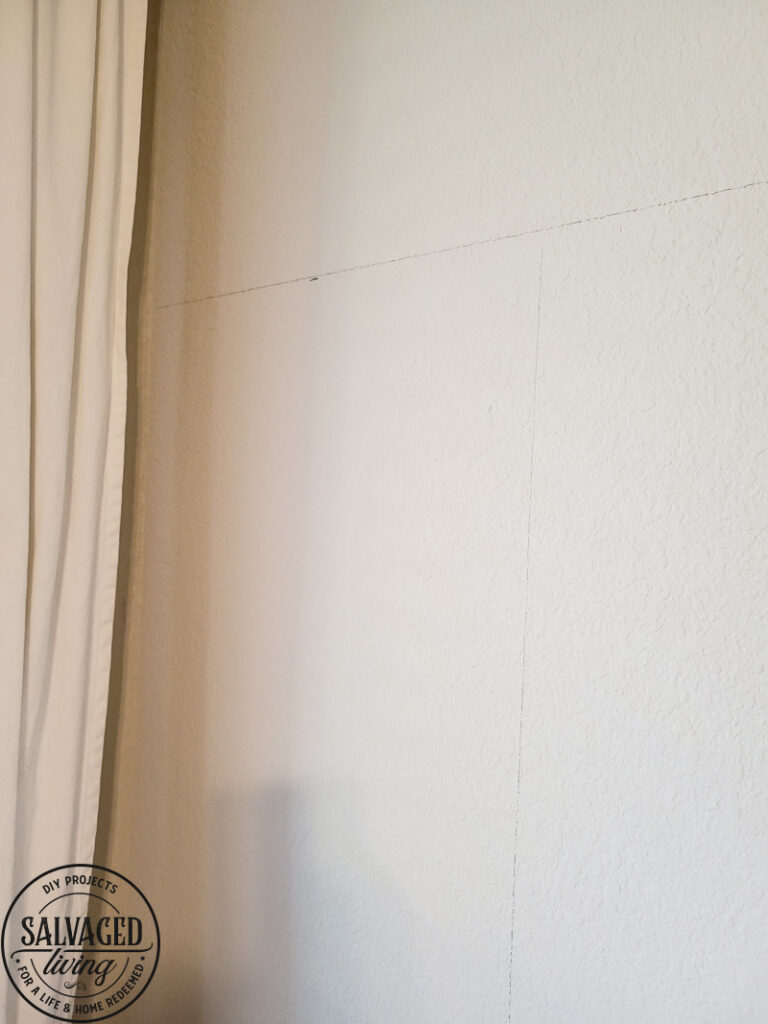
- Start with a plumb line. Do this by drawing a vertical line away from the corner or start point you will begin to hang the wallpaper. This line should be marked off at width slightly shorter than your paper so that you can run the edge of the paper down the line and over the beginning corner. Be sure to use a long level or hang a plumb line to start off straight and correct. Your whole project hangs on the straightness of this line! Trust me, your walls and corners are not straight on their own, so you have to find and make your own straight line.
- Once your lines are in place take your first piece of wallpaper and roll it through the water, allowing the water to touch the entire pre-pasted back of your paper.
- Fold the wallpaper back onto itself, sticky sides touching. I folded it inward from both ends. See the picture for details!
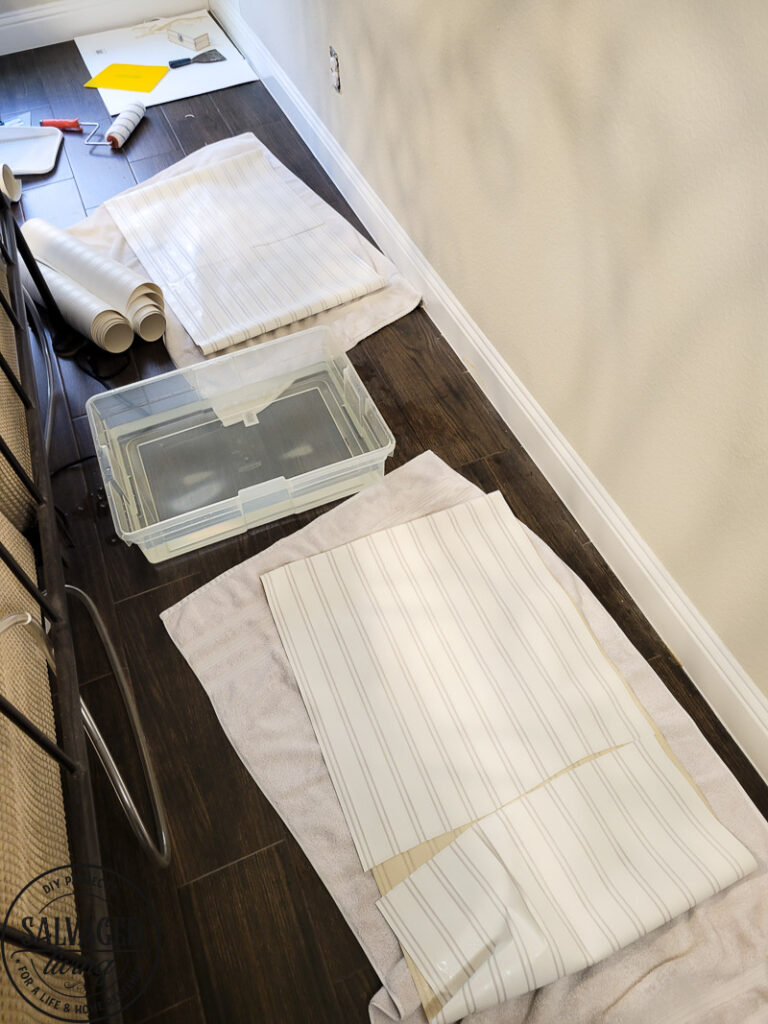
- Allow the paste to activate for 5 to 10 minutes. Your wallpaper will have instructions particular to it on the label, so refer to those for the timing needed. I would activate two strips at a time and once the first strip was hung, activate the next two so I could work continuously. Do not activate them all at once. You can’t move that fast through this process!
- Unfold your wallpaper – be very careful. This paper in particular had a tendency to rip in the beadboard crevices if I wasn’t careful.
- Line up the side of your wallpaper with your plumb line and gently begin to lay the paper down from the line sideways. Use your hand to kind of roll the paper onto the wall. Pull up and rub flat until you get it laid down without any major wrinkles.
- Next use a wallpaper brush (I used a paint roller with a clean nap on it) and push any bubbles or wrinkles out of the wallpaper. You want to smooth the paper completely. You can also use a wallpaper squeegee to smooth it.
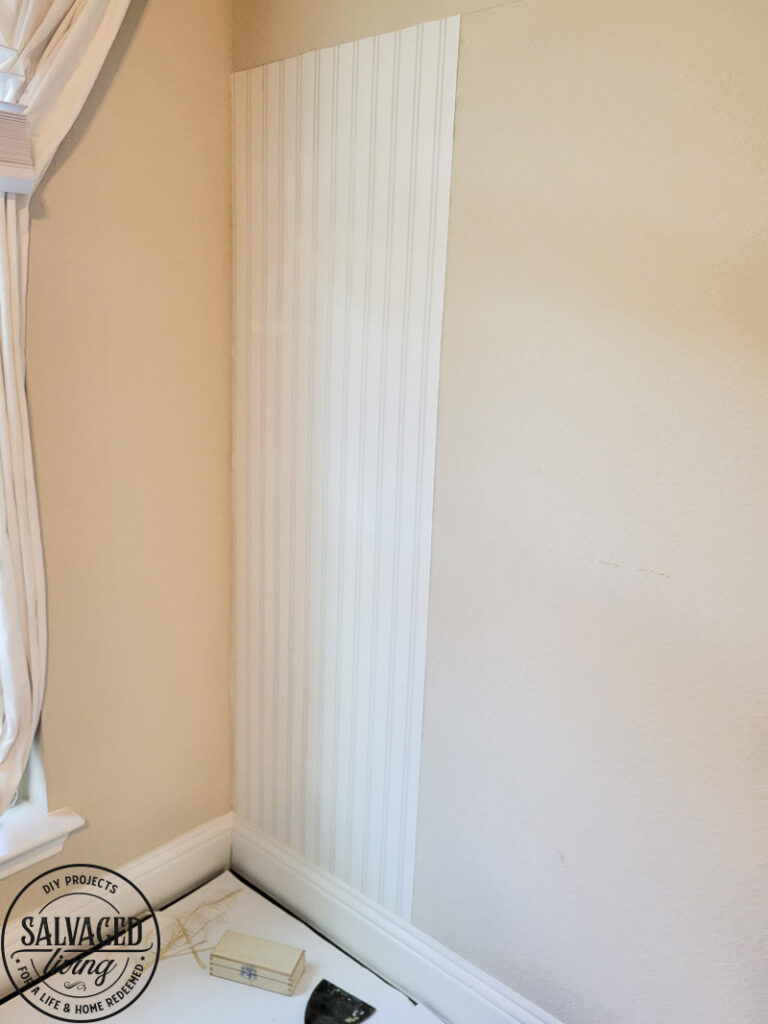
- Use the wallpaper squeegee to press the paper into any edges, corners or against the trim.
- Use an Exacto knife to trim the corners and edges. I used a metal spatula pressed into the seams and ran the knife along the edge for a clean cut. Be cautious if your paper is super wet because it can tear. Make sure your blades are sharp to avoid this.
- Make sure you press down the edges and seam lines REALLY well. This paper in particular wanted to come up at the seam lines some, so I went back after the paper had dried and glued it down with wallpaper adhesive to make sure the corners and seams were secure and flat.
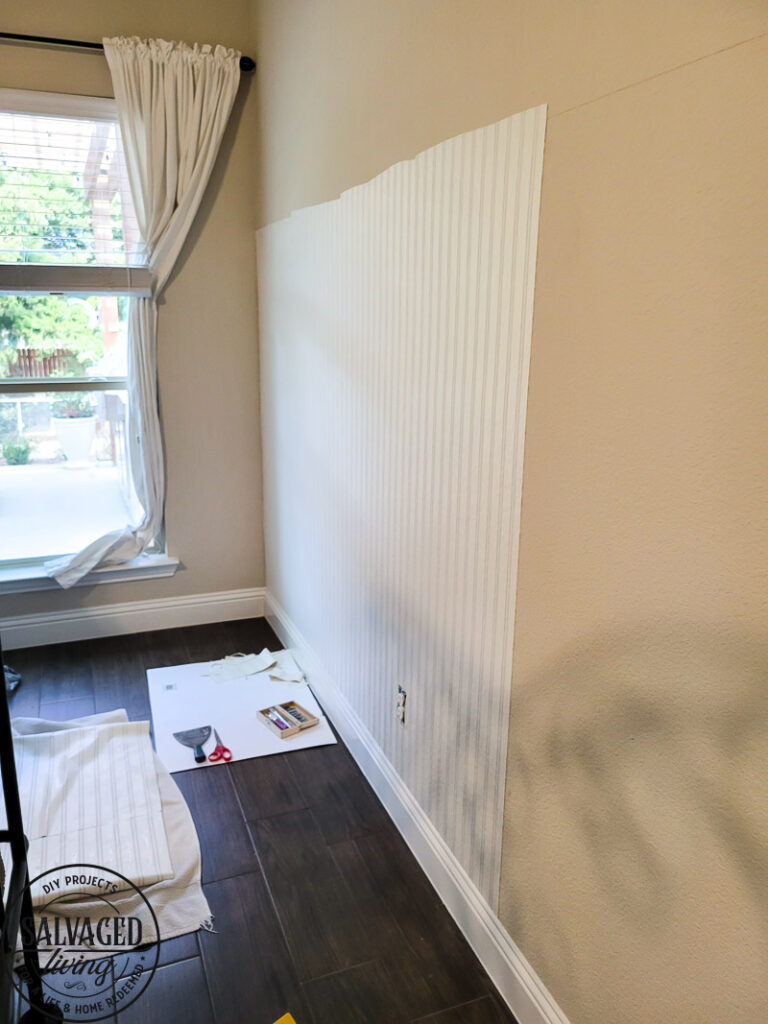
- Butt your next strip of wallpaper up the the last and repeat the process until you cover the desired area. In between each strip take time to really press down and roll out the seam. This will be your biggest problem area. There is a right and wrong side to this paper in particular ( I don’t mean front and back, I mean the side edges). Make sure you put the correct edges together to keep the pattern correct. You’ll see what I mean if you try both sides next to your first strip. One will make the stripe too wide, the other completes the pattern perfectly.
- If you have to cut around any windows, power outlets, etc. use your Exacto knife and have some scissors handy to trim an area if needed. Smooth down well after trimming.
- Allow the wallpaper to dry completely – 24 hours at least.
- Paint your wallpaper. I used a traditional paint roller and touch up brushes for the trim with a flat latex interior paint.
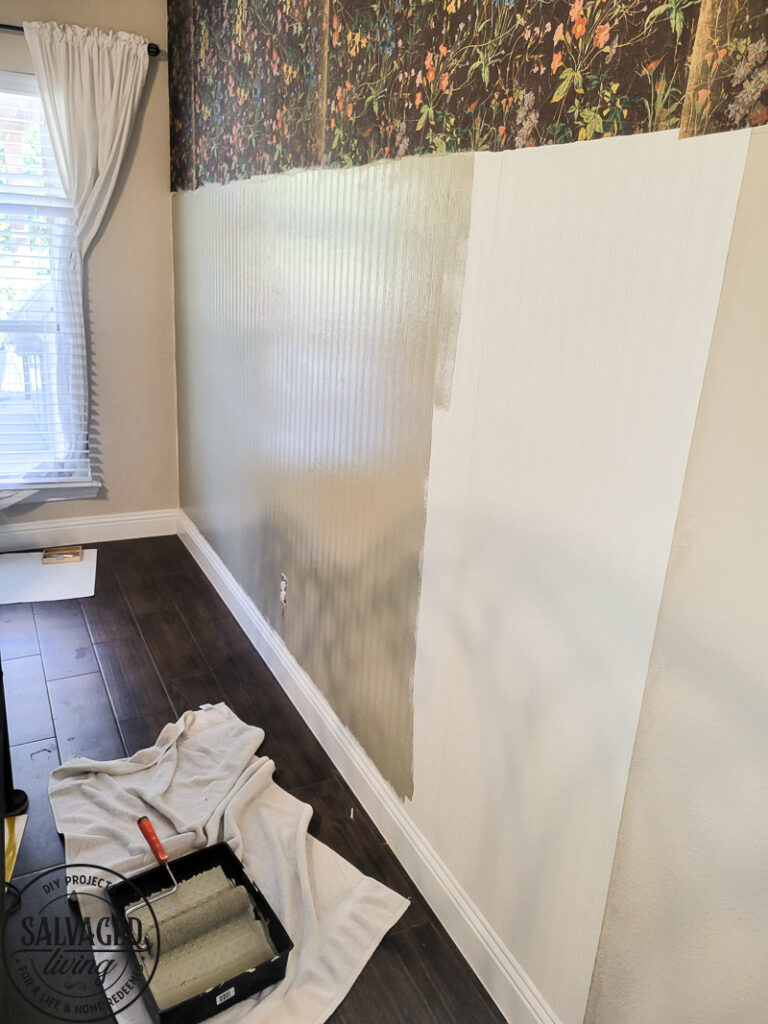
- I added a shelf rail to separate the floral paper up top and the beadboard wallpaper on the bottom third of the wall. If you are interested in that tutorial you can find it HERE!
- I hope these tips help you, this beadboard wallpaper is so much easier to install and more affordable than real wood beadboard. You could also easily use it in small spaces, in crafts, on furniture and other areas you don’t have the tools or budget to add the real thing. I was VERY pleased with the way this project turned out and it really was an easy product to hang! Keep scrolling for a supply list with links, so you can easily order the exact supplies I used for this project! Let me know if you have any questions.
Beadboard Wallpaper Supply List
Beadboard Wallpaper – pre-pasted BE SURE to check out the different paintable wallpapers I rounded up for you below, in case you want a texture besides beadboard
Wallpaper Adhesive Seam Repair (for touch ups and seams)
Wallpaper Kit – I had these tools, but if you don’t this is a great all in one starter
Shallow pan large enough for the width of your wallpaper
Check Out This Selection of Textured Wallpapers:


I have it and love it and just paint over it when I want to change the color. Great look too! Your room, oh so cozy!
thank you it was so easy to install too
Your wall looks fantastic! I love everything about the wall and how you accessorized!
ahhh thanks you Vicki xo
The whole room is beautiful! The wallpaper is gorgeous!
Thank you so much, I am really loving it!
Great job, looks like a lot of work but worth the end result.
It really wasn’t that hard! So worth it!
Love the headboard wallpaper! Question: do you have a materials list for the trim and shelf? Thank you so much
HI DIane, here is a tutorial for you: How to Build a peg rail
You are so talented & make everything look easy. I do love the bead board & how you added the trim between it & the floral paper. Not sure I’m up to the task myself, but so enjoy watching you.