I have a new obsession. You know me, I LOVE an easy DIY and this one qualifies. I’m gonna show you how to heat stamp cork and your life may be forever changed. So quick, creative and satisfying! With this heat tool technique you can whip out crafty decor and gifts in minutes.
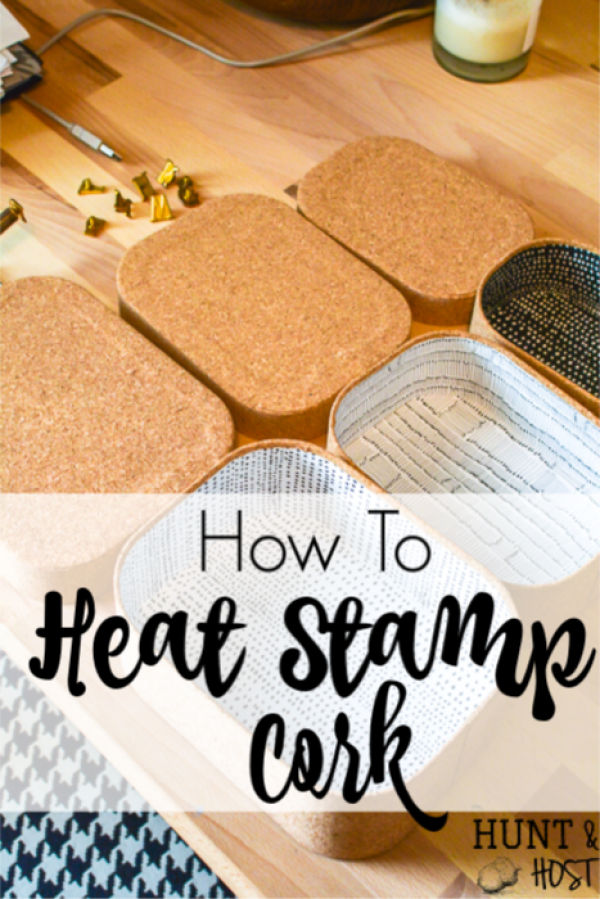
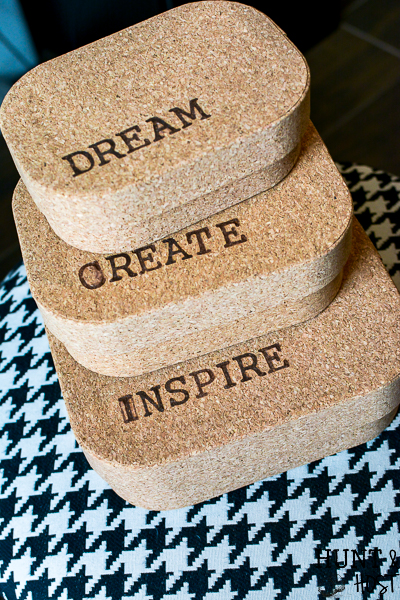
I grabbed these cork boxes at IKEA, another personal favorite. Cork is becoming a really popular product and you can now find it all over, look for rolls of cork, squares of cork, cork labels and cork tags. Plus don’t forget a good old bulletin board that can get fancy in minutes! (I have a handy supply list at the bottom of this post for you to check out. This post contains affiliate links, which means if you make a purchase I might get a small commission, your price stays the same.) Wherever you find cork and stick it, you can personalize it now!
I used my super cool Walnut Hollow heat tool for this project and the steps are the same as in this heat tool project.
Tips and Tricks to Heat Stamp Cork:
- Get all your letters lined out, I spell my words on paper so I don’t mess up!
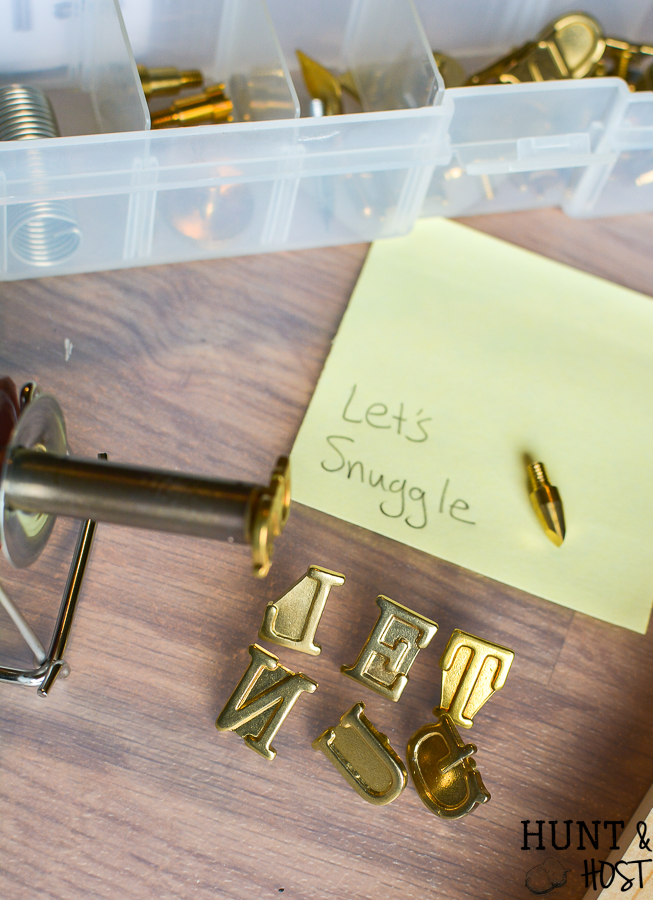
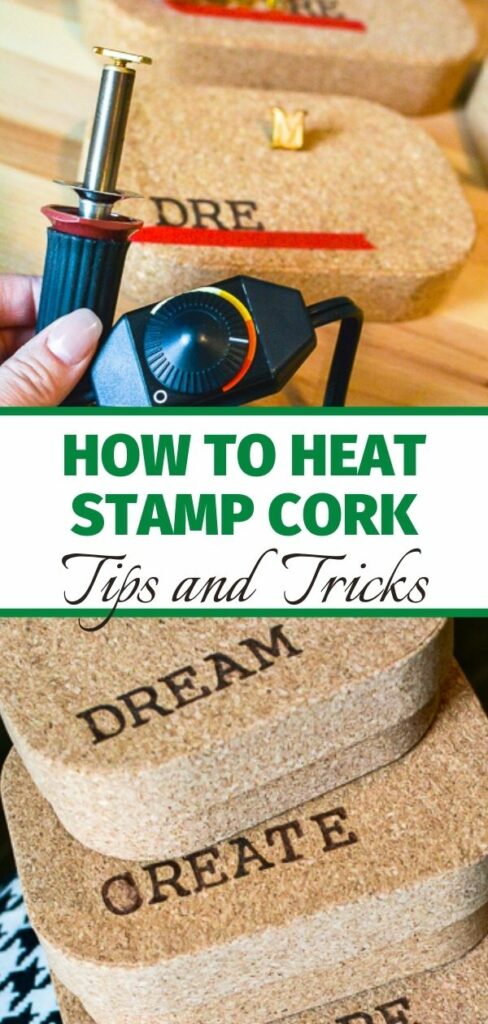
- Get your heat tool warmed up. Here is the heat setting I used for my cork stamping.
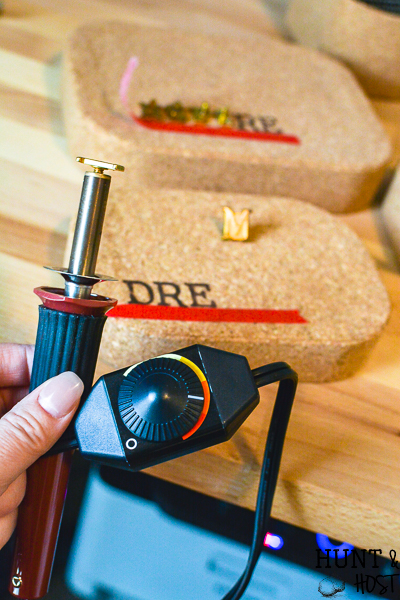
- I recommend testing some stamping before you heat stamp your final project, just to get a feel for it. You always want to stamp straight up and down.
- Use washi tape, or something as a line guide to keep your letters straight.
- Use thick leather gloves, or something heat resistant to change out the letters between stamping. CAUTION: These letters and tool are HOT, be careful!!!!

- Have a heat resistant plate to place hot stamps on to cool.
- I stamp all of the same letters at once, you may choose to go letter by letter in order of your chosen word. For example on these boxes I started with D, then stamped all the R’s, then all the E’s and so on.
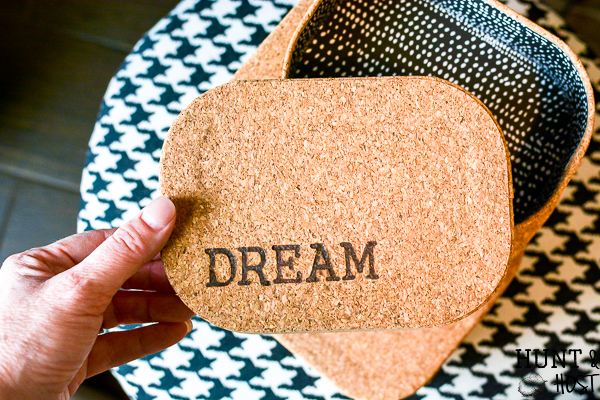
- Don’t overheat your heat tool. It will burn the cork around the area you are trying to stamp. You can see how I messed up a bit on the C and I here…
- Don’t hold your heat tool on the cork for too long because it kind of smokes up/burns the inside portion of the stamped area unevenly.
- Don’t press the heat tool into the cork too hard, since cork is soft you run the risk of burning around the letter edges too much. When you stamp you want to press a nice even pressure and I gently rock the stamp slightly to get the edges imprinted solidly. It’s not hard to do at all, but does take a bit of getting used to, that’s why I suggest practicing first.
- You can watch the Facebook video I did on this project here.
Here is a supply list for you to make amazing cork projects like the boxes you see here!
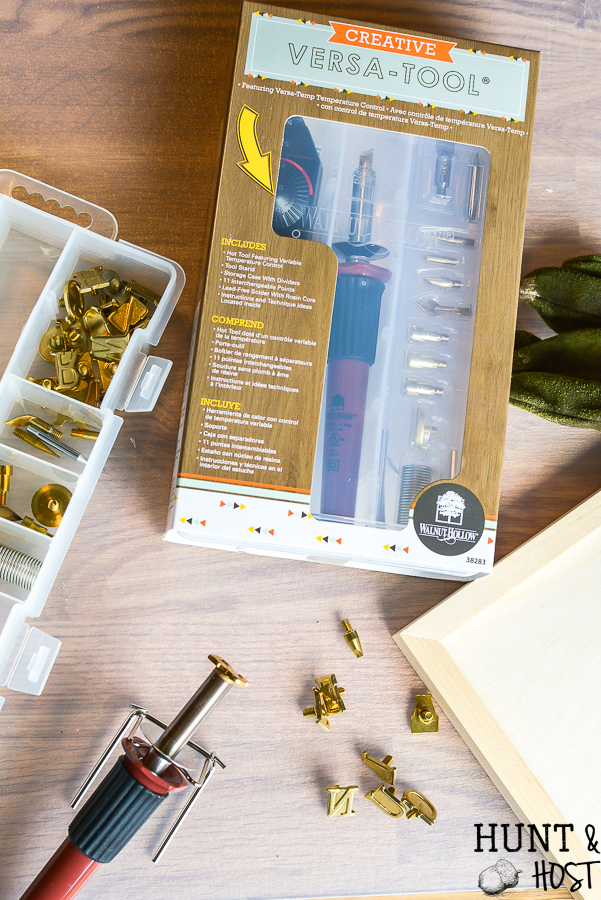
Cork Stamping Supply List:
As always – sharing is caring, would you take a second to Pin this project for later!? Hugs!




You got me on a couple of points: I’m a sucker for cork and I’ve got a heat tool I’ve never used…I think it’s time. These are adorable!
girl – bust it out, you will be stamping all the things@!
I’ve recently purchased a cork wallet for my husband as we are both vegetarian. I wanted to get his initials somehow stamped, embossed, or embroidered onto it but there isn’t anyone around me that can do it. Do you think this method would work on cork fabric without compromising the material?
I would think so, it works really well on cork. Is there a spot you could test on?
This is a great DIY. Love ❤️ your idea.
Thanks Linda! all about easy!
I think I’m going to have to get this tool, It looks like a lot of fun. Love all your posts. Ann
you should – there are lots of projects you can do with it!!! I have fun because it is pretty quick and easy to use and gives great results, plus it didn’t cost that much!