The burning question many of us have when we’re ready to make an upgrade to the cabinets– can I install cabinet hardware myself?? And I totally get it! If you haven’t done it before, it can feel pretty daunting, and the fear of a mistake may lead you to steer clear. But don’t shy away from a little fun– I’m about to tell you AND show you how to easily install cabinet hardware! And let me warn you, once you get the hang of it, you’re going to want to add cabinet jewelry to every single cabinet you can get your hands on!
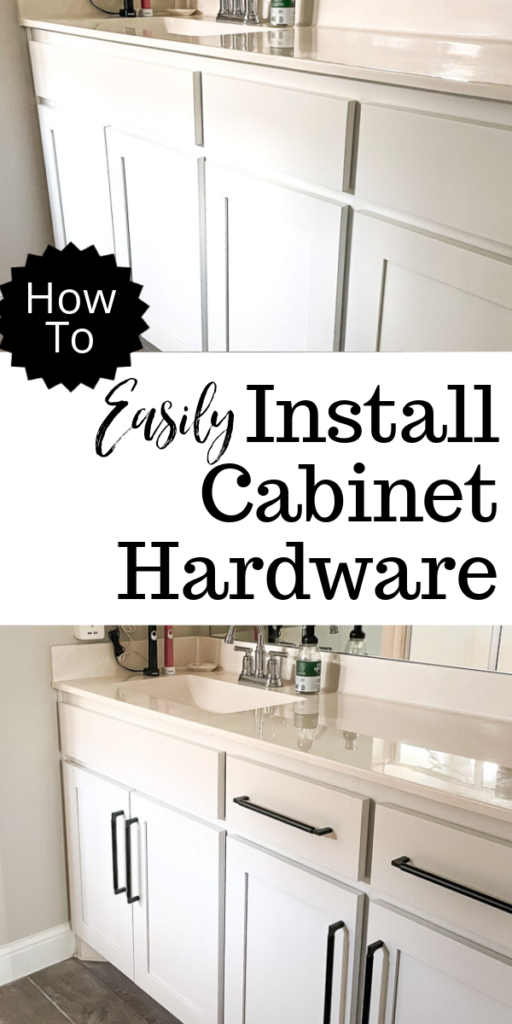
Now get ready to see this space transform!
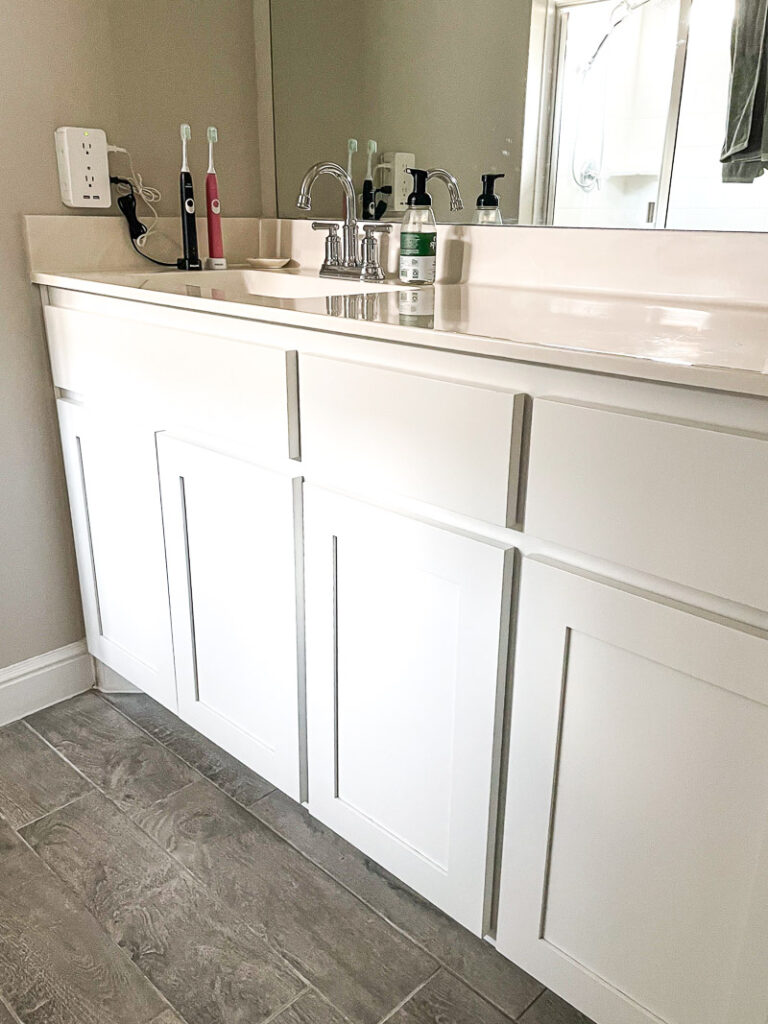
Some things I want to address really quickly before we dive in…
how to pick your hardware
First, you need to decide your hardware finish. You might instinctually try to choose something that already matches the finishes in your home, and that’s ok if you do, but you don’t have to! Yes– you can mix and match finishes throughout your home. Now, I wouldn’t recommend you have every finish in every space with no rhyme or reason, but you can strategically mix and match. The general rule of thumb is no more than 3 finishes in one space, but as always, you do you!
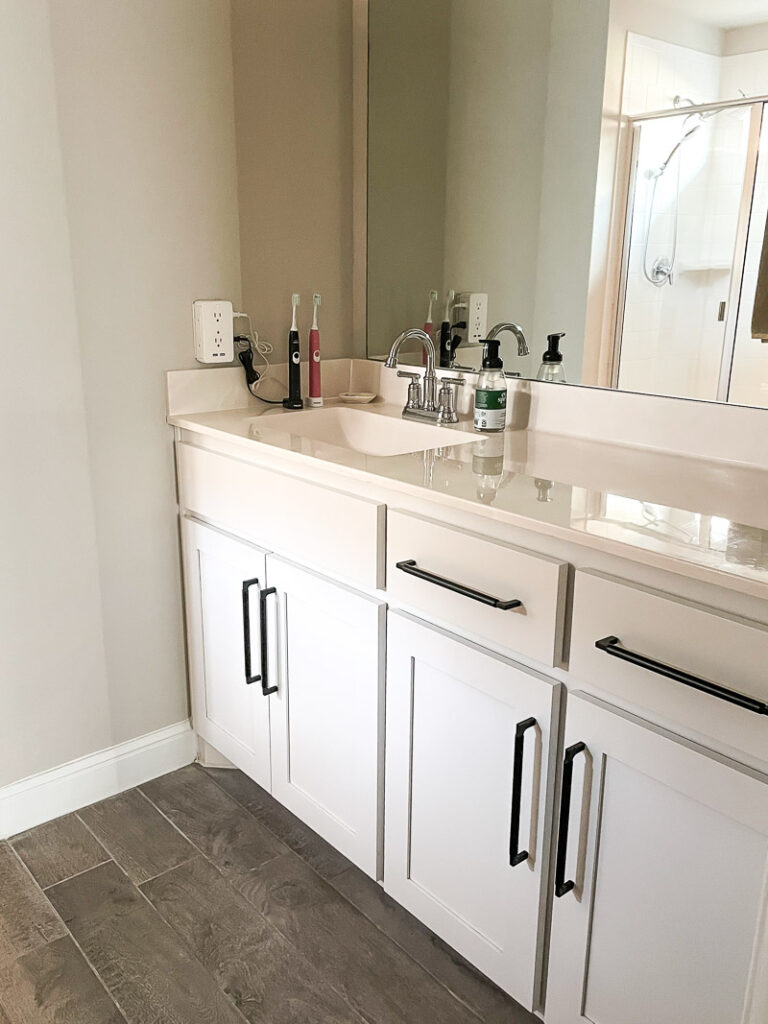
Personally, I had chrome finishes in the bathroom already, but didn’t want chrome cabinet hardware. You can’t go wrong with chrome and black, though! Black finishes pop up in other places throughout my home, so it seemed fitting that they would here as well.
Once you have your finish selected, you’ll need to consider style. Pulls, knobs, a combination of both? There’s no right or wrong, once again, just preference! I began to overthink it, and then realized– it can ALWAYS be changed out later. I mean, yes, it may not be the easiest thing if I want to go from a pull to a knob, but there are ways. And who are we if we’re living in fear of the future projects we may cause ourselves, right? I say that to say, go with your gut and don’t take it too seriously. I decided to keep it consistent and go with pulls on drawers and cabinets, no combo here. I also opted for something a little longer, 8 -13/16″ to be exact!! It gave it a bit more of a sleek, modern look, matching the vibes already in the bathroom.
I grabbed my hardware from D. Lawless Hardware– I’ve gotten hardware from them before and just love it! They have a great selection, great customer service, and beautiful products! If you like my specific pull (that you’ll see in a moment), it’s called 8-13/16″ Artesia Pull Flat Black.
You can check out their website and full selection HERE!
Okay, now that we’ve gotten that out of the way, it’s time to jump in!
what you’ll need
- Cabinet pulls or knobs of your choice (you’ll want to check if the hardware comes with screws, because if not, you’ll need to grab some of those)
- Drill (screwdriving and drill bits)
- Cabinet Hardware Jig– I’ve linked the one I used HERE!
how to easily install cabinet hardware
- You can’t add hardware until you decide where you want it to go! Now there are other blogs, and possibly even professionals that will tell you there is a specific placement of hardware that is “correct” and “incorrect.” I will not be telling you that today– I’m a firm believer that you should decorate and accessorize your house for you, without taking what you “should” do into consideration.
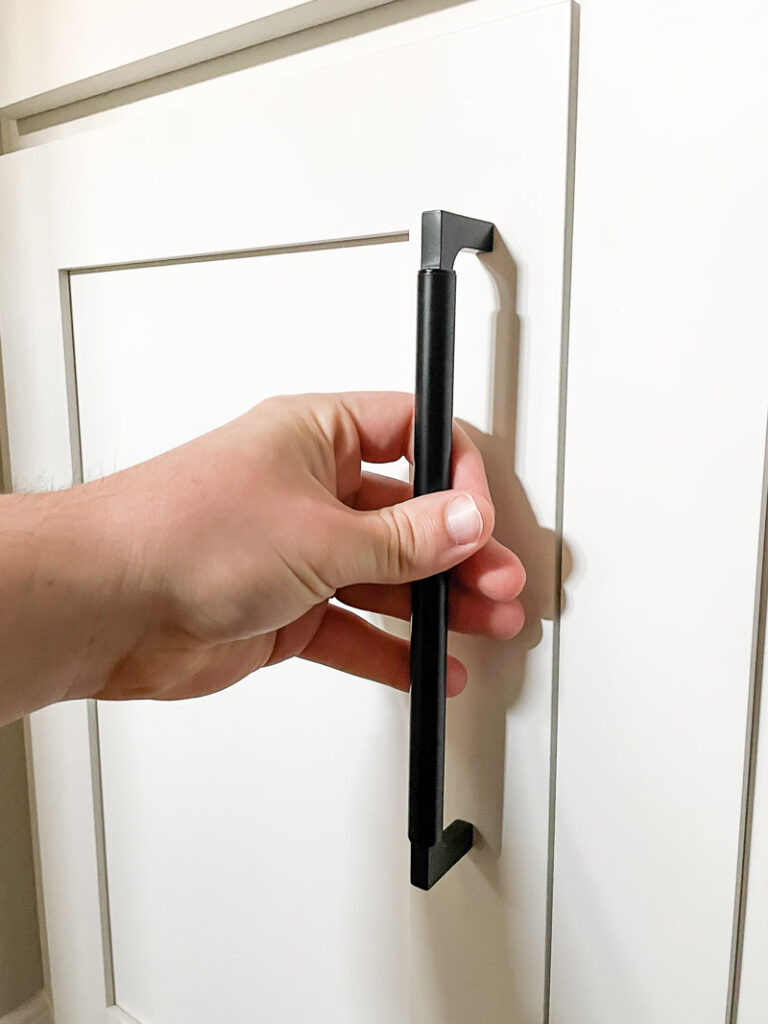
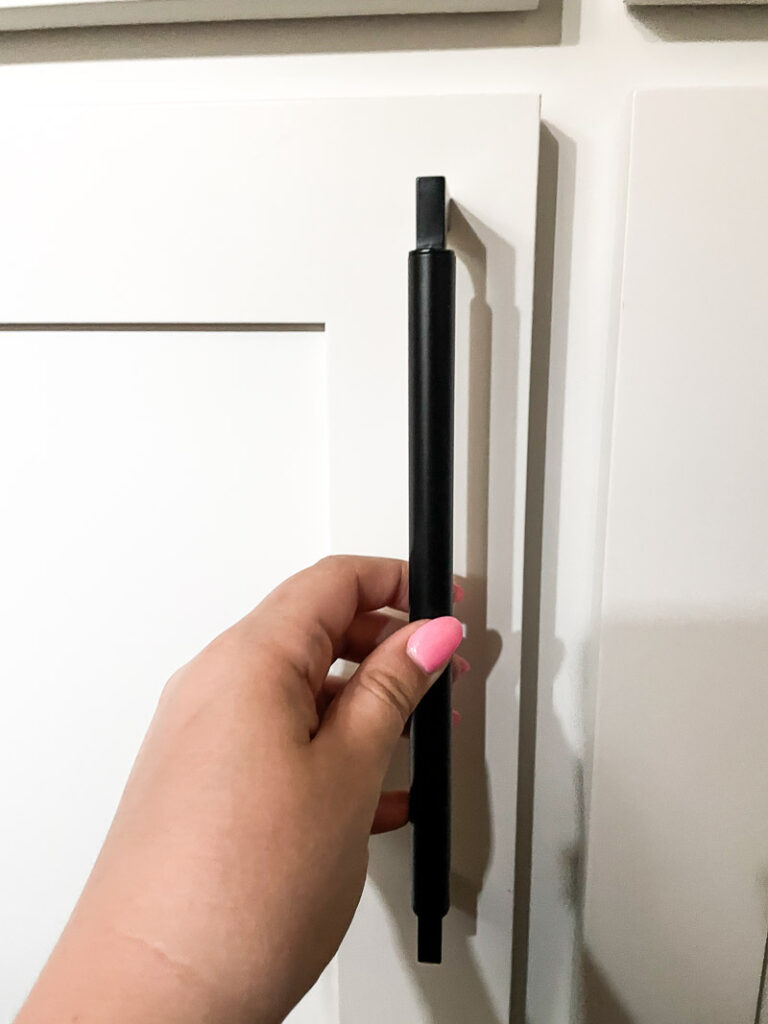 The 2 placements pictured above were what I had to decide from. I personally think when the pull is higher up like in the second photo, it looks more modern, and a bit more traditional when aligned with the cabinet inset. I opted to go the more traditional route and align it with the inset!
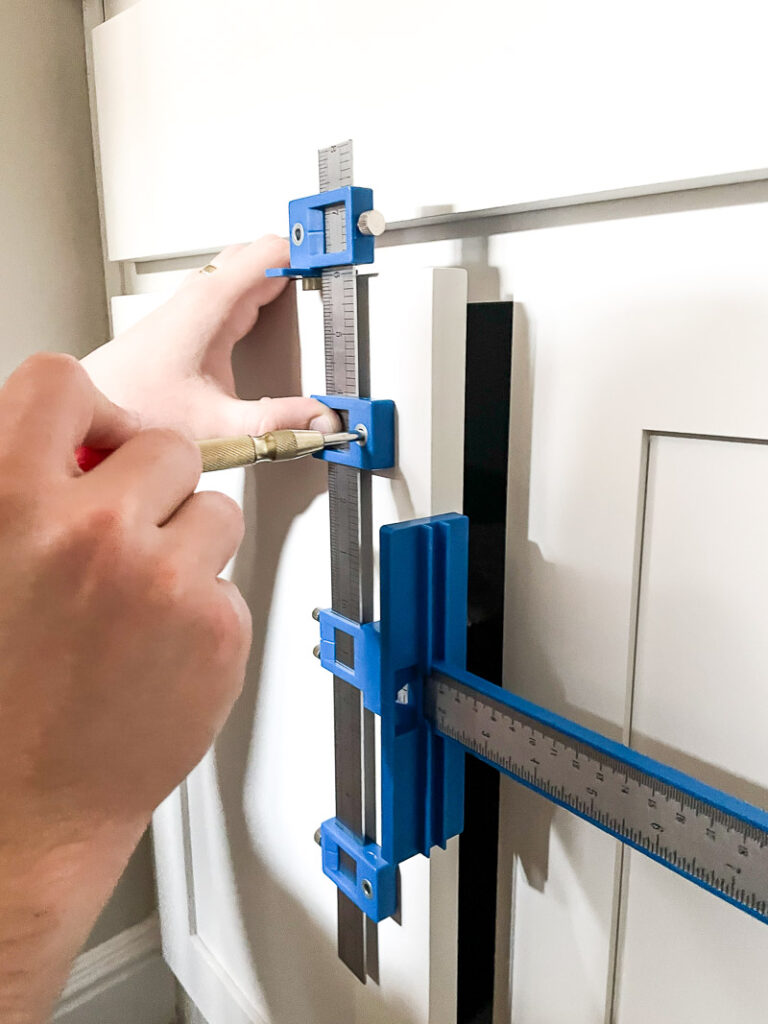
 - Once you have decided on your desired placement, the cabinet hardware jig comes into play. Now there are MANY variations of this online, some simple some not, some expensive some not. I chose one that was budget-friendly, but also gave me some wiggle room for adjustments. I had originally bought a more standard version, but disliked how I couldn’t alter the placement of the pull if it didn’t fit what I wanted. You can grab the one I used from Amazon HERE!
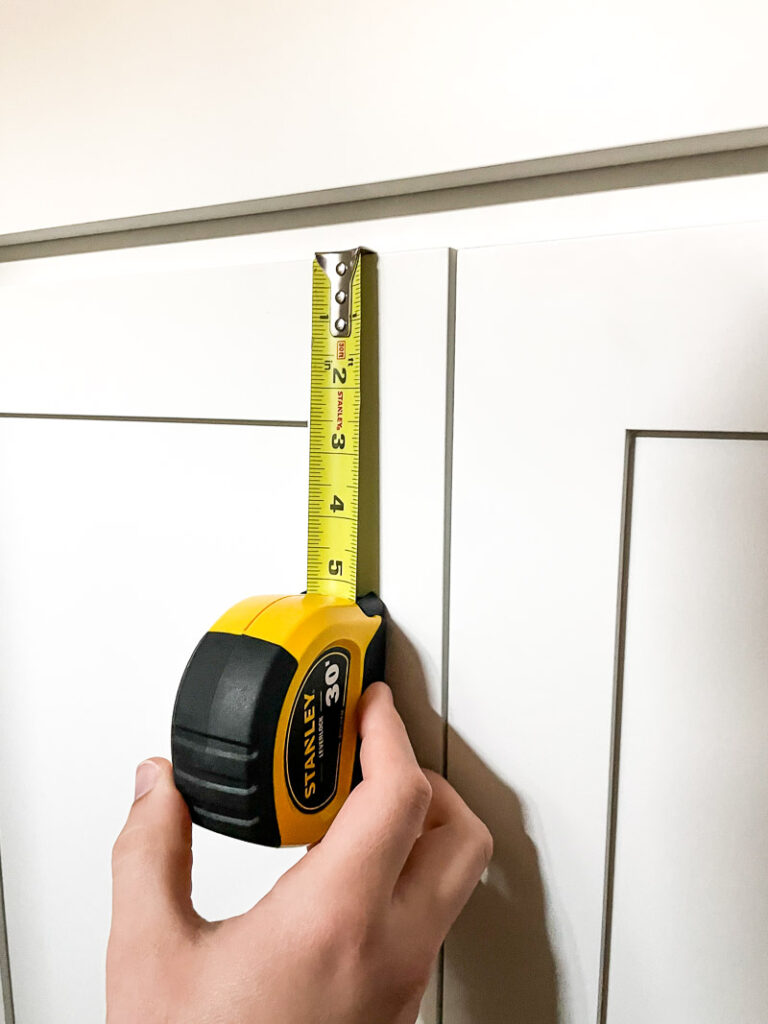
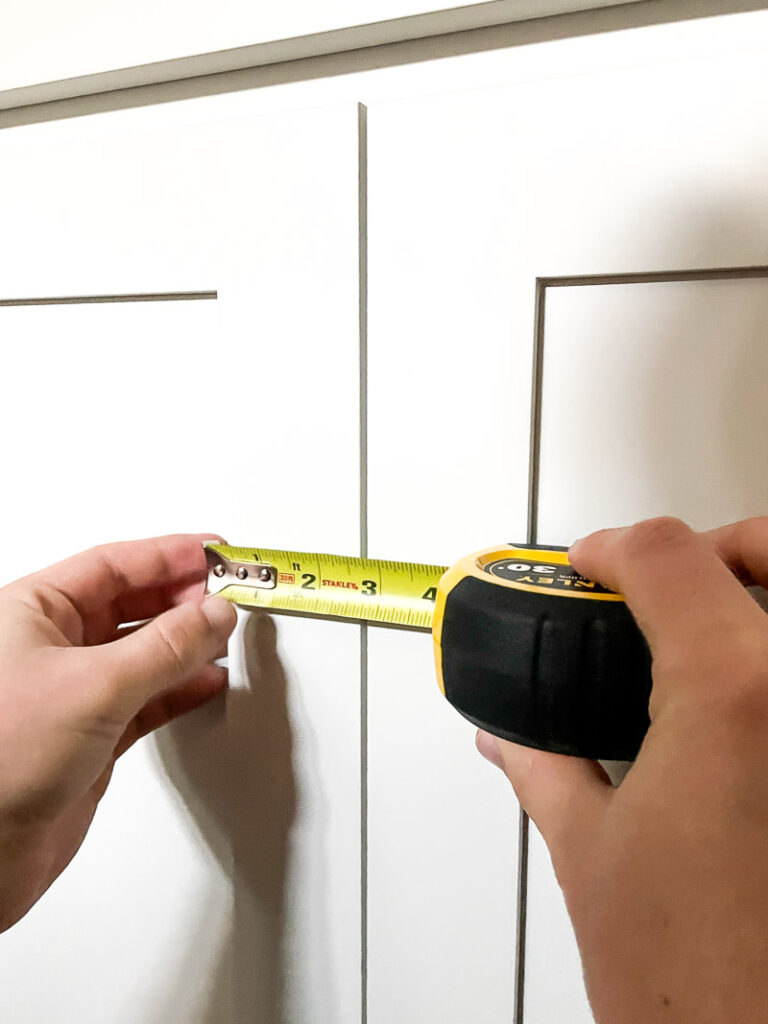 I found it helpful to measure the sides and tops of the cabinets with a standard tape measure before officially jumping in with the jig.
 And once you have those measurements, you can easily set your tool to the right specifications on the cabinet hardware jig.
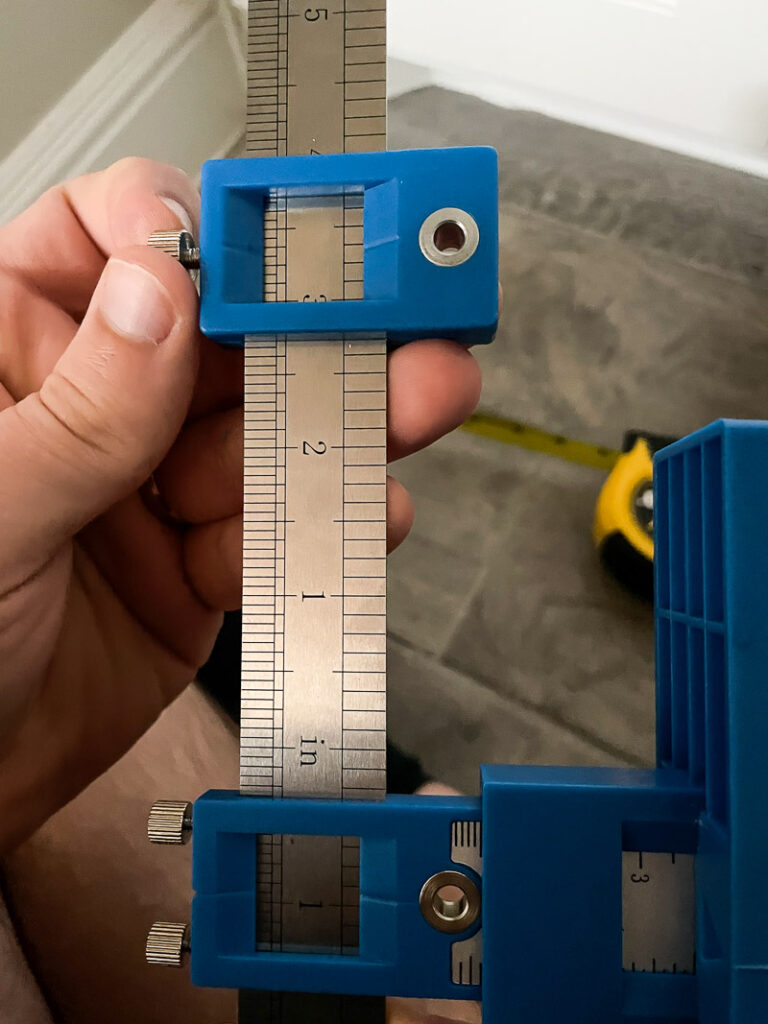
- To make sure your jig is set up properly, I’ve got a great trick!! Simply attach your cabinet pull to the jig loosely, but just hand-screwing it on there. This will ensure your length is right for the pull itself, and you can also hold it up to the cabinet to eyeball that the placement is correct.
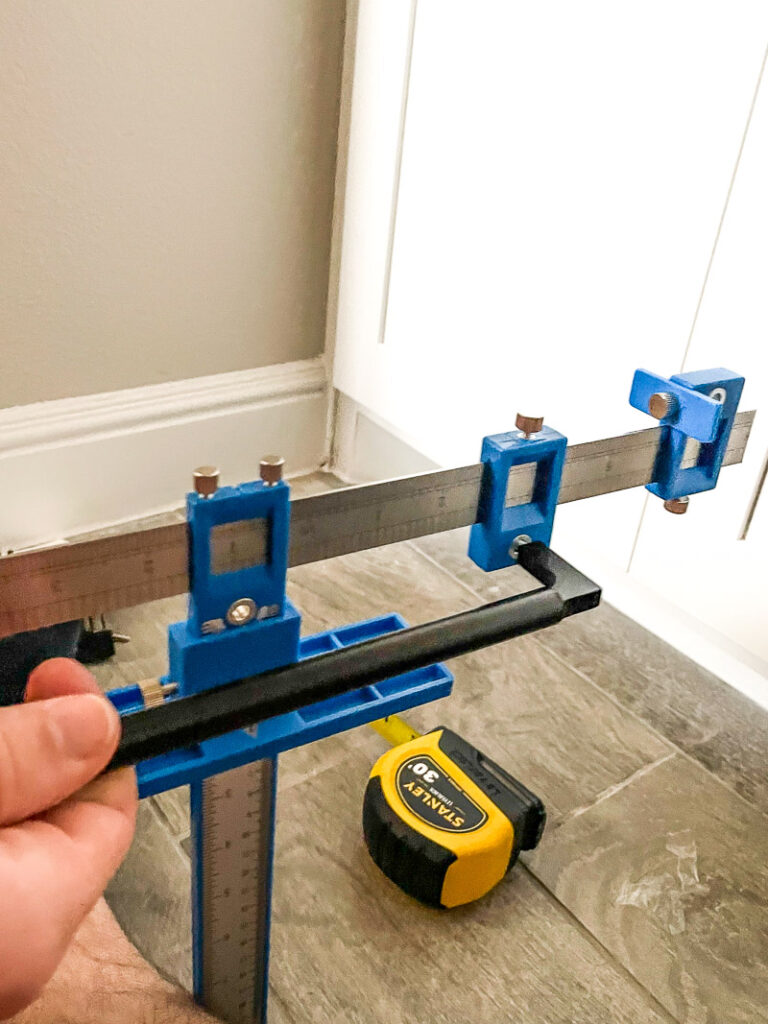
- Once you’re sure all the measurements are correct, you’re ready for the fun part! Line up your jig with the cabinet, using the stoppers to hold it in place and “punch” into the cabinet. This is (sort of) an optional step since I don’t think all cabinet tools come with this, but this one does. Just another reason to grab this exact one!! It’s a neat little tool that punches a small hole into your cabinet so your drill will have a nice starting point.
 You can just barely see the hole I’m talking about in the picture below.
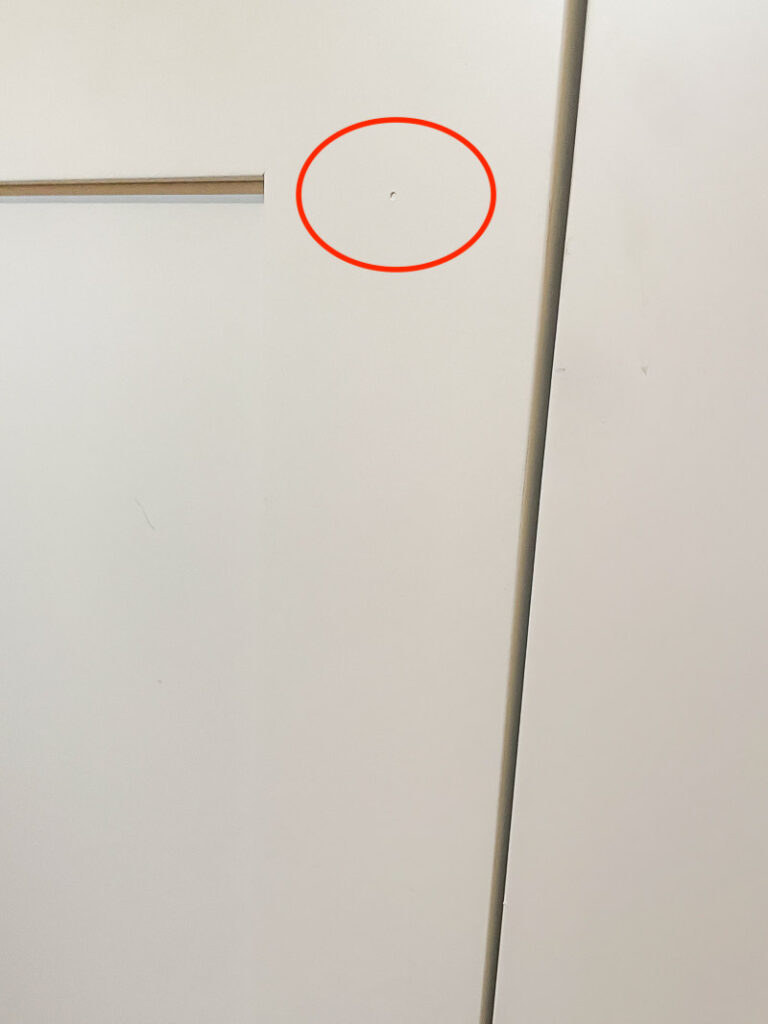 It looks small, and it is, but it’s actually really helpful!! Again, you don’t HAVE to have one of these, but it makes life easier! I usually punch my hole in only one cabinet first and complete that cabinet completely before moving on. This is important so that if any of your measurements were off, you’ll know before all of your cabinets have holes in them!
 - Now that you have your punch, it’s time to break out the drill bit. I used a brad-point drill bit (basically, it’s pointy at the end) to start a “guide hole,” then a larger drill bit to finish off the hole and complete it all the way through the cabinet. The size drill bit you pick will depend on your specific cabinet pull, but eyeballing it does the job.
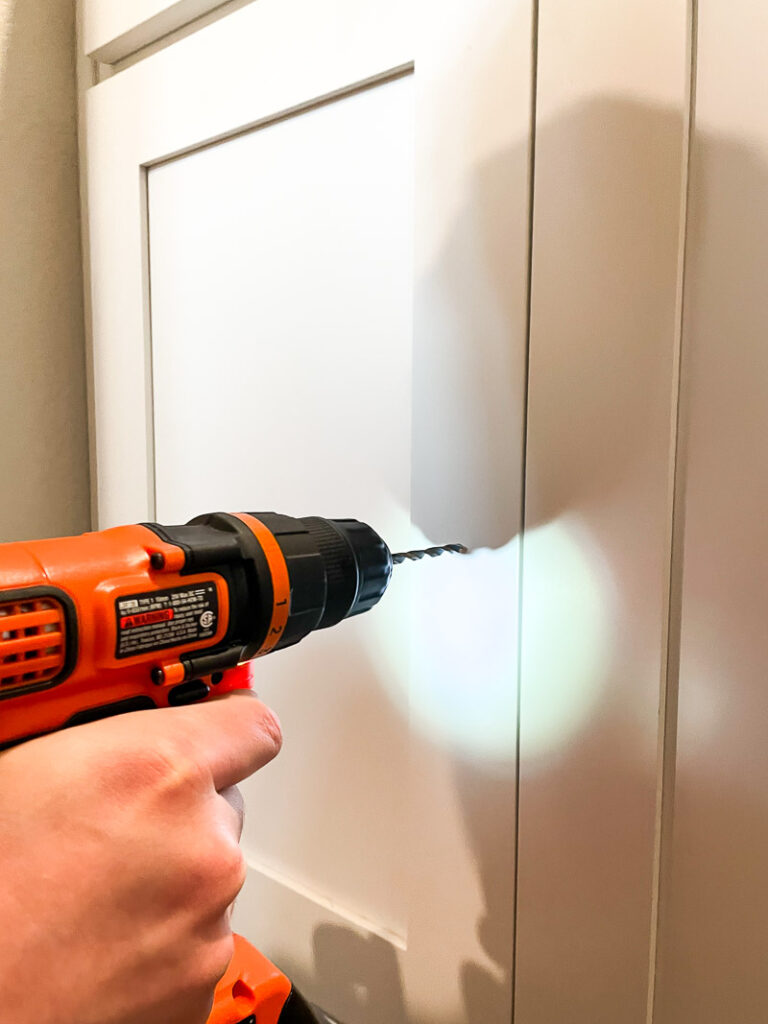
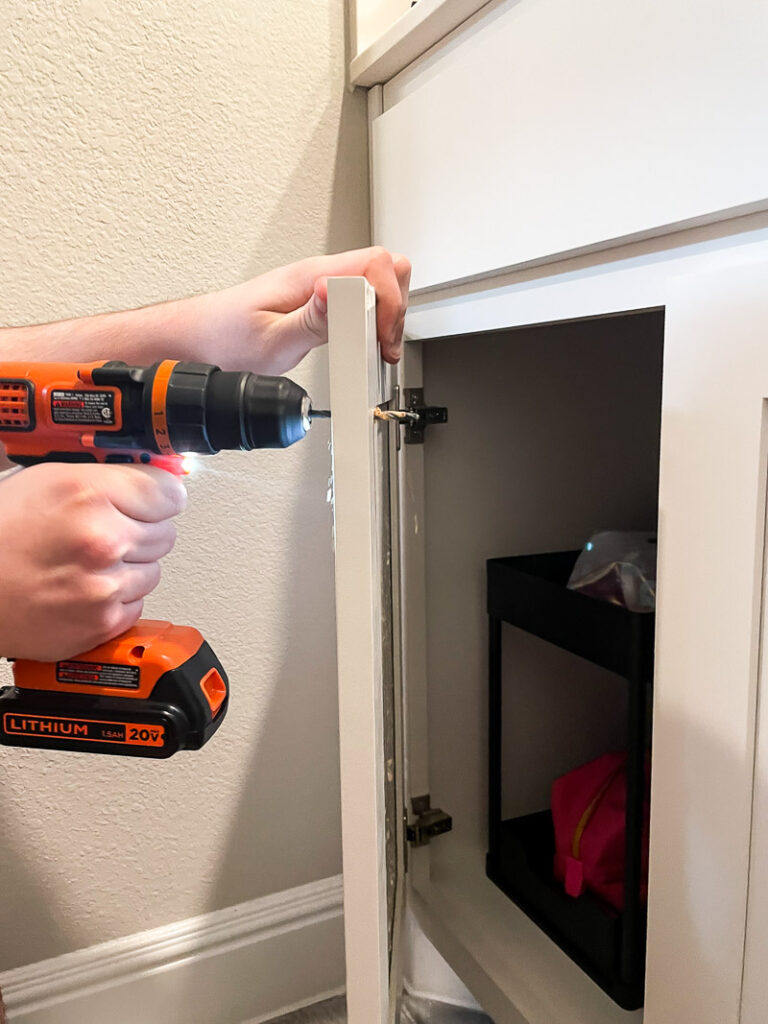
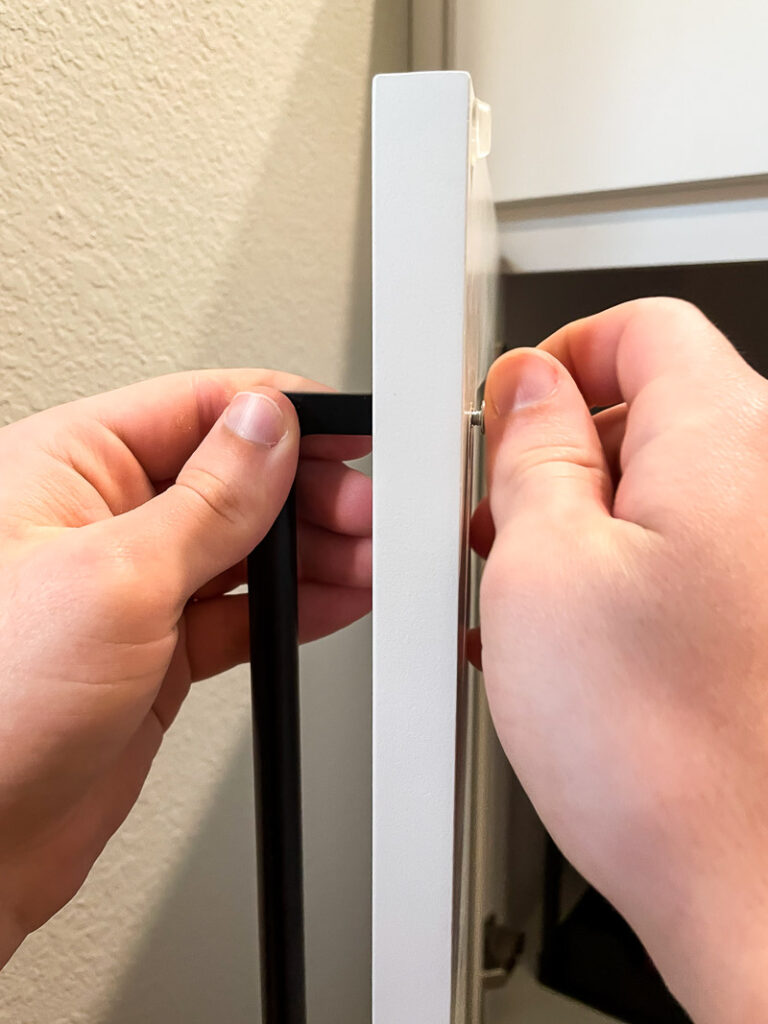
- Once you’ve made your holes, it’s time for the BEST part– adding the hardware. I would attach the hardware and gently hand-screw it on just to sort of hold it in place at first. Then, I used a screwdriver bit to tighten it all up!
- And just for good measure, it doesn’t hurt to throw a good ole’ level on there to make sure your work is pristine!
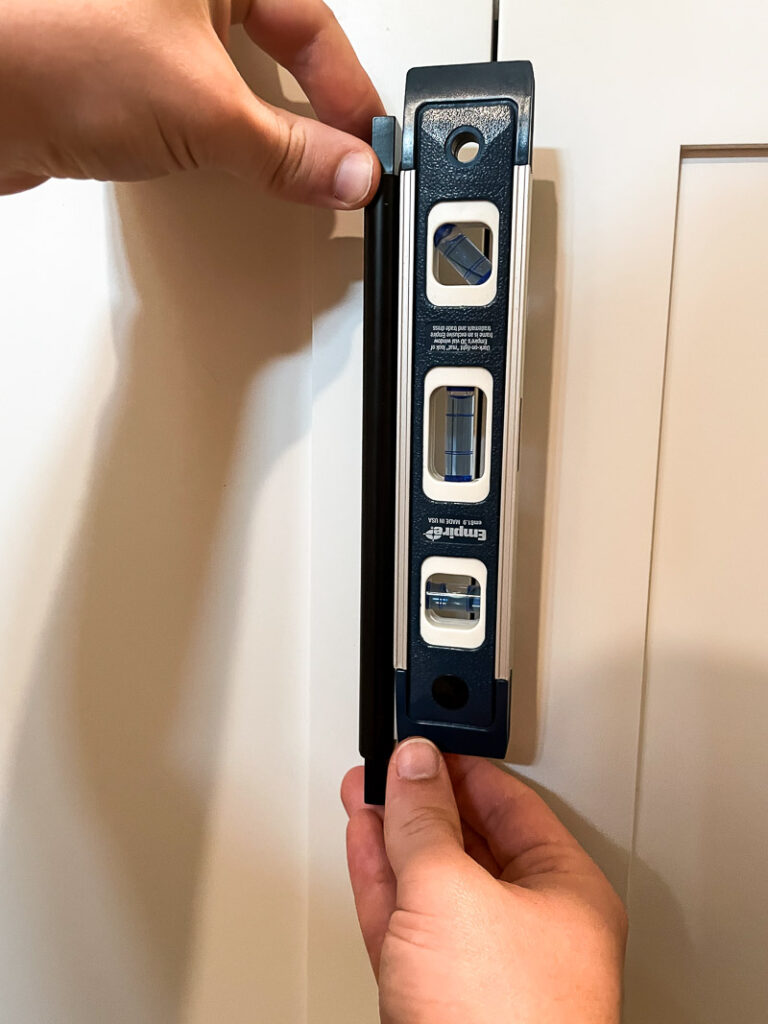 It’s worth noting that you don’t need to panic if you’re slightly off– it happens. Simply take the cabinet pull off and pop your drill bit back on. Make the hole a bit bigger with the drill and wiggle the pull over, then tighten again in the correct spot. Usually, if you’re not that far off, that’ll work. Something to keep in mind regardless though, nobody is going to be coming over putting a level on your cabinet pulls. And if they are, it’s time to get you some new company!!
Adding hardware to your cabinets is SUCH an easy way to dress up your space, whether that’s a bathroom, kitchen, laundry room, or even on old furniture. I think it’s something we often forget about, or even talk ourselves out of because it seems hard. It’s important to remember that even the professionals were beginners at one point. Have a little faith in yourself, take a leap, and just start drilling!
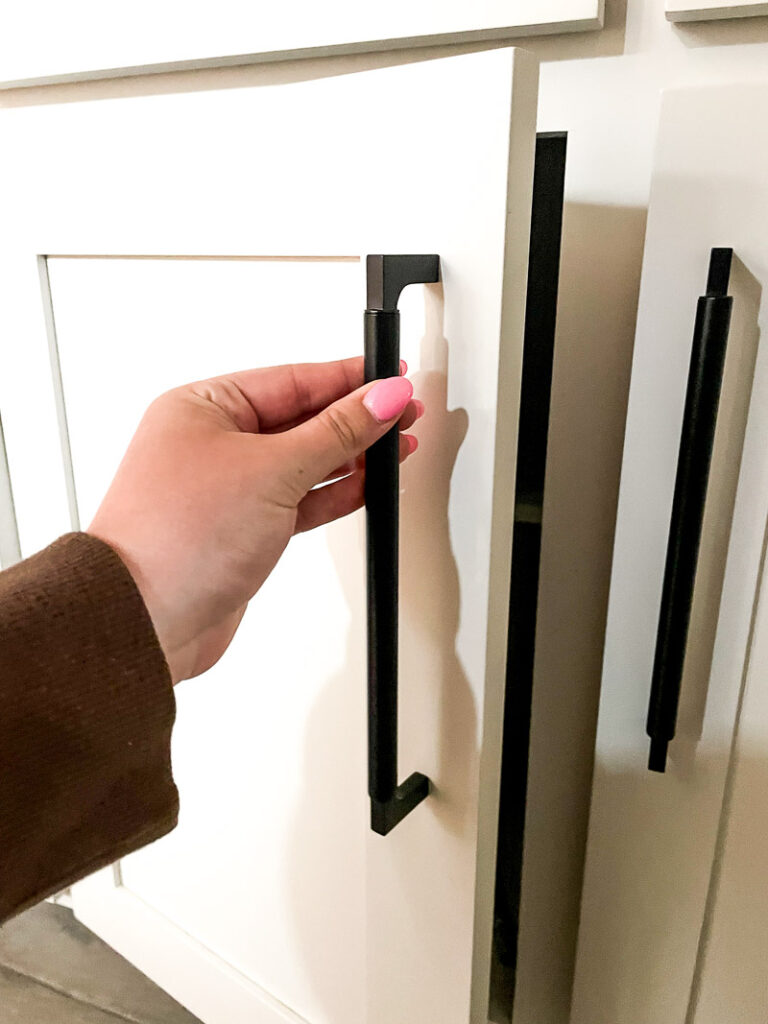
I think you’ll come to find it’s not as hard as it seems!
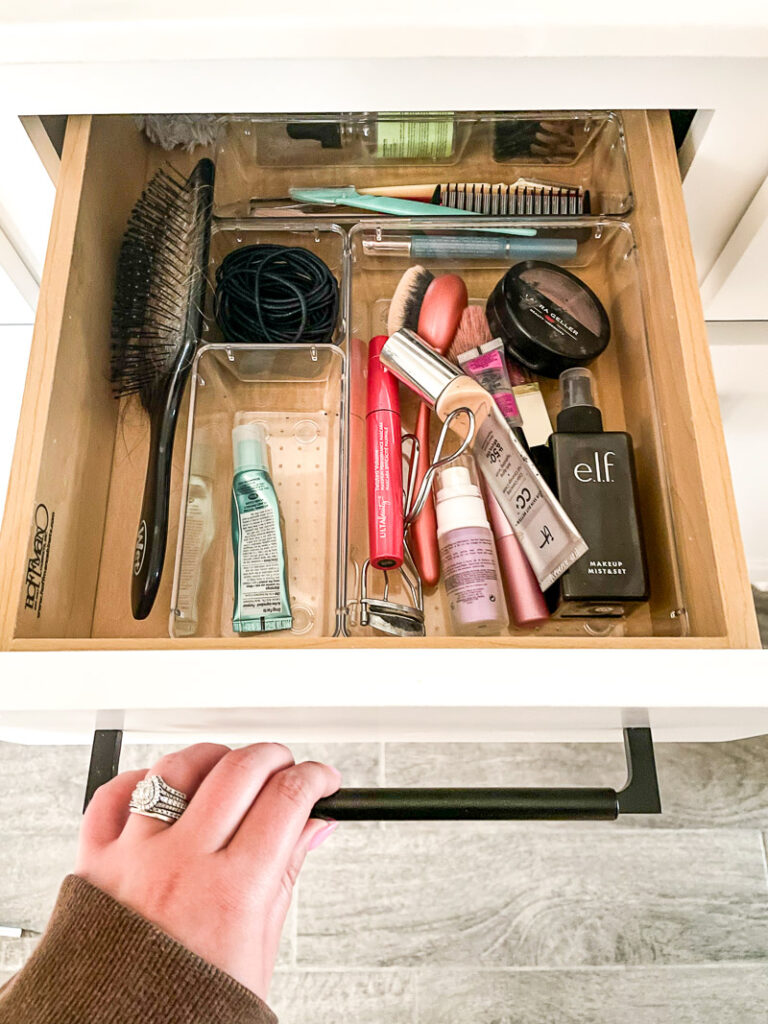
And the outcome makes it all worth it!
If you want to see other bathroom makeovers I’ve done, click HERE!


Leave a Reply