I’m gonna show you how to make your DIY laser engraved Stanley cup – and I’m gonna tell you how to center your engraving on a Stanley or Yeti! Ever since I got my xTool M1 Laser Engraving Machine, I’ve been obsessed with engraving all the things, especially tumblers! If you look around online, a personalized tumbler can get pretty expensive, especially an engraved tumbler. It really is a special gift and would even make the perfect side hustle business to earn some extra cash!
It’s easier than you would think with the correct machine and tools. I will show you how to engrave a Stanley or Yeti and best of all – how to get your engraving centered! Here are the steps, and you can watch the video for extra detail!
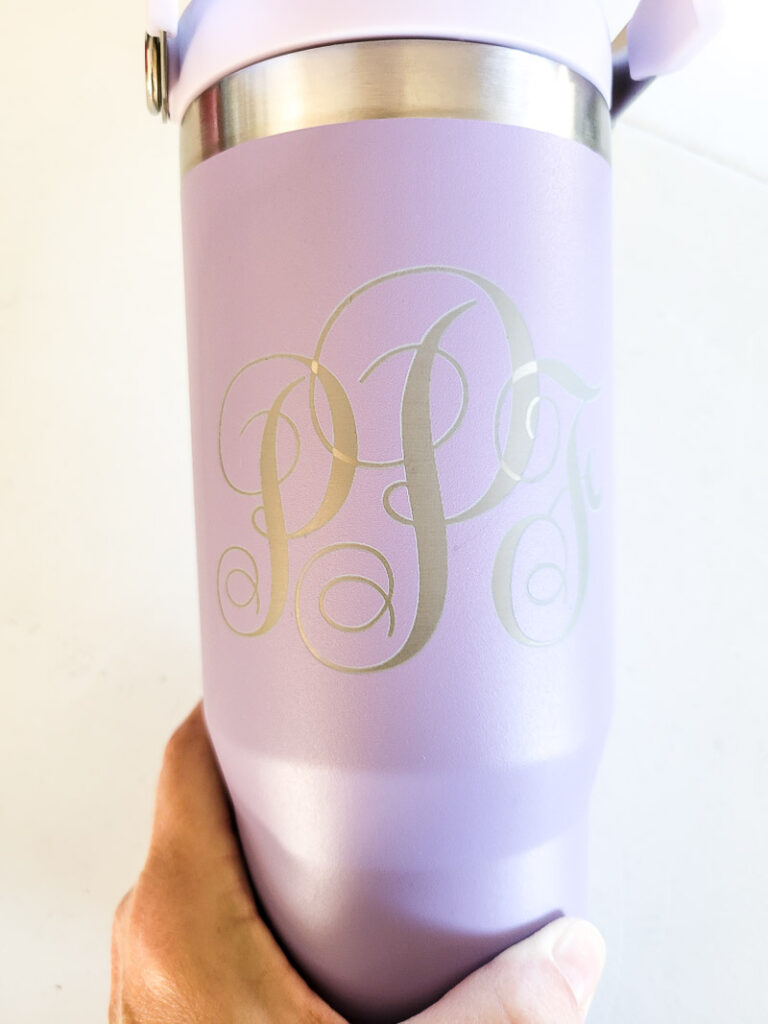
Is Laser Engraving Better Than Vinyl?
In case you are wondering what is laser engraving, let me give you the details. Using a laser machine, you can etch metal, wood, leather, acrylic, and more (you can even cut some materials) for a permanent design or personalization. This is a more permanent option than using adhesive vinyl for your designs. It can also be more detailed than vinyl. It’s a step up in creating unique items for yourself, as gifts or to sell. You can see the beautifully engraved knife I etched (along with a tutorial) here.
How to engrave a Stanely Tumbler using xTool M1 Laser Engraver
-
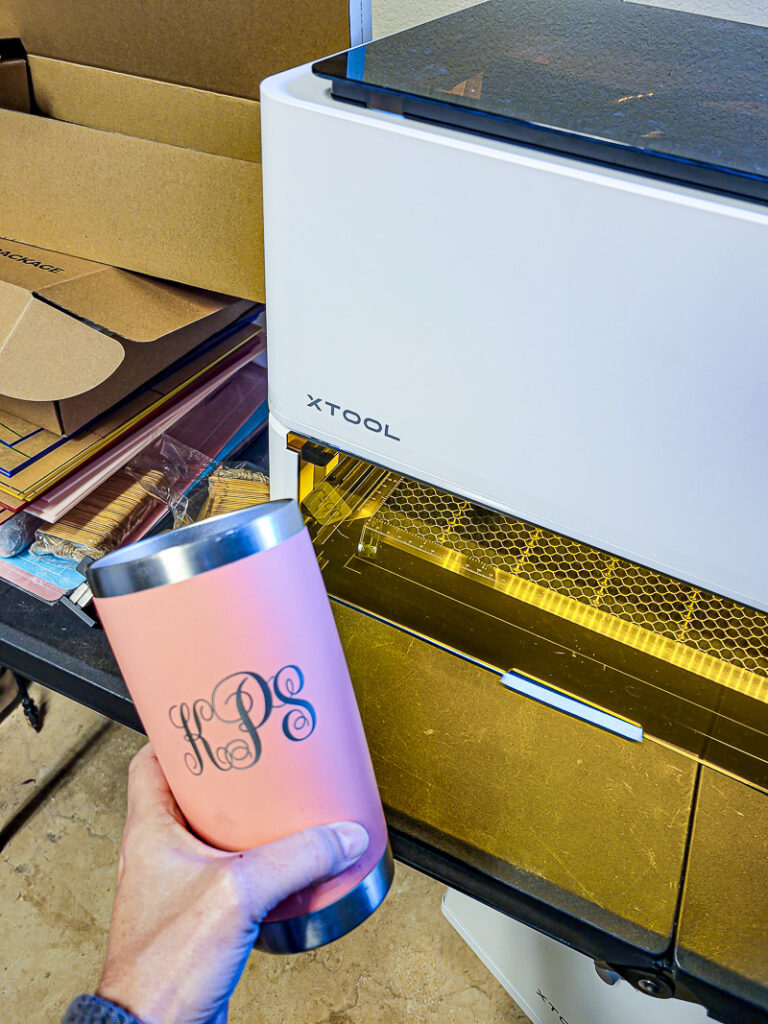
- Import, add, or create your design in the xTool software. I used the font option, with my own personal imported fonts. I like the Monogram fonts you can grab here the best!
- If you are creating a monogram like I did, type your letters separately, size and orient them as you like, then highlight them. You can then group them as one unit. This gives you creative flexibility along with the ability to move them together as one piece.
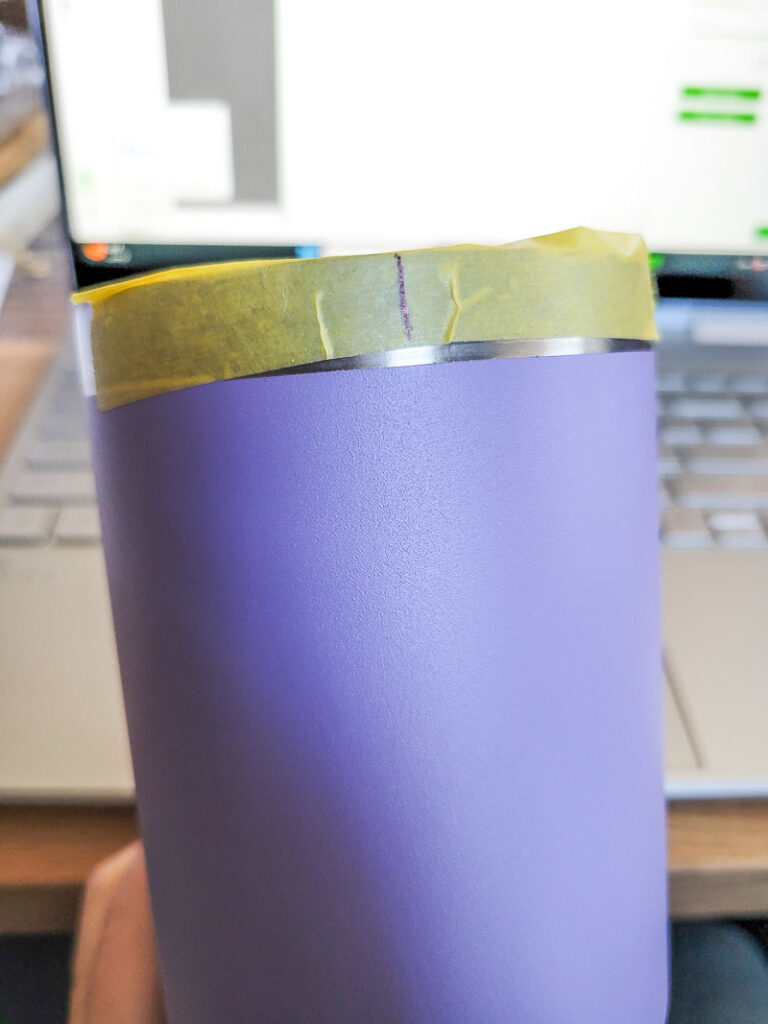
- Use painter’s tape on the top of your tumbler. Mark where you want the center of your design to be – over the logo, exactly opposite on the other side of the cup, wherever!
- In the xTool Creative Space Software, select Laser Cylindrical, Material – user-defined.
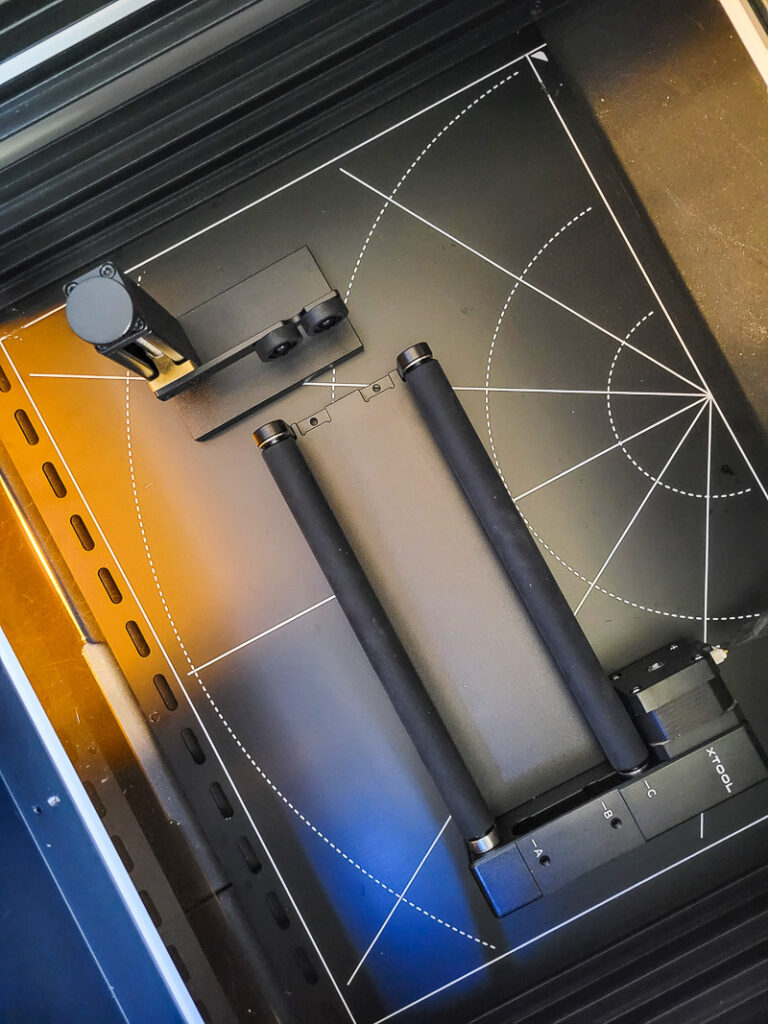
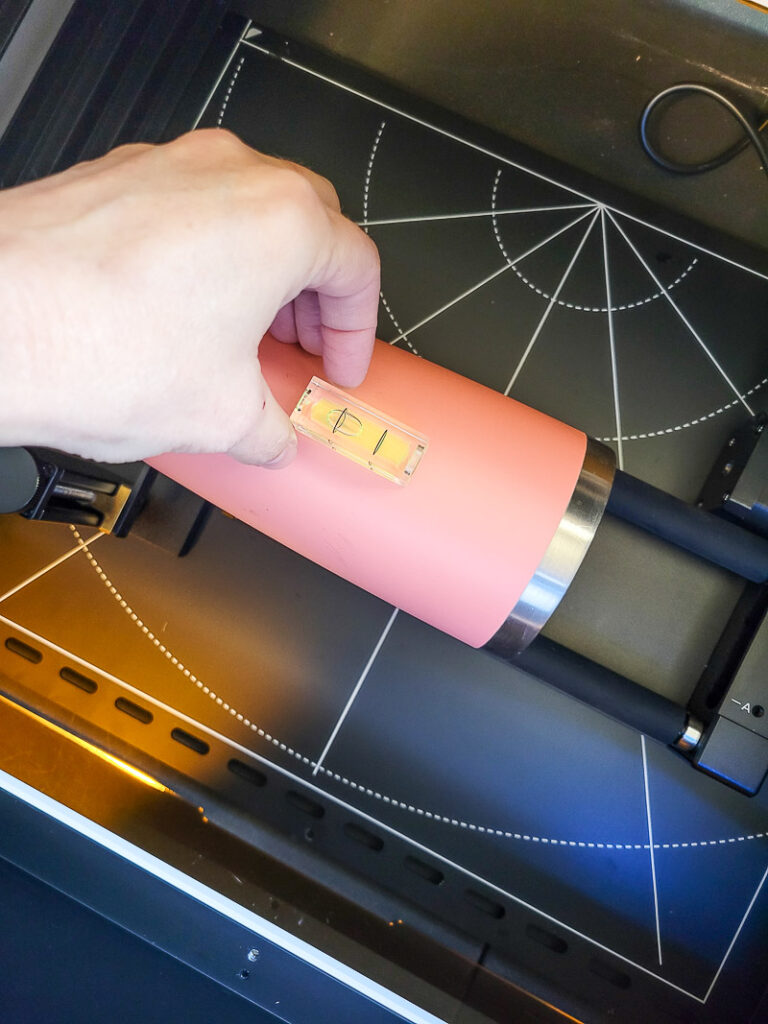
- Place your tumbler in the xTool rotary assistant, make sure the tumbler is level in the area you wish to engrave and select auto-measure to find the center high point of the tumbler. Make sure to refresh your view, so you can see the tumbler in the xTool Creative Space Software. You will want to make sure the red dot in the machine is on the top spot of your tumbler. See my setup tips if you have problems with this step.
- If you are using a Stanley with handles here is the variation you will need: remove the handles by unscrewing them and bending the tabs down so they aren’t in the way. Use your chuck attachment on the rotary assist. You will need the perimeter and diameter of the section of the tumbler you are engraving. The other steps are the same!
- Now you can orient the design on your tumbler and size it how you’d like.
- Decide on a width for your design and try to make it a number that is easy to divide.
- Half the width and measure that distance from the center mark you made on the painter’s tape. You will want to mark this distance to the right of the center line.
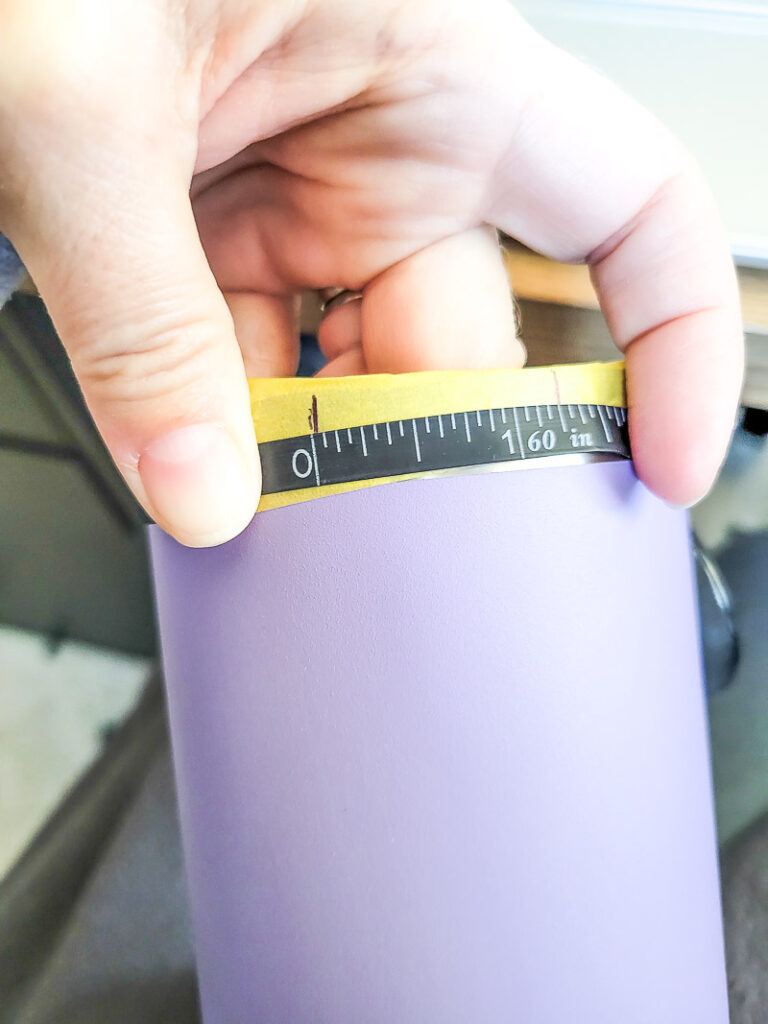
- Put your cup back into the rotary assist, with your new line as the high point. Refresh the view in Creative Space.
- You’ll see that half your screen is greyed out in Creative Space, drag the line to line up with the new line you drew on your cup.
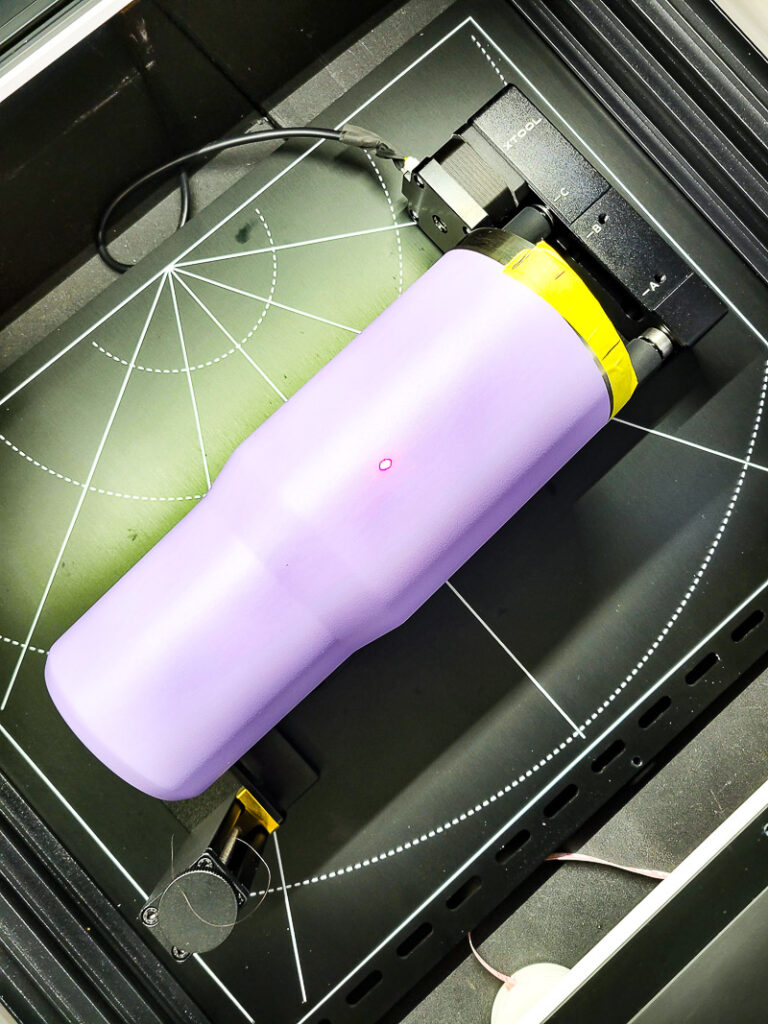
- Drag your design and line up the right edge with this greyed-out space line, but don’t go over into the grey area. If you do you will get an error that says you are outside of the processing area.
- Your settings for the design will be: Processing Type: Engrave, Manual Settings: Power: 80. Speed 145, Pass: 1, Lines per cm: 120, Engraving Mode: Bi-directional.
- Frame your project – this just lets you see where the laser plans on working so you know you are in the right spot! It shows you an outline of the area of the project. If it looks good, move on.
- Select process and watch the your Stanly cup get a professional engraving at home!
- Once complete, if your cup has some residue on it, clean it with rubbing alcohol to wipe away any black debris. Remove the tape.
- Save these directions for the next time you are ready to engrave a Stanley or Yeti tumbler!
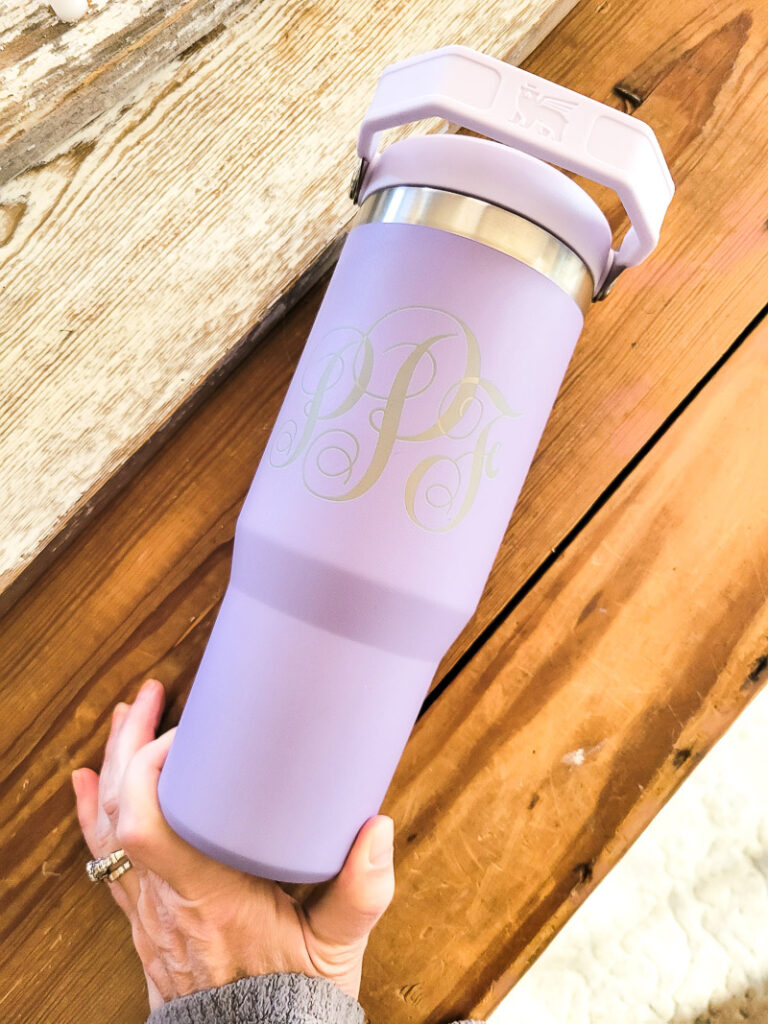
These engraved tumblers make the best gift ever and like I said – you could sell these if you want to start an at-home business. There are so many things the xTool Laser Engraver can do, I hope you’ll give it a try and let me know what you think! If you want to start and are wondering how…here ya go…
Where do I get a Laser Engraving Machine?
I ordered mine through xTools, here are all the parts and pieces I have, you can order from the links provided and read more about getting started with this machine here.
- xTool M1 Laser Engraver and Vinyl Cutter (the machine itself)
- xTool M1 Riser Base with Honeycomb Panel (to use with taller/thicker projects like tumblers, a must-have to engrave Stanley and Yeti Tumblers!)
- xTool M1 Air Assist (to help with keeping engraving cool while cutting/engraving)
- xTool RA2 Pro for M1 (This was a must for me, you use it to engrave round and odd shape items)
- xTool Smoke Purifier (Air purifier to reduce smoke and odor while working)
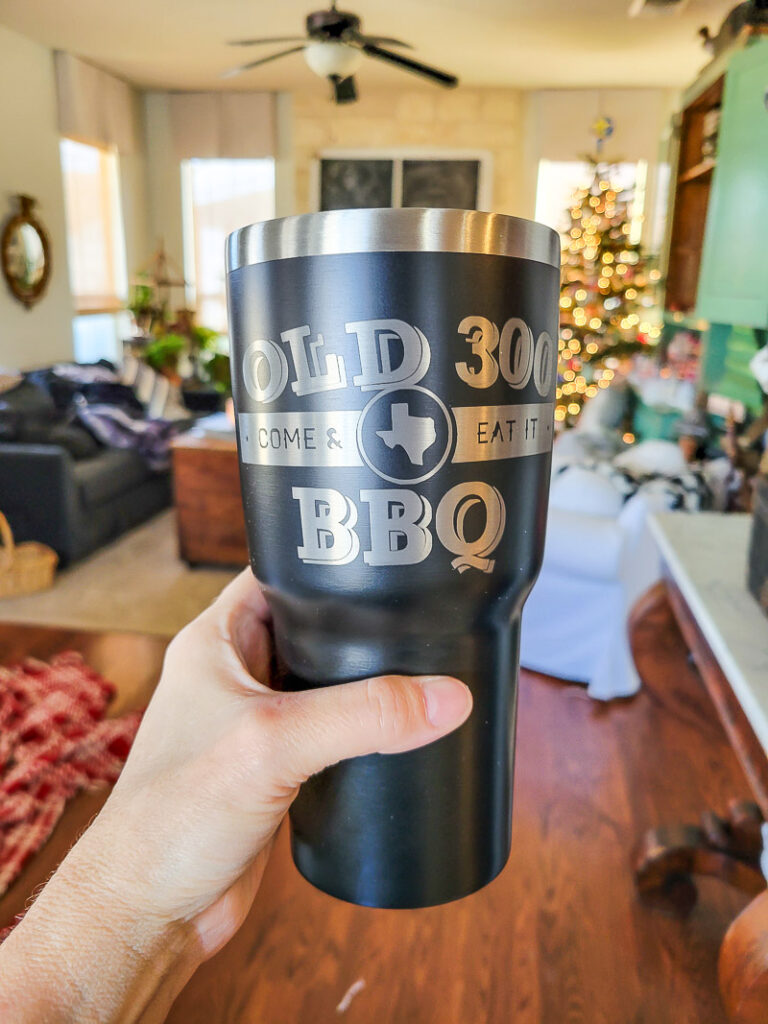
Be sure to save this project for later!


Leave a Reply